Many users partition their hard drives or utilize external storage devices with their PCs. However, such drives become inaccessible when the “A device which does not exist was specified” error arises. Users have reported seeing this strange error message when they try to open connected external storage devices or drive partitions inside Windows File Explorer.
That error is most unwelcome since it means users can’t open whatever drives it arises for. Consequently, they can’t access files on affected drives. This is how you can fix the “device which does not exist was specified” error in Windows 10 and 11.
1. Plug the Affected Device Into a Different USB Slot
If this error is affecting an external storage device, try reconnecting the USB drive. There might be an issue with the port you’ve connected the drive with. Plug the USB drive into a different port to see if the same error occurs.
If you need to resolve this error for an internal drive, check the drive’s internal connections. To do that, you’ll need to open the case for a desktop PC. Then make sure none of the drive’s connection cables are in any way loose.
2. Run the SFC Tool
Users have confirmed the System File Checker tool can resolve this drive error. That highlights system file corruption can cause this issue, which an SFC scan will likely resolve. Our guide to running a System File Checker scan tells you how to execute the SFC command in Windows.

3. Run a Check Disk Scan for the Drive
You might need to fix the “device which does not exist was specified” error because your drive has some bad sectors. Running a CHKDSK (Check Disk) scan command is a potential remedy for bad drive sectors. This is how you can run the Windows Check Disk tool from the Command Prompt:
- Open the search tool by simultaneously pressing the Windows logo + S keys.
- Enter the search phrase cmd inside the text box.
- Click Run as administrator to start Command Prompt with elevated permissions.
-
Then execute the Check Disk scan by inputting this command:
chkdsk X: /f /r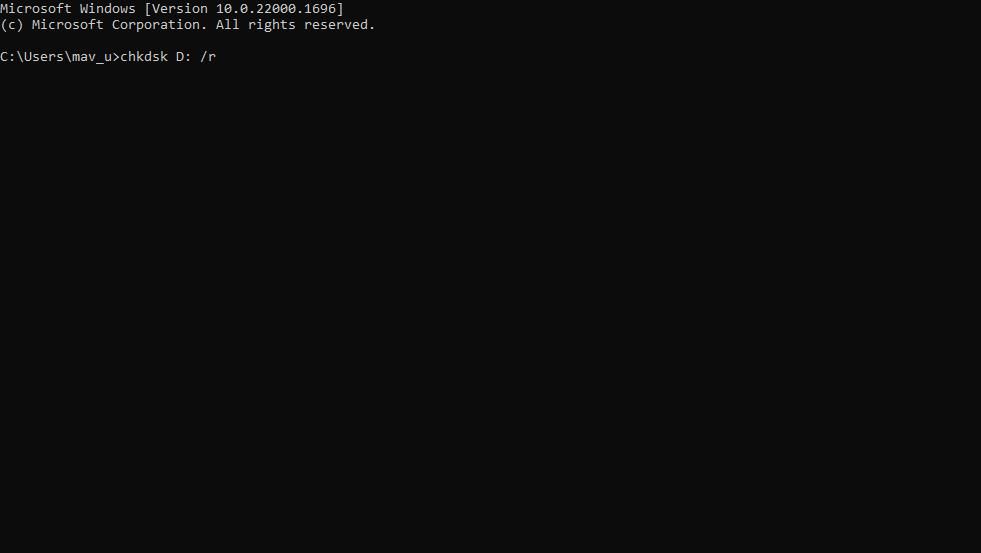
- Press Enter to initiate the scan.

You’ll need to replace X in the above command with the actual letter of the affected drive you need to scan. For example, the command for a drive labeled D would be:
chkdsk D: /f /r
4. Try Changing the Drive’s Letter
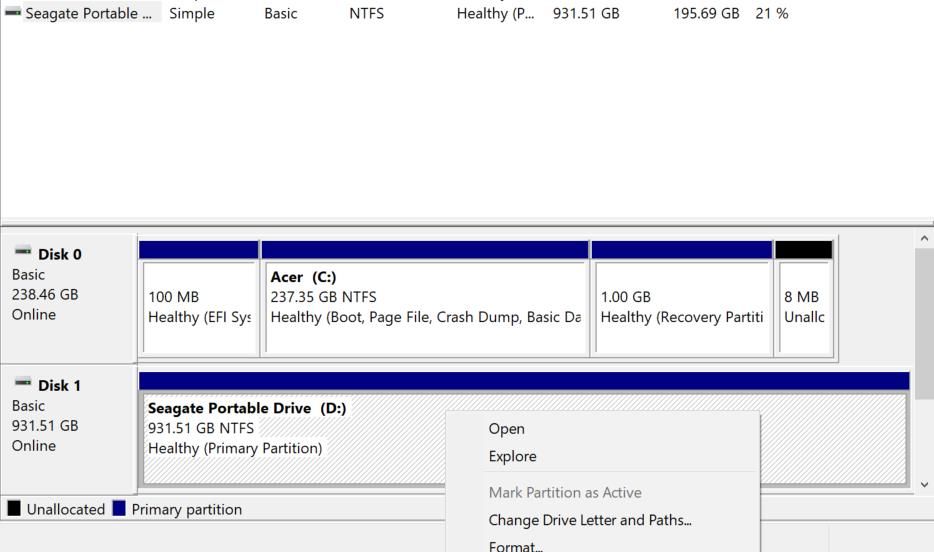
Changing the affected drive’s letter is a potential fix that users have confirmed to work. You can change the drive’s letter with the Disk Management tool like this:
- If you need to fix this issue for an external drive, connect that storage device to your PC.
- Open Disk Management by right-clicking Start and selecting the shortcut for that tool.
-
Right-click the affected drive and select Change Drive Letter and Paths.
-
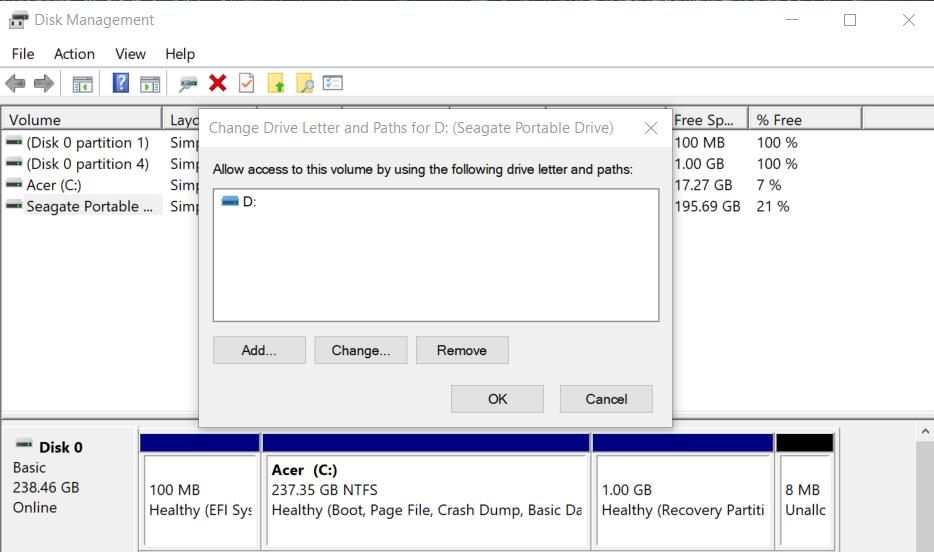
Press the Change button.
-
Click the drop-down menu for the Assign the following drive letter option.
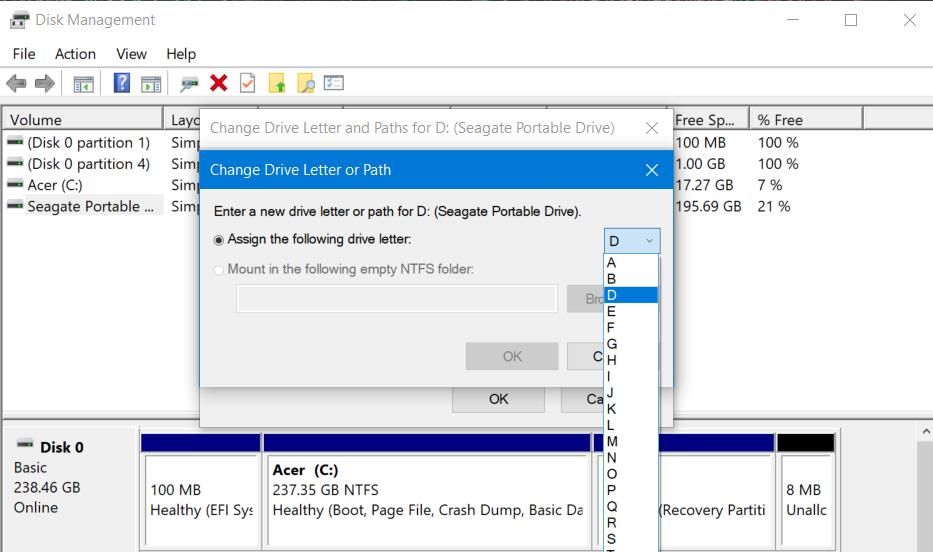
- Select a drive letter that you’ve never used.
- Click OK on the Change Drive Letter or Path window.
- Select Yes on the Disk Management confirmation dialog.


5. Rescan a Drive
Disk Management includes a Rescan Disk option for troubleshooting drives. That option detects disk changes and updates drive info accordingly when selected. So, rescanning the disk is a viable troubleshooting method for resolving this “device which does not exist” error. This is how you can rescan a drive:
- Plug the drive into your PC if necessary.
- Bring up the Disk Management tool.
- Click the drive for which the error occurs in Disk Management.
-
Then click the Action menu.
- Select Rescan Disks on the menu.

6. Select the Full Control Option for a Drive Location
The “device which does not exist” error can arise because of restricted drive permissions. In that scenario, users need to select a Full control permission option for their drives. These are the steps for selecting the Full control permission setting:
- First, activate the file management tool with Explorer’s Windows logo + E hotkey.
- Then click This PC in Explorer’s left sidebar.
-
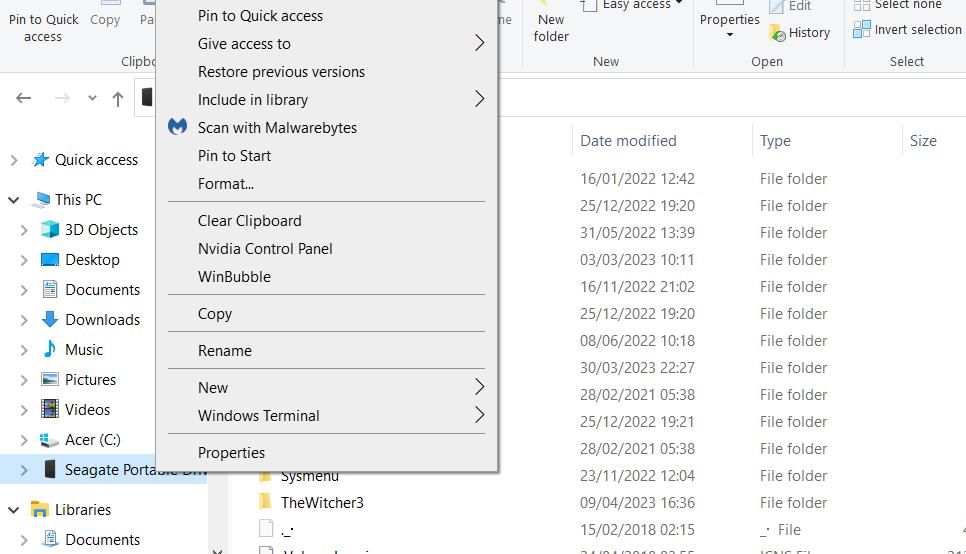
Right-click the affected drive to select Properties.
- Click the drive’s Security tab.
- If the Full control option isn’t ticked, click the Edit button.
-
Select the Allow box for the Full control option.

- Click Apply > OK on the drive’s permissions window.

7. Reinstall the Affected Drive
If you need to fix this issue for an external storage device, try reinstalling the affected drive. Doing so will reinstall the drivers for the affected storage device. This is how you can reinstall the drive:
Insert the affected drive into one of your PC’s USB ports.
- Click Start with the right mouse button to select a Device Manager shortcut.
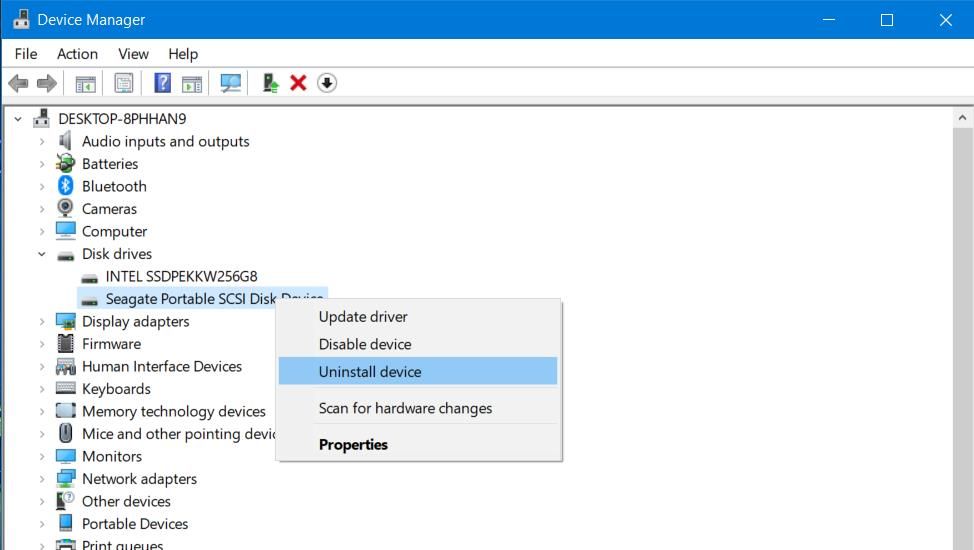
- Double-click Disk drives in Device Manager.
-
Right-click your drive and select Uninstall device.
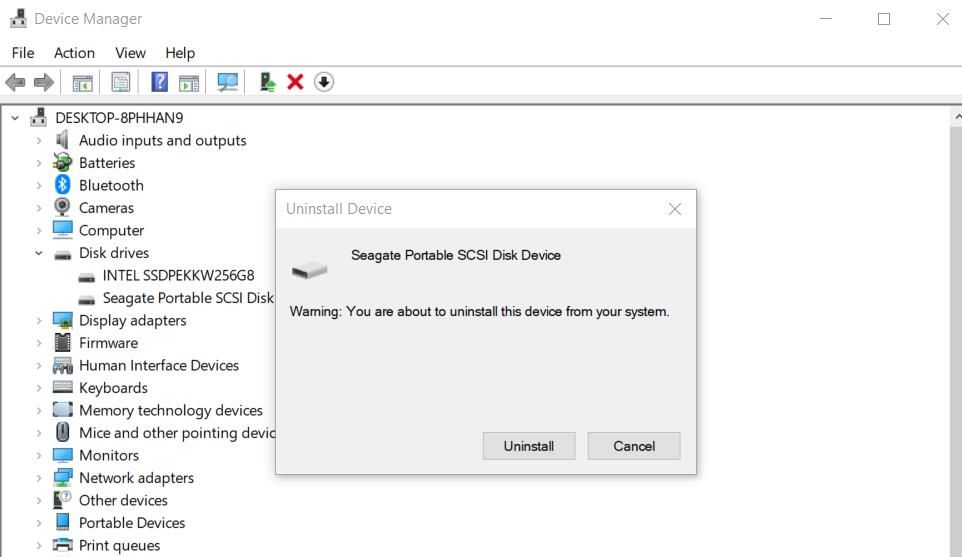
-
Then select the Uninstall option on the dialog box prompt.
- Disconnect the drive plugged into the PC.
- Plug the drive back into the computer to reinstall its driver.


8. Update Your Motherboard’s Chipset Driver
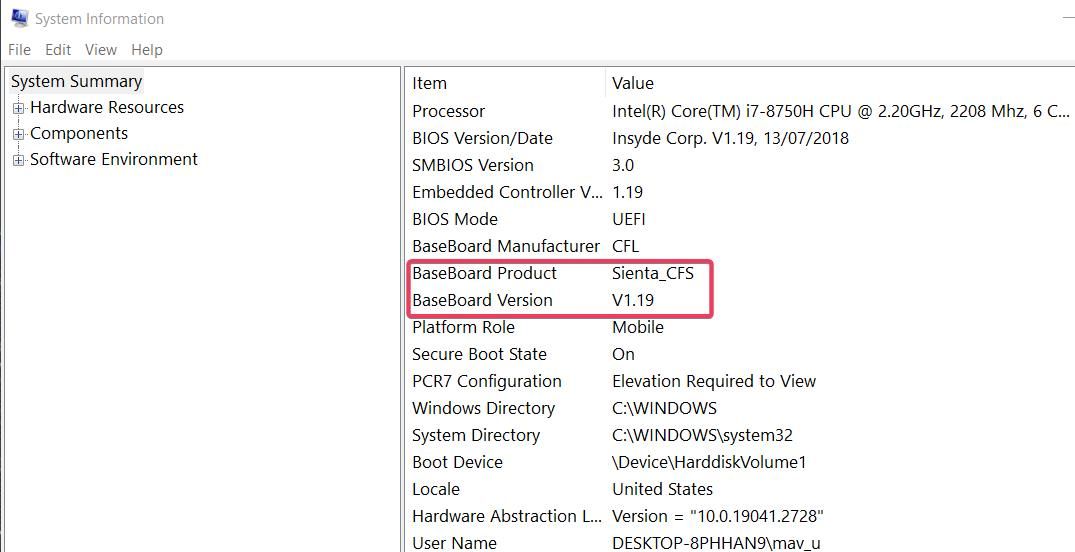
It might be necessary for some users to update motherboard drivers to fix this issue. To do so manually, you’ll need the motherboard model and manufacturer details. You can check those details as follows:
- Open the Windows search box, and type a System Information keyword there.
- Click System Information to view that app’s window.
-
Note down the BaseBand Product and BaseBand Manufacturer details.
- Open the Command Prompt if the System Information app doesn’t include a serial number for the motherboard.
-
Execute this baseboard command:
wmic baseboard get product,Manufacturer,version,serialnumber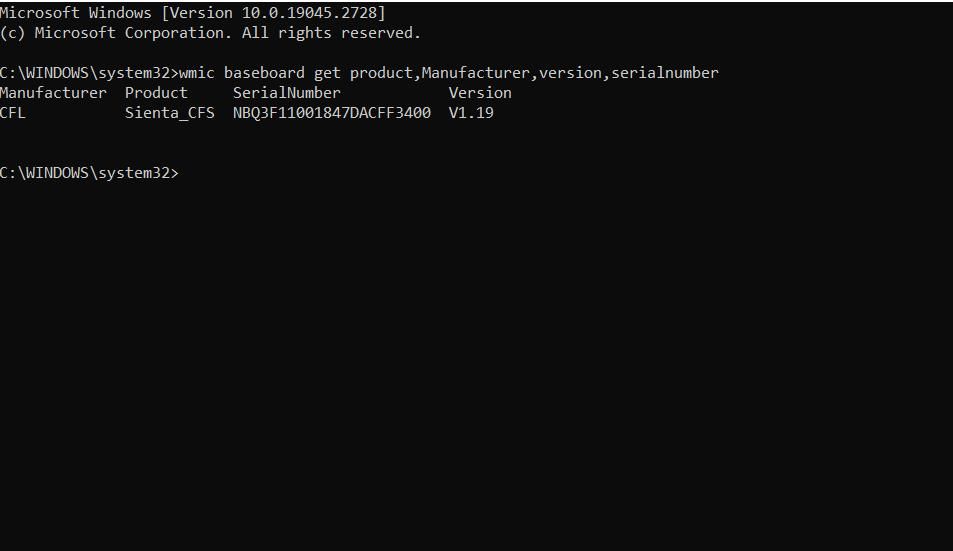
- Copy and paste the serial number for the motherboard shown within the Command Prompt into Notepad or another text editor.


Then open the download section of your motherboard manufacturer’s website. Select your motherboard model and download its latest chipset driver from there. You can install the new driver for your motherboard with the downloaded driver (setup.exe) package file.
The driver package might be included within a ZIP archive, which you’ll need to extract as outlined within this guide to unzipping files in Windows.
Access Your Drive Again on Windows
Those potential solutions will probably fix the “device which does not exist” drive error for most users. If they’re not enough, there could be an issue with your PC’s motherboard headers. In that case, consider taking your PC to a reputable repair service to resolve such an issue.