Finding a way to process film negatives into photos can be difficult. There aren’t many places that you can go to have film rolls processed, and getting the equipment to do so at home can be pricey and complicated.
Thankfully, Photoshop offers the tools to take a negative, invert the colors, adjust the warmth and coolness, and create a positive image to print and save. Let's show you how.
Scanning Film Negatives Into Photoshop
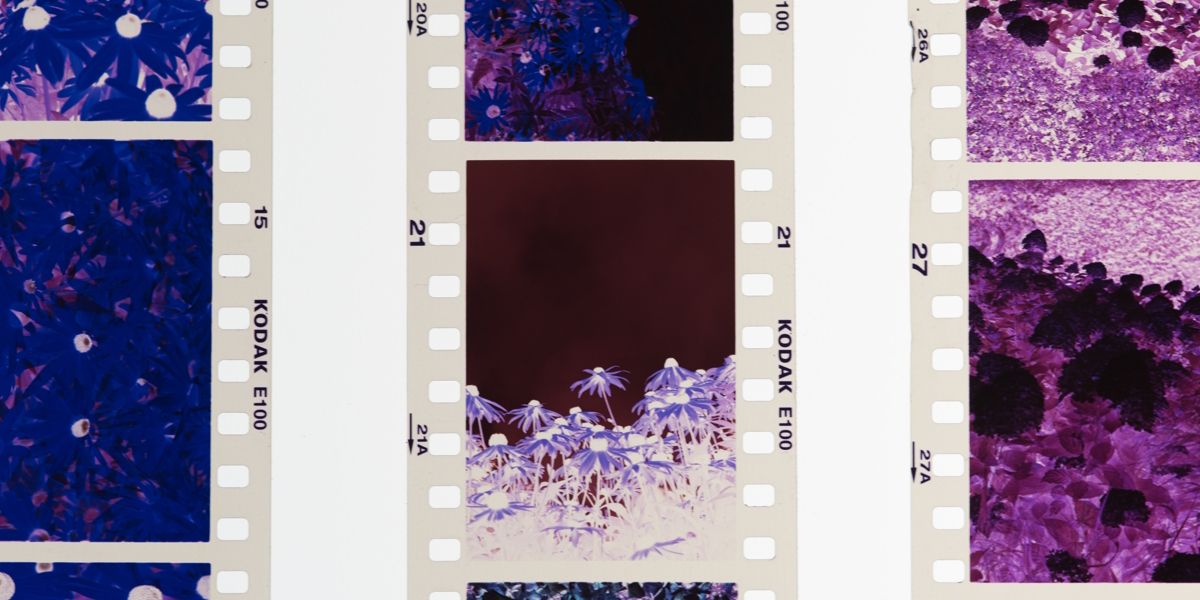
There are plenty of ways to enhance a photo in Photoshop once taken, but developing a piece of negative film can be a bigger challenge. The first step in developing a film negative in Photoshop is to create a digital copy. There are two ways to do so: a scanner or a camera.
Using a Scanner
Using a scanner is the simpler of the two options. The scanner will automatically provide backlighting through the negative, and the scanner bed will appear as a plain white background. The clean background will make isolating the negatives later much more straightforward.
Before placing the negatives onto the scanner, clean the surface. Wait for any chemicals to be completely dry before laying down the negative—many types of film, especially older ones, are susceptible to chemical damage.
Be sure to place the negatives near the scanning bed’s center. For scanning more than one set of negatives at once, leave some space between each piece of film. This will ensure that the negatives can be isolated later and processed one at a time.
Using a Camera
If you don’t have a scanner, then a high-resolution camera is the next best way to capture the film. Most modern smartphone cameras will suffice.
Place each piece of film on a flat white background. Brightly illuminated white paper will work, but if possible, place them on a surface that can provide white backlighting. This can be accomplished with a phone or laptop screen set to a pure white image.
Take the photo from close up, and from a high angle. Make sure that no part of the film is covered in shadow. Any ripples, creases, or bends in the negative will cause issues with the development later on—be sure that the film is as flat as possible.
Converting Film Negatives Into Positives in Photoshop
Once the film is processed into a digital version, it can be opened in Photoshop to be developed. Just follow the steps below.
1. Isolate the Negative
Once the film is open in Photoshop, check to see if the lines are squared up with the edges of the canvas. If not, select the Image menu from the toolbar, and under Image Rotation, select Arbitrary. Rotate the image until the border of the film is squared up with the edges of the screen.
Next, you'll need to cut down the image so that only the film is showing. Thankfully, there are several ways to crop an image in Photoshop. To get started, use the Rectangular Marquee tool to select the film.
If you need more fine-tuned control over the selection, use the Select & Mask tool to make sure that you have only the negative selected.
Once the film is selected, use the Crop function under Image to reduce the canvas to only include the negative.
2. Invert the Colors
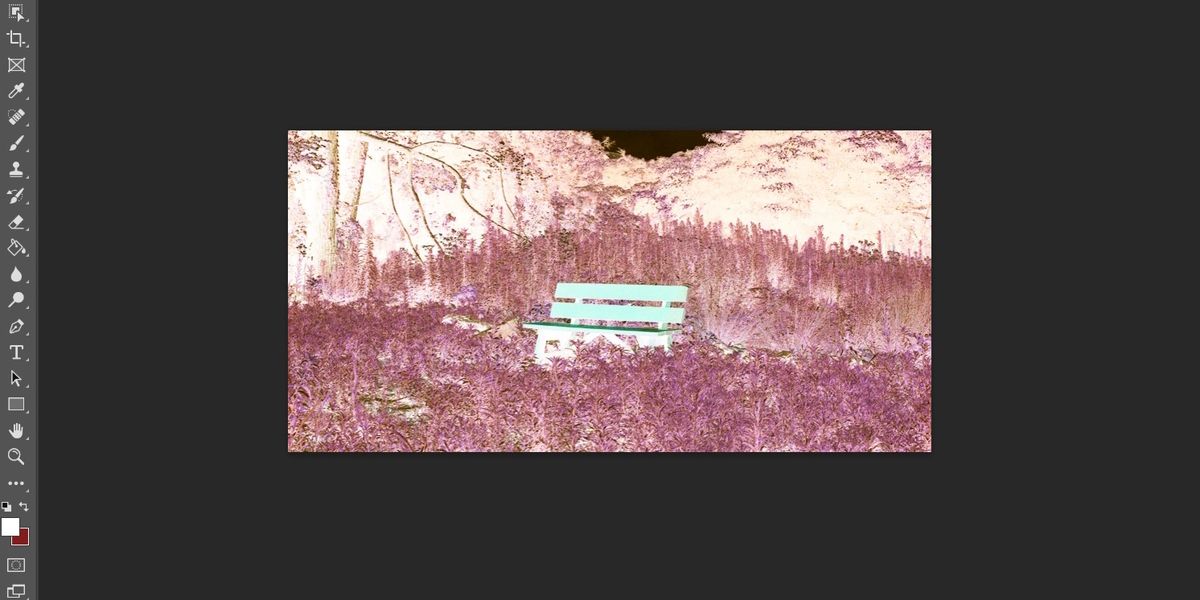
With the image reduced to only the negative, beginning the development process is simple. Click the Image menu from the toolbar, and hover over Adjustments. Select the Invert option from the menu to invert the coloration on the image.
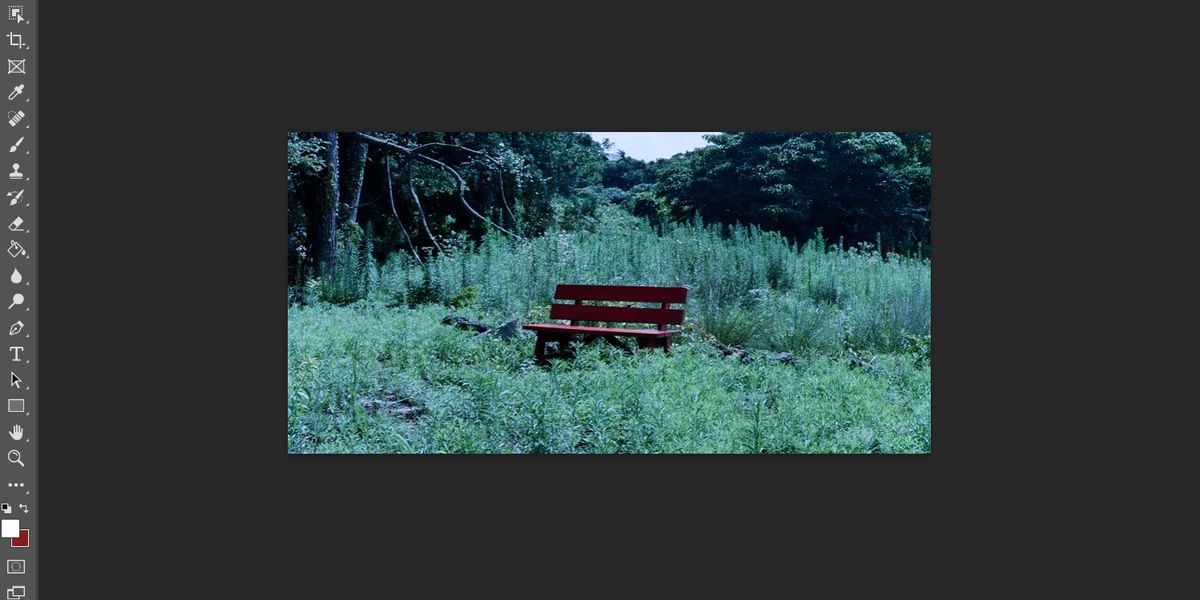
The results will be a photopositive version of the film negative. The color inversion may be enough to fully develop it, depending on the type and age of the film in question. In most cases, however, additional steps will be required to color-correct the resulting image.
If the colors look right, the photo can be saved and printed. Otherwise, continue with the steps below.
3. Adjust the Colors Using Curves
Once the colors have been inverted to produce a positive image, there may still be a color bias in one direction or another. These tend towards either the red side or the blue side. Photoshop's Curves tool is the quickest way to correct this issue.
Click on the Image menu from the toolbar, and hover over Adjustments. Select Curves from the resulting menu to access the Curves editor. Within the Curves editor, there is a dropdown showing the letters RGB.
Select the dropdown and choose the color the photo seems balanced towards. For example, if the image appears to be too blue, select the Blue channel. Click on the curve on the graph below and drag the handle down to reduce the amount of blue in the image.
It is best to adjust the graph little by little. You can adjust each channel, Red, Green, and Blue to reduce or increase the amount of each color in the photo. You may need to move each curve around a few times to get the color balance exactly right.
In addition to customizing the curves, the tool has several presets. These are primarily related to the image's contrast rather than color, but they can help refine the light and dark areas of the image if the light balance is also off.
4. Refine the Color and Clarity
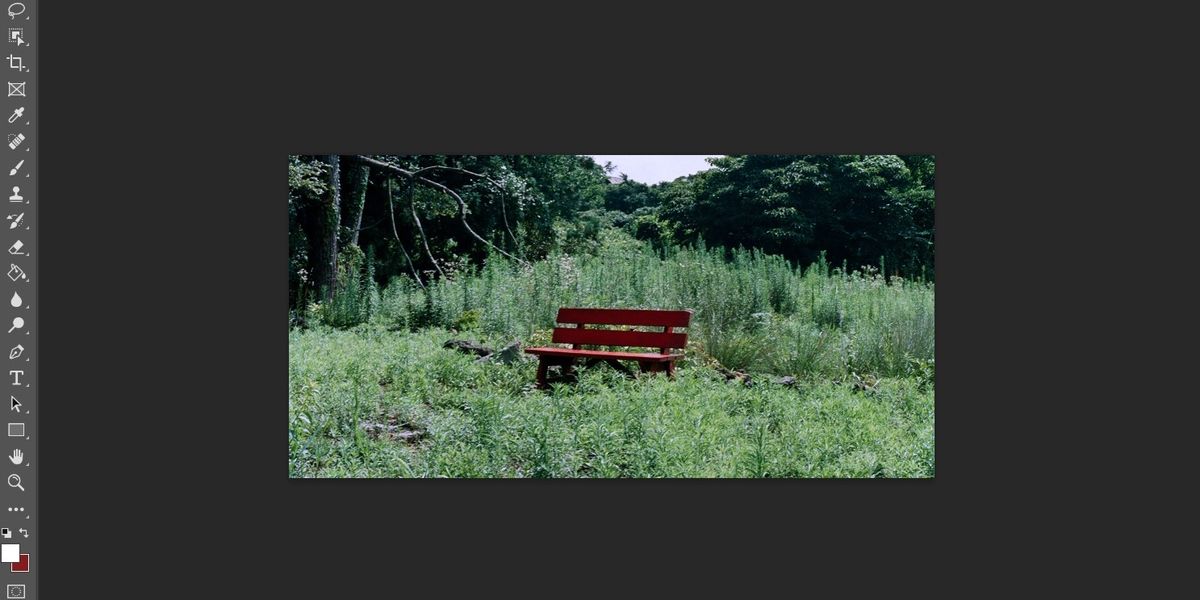
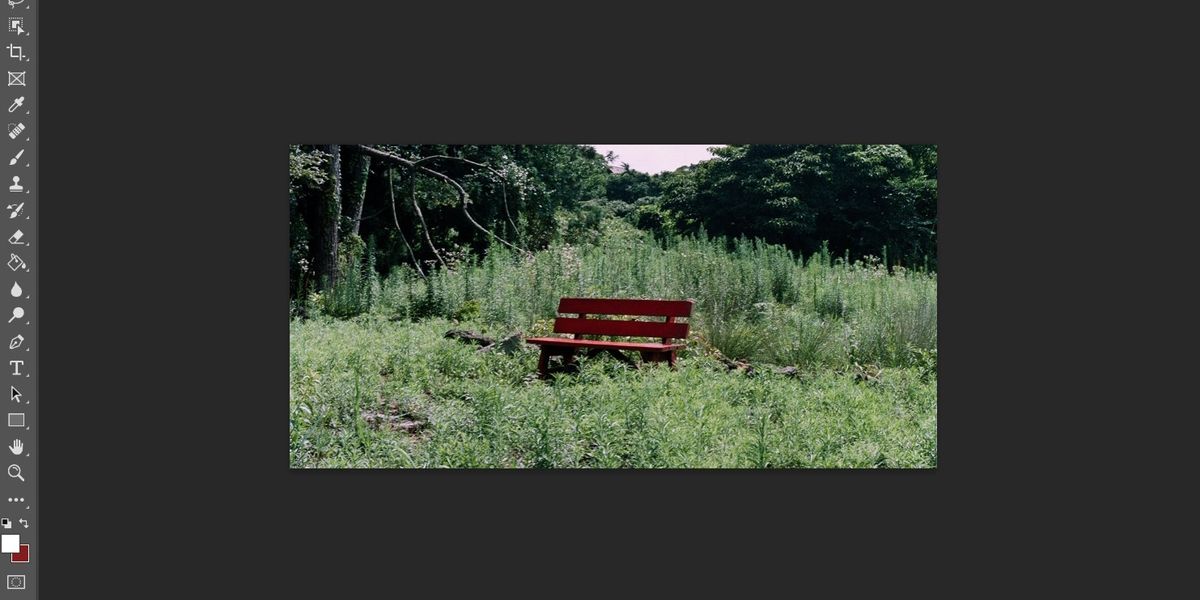
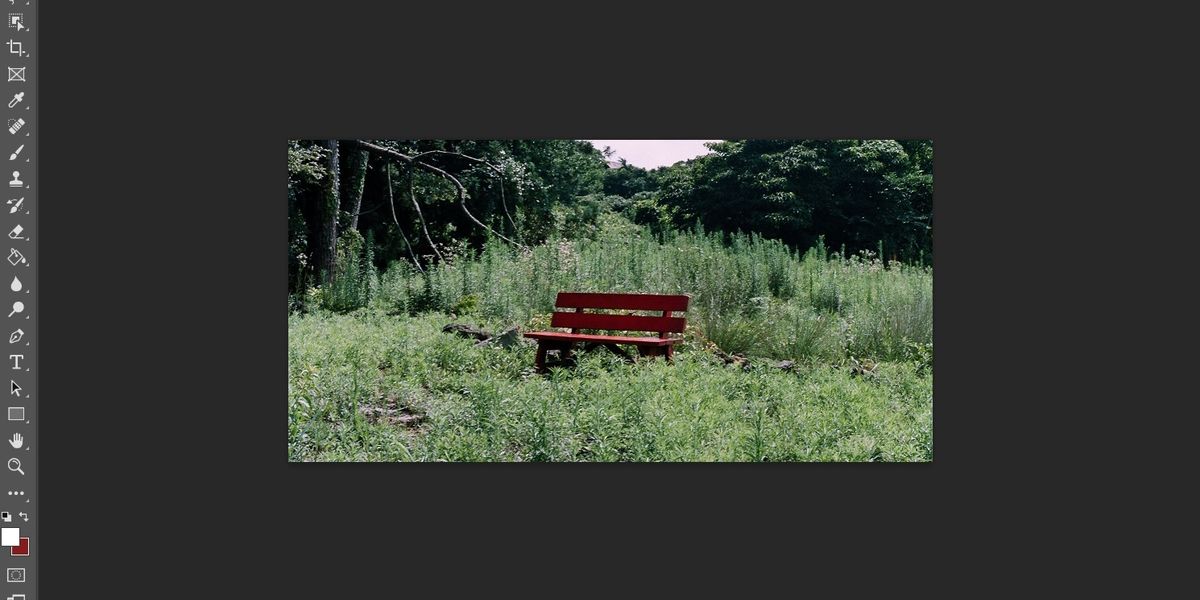
With the curves adjusted accordingly, the image should have roughly the correct coloration. To complete the effect, use the Photo Filter tool. Click on the Image menu from the toolbar, and hover over Adjustments. Select Photo Filter from the resulting menu.
The Photo Filter tool allows for fine-grain adjustment of the image color temperature. The warming and cooling filters can help to remove any additional red or blue imbalances.
Once any remaining coloration issues are resolved, you can use Photoshop to sharpen up any blurry or fuzzy edges. The Sharpen Edges filter can help define edges to bring extra clarity to the image.
With any image clarity corrections made, the image can be saved in any standard image format. There are tons of sites to send your photo to print physical copies or you can just keep the digital version. It is advisable to also save the digital copy of the film negative for potential future use.
Photoshop Is the Perfect Tool for Developing Old Negatives
Today, processing film negatives into photos is a rather niche business. It can be difficult to locate a store or individual with the tools and equipment to process old film. Thankfully, Photoshop is the perfect tool to convert negatives.
Using the Invert function to create a positive color palette, then adjusting the individual color concentrations with the Curves tool produces a photopositive. Using the Photo Filter and the Sharpen Edges filter can add the finishing touches; a clear photo with realistic coloration. Then, you can print the end result!

