Sometimes your to-do list can get away from you. The more you add, the more disorganized it feels. Despite your best efforts to keep a running list—or many—a task or two falls between the cracks here and there. And now you’re looking for a solution.
Well, perhaps it’s time to declutter your to-do list. Want to know how? Continue reading for steps on how to do this in Google Keep.
1. Write Out All Your Tasks in a Google Doc
When decluttering your home, you go through all your possessions to see which ones to keep and which you can do without. The same goes for decluttering your to-do list.
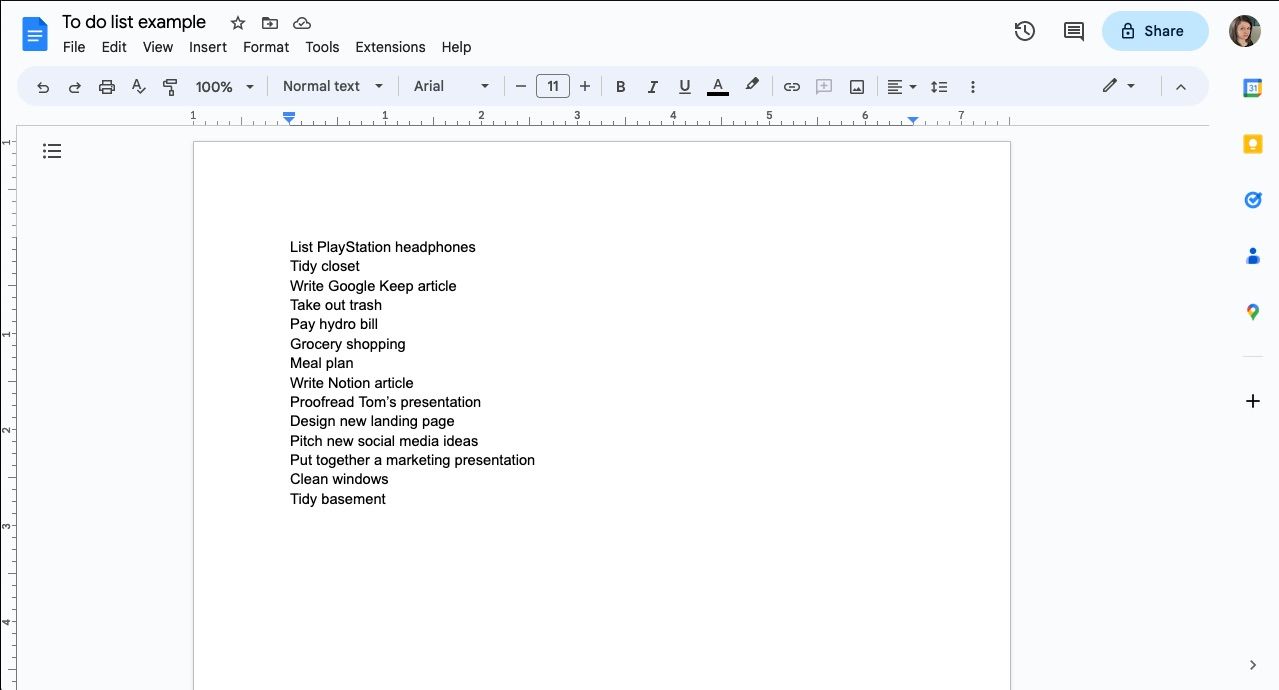
Though they’re not physical things, you can take inventory by rounding them up in a Google Doc. Take some time to write them all out and avoid overthinking it. If you think it needs to doing, put it on the list.
To prevent your list from becoming overly exhaustive, avoid including items that are habits, like cleaning up dishes or cooking dinner. These tasks are likely automatic, and they’ll only make the process take longer.
Instead, put your focus on tasks, projects, and assignments you’ve been meaning or forgetting to do. And, since you’ll be copying these over to Google Keep later, be sure to create a new line for each item by hitting enter or return between each one.
2. Create Three New Google Keep To-Do Lists
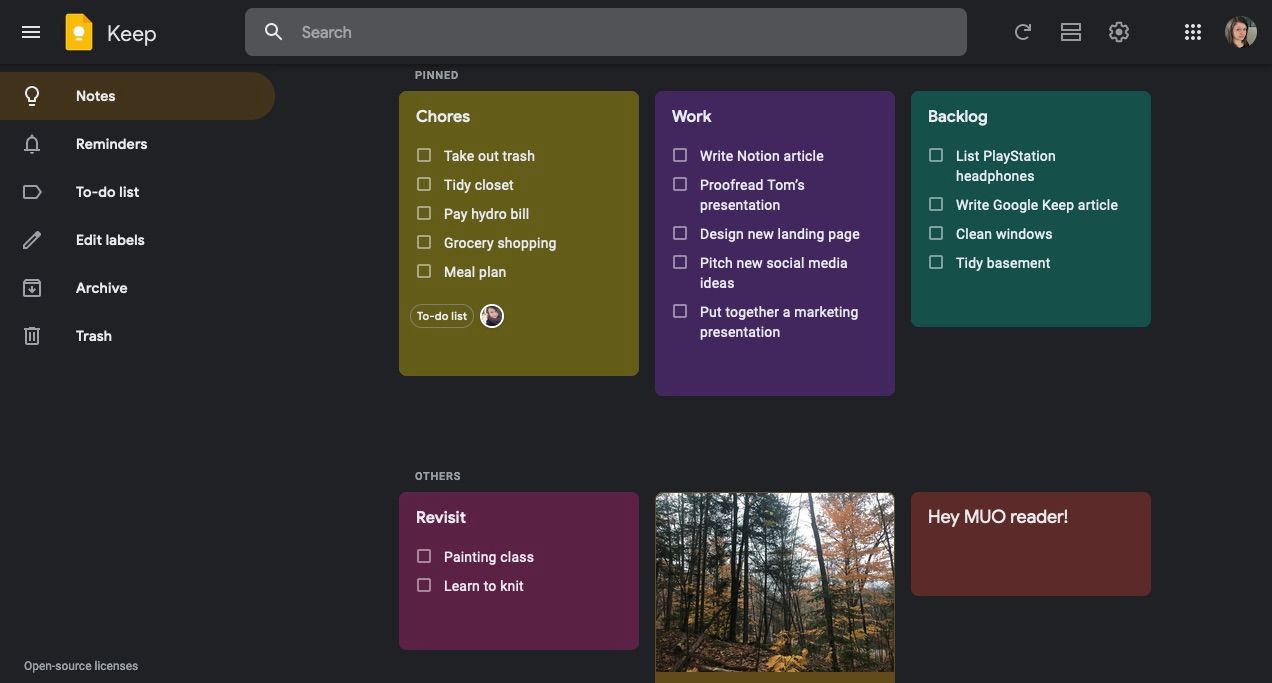
The next step will be to sort your to-dos into smaller lists. Really, you can create as many lists as you’d like and call them whatever you want to follow along. For this example, backlog, chores, and work will do.
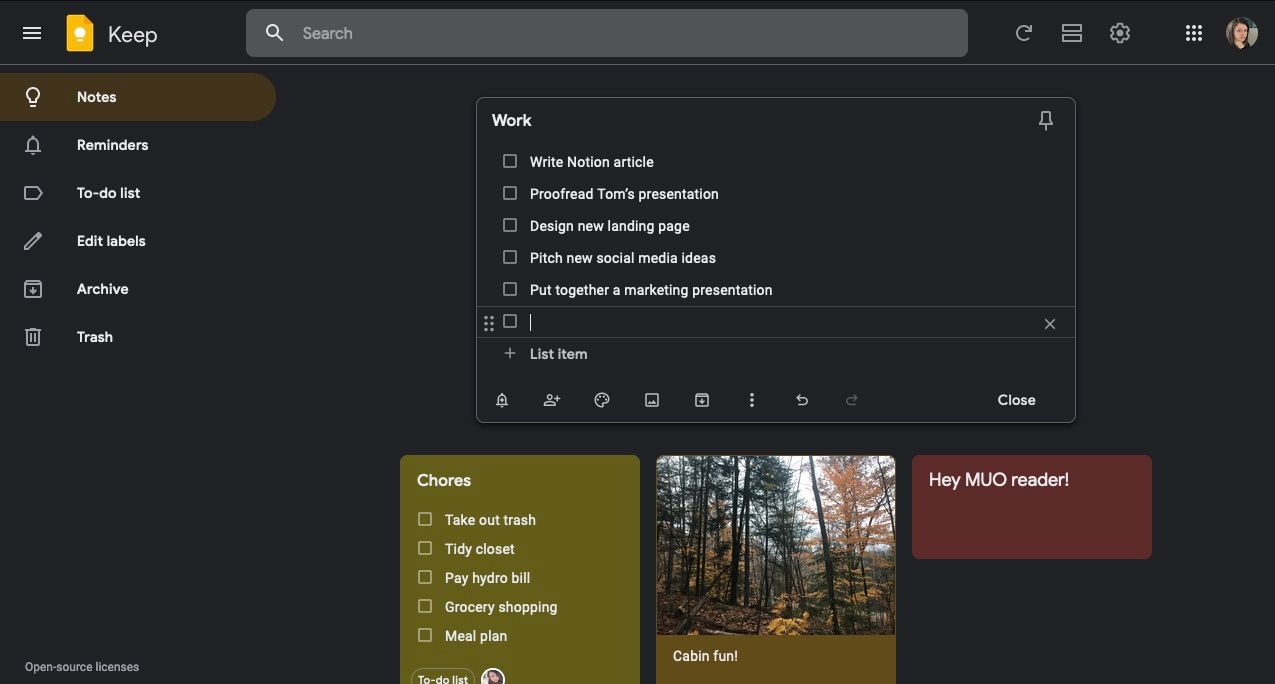
To create a new checklist in Google Keep:
- Click the checkbox inside the Take a note… field at the top of the screen.
- Type out the first item and hit enter to create a new line.
- Once you’ve added all your to-dos, click Close, and the list will move down to your notes.
If you're accessing Google Keep from another Google app, you may notice Google offers two task managers, Google Keep and Google Tasks. The big difference between Google Keep and the more list-based Google Tasks is that Google Keep is much like a bulletin board.
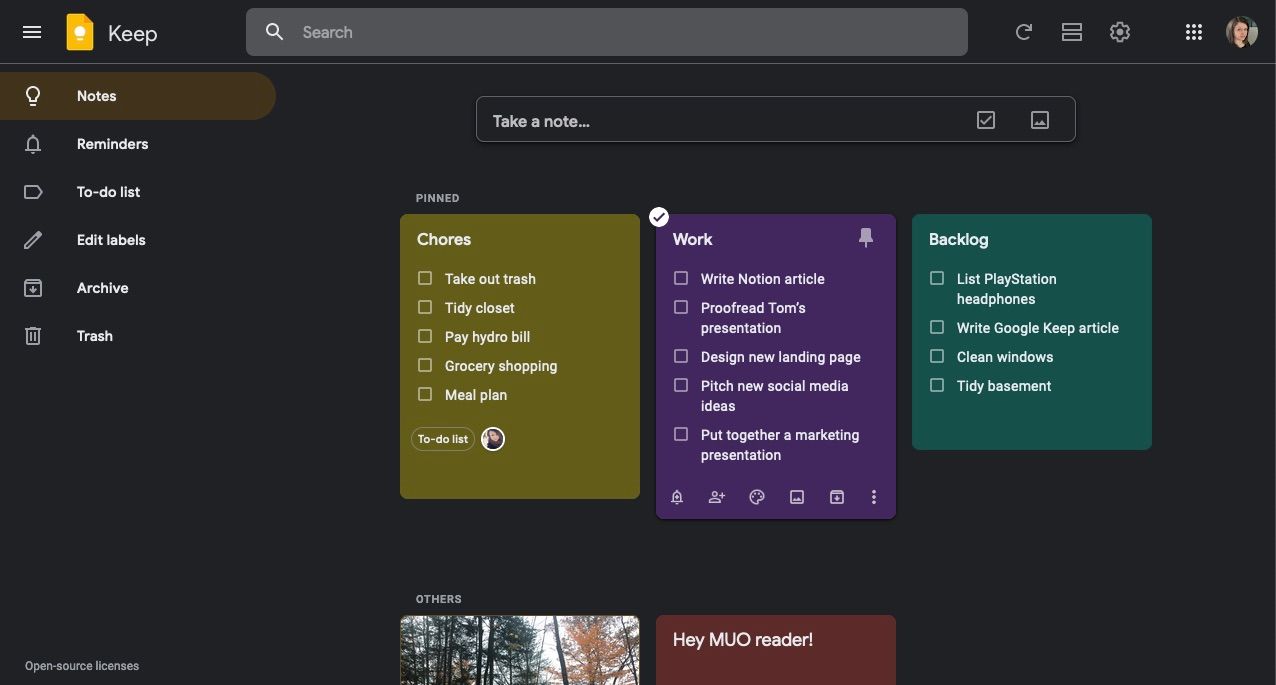
As you add notes and lists to Google Keep, the digital cards shift, so you’ll want to pin these to the top using the thumbtack icon in the top-right corner. Alternatively, you can create a to-do list label, so Google Keep can round up all your lists in a tab in the sidebar.
3. Copy Your To-Dos Into the Google Keep Lists Accordingly
Now, it’s time to sort your larger to-do document into smaller lists in Google Keep. You can do so by copying items and pasting them into the correct list. Since the idea was to avoid overthinking your list, it may be that its order is random. That’s okay.
Go through the list and carefully pick out your top tasks for each list, except backlog. For this example:
- Chores—are housekeeping tasks and errands you need to do, related to home.
- Work—this list is for tasks and assignments related to your job, easily swapped out for school or a project or hobby-related list if you prefer to keep work separate.
- Backlog—is a place to keep all items you want or need to do, but aren’t a priority right now. As you complete items on your chores and work list, you can replace them with tasks on your backlog.
Once you’ve moved your top tasks for each list, move everything else to your backlog, assessing each one as you move it over. If you find things you don’t need or want to do on your list, delete them or add a revisit list for later. It’s up to you.
A revisit list is handy when you’re unsure about a task. For example, you’re in the middle of painting lessons. You can’t seem to get to the next session because you need or choose to focus on other things.
Rather than deleting it, you can tuck it there for later. It's kind of like another backlog with no urgency to it whatsoever—you don't even need to pin it to the top. That way, you know it's there, but it's not nagging at you amongst your main to-dos.
As you move items over, you can copy and paste multiples as a list if they're on separate lines.
4. Organize and Review Your Google Keep Lists
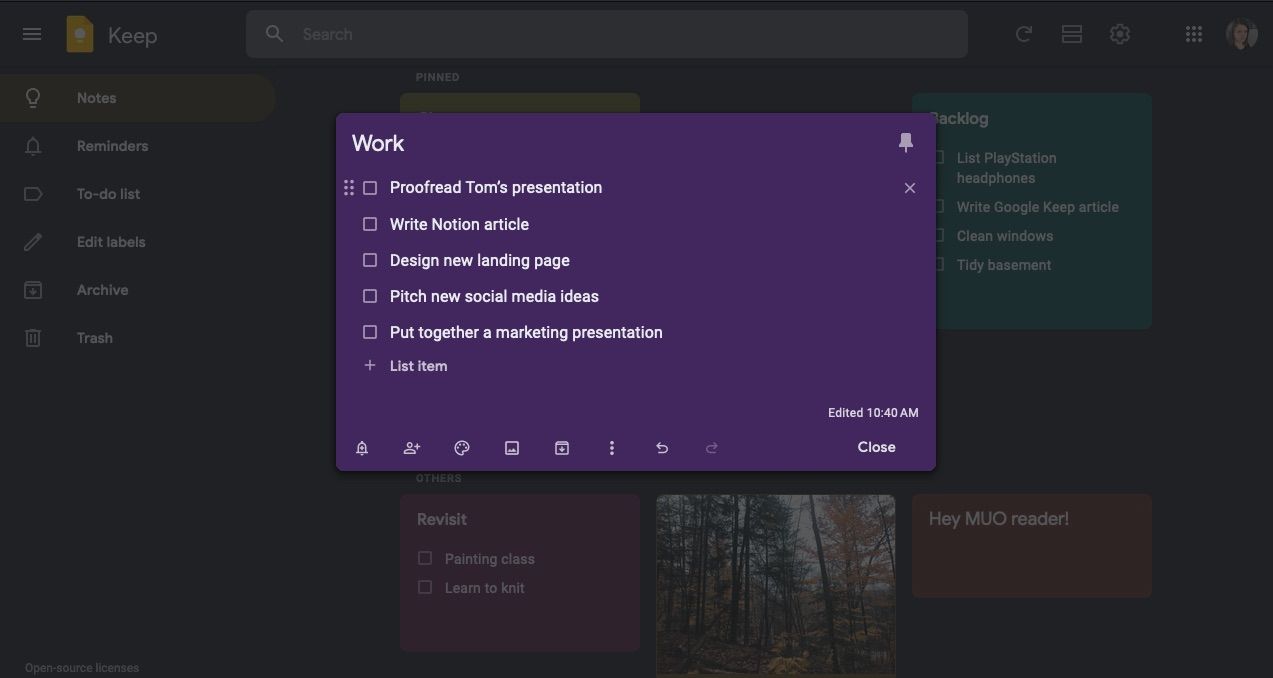
Organizing your lists is another opportunity to assess the items within. Once you’ve added your tasks to Google Keep, you can prioritize them by rearranging your lists.
To do so:
- Hover over the item you want to move.
- Click and hold the handle—six dots—to the left of the checkbox.
- Drag it up or down.
You can also nest items inside of one another to create subtasks. This is handy when breaking larger projects into smaller parts. For example, under presentation, you might list the steps such as research, writing a draft, gathering images, creating a Google Slides document, and so on.
Don’t worry about organizing your backlog too much. This is just a place to keep your tasks until you’re ready to copy and paste them on your to-do lists. It’s also where you’ll write any new to-dos that come to you if they aren’t a priority yet. That way you won’t forget about them.
You can create separate backlogs if you find keeping one for everything is too long—for example, work backlog and chores backlog.
5. Set Reminders for Your Most Important Tasks in Keep
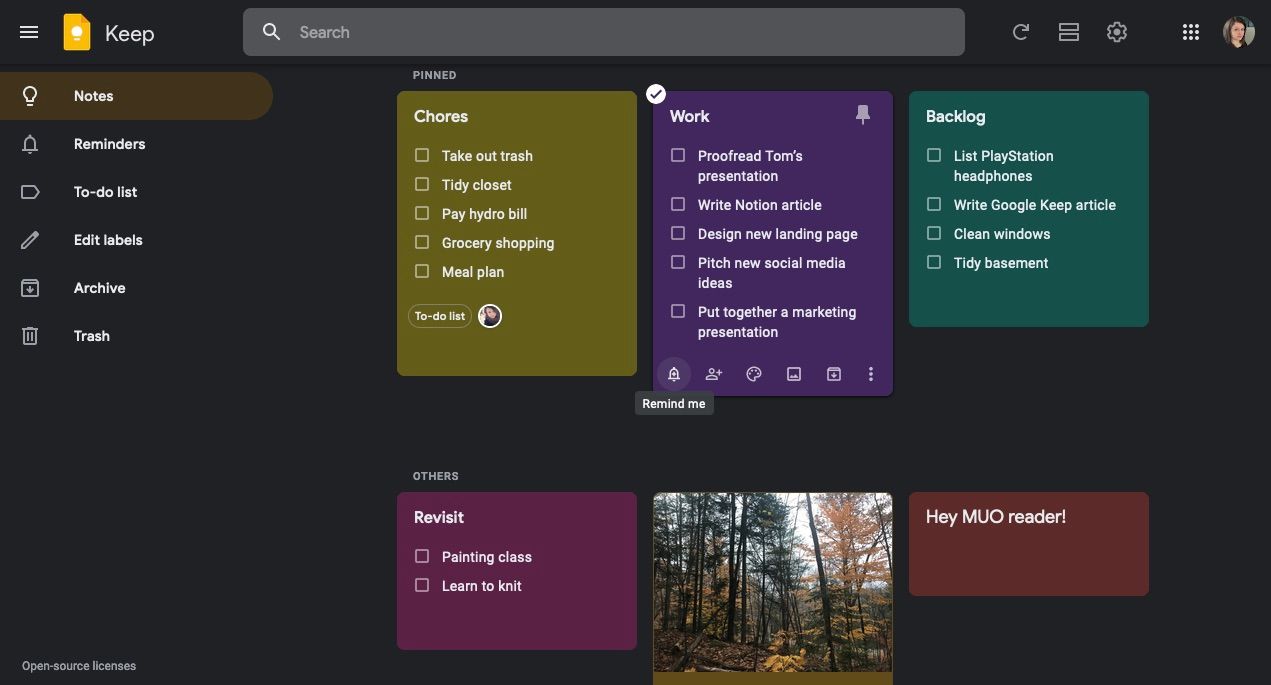
If you need the extra push, you can also set reminders for your most important tasks in Google Keep.
To do so:
- Click the bell icon in the bottom-left corner of your list.
- Choose one of the preset reminders or select Pick date & time.
- Hit Save.
Google Keep is also one of a few ways to set location-based reminders on your Android or iPhone.
Tackle Your To-Do List With Google Keep
It may be time to declutter your to-do list if you feel like you’ve lost track of it. While the process will help you take inventory of all your tasks and assignments, the process will also help you decide what’s most important.
Google Keep is an excellent place to do this because you can access it across all devices. Not only that, but it’s available at no cost as long as you have a Google account.

