In late 2022, Blackmagic Design launched its flagship video editing software—DaVinci Resolve—on the iPad. You can download the tool on all the newer models, with some supporting 4K and others letting you edit up to 1080p.
DaVinci Resolve is free to use on iPad, and you can access many of the tools available on the desktop version. If you want to use the app but need help figuring out where to start, you're in the right place.
This article will offer a beginner's guide to using DaVinci Resolve on iPad. You'll find out how to color grade, trim your clips, and more.
Creating a Project and Importing Footage
After downloading DaVinci Resolve on your iPad, you'll first need to create a new project. Click on the home icon and select New Project. After that, the app will ask you to give your new task a name.
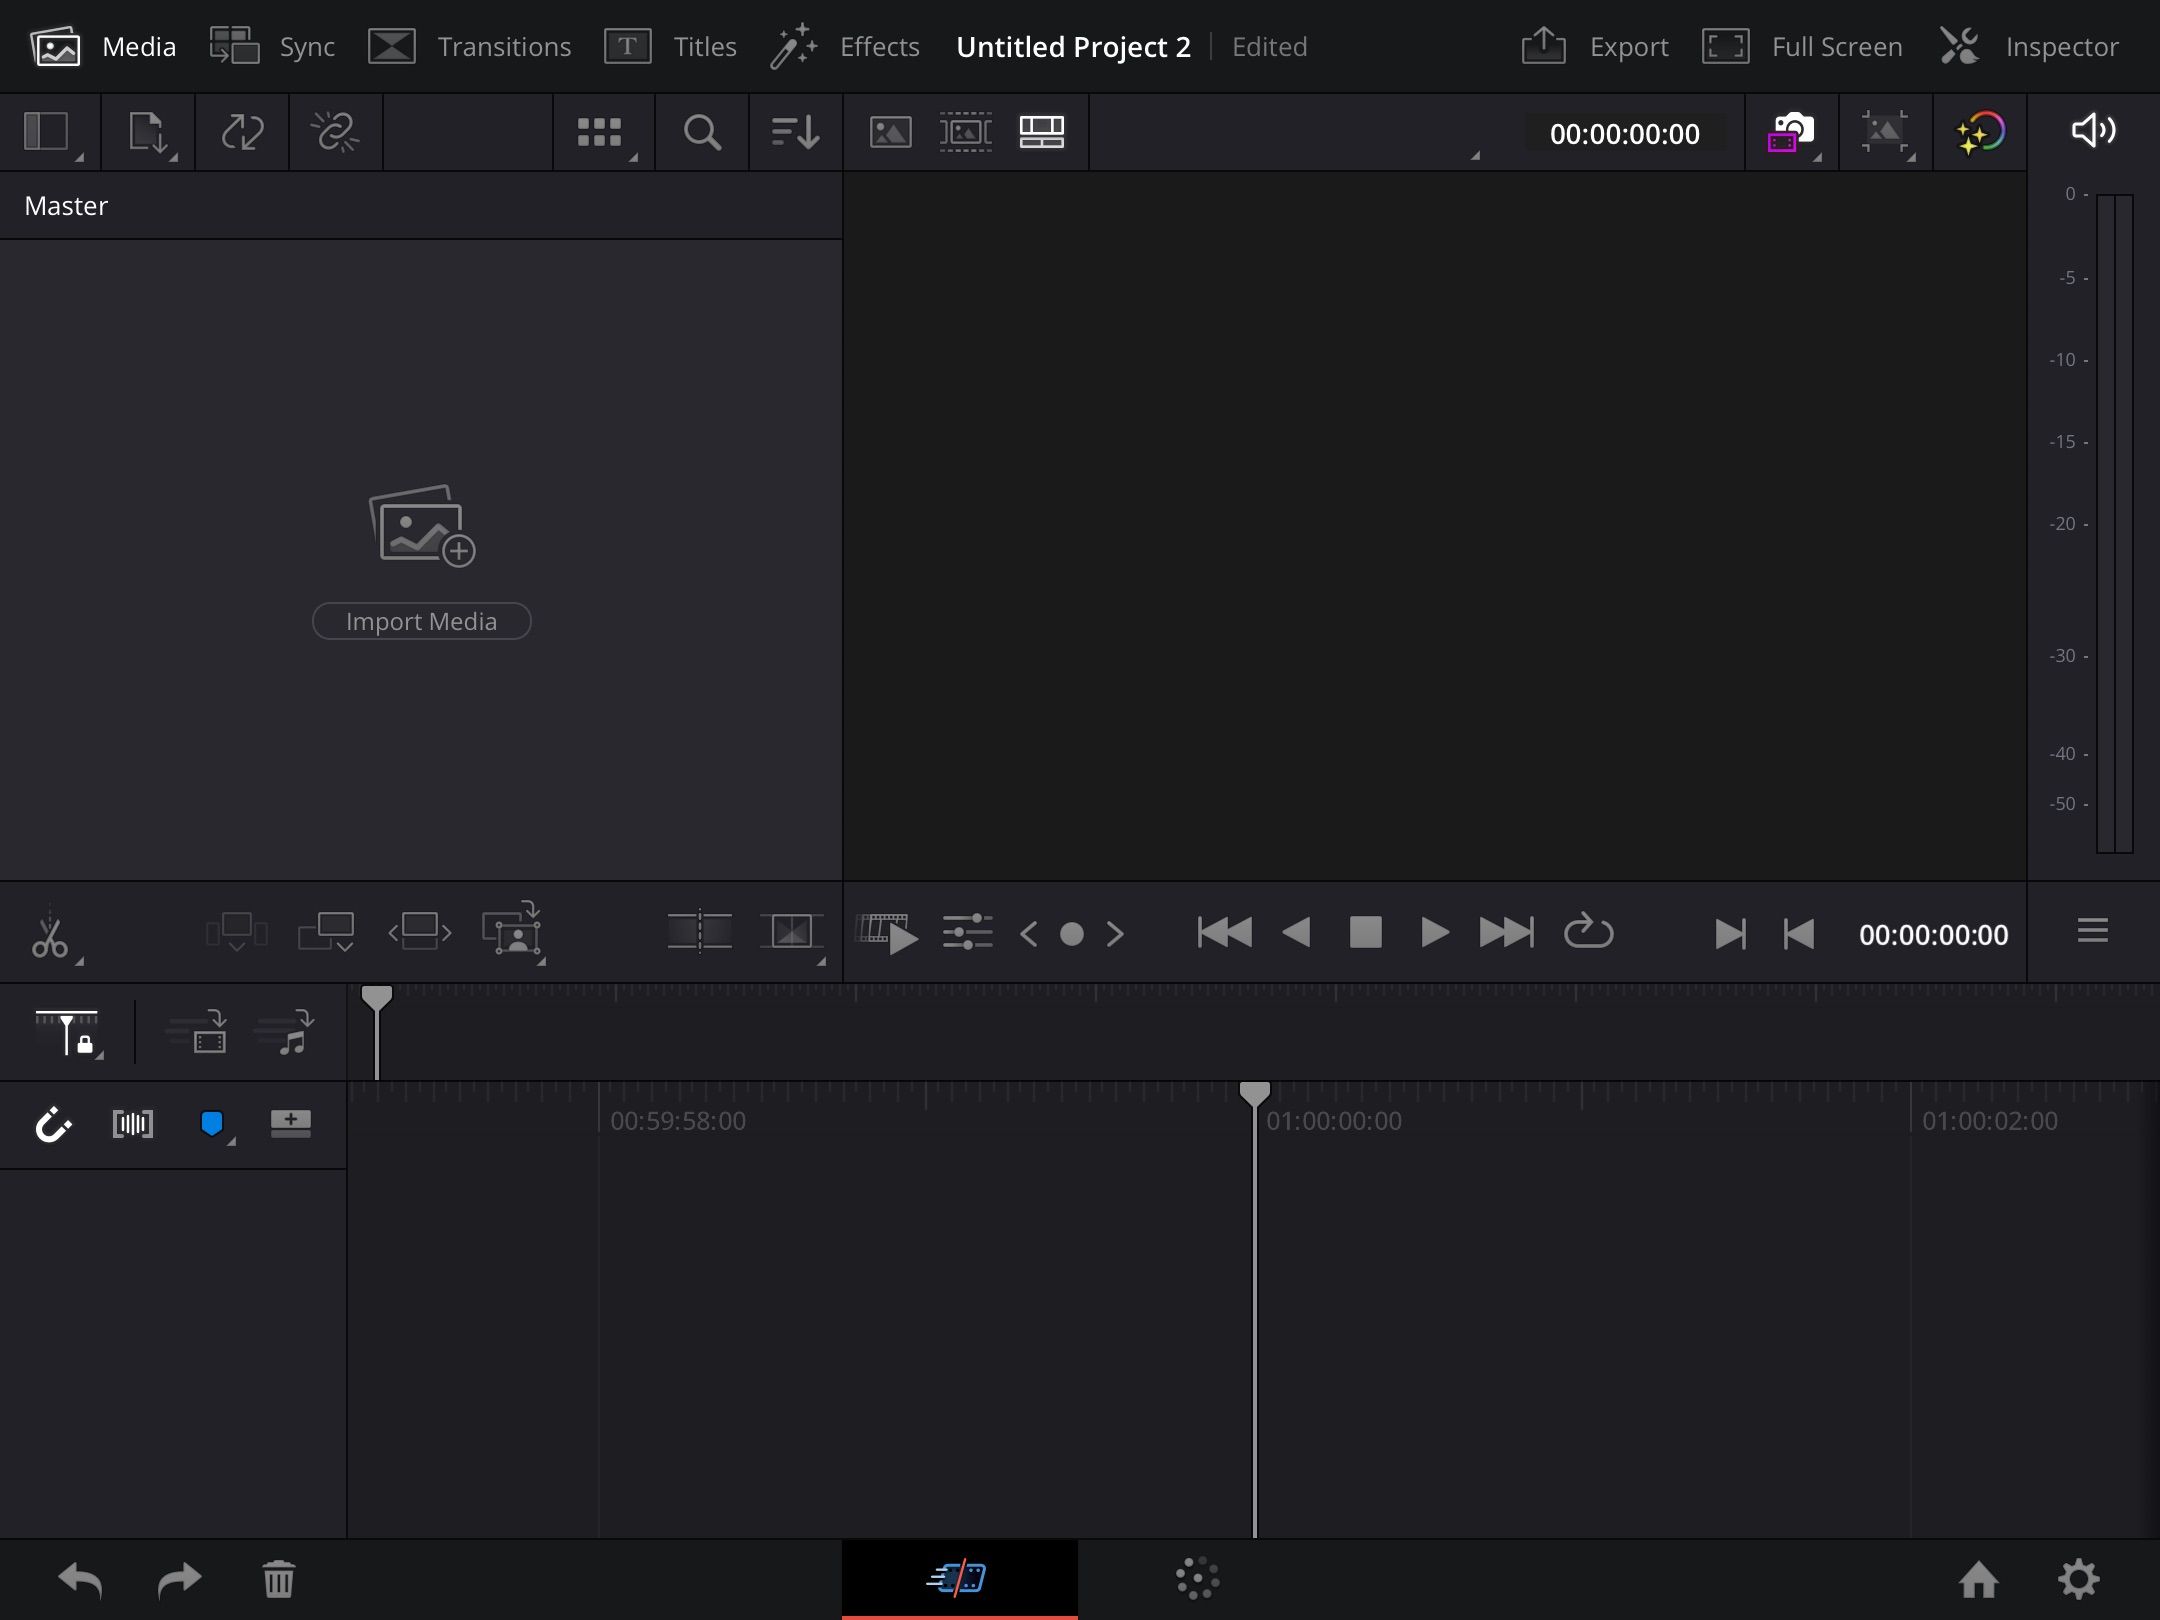
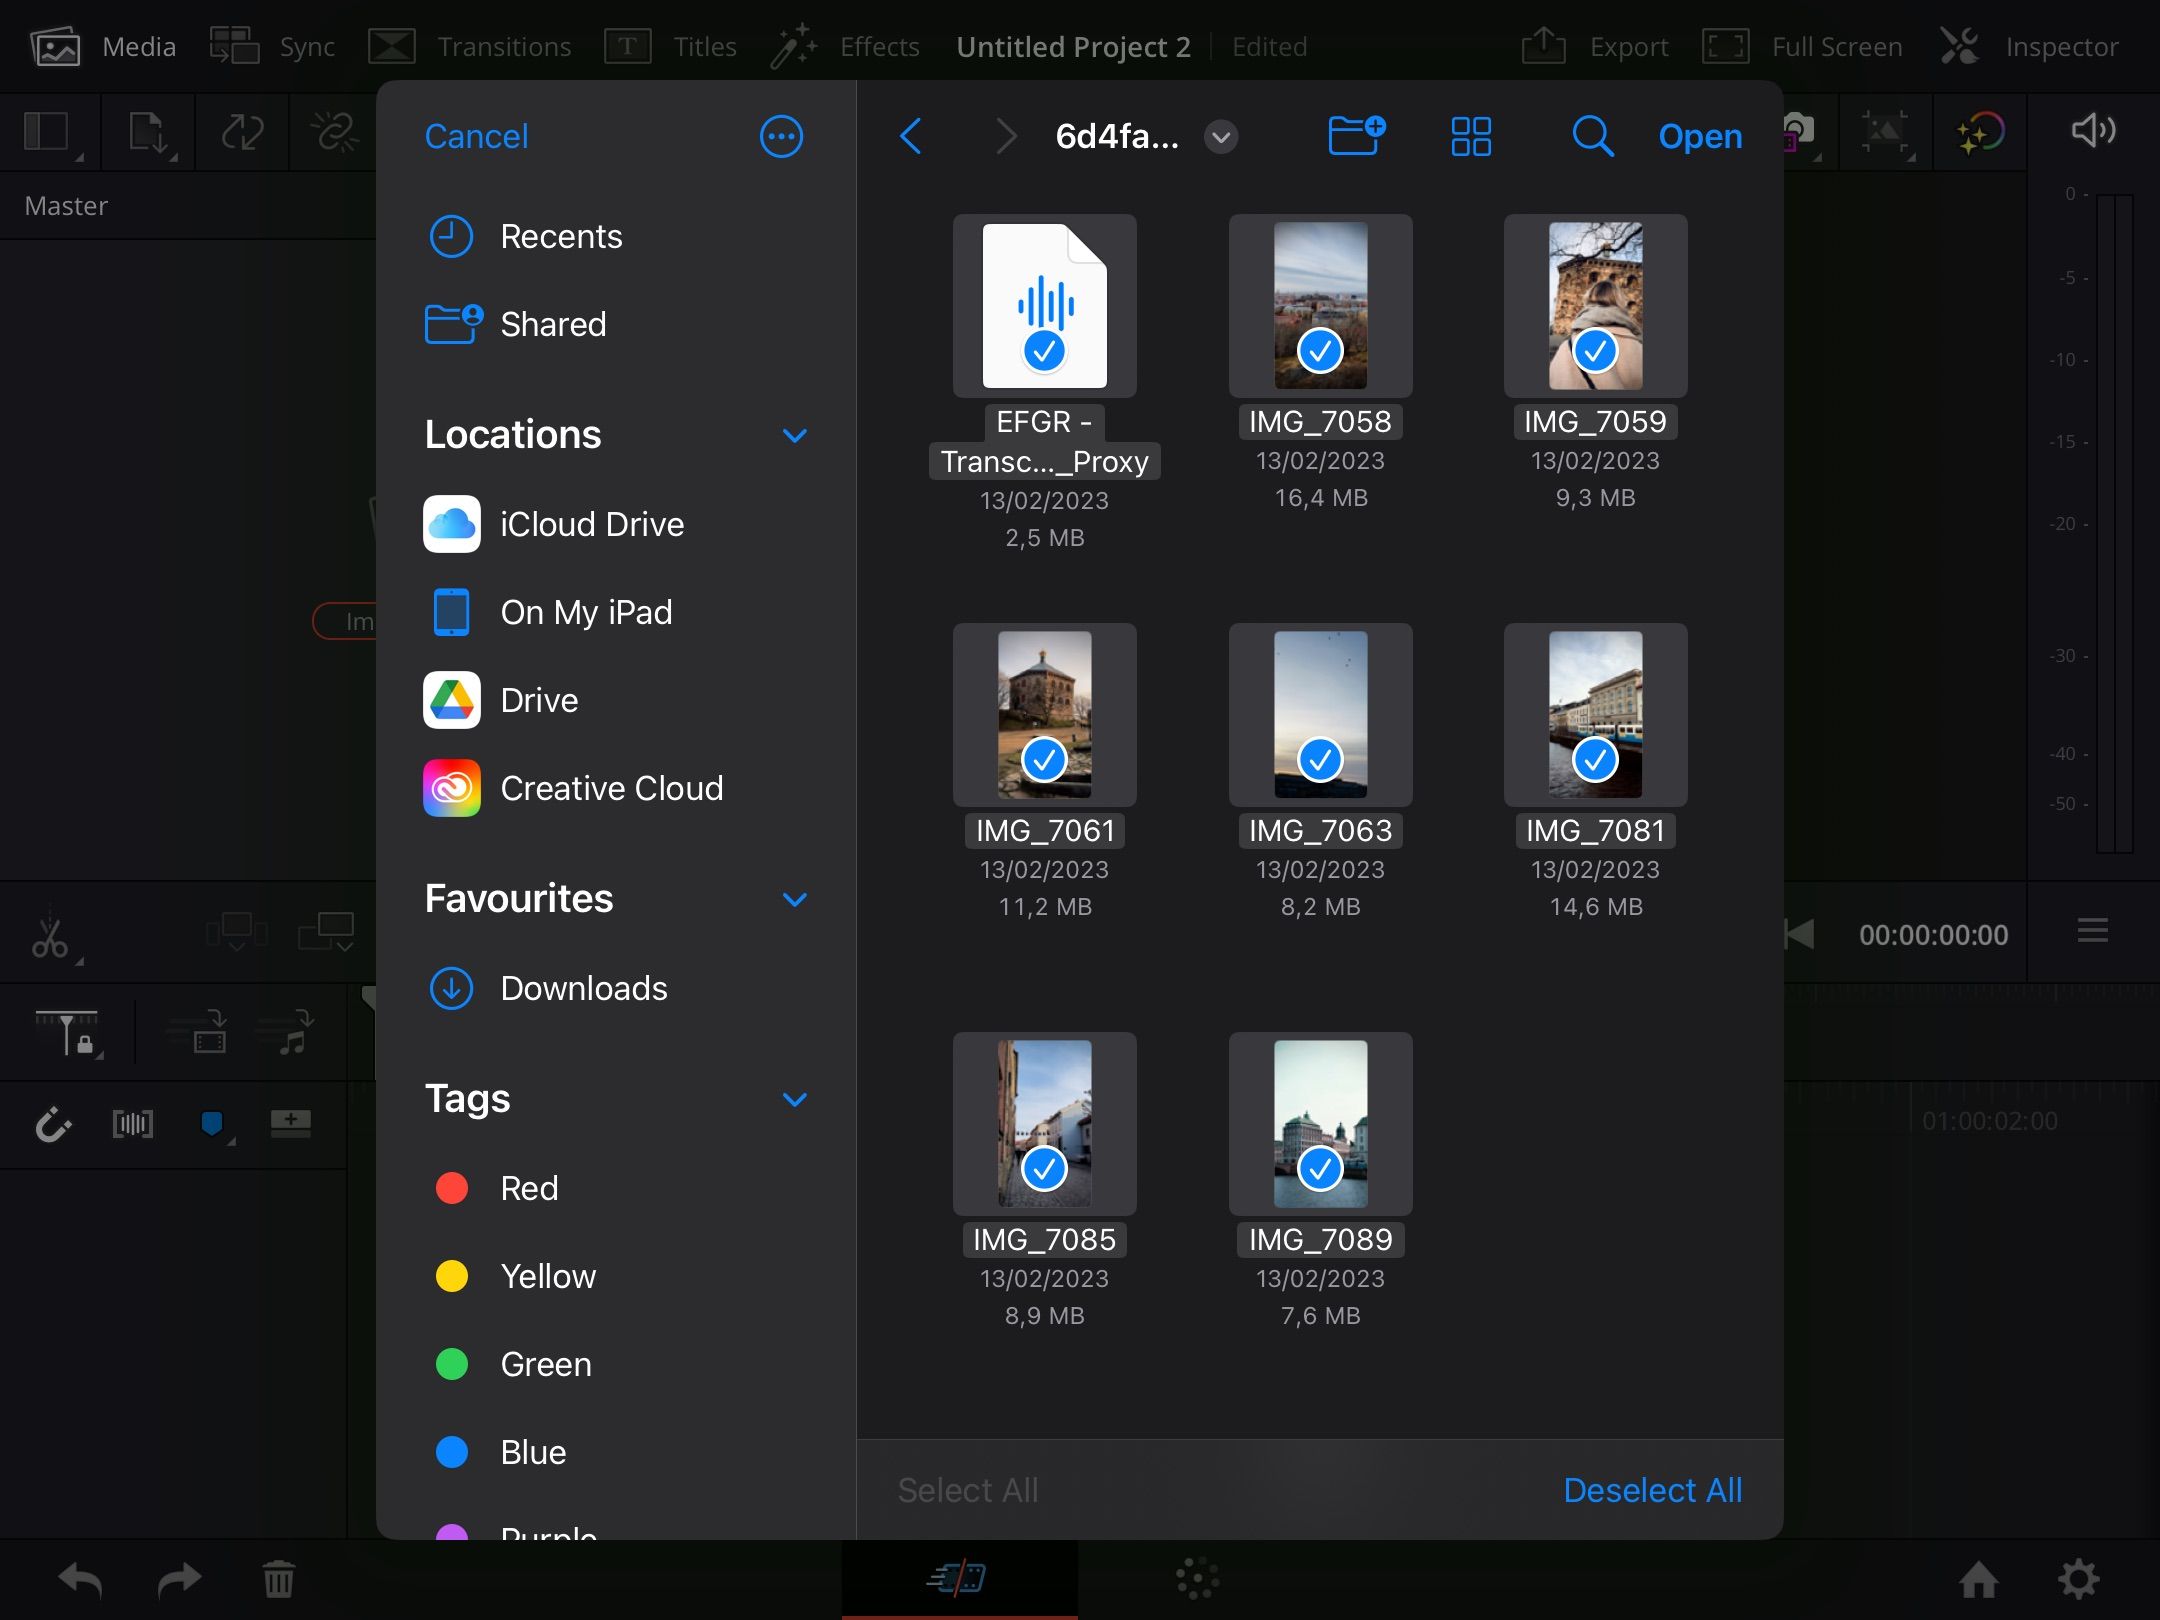
Once you've begun a new project, you'll need to import the footage you want to work with. On the left-hand side of your screen, you will find an option Import Media; select this and choose your videos.
Note that you might not be able to find the footage from your iPad's Photos app. If this is the case, you can try other options—such as using your Adobe Creative Cloud account and creating a project with Premiere Rush. After doing that, you can import your footage to DaVinci Resolve.
Alternatively, try using Google Drive instead.
Changing Your Project Resolution
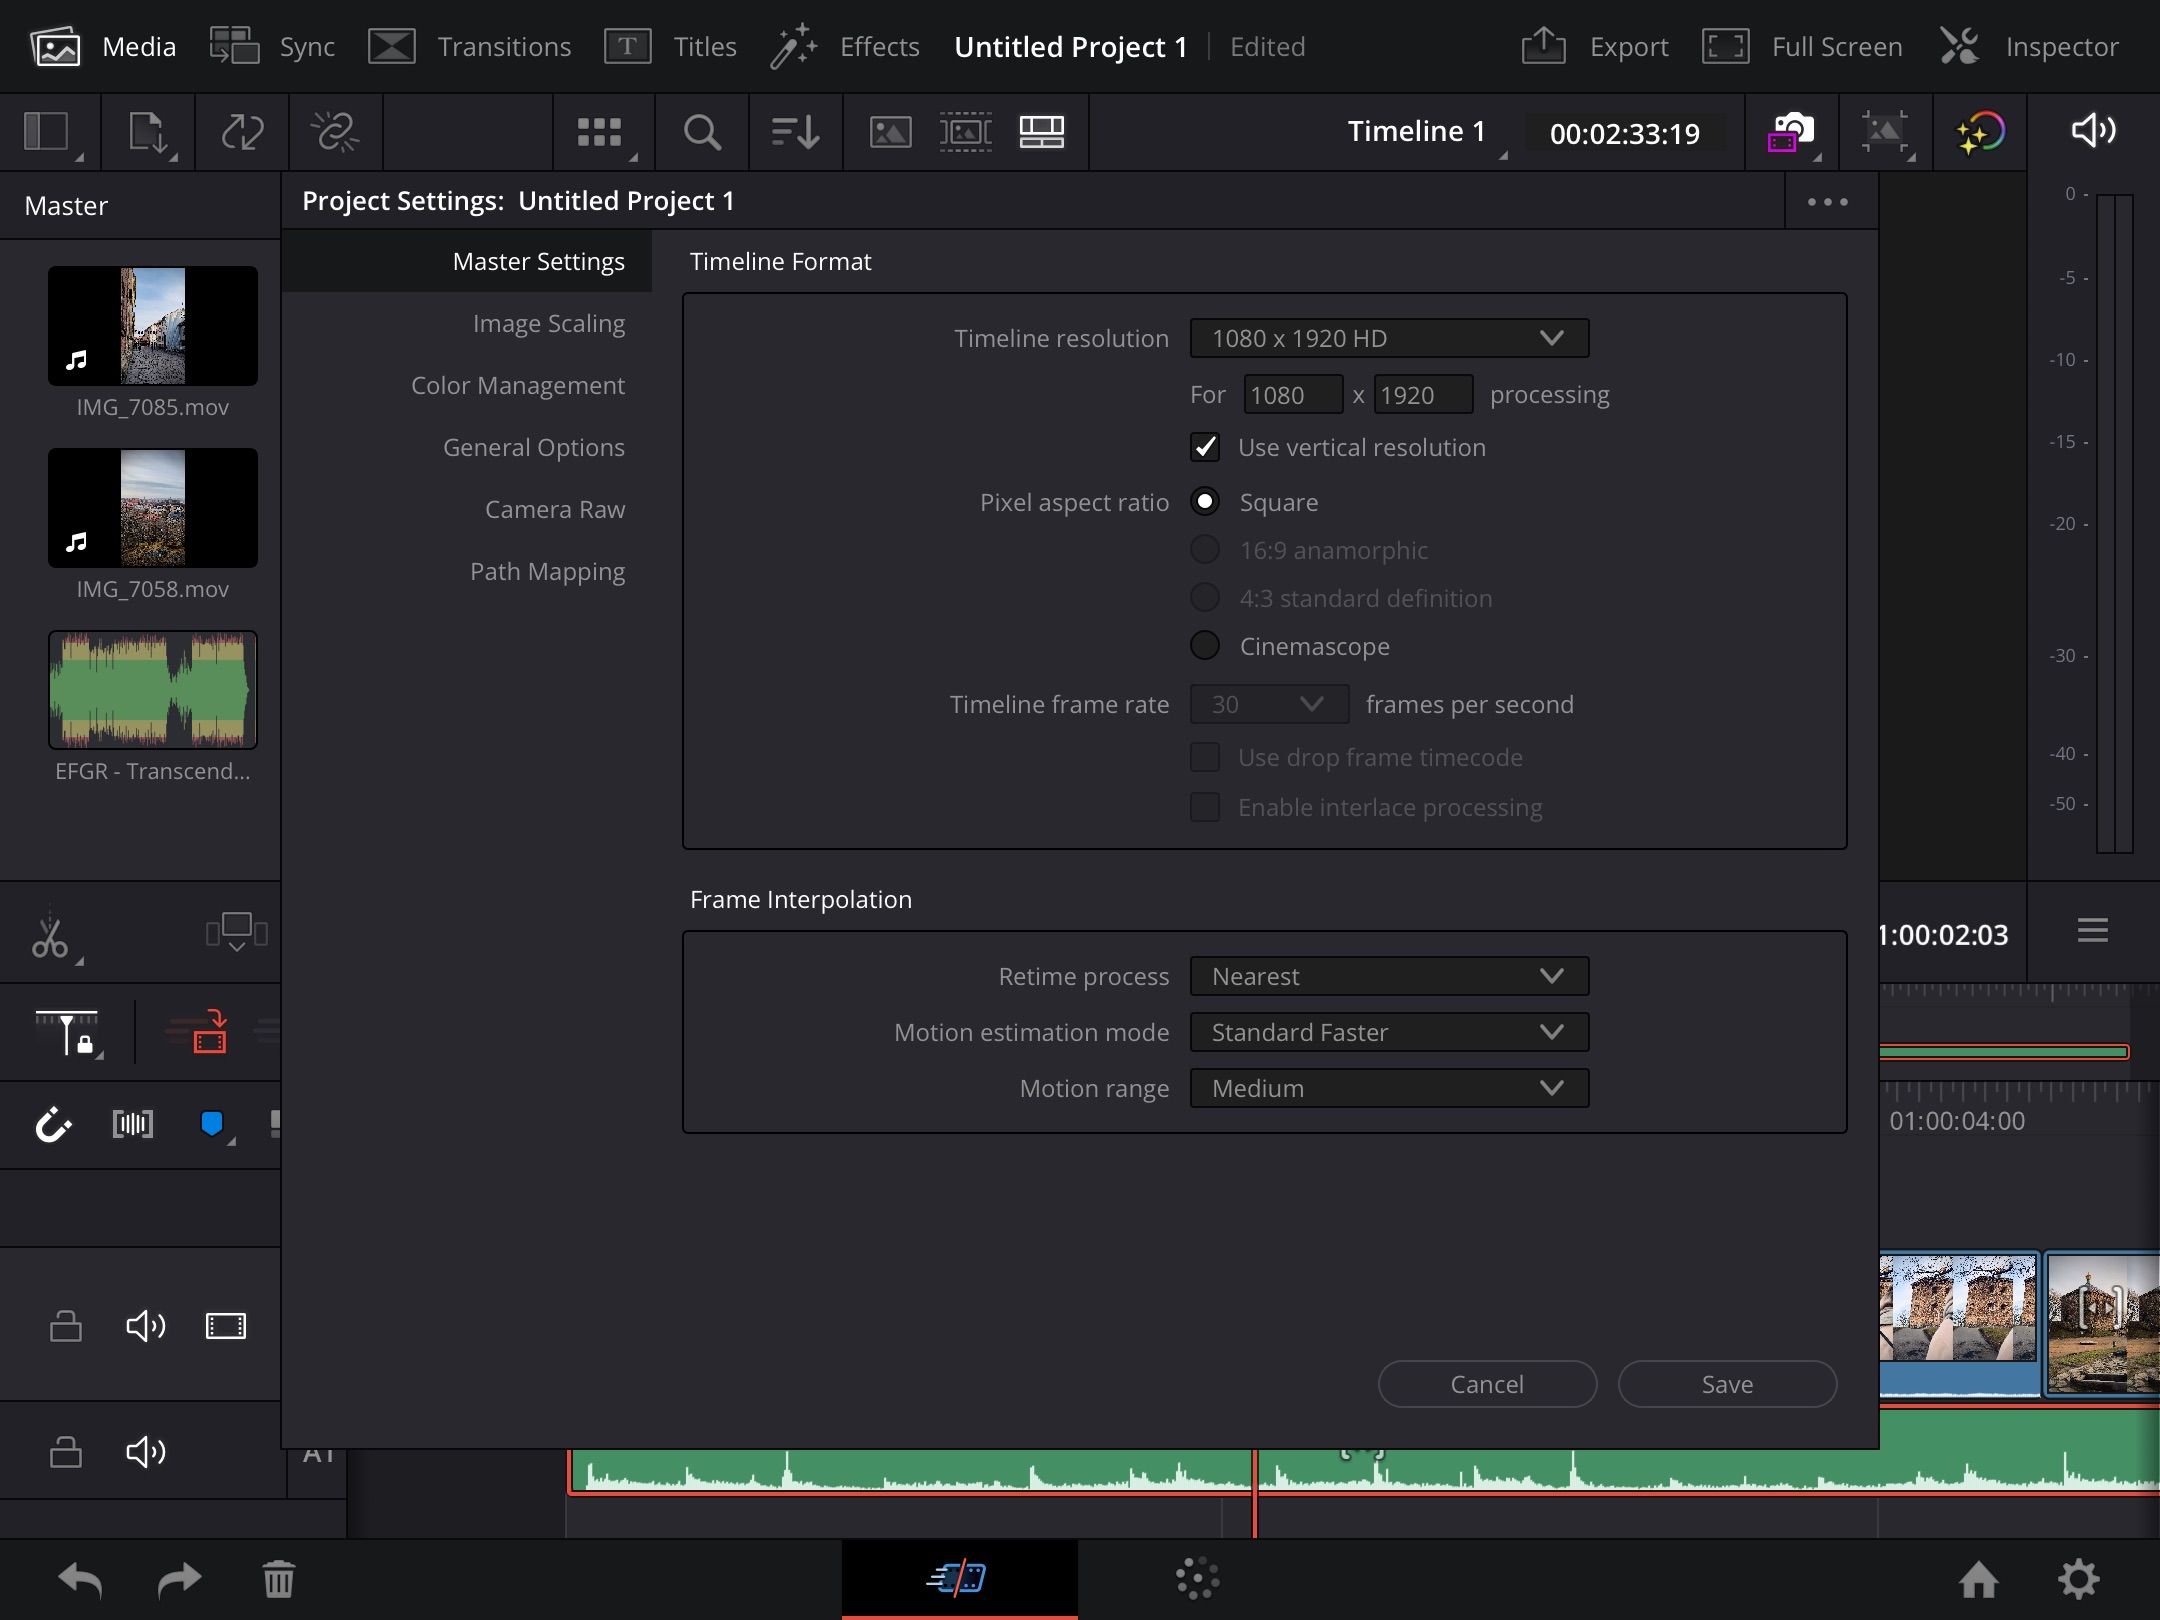
Changing your project timeline's resolution is a good idea to ensure that your video is of the best quality. Go to the Settings icon in the bottom right-hand corner. Here, you'll see a dropdown menu called Timeline resolution; you can also manually enter your preferred numbers in the boxes beneath it.
If you're editing videos for YouTube or Vimeo, 1920 x 1080 should work. You can tick the box next to Use vertical resolution for short-form videos, such as Instagram Reels or YouTube Shorts.
Once you've made your changes, hit the Save button and start bringing your project to life.
Adding Your Footage to the Timeline
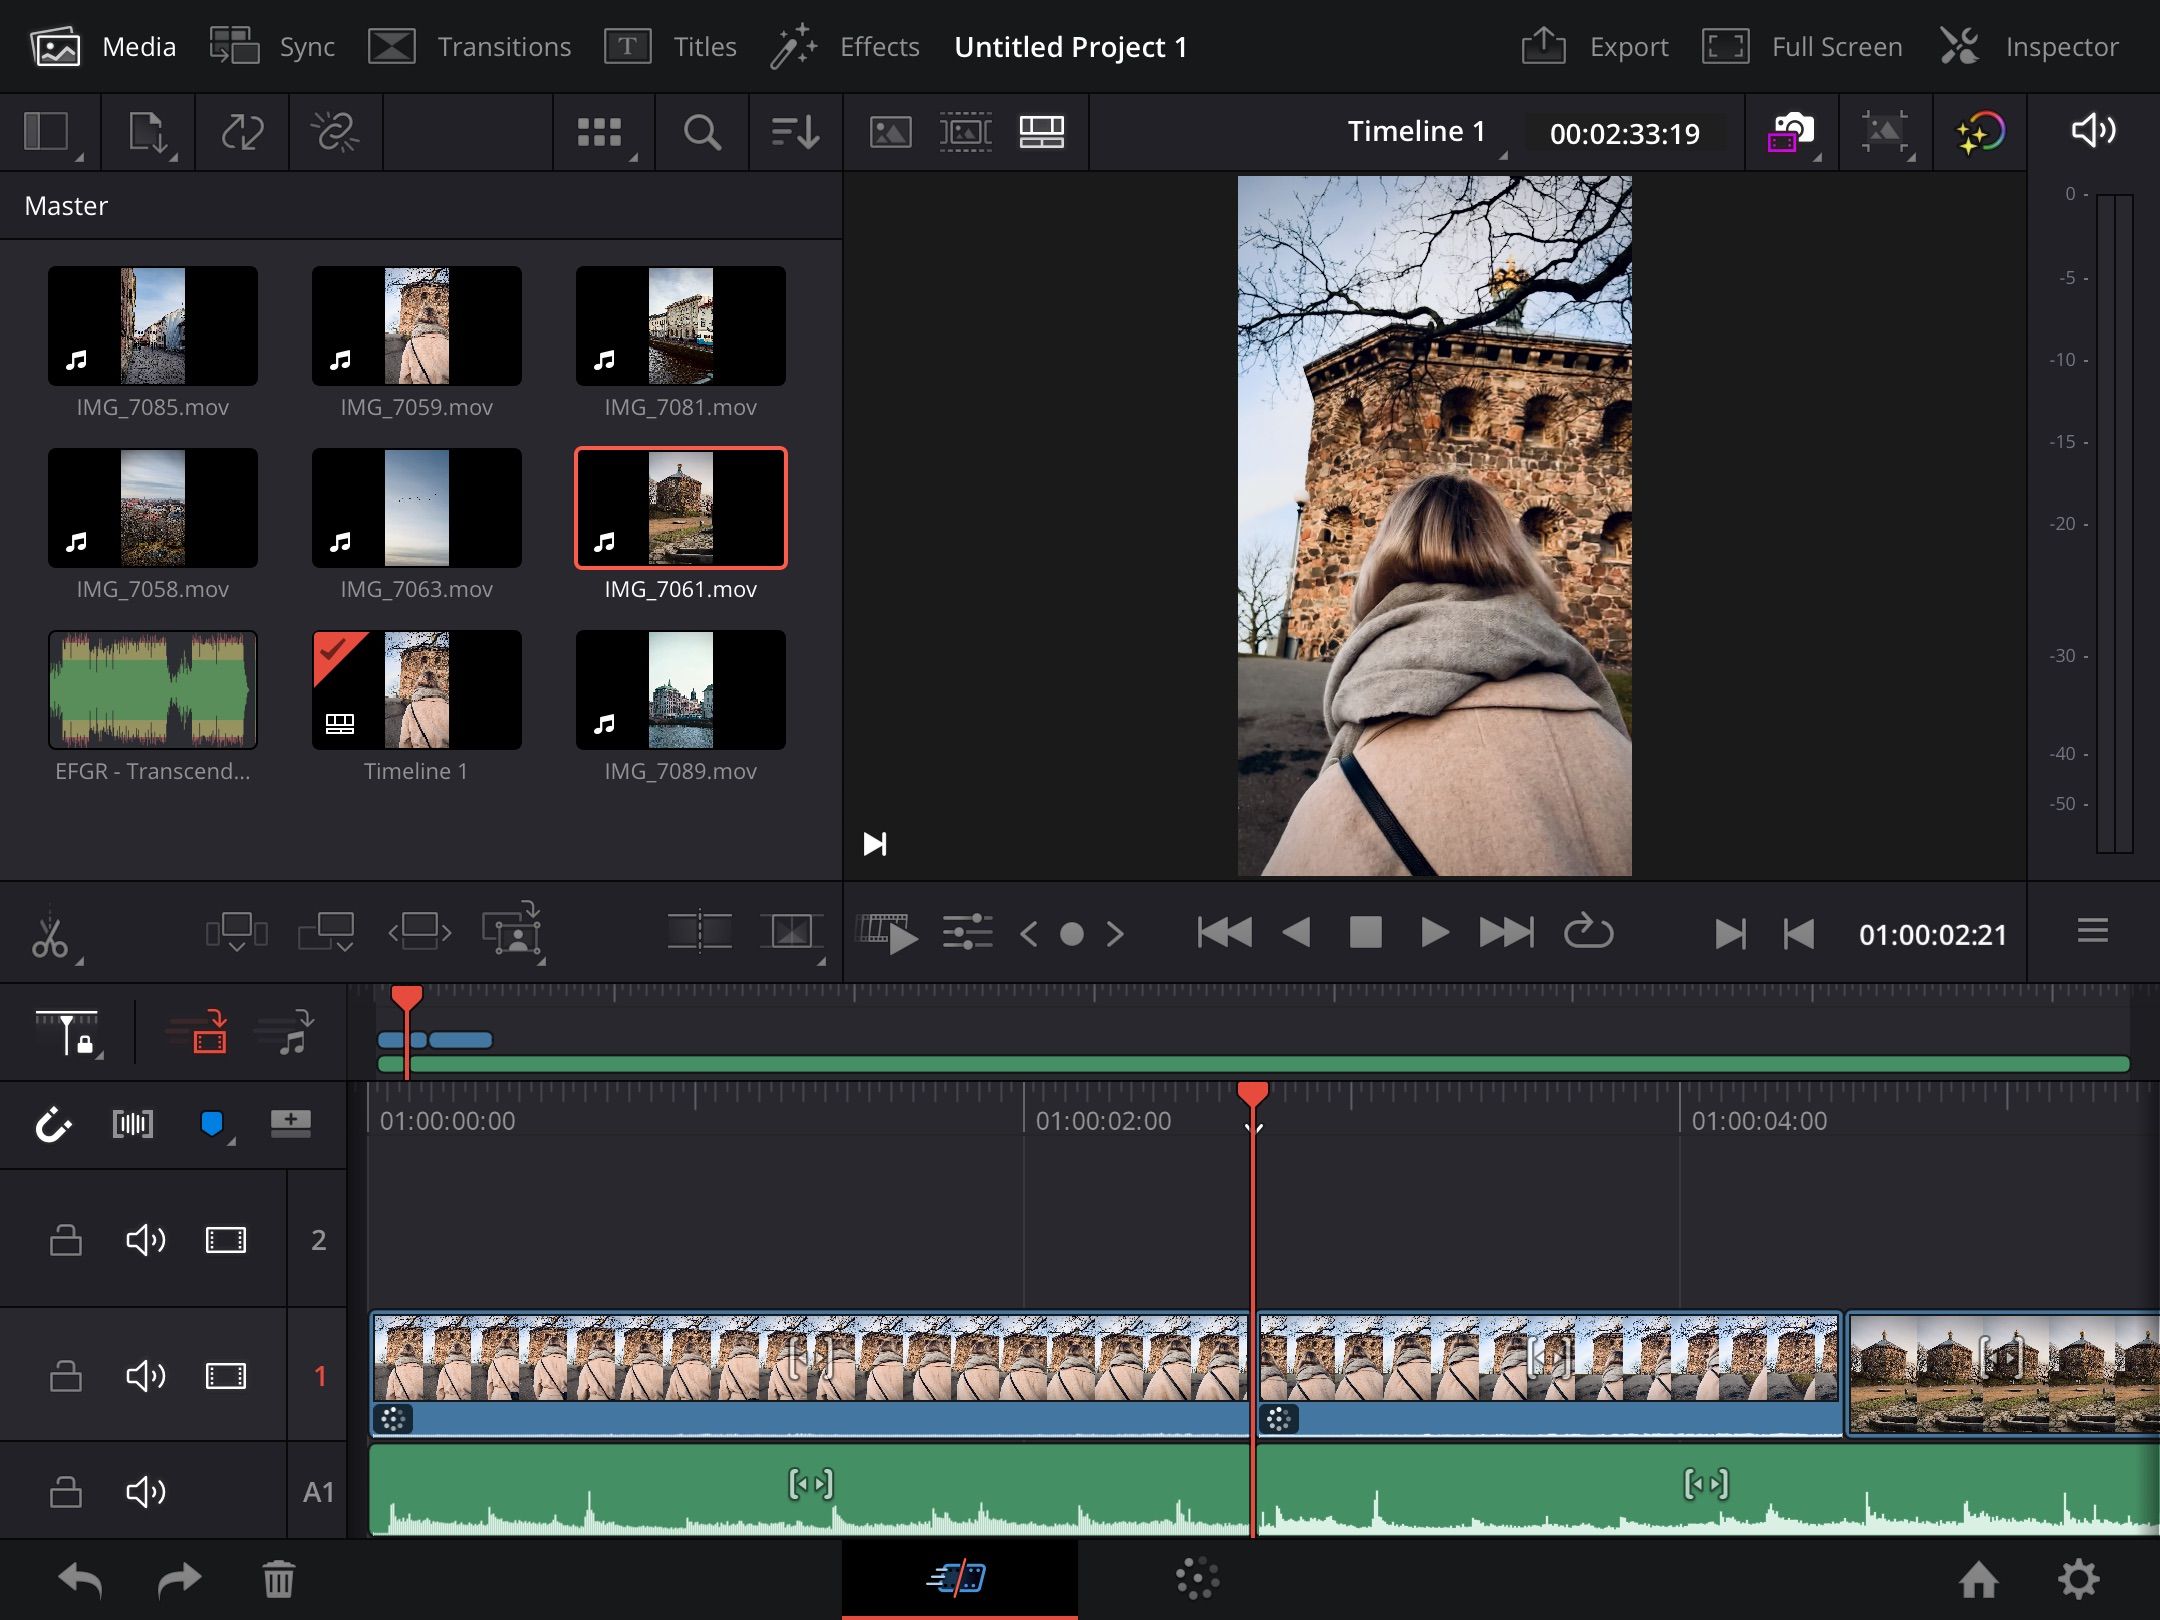
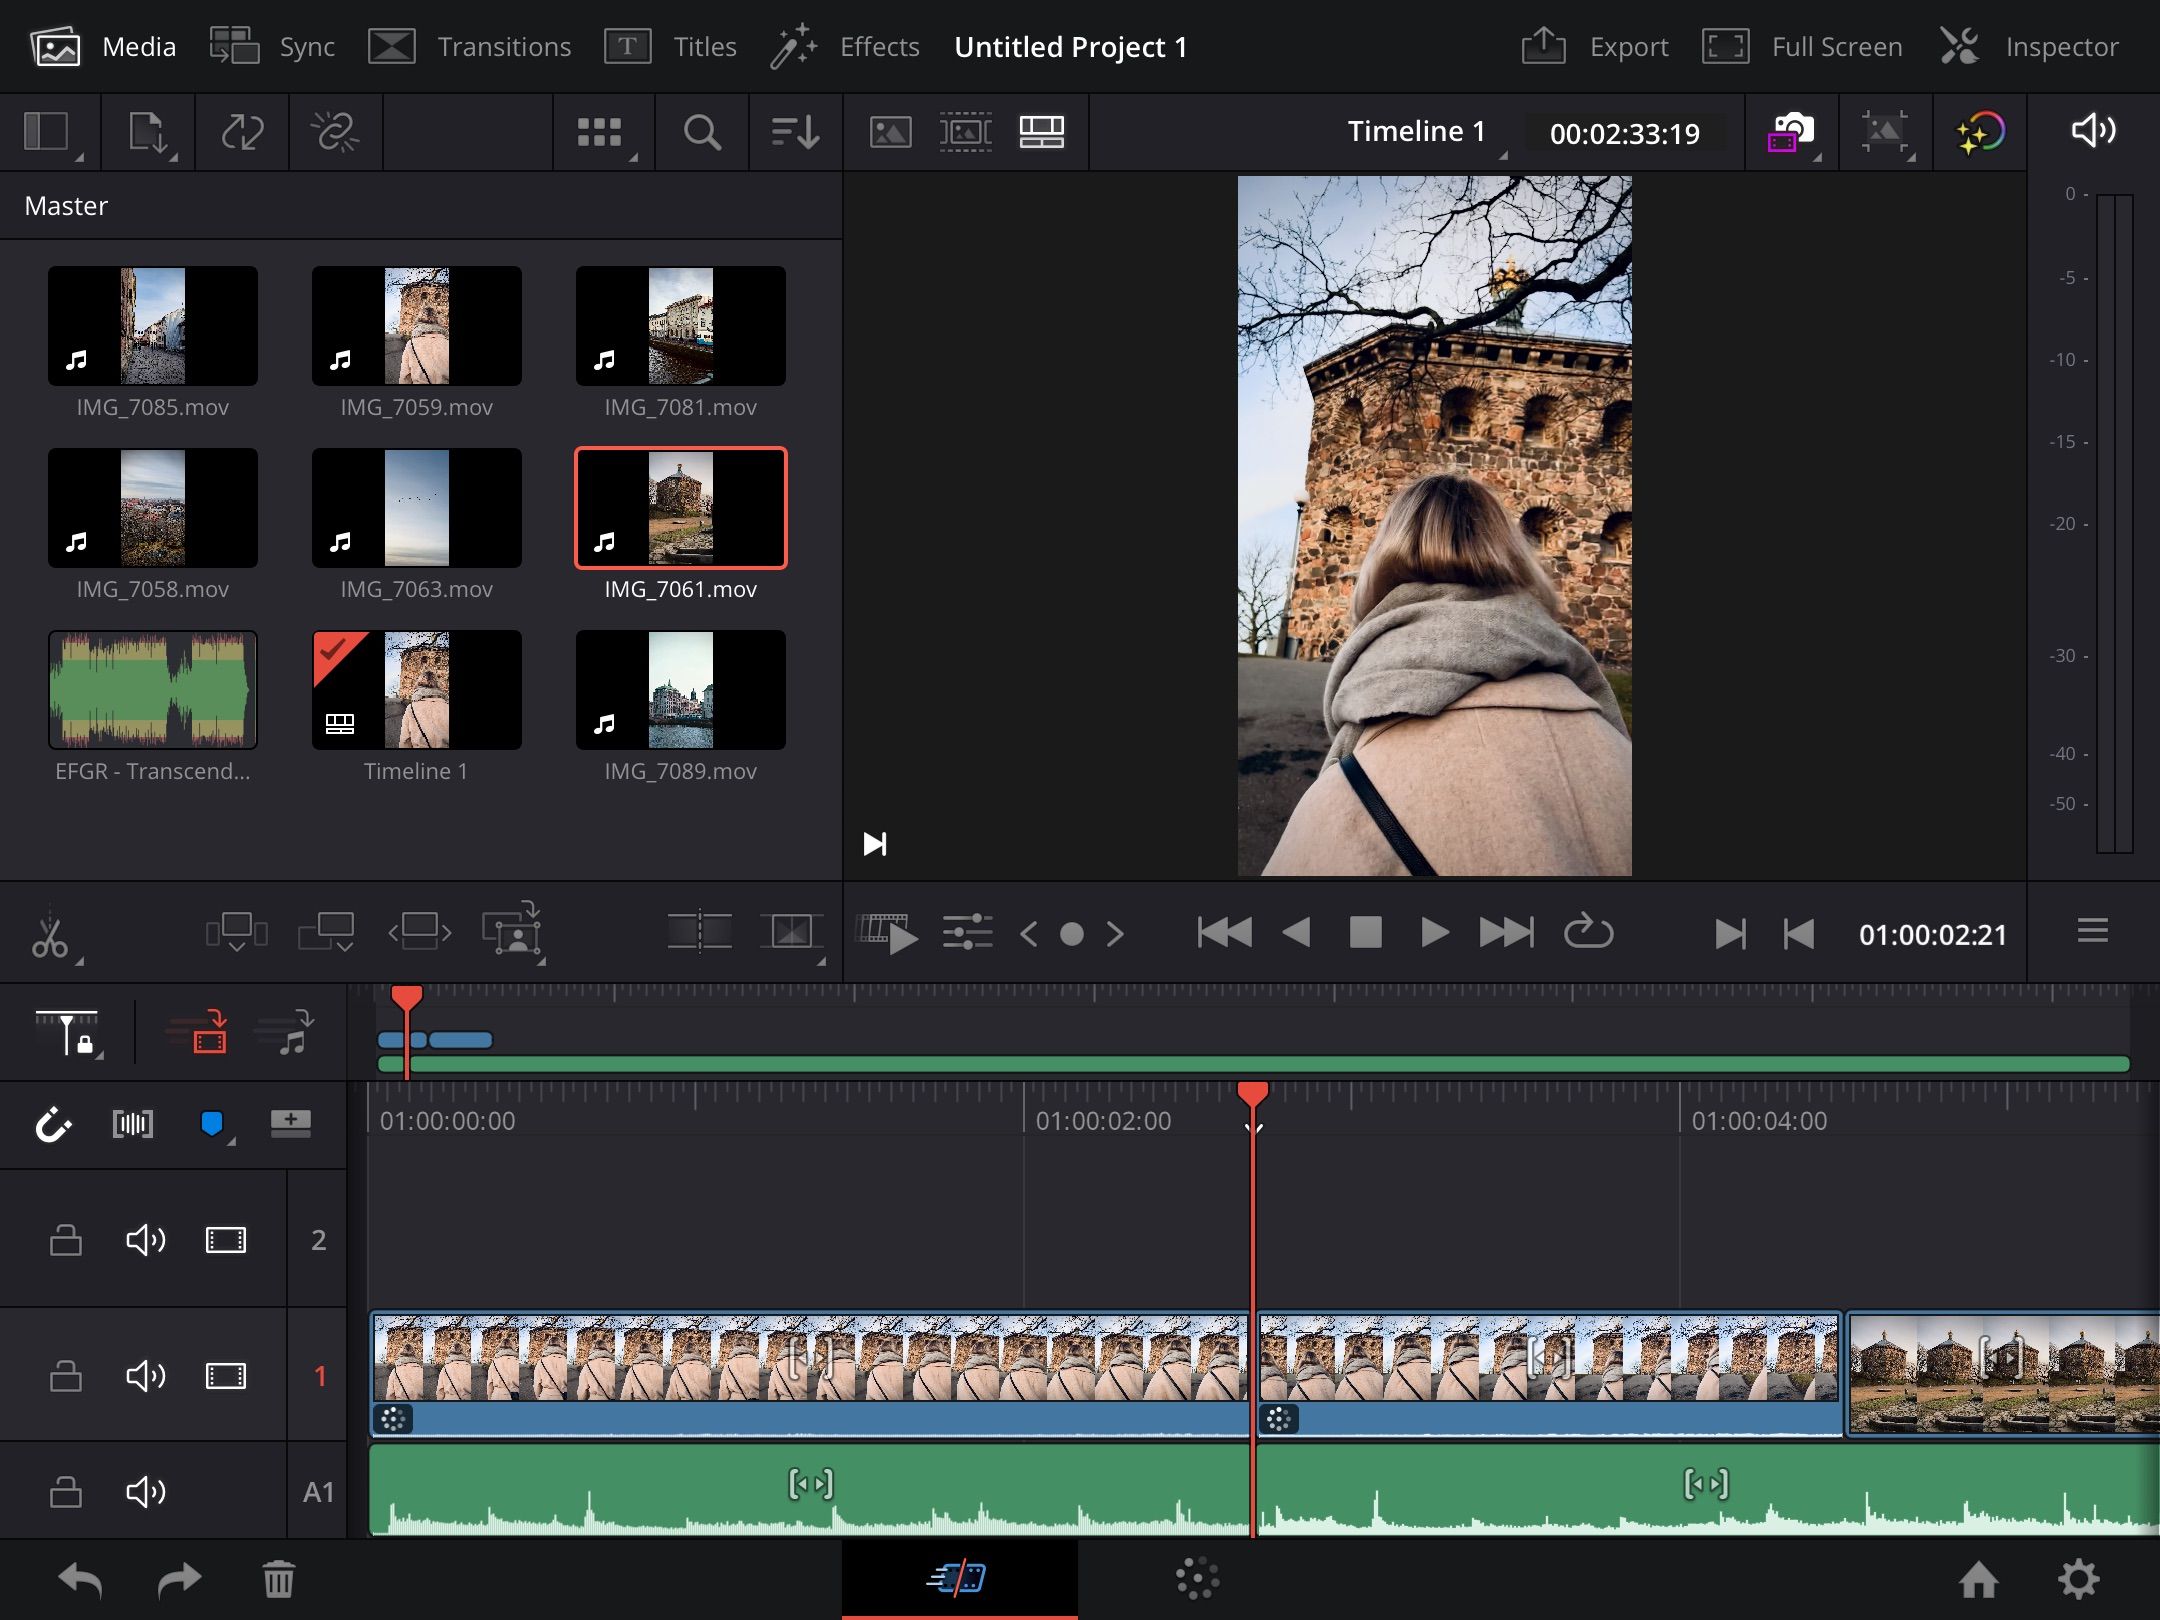
Before you color grade or adjust your audio, you should first add the footage you'll use to the timeline. In the Master section, you'll see the videos and audio you can include in your project.
Adding footage to your timeline is the same as DaVinci Resolve on your computer. Tap on the clips you want to add and drag them to your timeline. If you later decide you'd like to move the footage somewhere else in your video, you can move it around without issue.
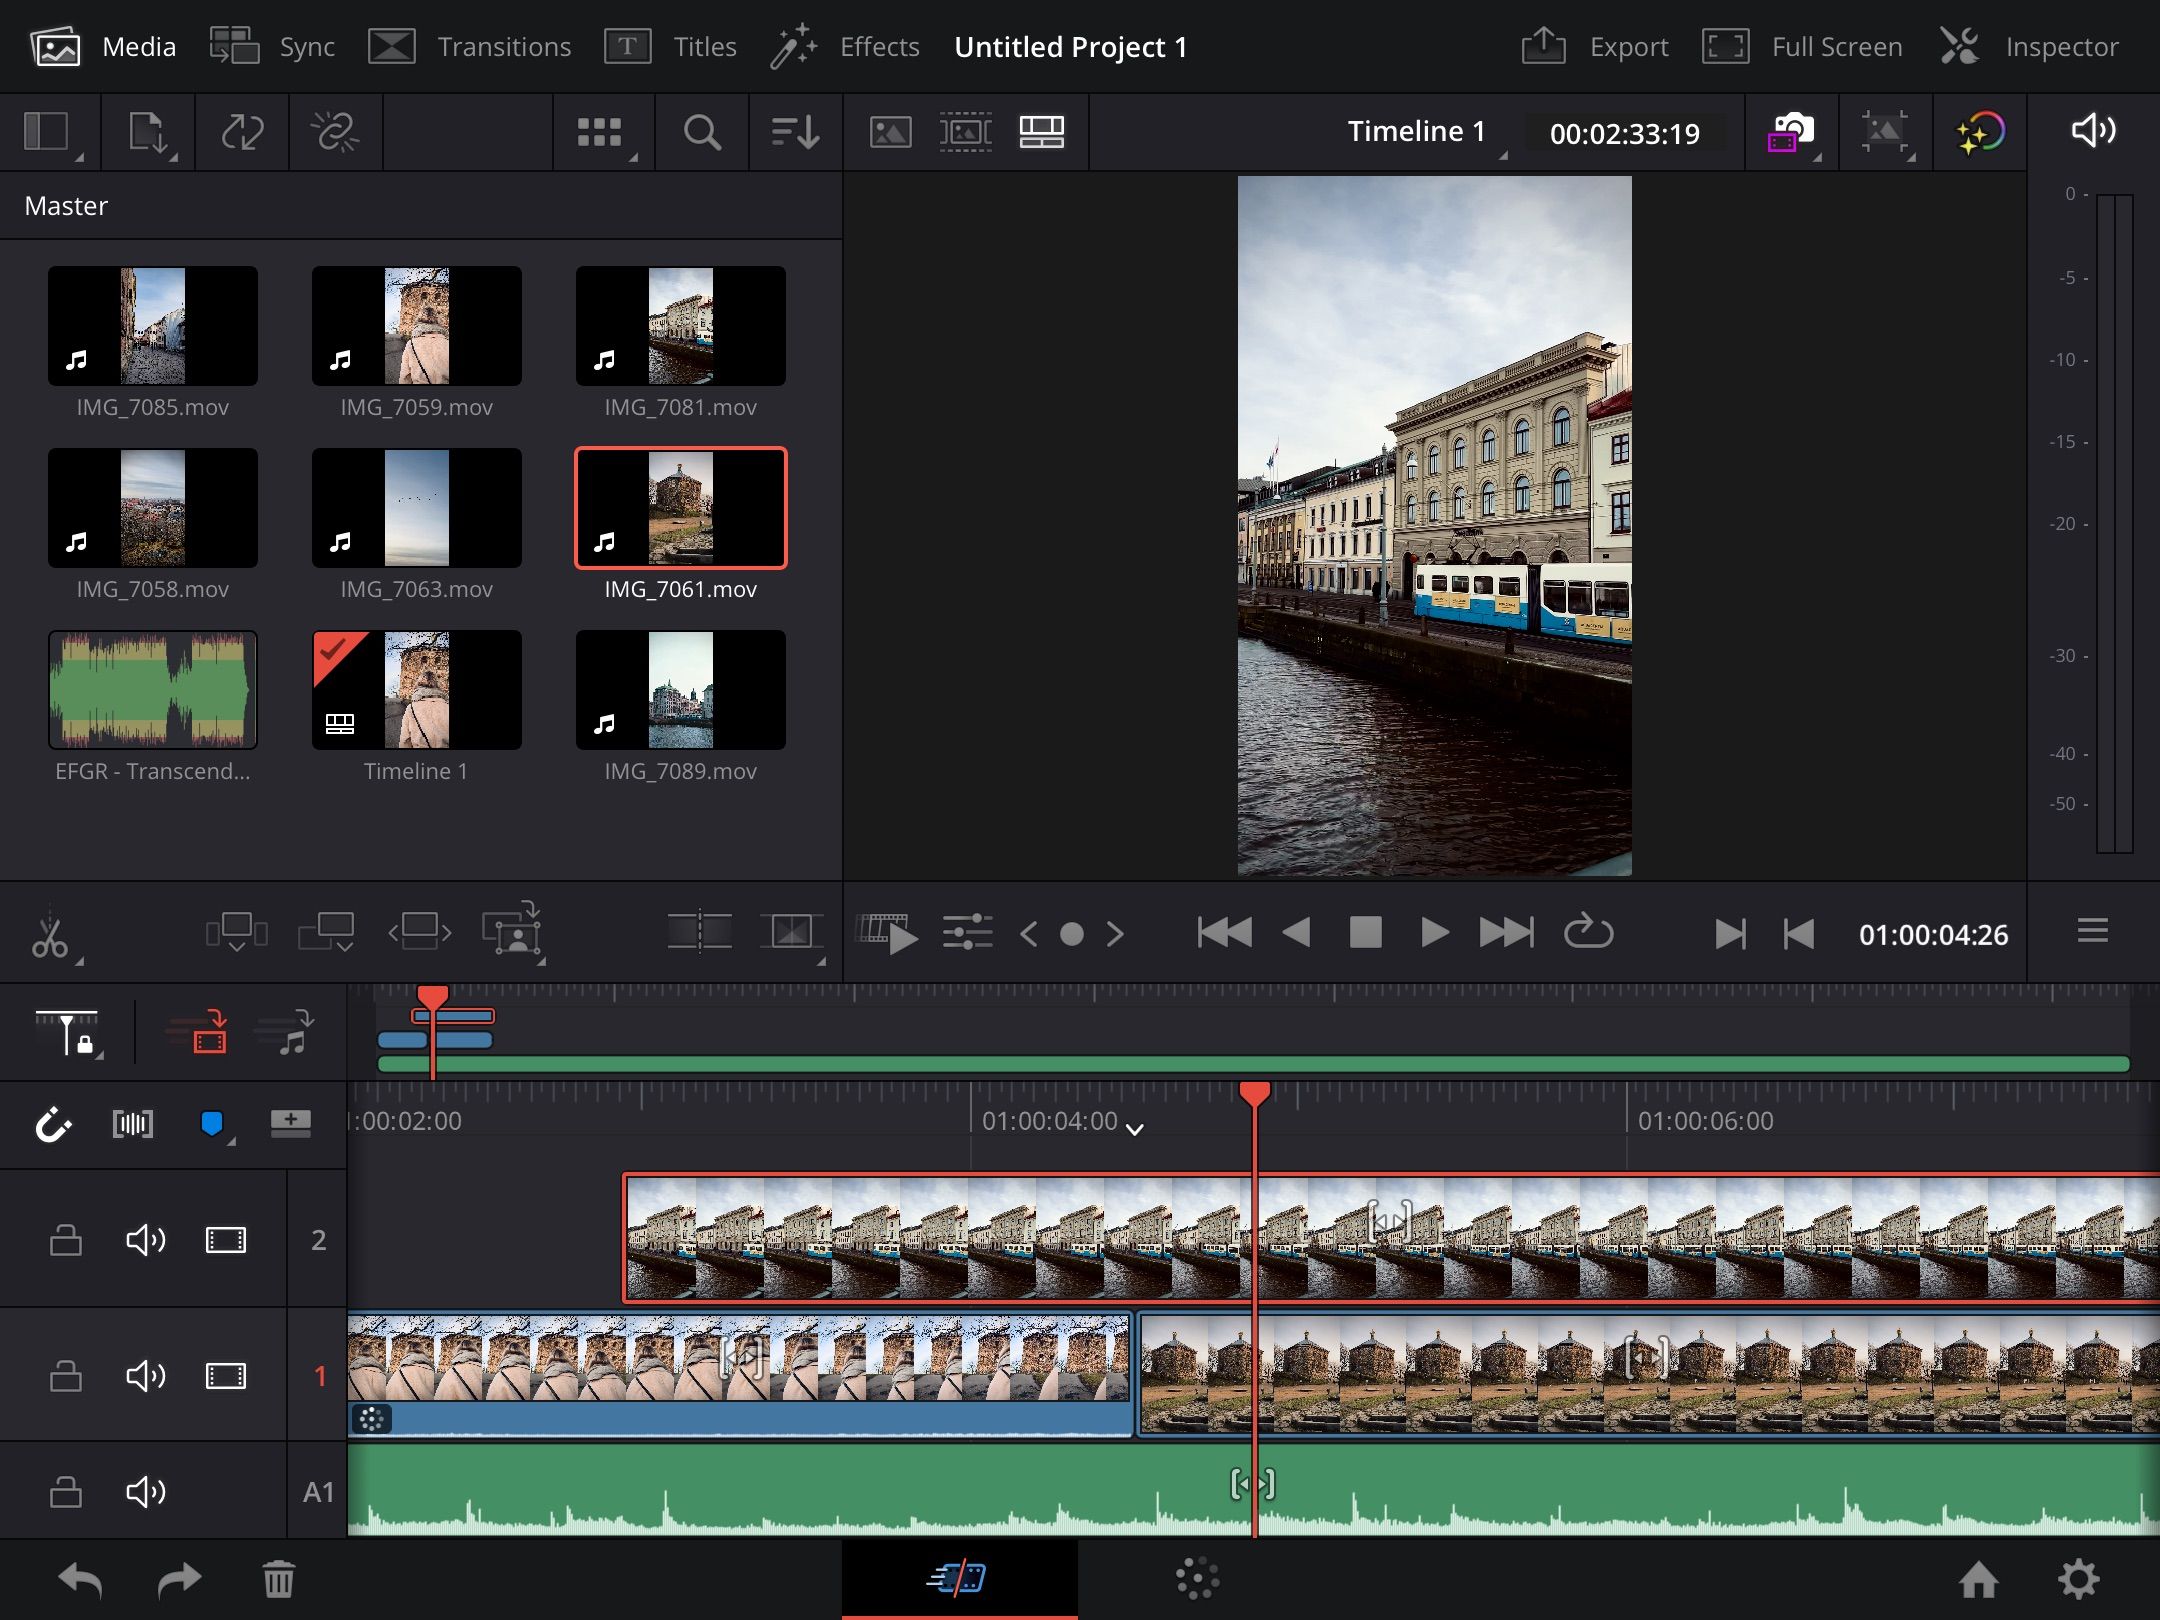
Sometimes, you might have B-roll to add on top of another clip. You can easily do this by dragging your video to another line on top of your existing footage.
If you later decide to remove certain parts of your video, select the footage and hit the trash button in the bottom left-hand corner.
Trimming Clips
It doesn't matter if you choose Premiere Pro or DaVinci Resolve to edit your video projects, or any other platform; when you import your footage and start editing your projects, you'll need to cut certain parts out. Luckily, doing this in Resolve on iPad requires little effort.
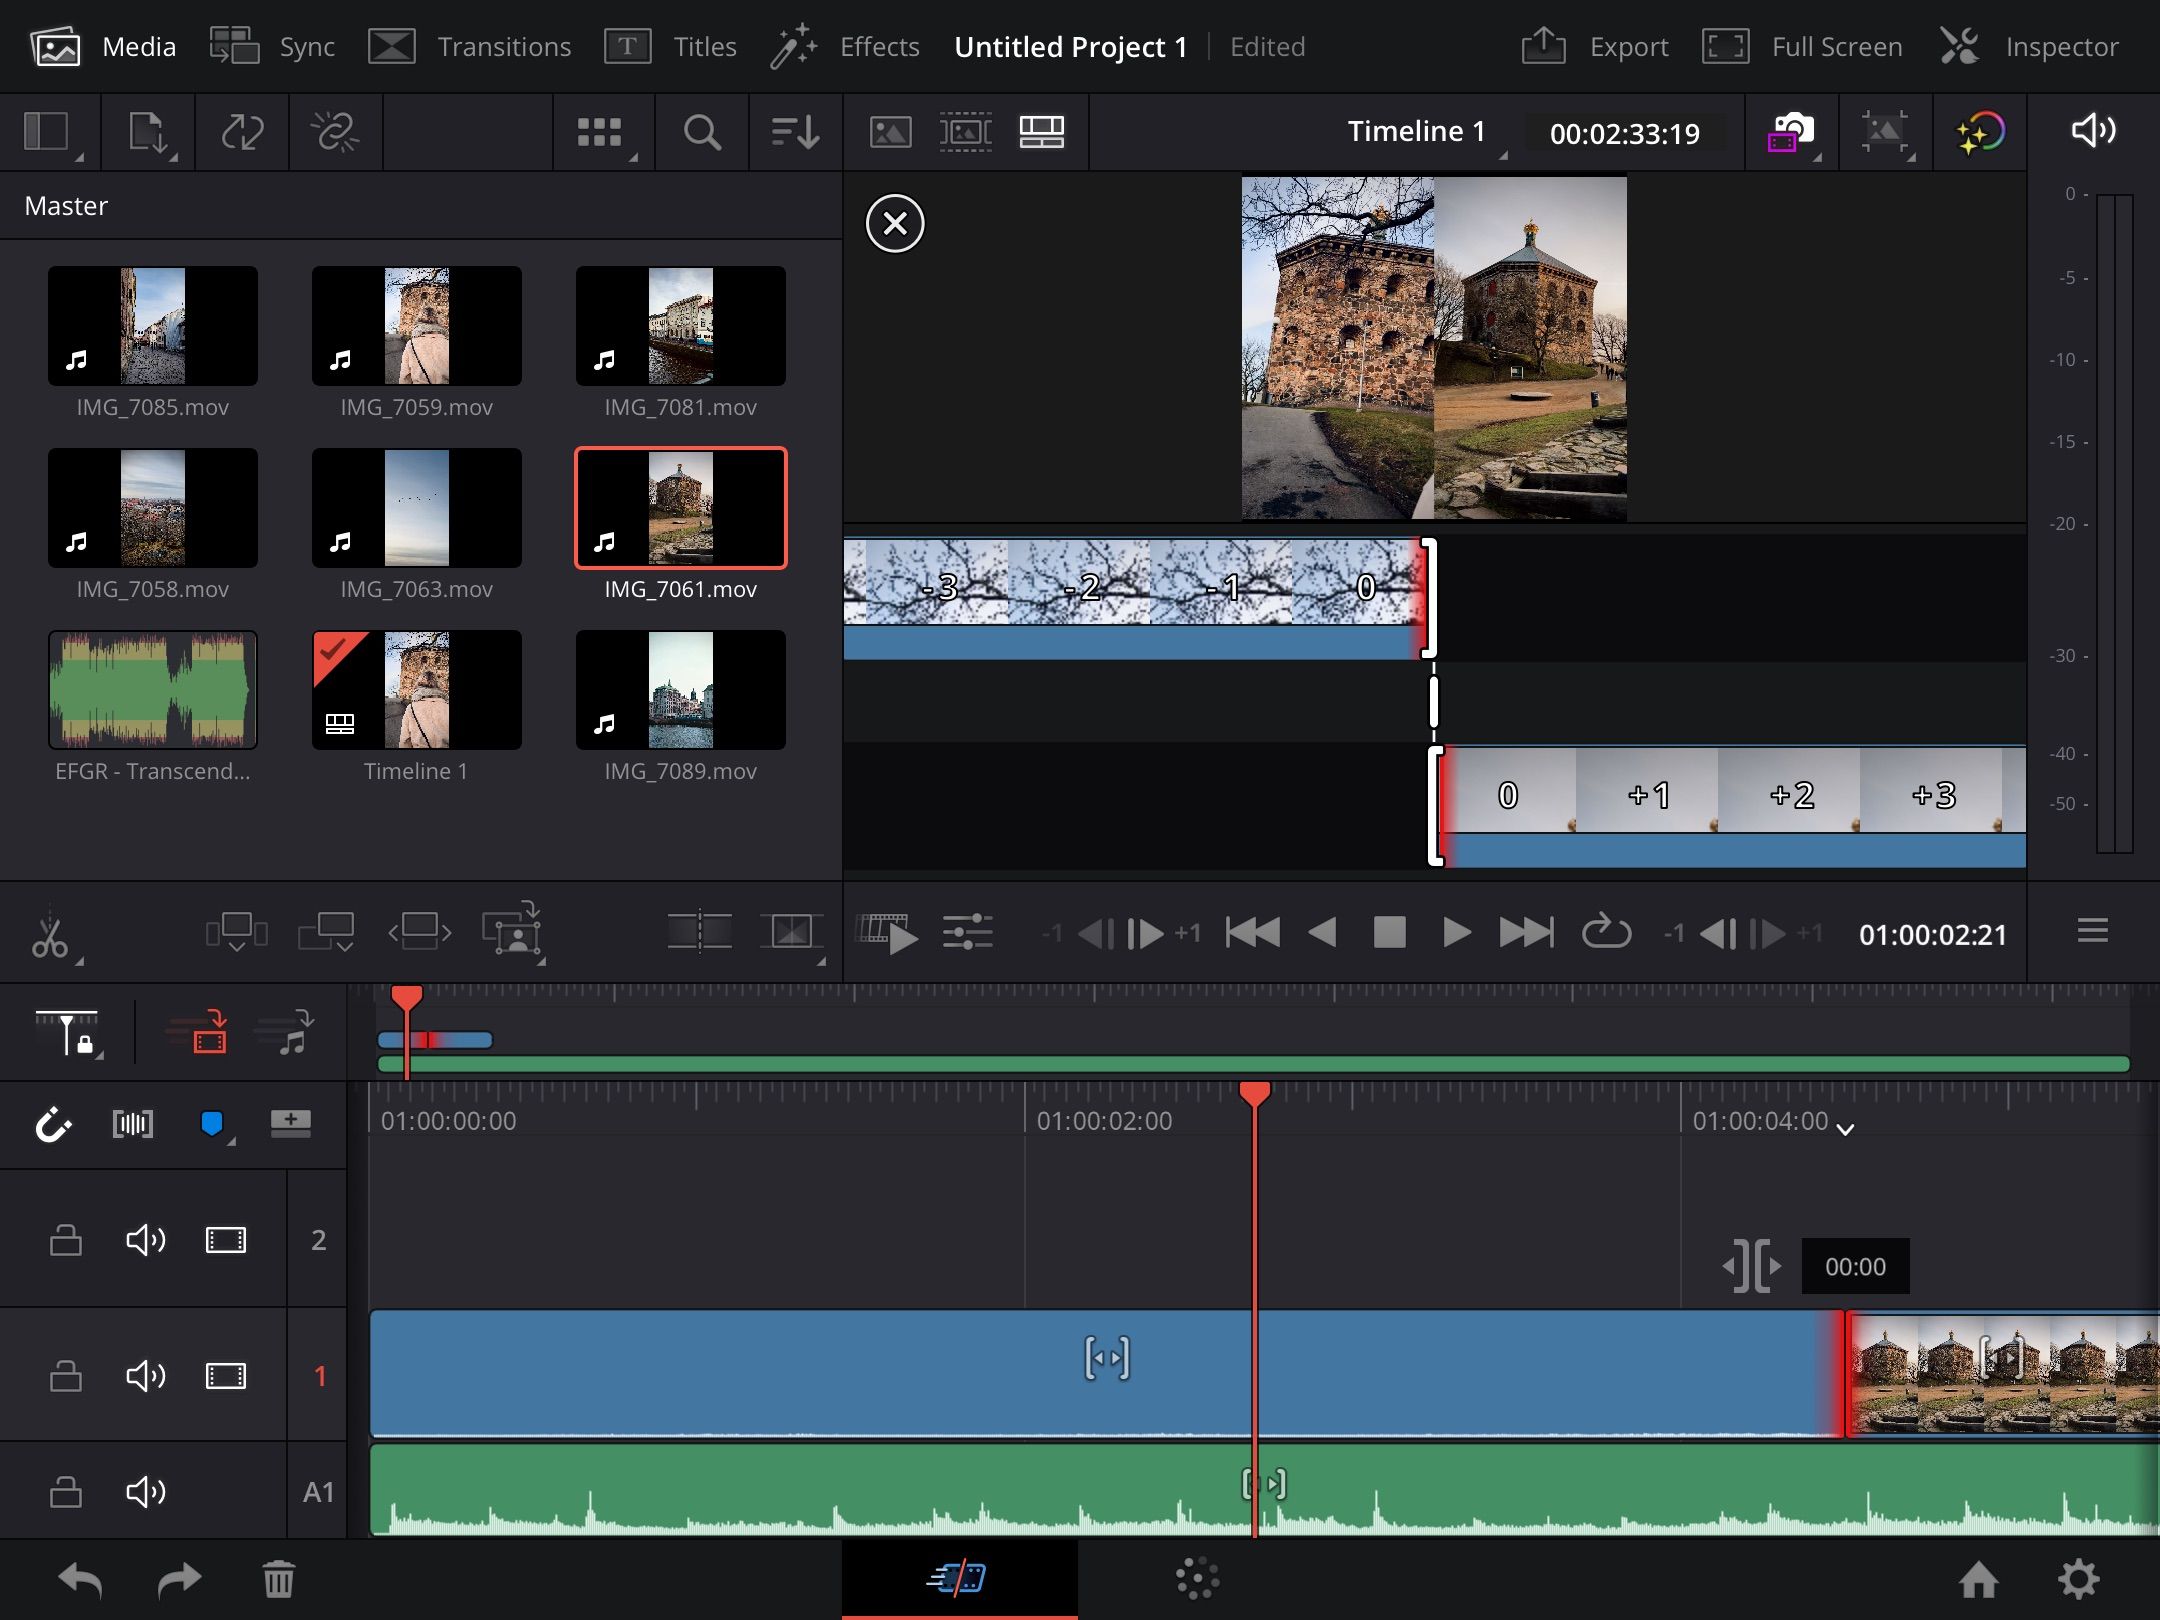
You can shorten the beginning and end of each clip by dragging left for the latter and right for the former. If you've left the camera recording for too long at the beginning or end of your footage, you'll probably find that is the best option.
But what if you want to edit parts in the middle of your clip? Don't worry; doing that is also straightforward. On the left-hand side of your screen, toward the bottom, you'll see a scissor icon. Click on the beginning and end of the section you'd like to remove, highlight the area you want to get rid of, and hit the trash icon.
Color Grading
Now that you've made the simple adjustments to your project, you're ready to move on to the more advanced stuff. We'll split this into two sections; you'll first learn how to add nodes before we go into more detail about color grading.
Adding Nodes
Nodes are one of the most useful features in DaVinci Resolve. You can use these to perform different stages of your video editing process, and they're surprisingly easy to understand once you begin editing.
To add nodes in DaVinci Resolve, tap on the color grading option at the bottom of your screen. It's right next to the timeline icon.
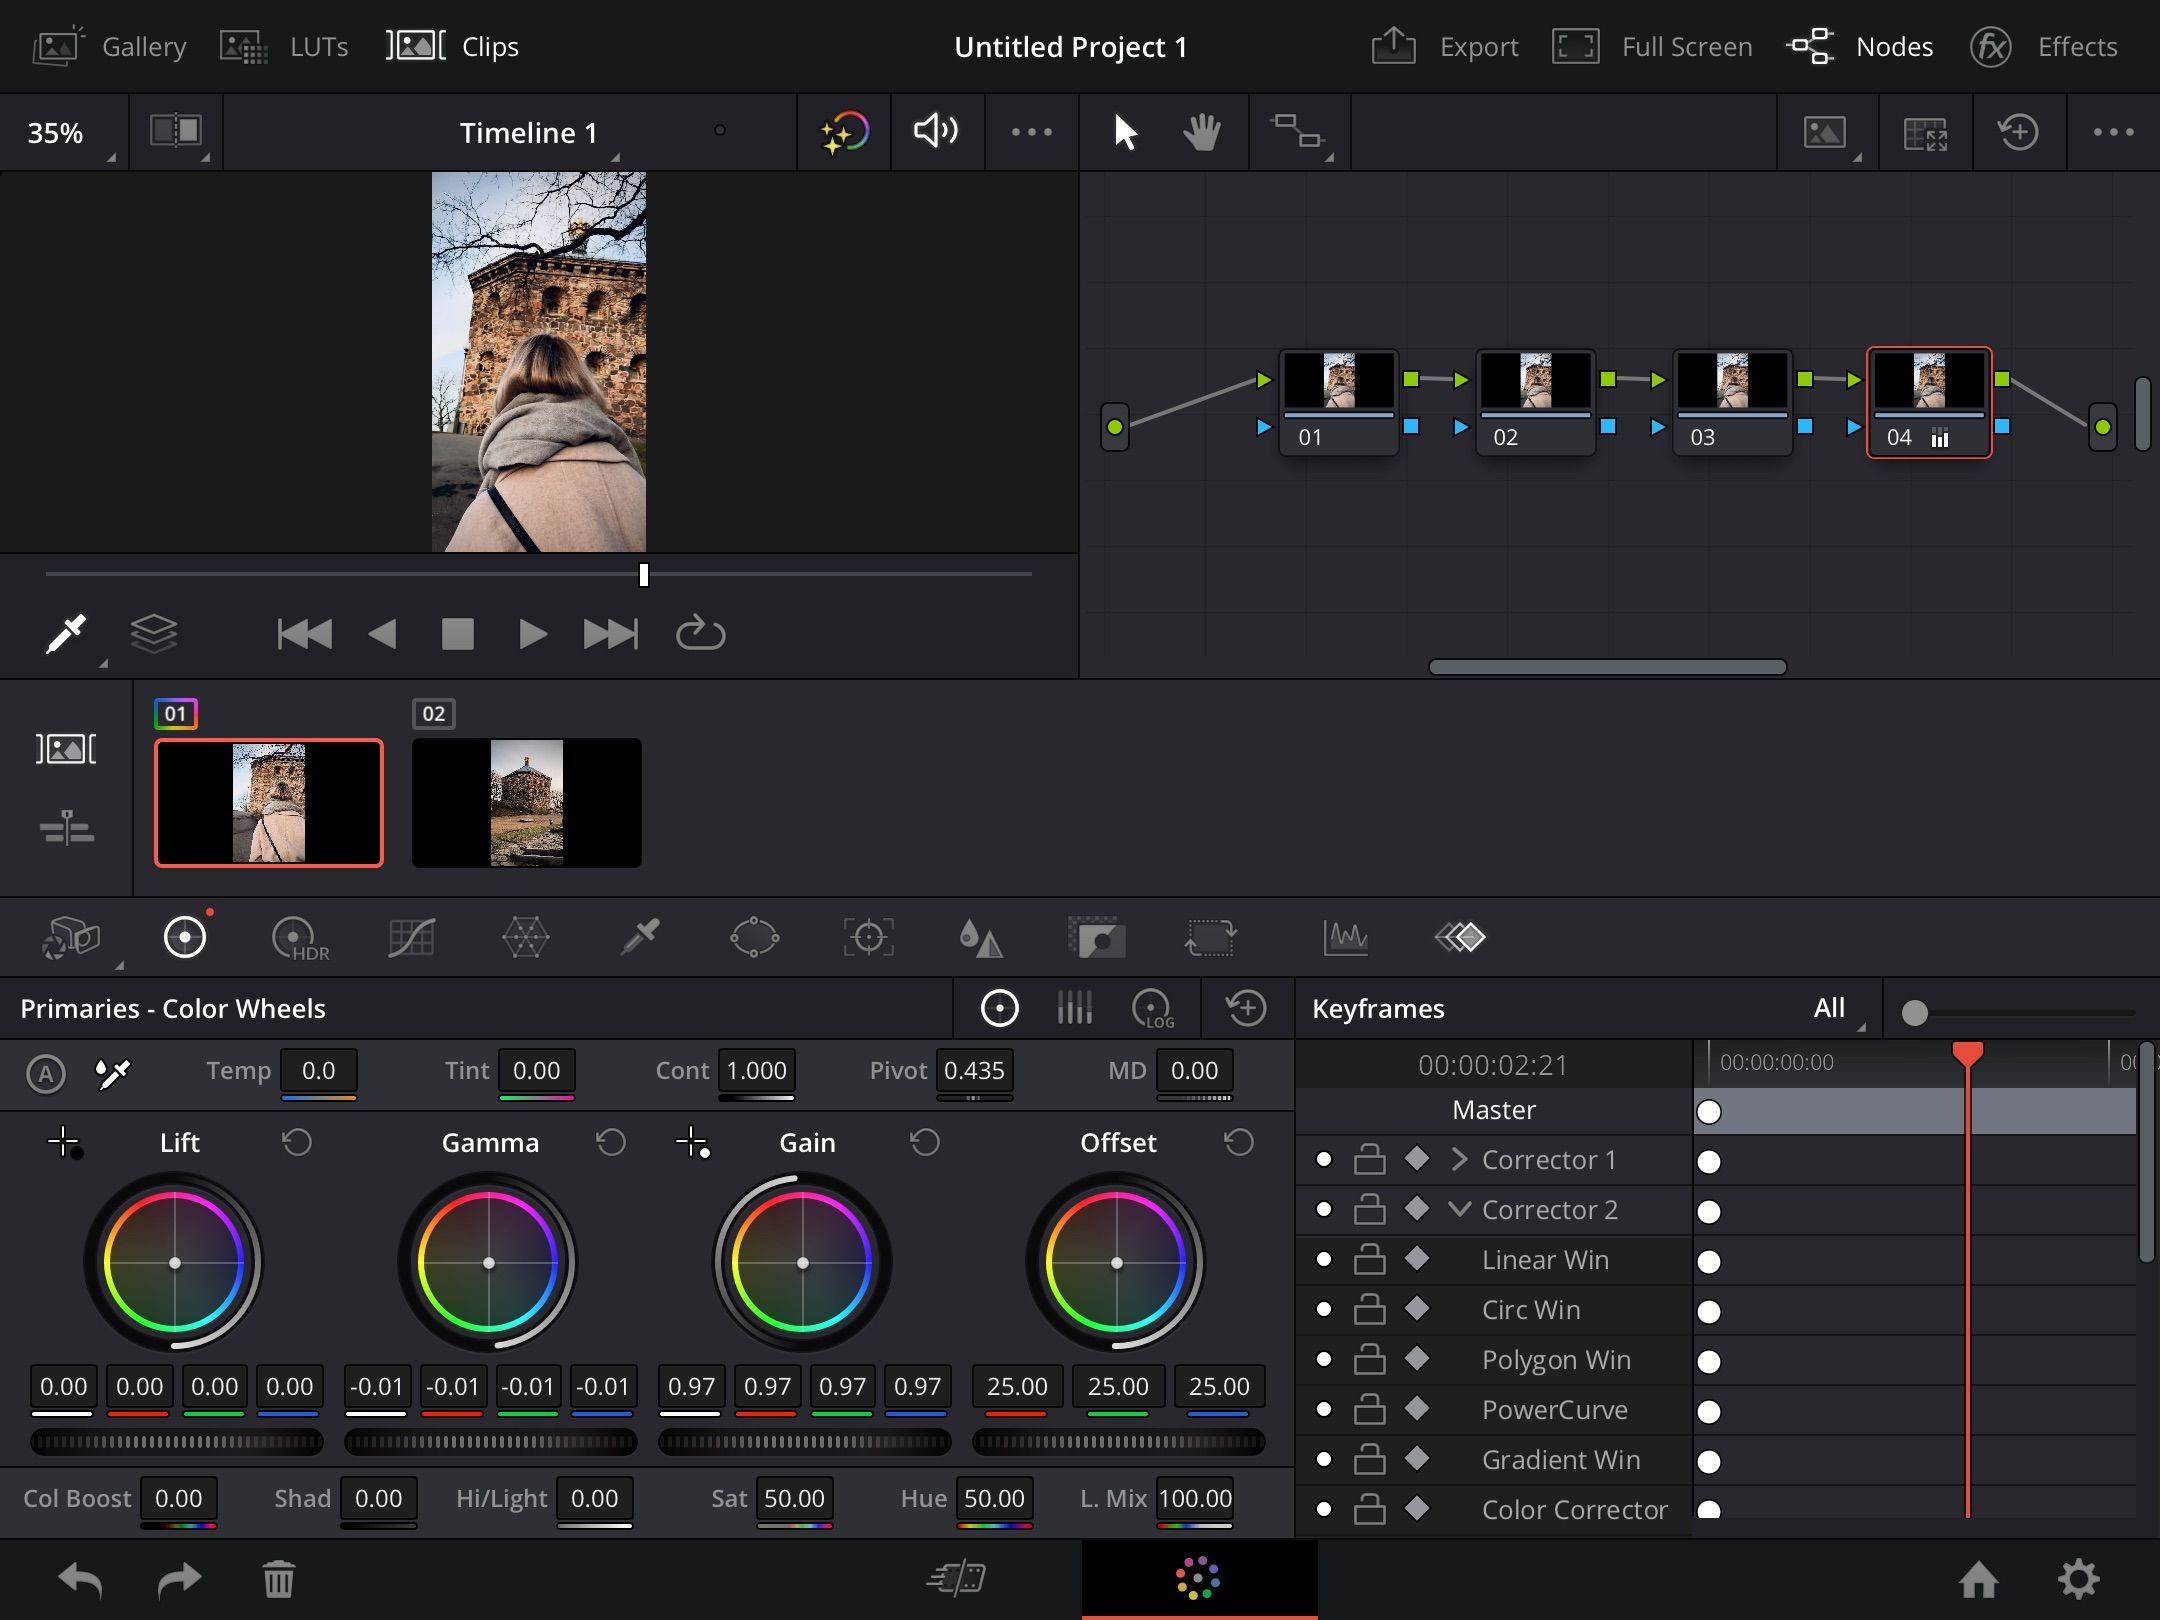
In the color grading window, you'll see an icon with multiple rhombuses; this is what you need to select to add your nodes. As you can see from the screenshot below, we've added four—but there isn't a magic number, and you can do everything within one node if you want.
To ensure that your changes take effect when editing colors, ensure that your nodes are connected to one another—and to the beginning and end of your source. DaVinci Resolve will automatically do this for you, so you don't need to tap on anything.
Editing the Colors in Your Projects
DaVinci Resolve's iPad app has several useful tools to help you edit the colors in your projects. To begin with, we recommend adjusting your white balance using the Temp and Tint options. You can drag your finger to the left or right to increase and decrease these.
If you hit the HDR icon in the bottom right-hand corner, you can adjust the exposure and saturation for different parts of your clip. To edit all areas at once, use the Global wheel instead.
You can play around with Lift, Gamma, Gain, and Offset in the first circle icon until you're happy with the end result. Other tools worth looking at here are:
- Tone Curve: Increase brightness and darkness in certain parts of your clip.
- Color Warper: Change the color balance in your video.
Changing Your Audio Volume
You should ensure that the audio quality of your videos is good enough for your audience to listen to. You can make adjustments to your sound quality in DaVinci Resolve for iPad, but you should note that—unlike on your computer—you won't find a Fairlight section.
If you want to mute a clip, you can hit the microphone icon in that row. You will find this particularly useful if you need to remove background noise from B-roll.
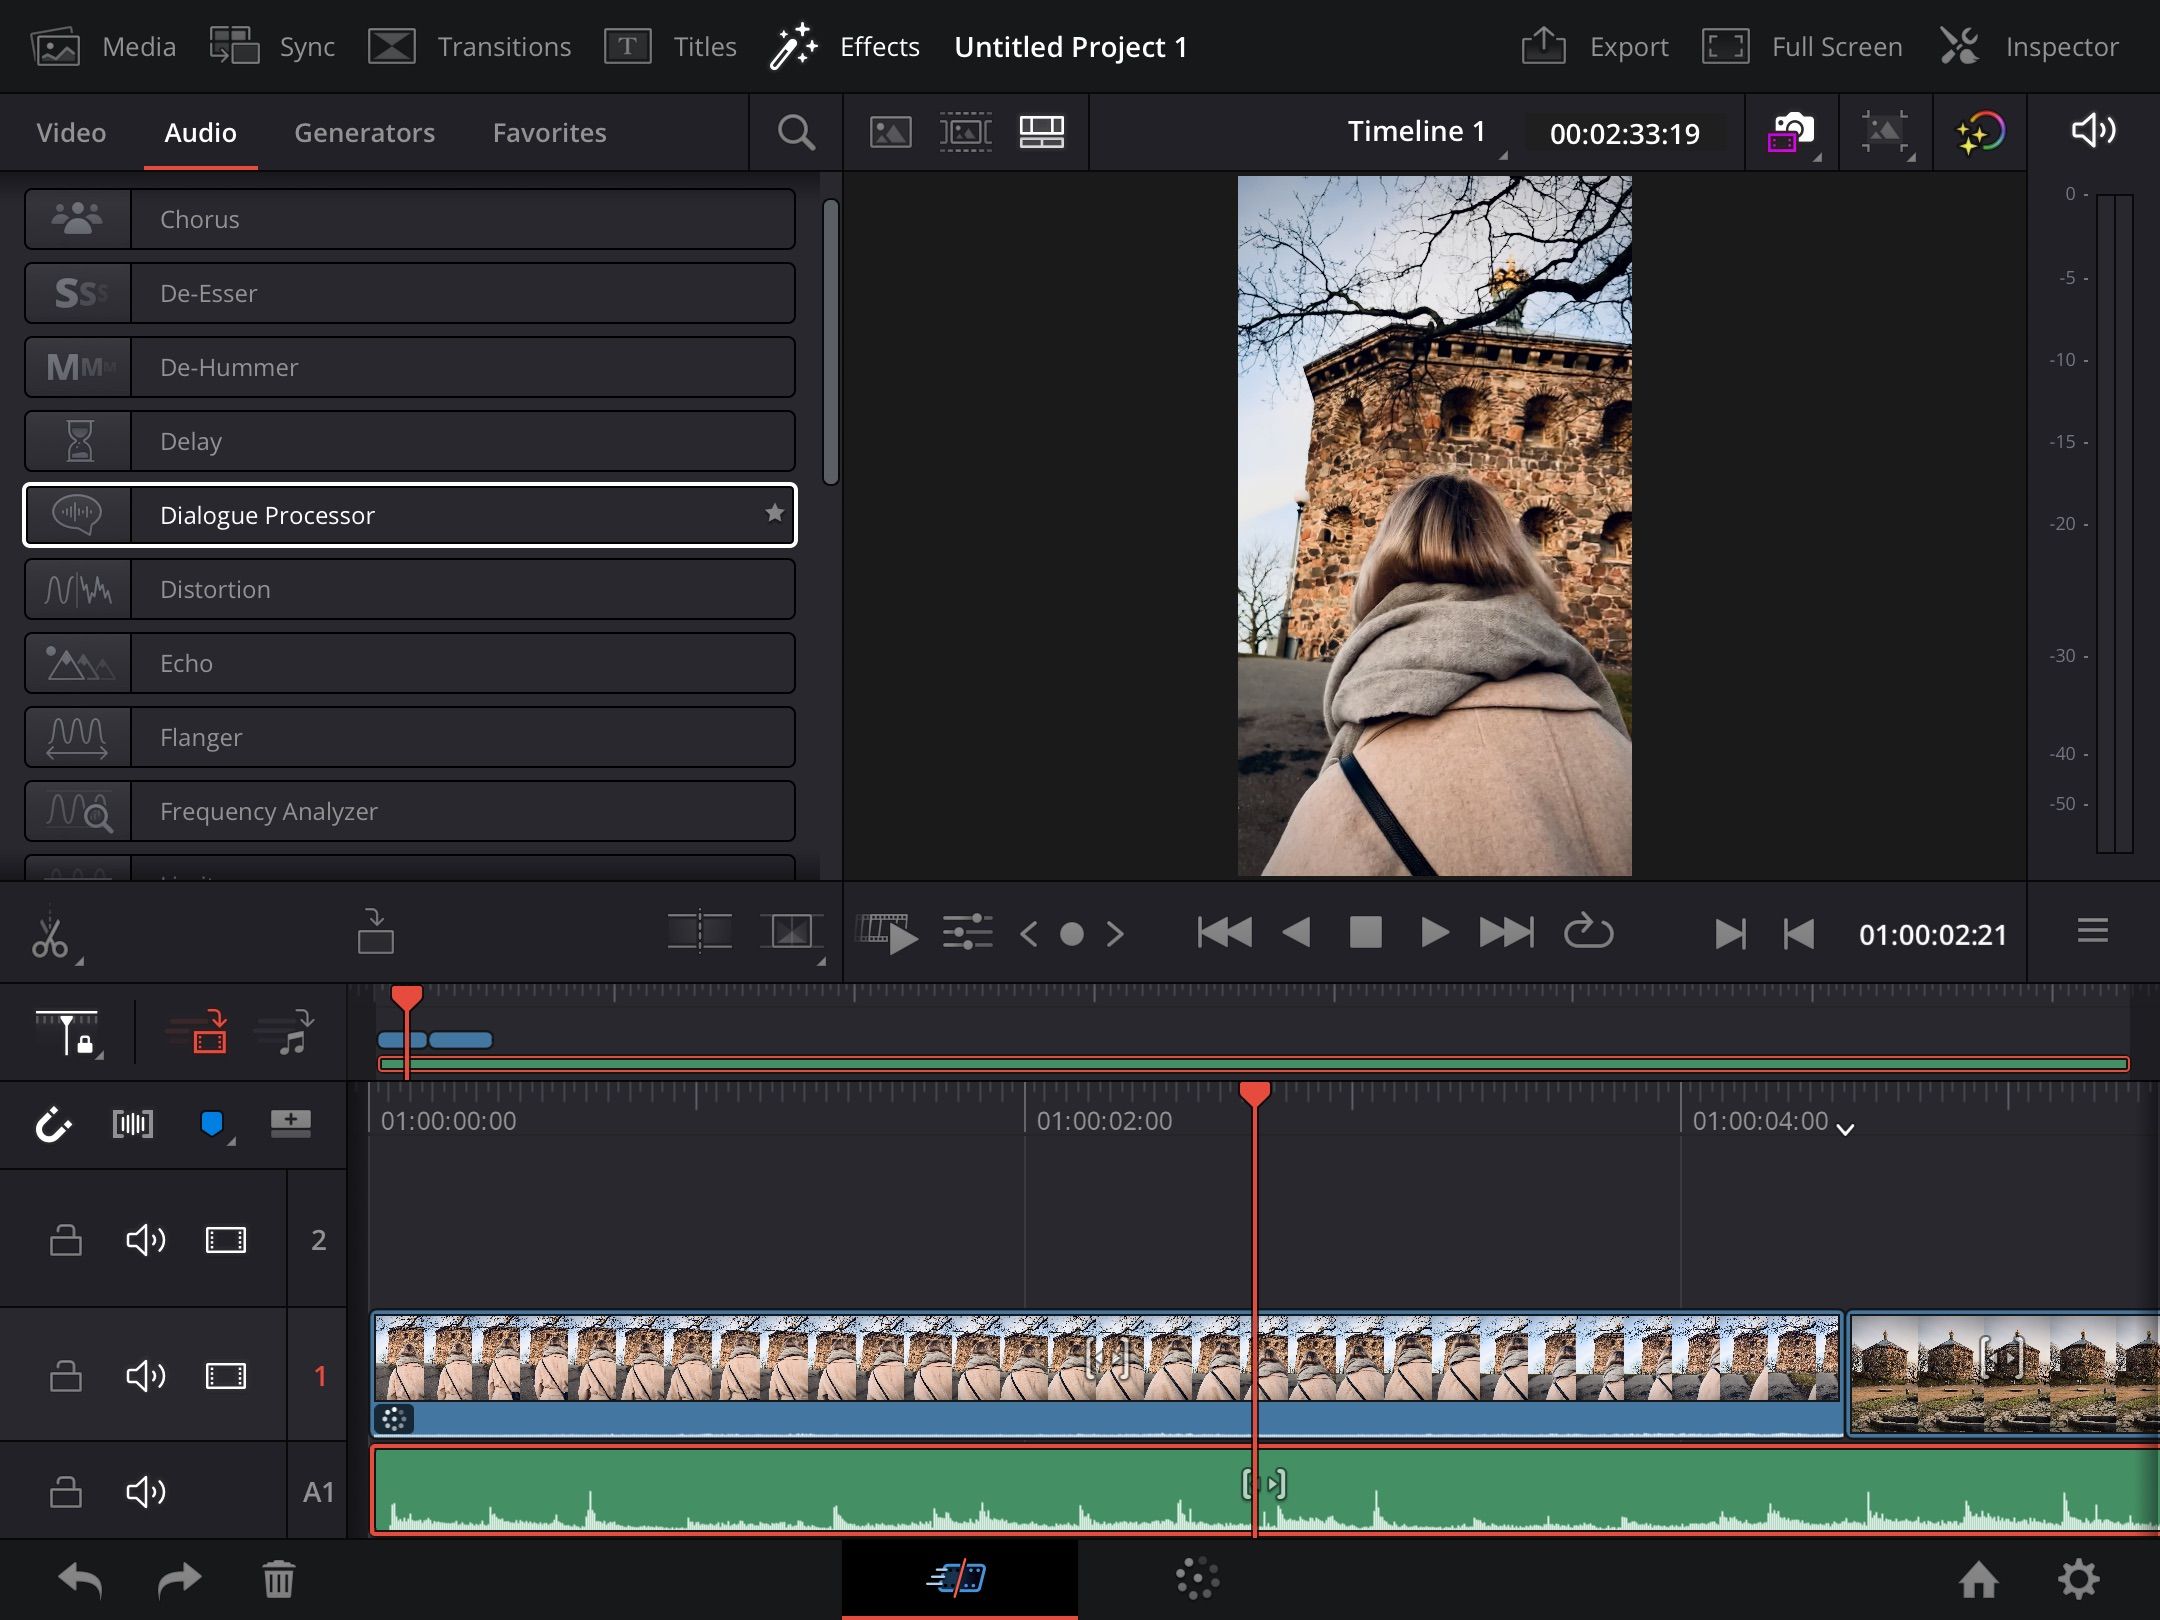
To make more advanced audio edits, go to Effects > Audio. Here, you can use a selection of tools to adjust the sound in your video.
Adding Special Effects
One of your core roles as a video editor is to make your content as easy to follow as possible. If you're publishing long-form videos for YouTube, this is especially true. One of the best ways to keep your audience engaged is by adding transitions and titles.
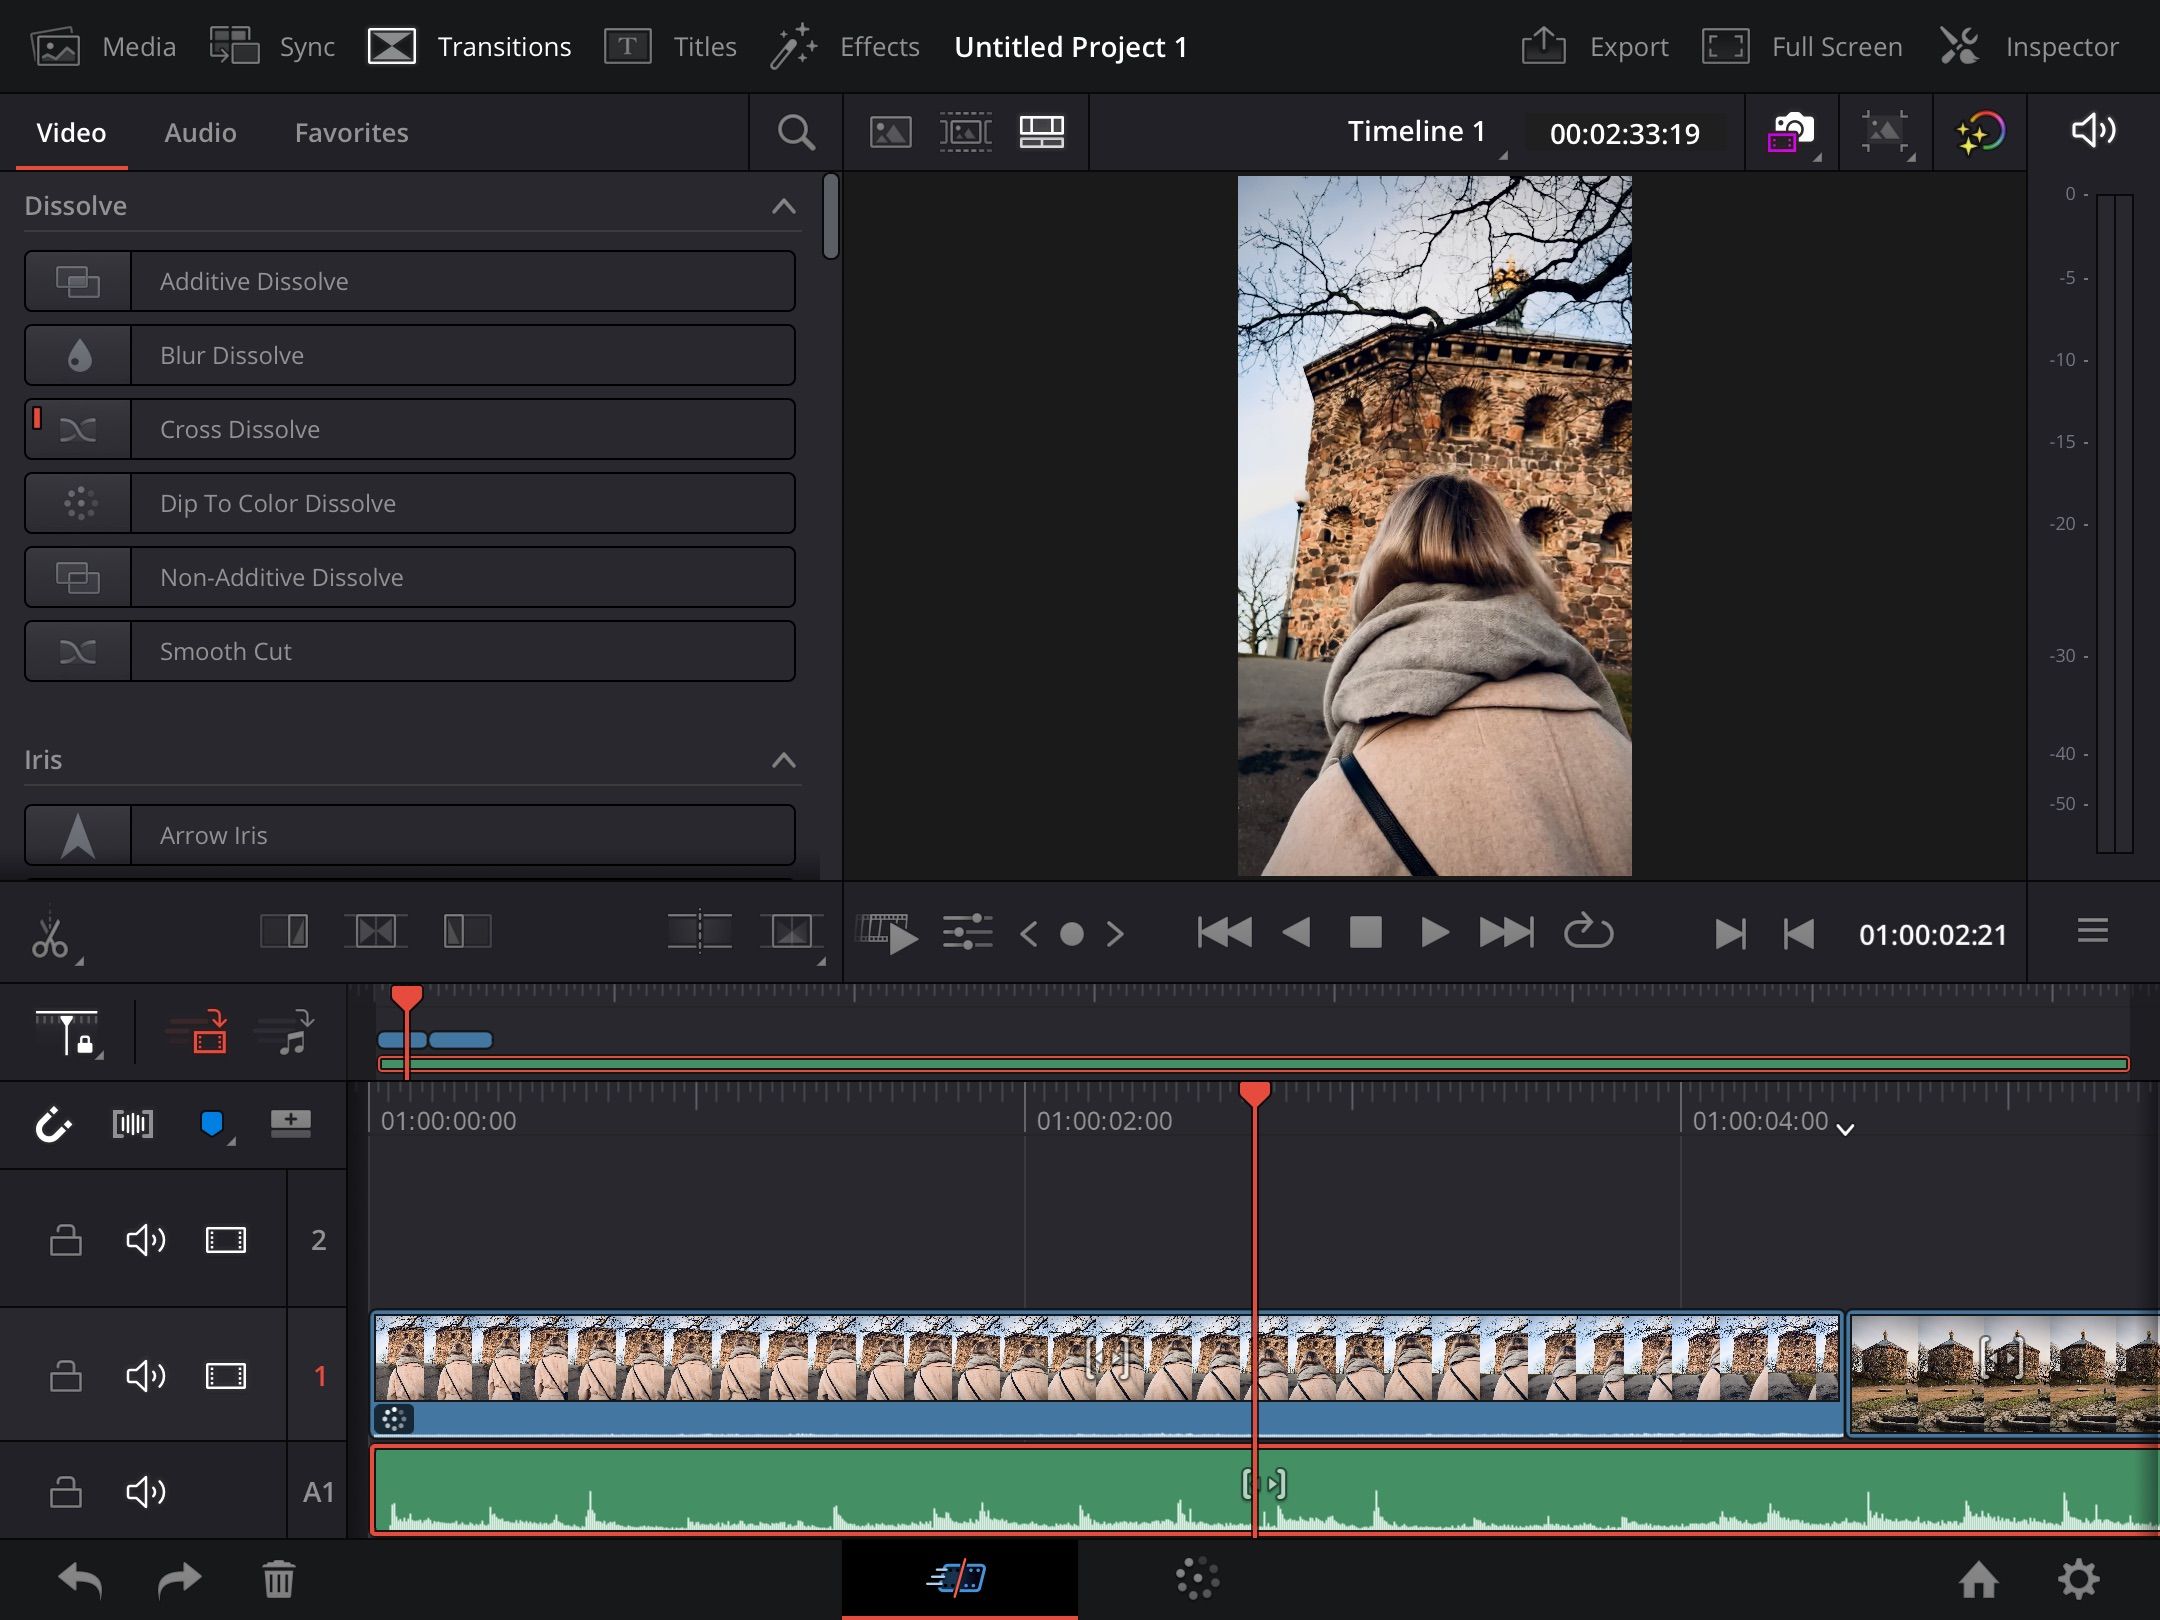
You can add both of the above in DaVinci Resolve. To add transitions, go to the namesake section and choose from your list of options. Similarly, going to Titles will allow you to add big pieces of text on your video—along with smaller ones in the corners.
Exporting Your Content
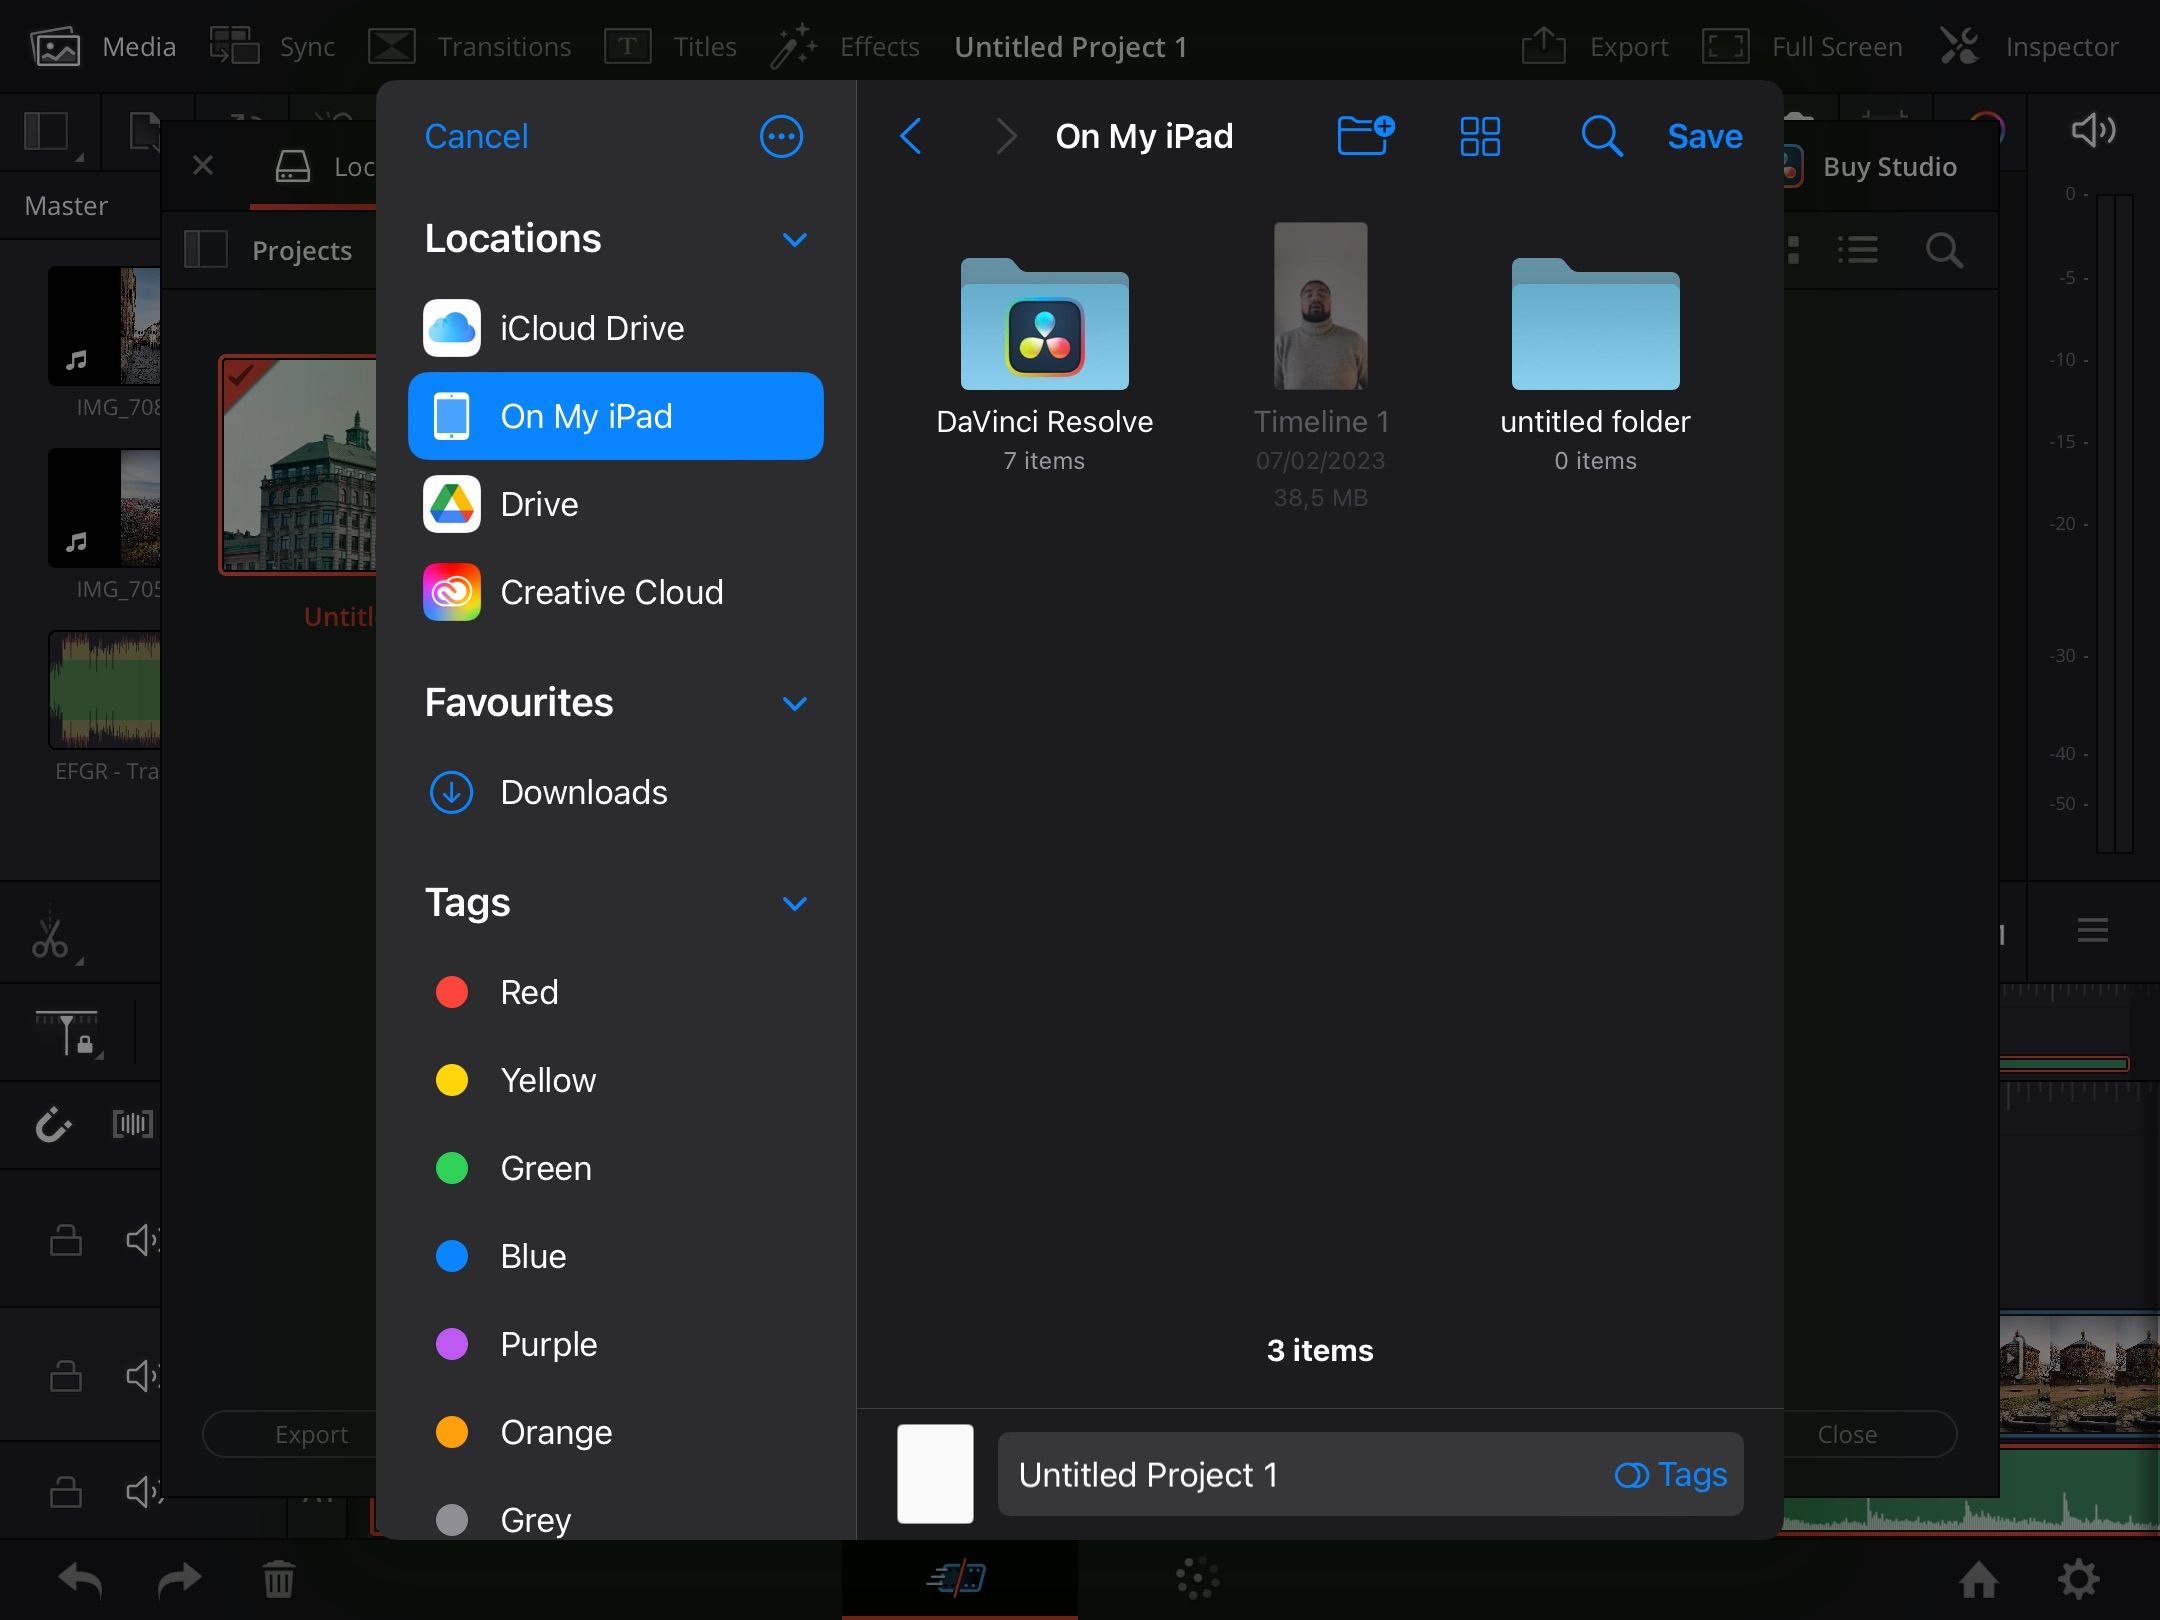
Once you've finished editing your video, you'll want to export your project so you can use it elsewhere. Tap on the home icon in the bottom right, then hit Export in the bottom left of the next window.
You'll then need to decide where you want to save your exported video. Do this and hit Save.
Use DaVinci Resolve Anywhere
DaVinci Resolve is one of the best video editing tools, and you can do a lot with the iPad app. If you're looking to bring your creative projects to life away from a computer, you'll find several tools to help you do precisely that.
Regardless of whether you're making long-form or short-form videos, you can achieve your desired results in DaVinci Resolve for iPad.

