Voice activated virtual assistants and smart speakers such as Google Home and Amazon's Alexa are a growing presence in millions of homes across the world. Ask them a question, and they'll answer, they tell jokes, they fetch the weather forecast, and they play music.
But smart speakers are a privacy nightmare, and it can be disconcerting to have one in your home, knowing that data about what you say is being transferred to companies that do not have your best interests at heart.
Custom Voice Assistants Are Easier Than You Think
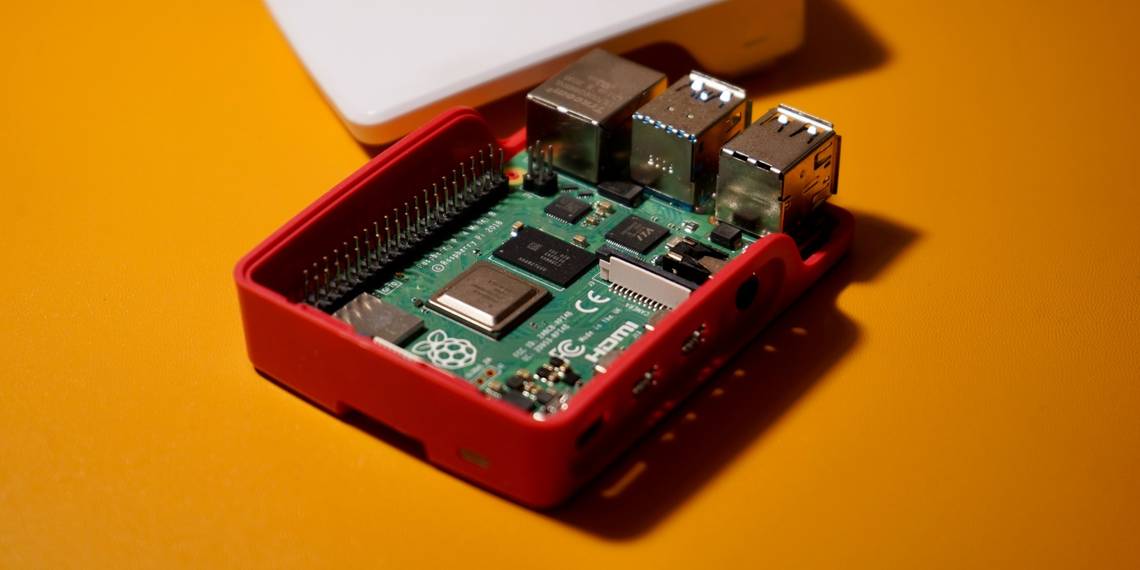
If you value your privacy but want some of the functionality afforded by a smart speaker, it's easy to make your own. All you need is a Raspberry Pi or another computer capable of running Linux, the Mycroft.ai software, a decent USB microphone, and some speakers.
The whole point of a voice assistant is that you use your voice to control it, and feedback or response is given in an audible form. You speak to it, and it speaks right back at you. This makes a monitor surplus to requirements—saving you cash on display tech.
Plug in the USB microphone and speakers, then connect the power.
Install Mycroft AI on Your Raspberry Pi
When you initially install an operating system on your Raspberry Pi, make sure you have configured it to accept SSH connections.
Open a terminal or use an SSH client such as PuTTY to connect to your Pi. If your username is pi and the local IP address of your Pi is 192.168.1.32, you would enter:
ssh pi@192.168.1.32
Update and upgrade installed packages with
        sudo apt update
sudo apt upgrade
Now your Raspberry Pi has the latest default software and security updates.
Install git:
sudo apt install git
Clone Mycroft core into your home directory and cd into it:
        git clone https://github.com/MycroftAI/mycroft-core.git
cd mycroft-core
The directory will contain several files cloned from the Mycroft repository. You can inspect these with:
ls

The two you should pay most attention to are README.md, which contains useful information about the software, and dev_setup.sh, a script that will help automate the installation. Use:
cat README.md
to read the file, and then run the script with:
./dev_setup.sh
You will be asked a number of questions including whether you want to run the stable or unstable branch (Hint: you want the stable branch), whether Mycroft should check for updates automatically, if you want a locally generated robotic voice (known as "Mimic"), and if the script should add Mycroft helper commands to your local path.

Building the Mimic voice locally will take several hours on a Raspberry Pi, but means that Mycroft will be able to talk to you even if the Pi does not have access to the internet. Adding commands to your path means that they will be easier to find and use later on.
Once you have made your choices, the script will download and install several dozen Python packages. This process should take around 10 minutes, but may vary depending on your connection speed.
Once you are returned to the command line, you can start Mycroft AI with:
./start-mycroft.sh all
Mycroft is now online, listening through your microphone, and ready to respond through the speakers.
Adding Skills to Mycroft
Mycroft comes with some basic skills built in. You can ask it to tell you the weather in your location, you can raise or lower the volume with your voice, or you can say "Play the news," to get a locale-appropriate news RSS feed read to you by the Mimic robotic voice.
ls /opt/mycroft/skills
Each of the directories shown as a result of this command will contain a README.md file, which will spell out the requirements and instructions for use. Use the cat command to read the contents.
For instance, if you want to find out the instructions for Mycroft jokes, you would enter:
cat /opt/mycroft/skills/mycroft-joke.mycroftai/README.md

Other skills can be added by downloading them from the Mycroft marketplace, which involves creating an account linked to your Mycroft AI, or cloning directly from the Mycroft skills GitHub repository.
To add a new skill via the terminal, select the URL of the skill you want Mycroft to learn:
        cd /opt/mycroft/skills/
git clone address/of/the/skill/repository
Develop Your Own Mycroft Skills
You have now installed Mycroft AI on a Raspberry Pi and are able to add new skills to it. Why not take the project further by helping to develop skills which others can use and add to other Mycroft installations?