
There's no better way to discover users' demands and needs than to get their feedback about your product or services. Setting up a WordPress survey is the best way to get a response from your audience.
Surveys consist of a series of questions that users fill up according to their experience with your service. Listening to your visitor is a great way to make sure you are giving them what they want.
In this article, we'll go through the step-by-step process of how to create and manage surveys on your WordPress website.
How Are Surveys Helpful?
Surveys help in gauging customer satisfaction. By analyzing the data collected from surveys, you can filter out what your customers like or dislike about your product. This information helps in the future planning of your business.
Based on the information you receive in a survey, you can take the necessary steps to grow your business.
Although you can custom code a survey form, we'll use a plugin to set it up in this article.
What Is the Quiz and Survey Master Plugin?
Quiz and Survey Master is an easy-to-use plugin that helps you create custom surveys. The plugin offers extensive options for different question types to create online survey forms.
In addition to creating surveys, you can also set up short online quizzes. For both surveys and quizzes, you can add results pages to calculate the final results automatically.
Despite not having the most appealing interface, Quiz and Survey Master is flexible once you handle how it works.
It also comes with a slew of eye-catching add-ons that will amp up your customer satisfaction surveys by a substantial amount. You can also integrate PayPal and Stripe to allow customers to pay the charges while filling the form directly.
Download: Quiz and Survey Master
How to Install Quiz and Survey Master Plugin
Follow the below steps to install the quiz and survey plugin.
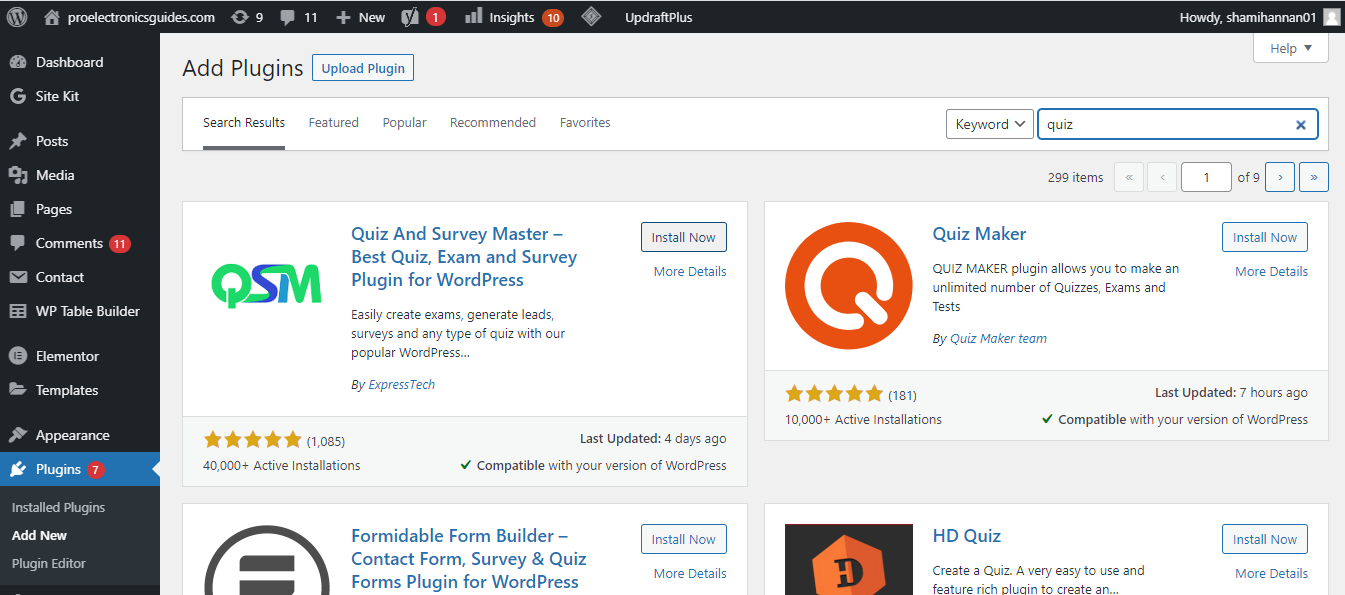
1. Go to Dashboard > Plugins > Add New.
2. Search for "quiz and survey master" in WordPress Directory. Install and activate the plugin.
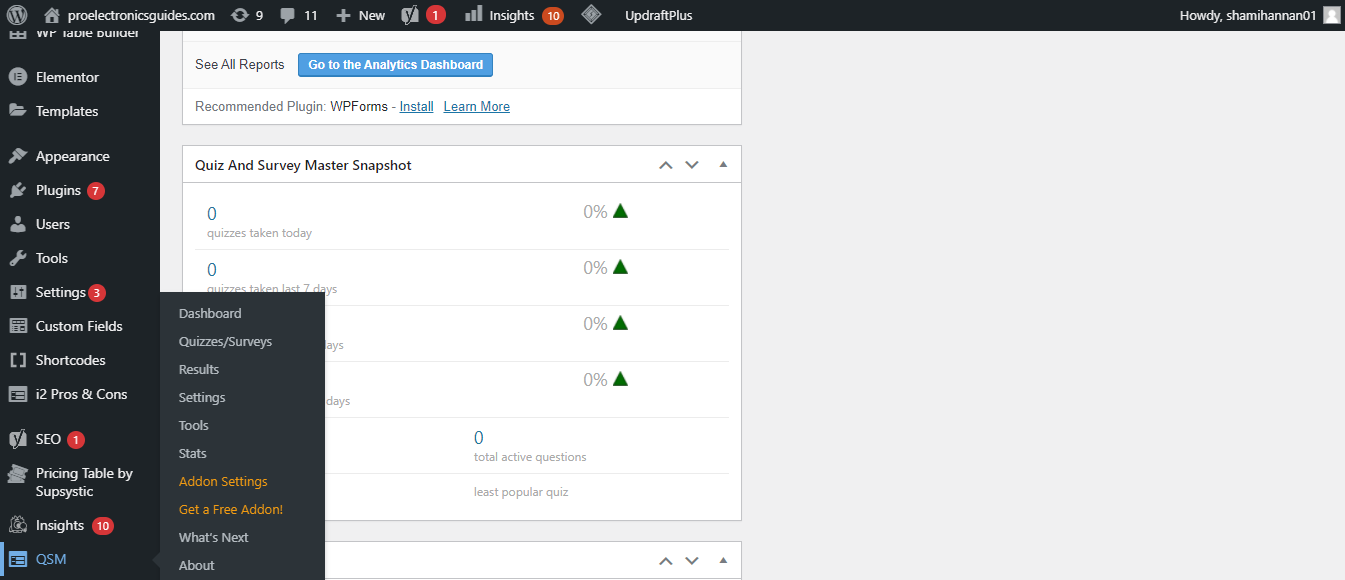
Once activated, it'll add a QSM option to the left sidebar of your WordPress dashboard.
How to Create a Quiz or Survey Form
Follow the below steps to create a quiz/survey form.
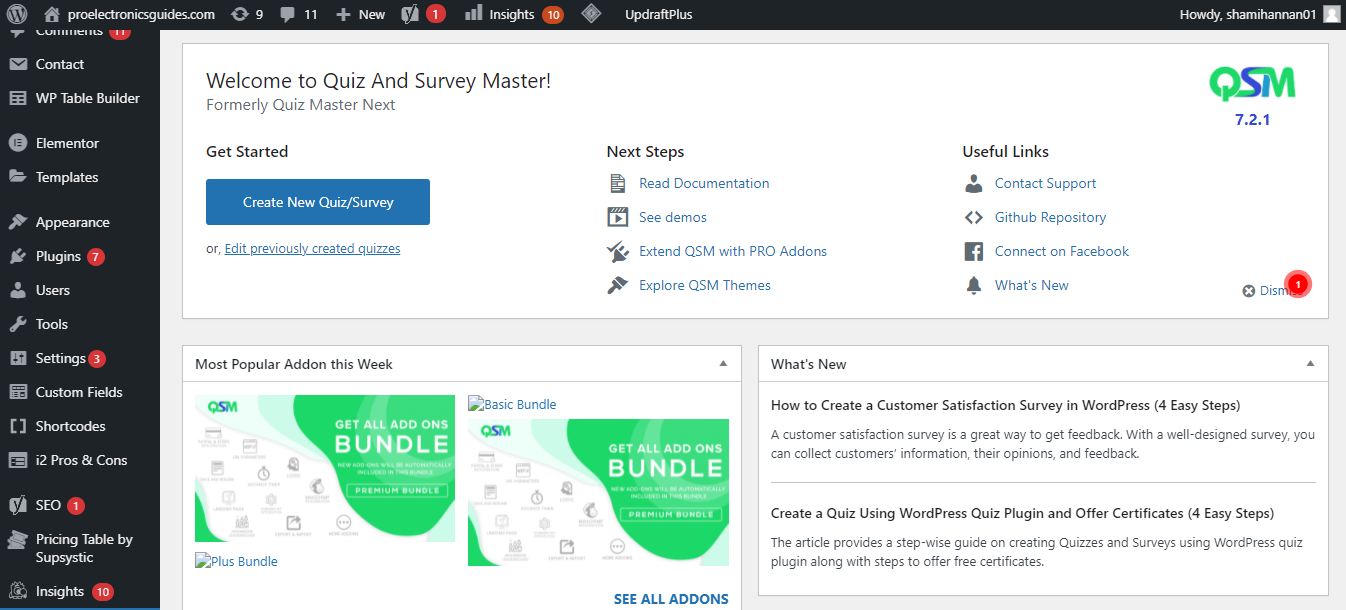
1. Go to Dashboard > QSM.
2. Click on Create New Quiz/Survey.
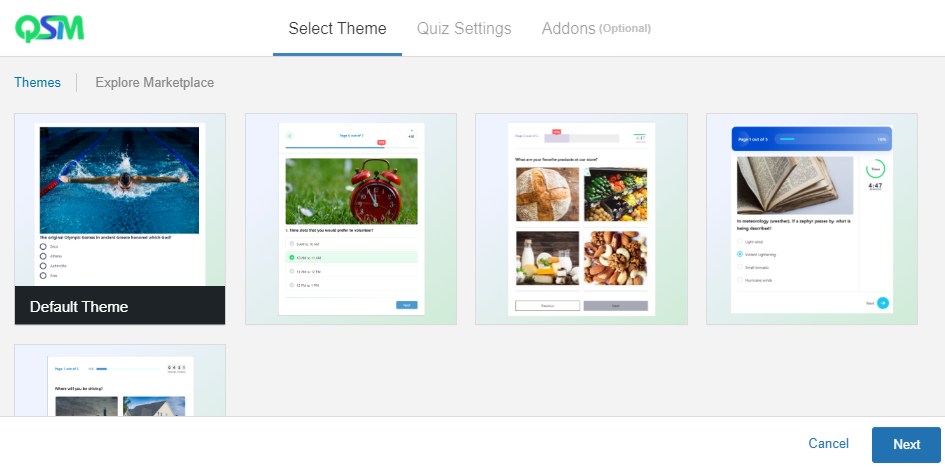
3. Pick a Quiz theme.
4. Enter the quiz name, select form type, and go through all the settings once.
5. After choosing relevant options, click next.
Following the above process will create a quiz or survey form for you. The next step is to add questions and answers to the newly created survey form.
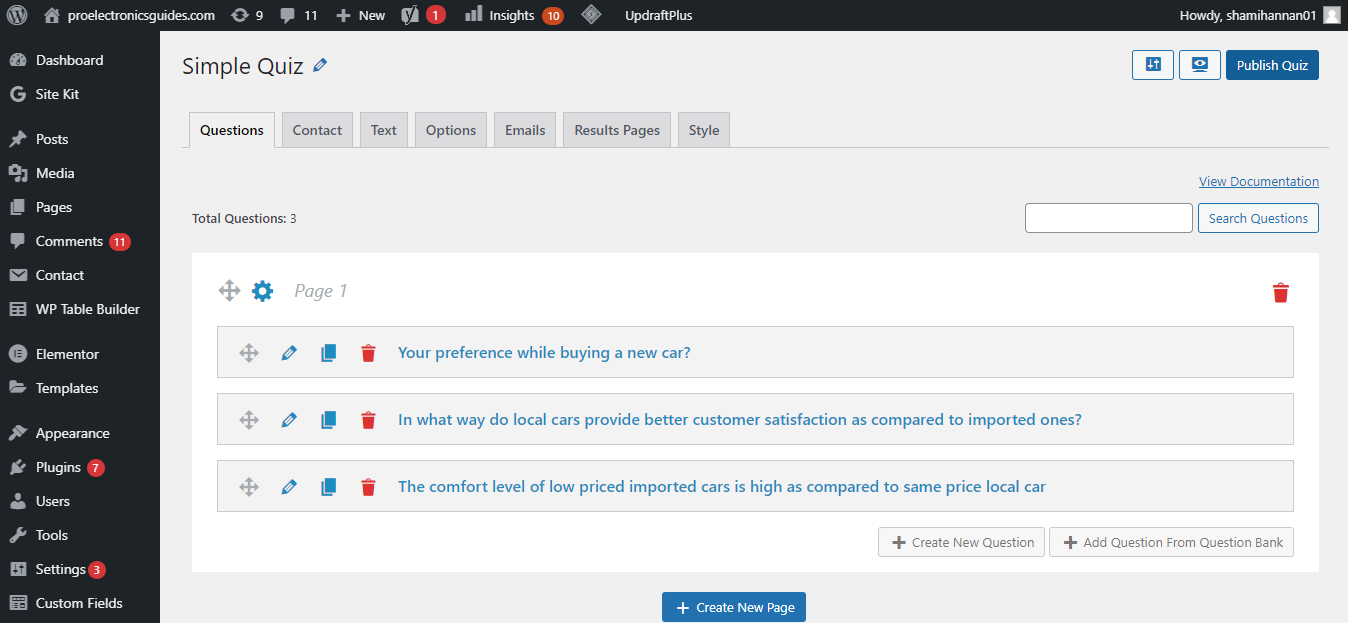
How to Add Questions and Answers to the Form
Follow the below steps to add questions and answers to your form.
1. Go to the questions tab of the plugin.
2. Add the question in the blank field. Keep it concise and descriptive.
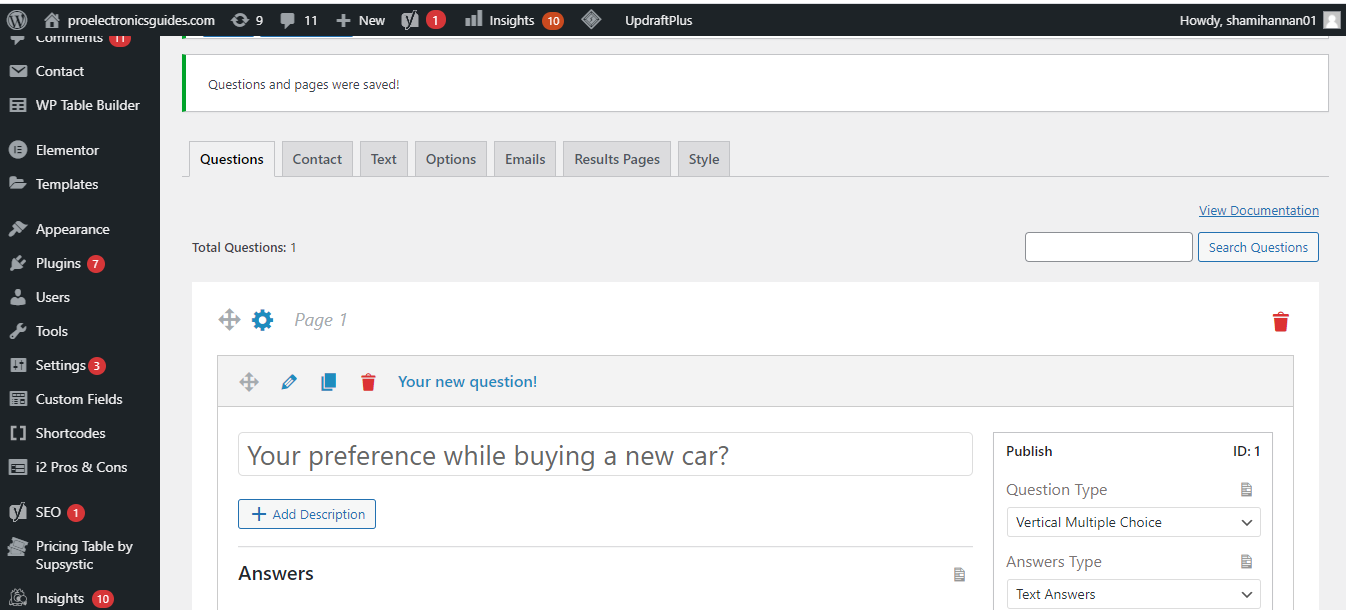
3. Add an answer below each question. (You can add as many answers (options) as you like by clicking the add new answer button)

4. You can also add a hint for each question from the right sidebar to help respondents understand a difficult question.
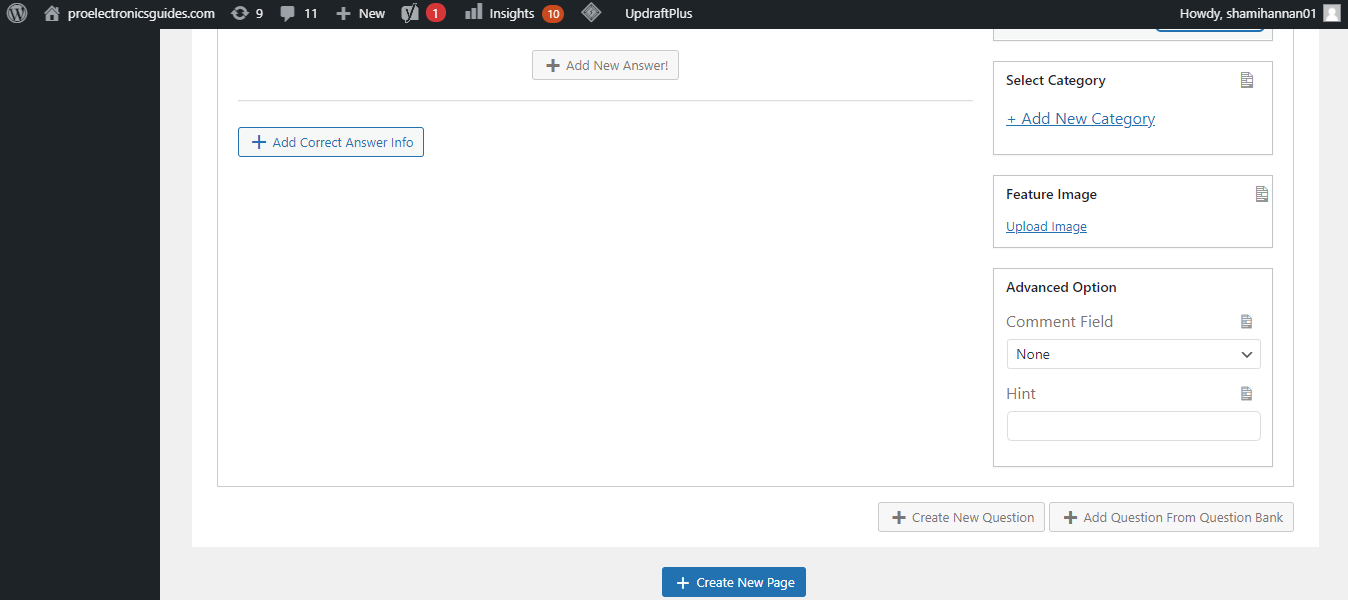
5. To prevent the audience from skipping a specific question, check the Required? checkbox. (If anyone submits the form without answering the mandatory questions, the form will give them an error.)
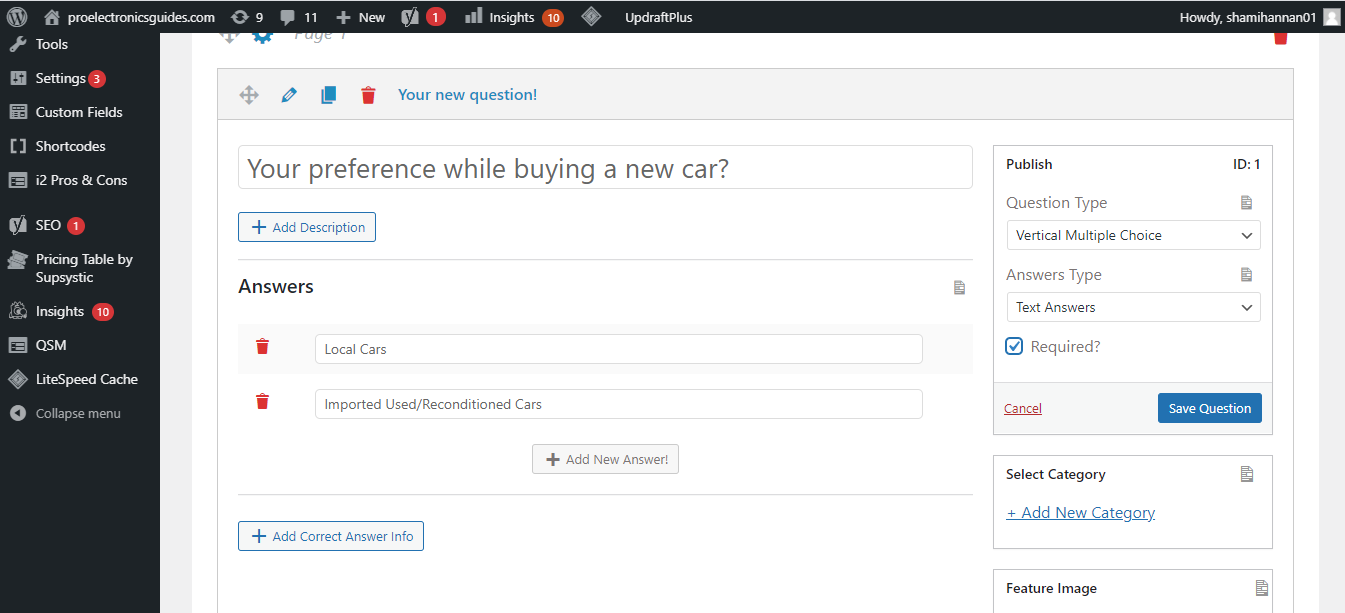
6. Add correct answer info below each question for automatic results calculations.
7. Click on the save question button.
Similarly, add all questions that you intend to ask in the survey and keep on saving them.
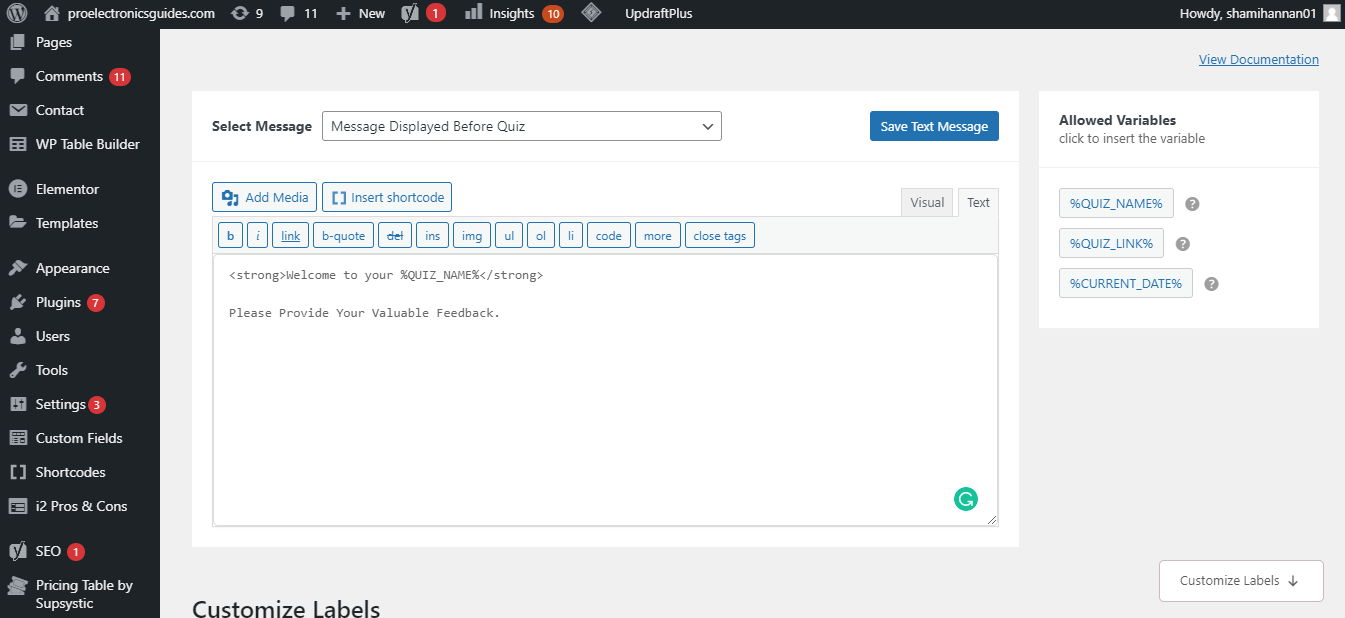
How to Add a Welcome Message for the User
In the text tab of the Quiz and Survey Master plugin, you can create messages to display to users taking a quiz/survey. It lets you control the location where the message will be displayed, such as before taking a quiz, after taking a quiz, in between specific questions, before the comment box, etc.
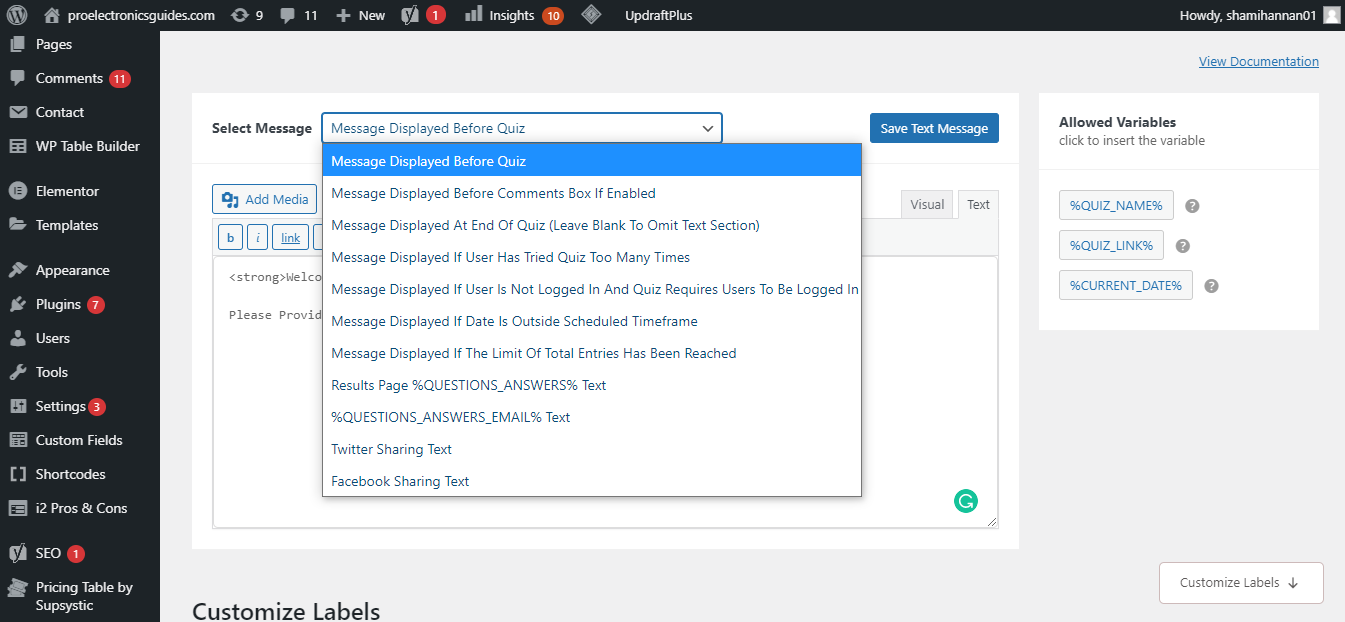
Let's create a message for the user to show before a quiz.
1. Go to the text tab on your newly create quiz/survey page.
2. Enter the message/text.
3. You can also customize the labels for submitting, previous, and the next question buttons.
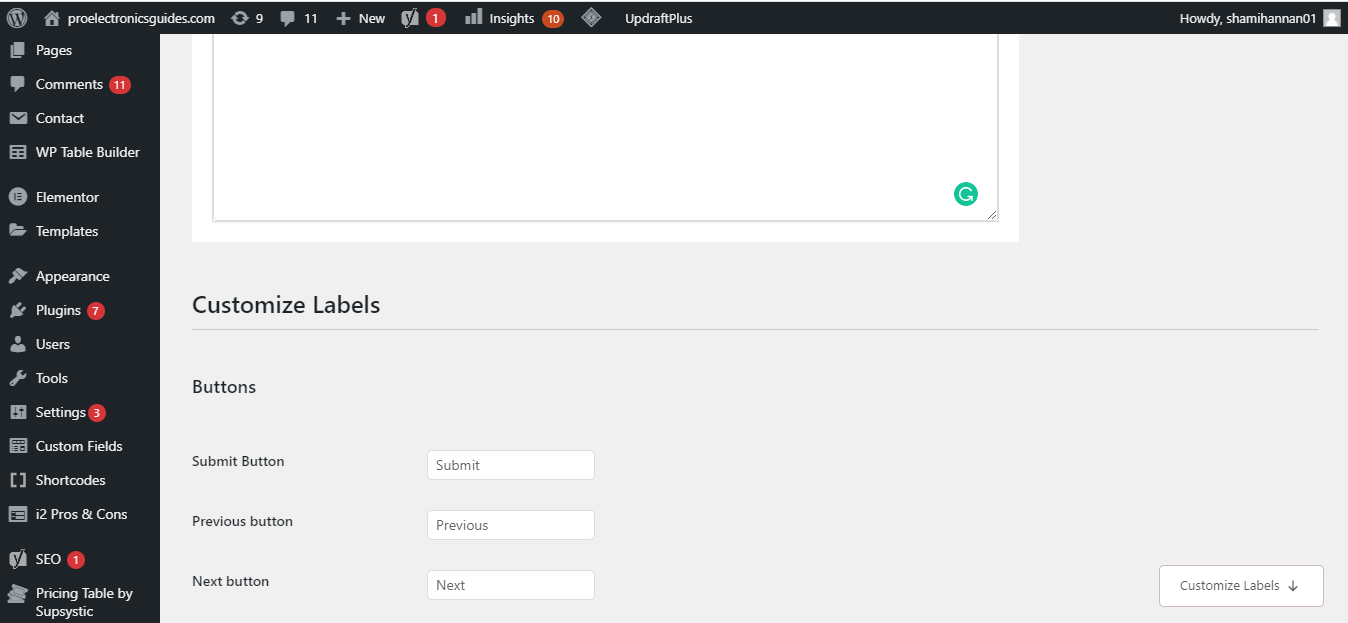
4. Customize the rest of the messages in the settings and click on save changes.
How to Set Up Configuration for the Quiz or Survey
Configure the quiz or survey form in the options tab and customize it as per your requirements. You can set a time limit, control the number of questions per page, and a few other settings.
1. Go to the options tab and choose survey as the quiz type first.
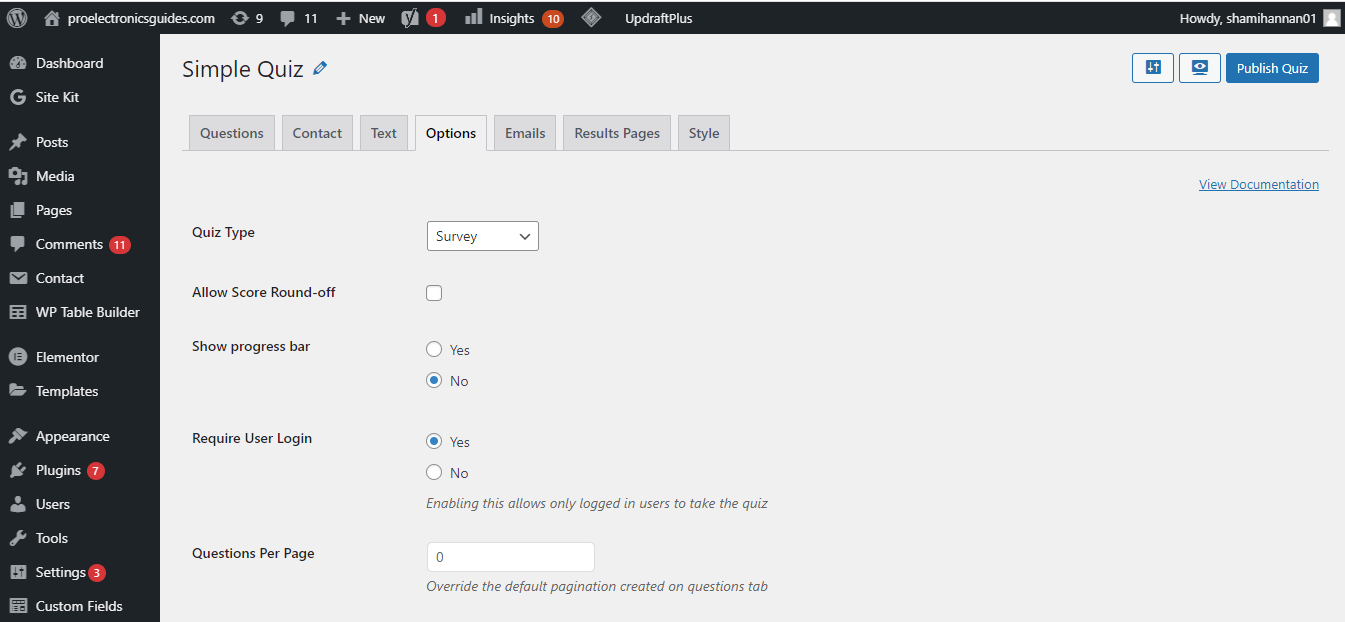
2. Limit only logged-in users to fill the form by enabling the required user login option.
3. Define the time limit.
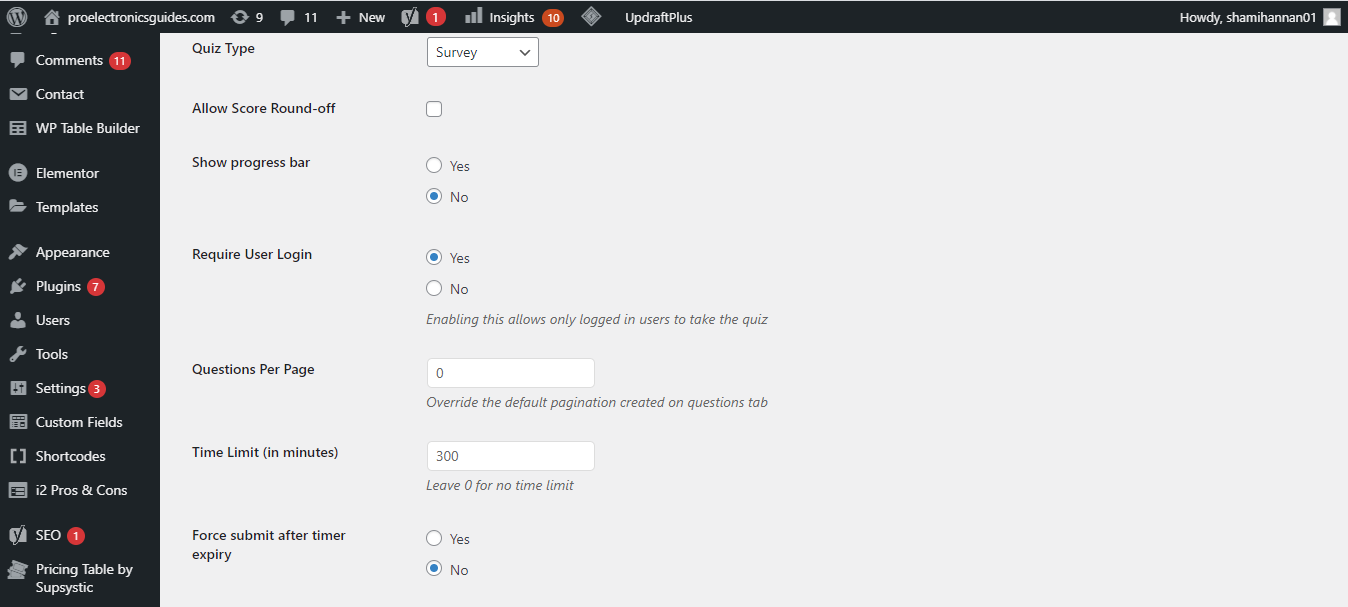
4. After changing the desired settings, click on save changes.
How to Set Up Emails for Admin and Users
In the Emails tab, you can set up emails for both users and administrators.
1. In the Emails tab, specify the condition based on which the email will be sent. You can either personalize it or send the same email to every user.
2. To send the same email to every user that meets the set condition, enter %User_Email% in the Who to send the email to box.
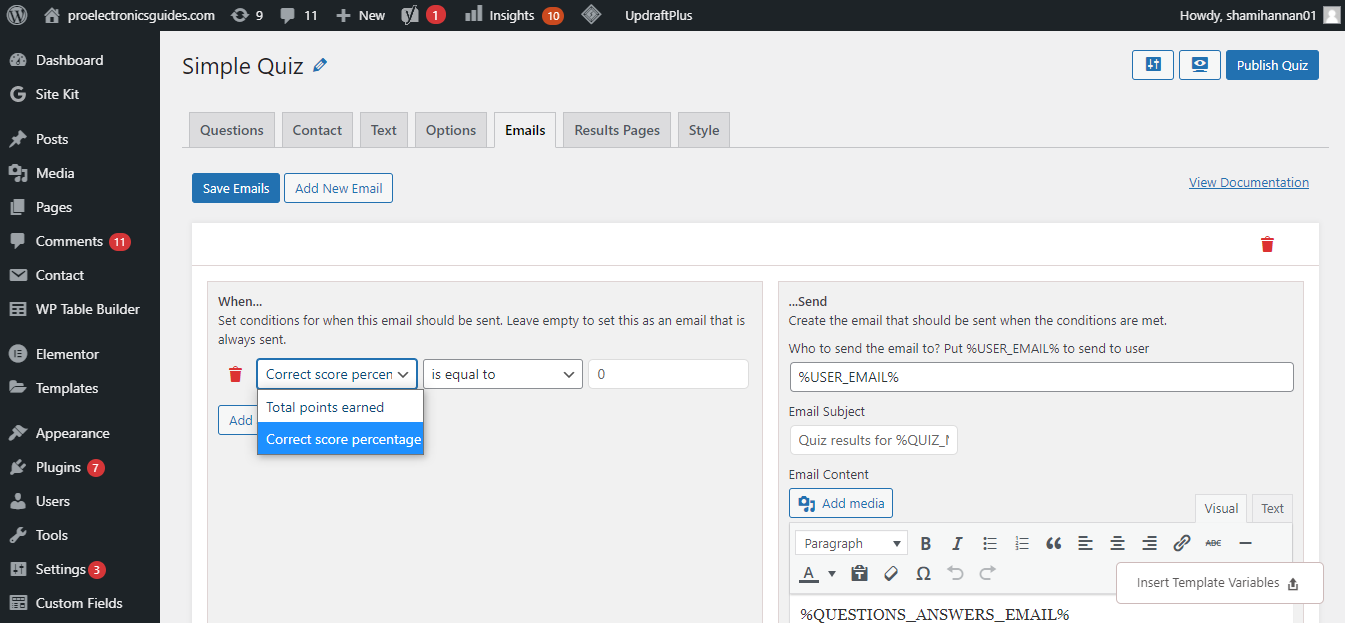
3. Customize the email content with a thank you or congratulatory message.

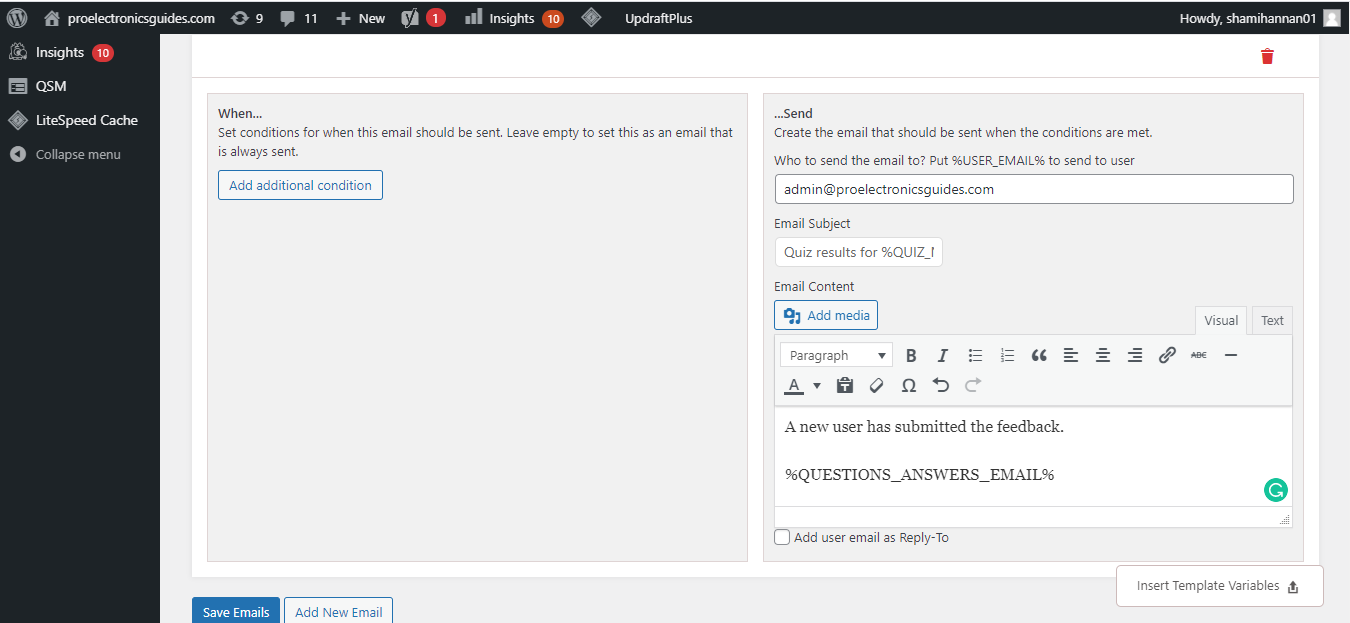
Similarly, you can create a new email to send to admins.
1. Choose a condition on which the email will be sent to the admin.
2. Enter the email ID.
3. Write a custom message.
4. Click save emails after adding the required information.
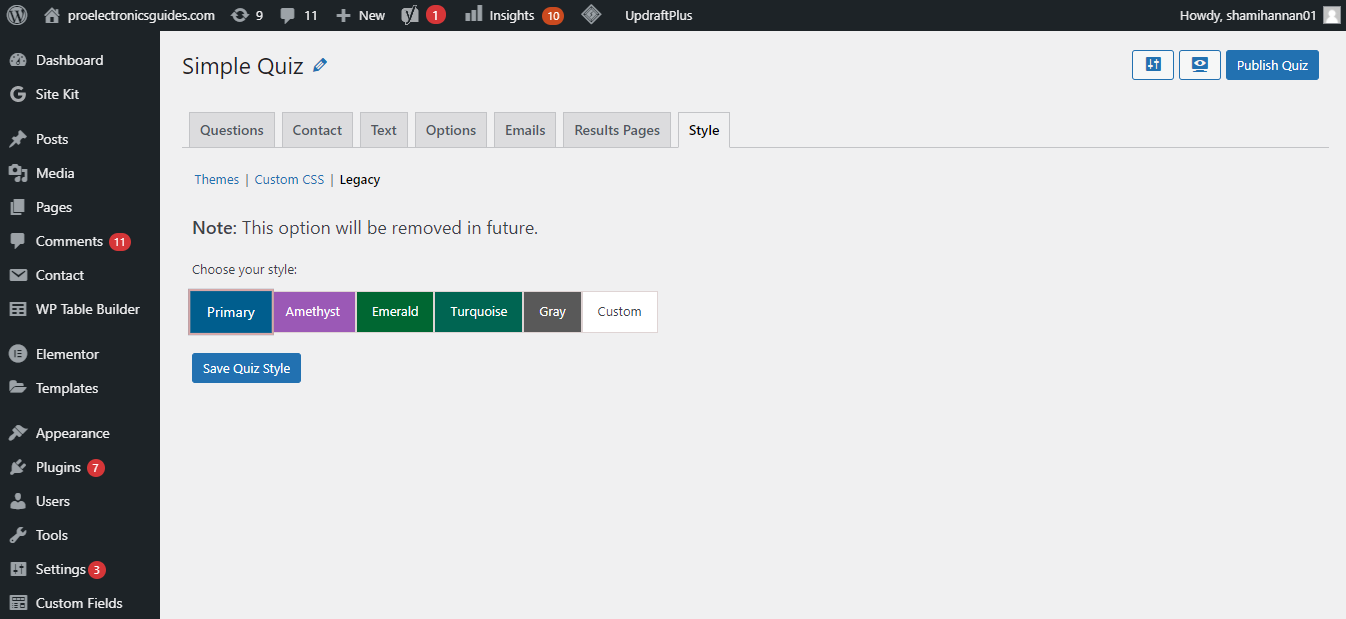
How to Setup a Quiz Style or Theme
A quiz style is the final configuration option when creating a quiz or survey. You can select from a variety of quiz color styles or upload your own CSS style code.
1. Go to the style section in the Quiz or Survey dashboard. Choose your desired theme.
2. Upload your custom CSS style code by navigating to custom CSS.
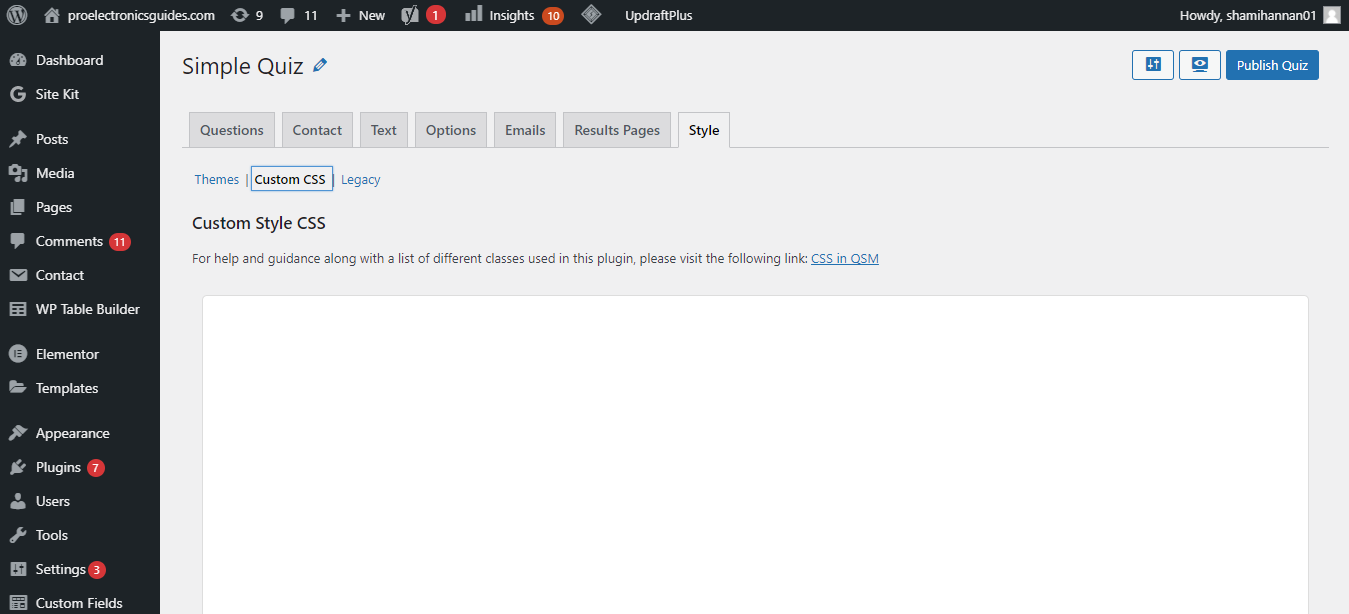
3. Choose a style from the legacy option right next to Custom CSS. Once you're satisfied, Click save quiz style.
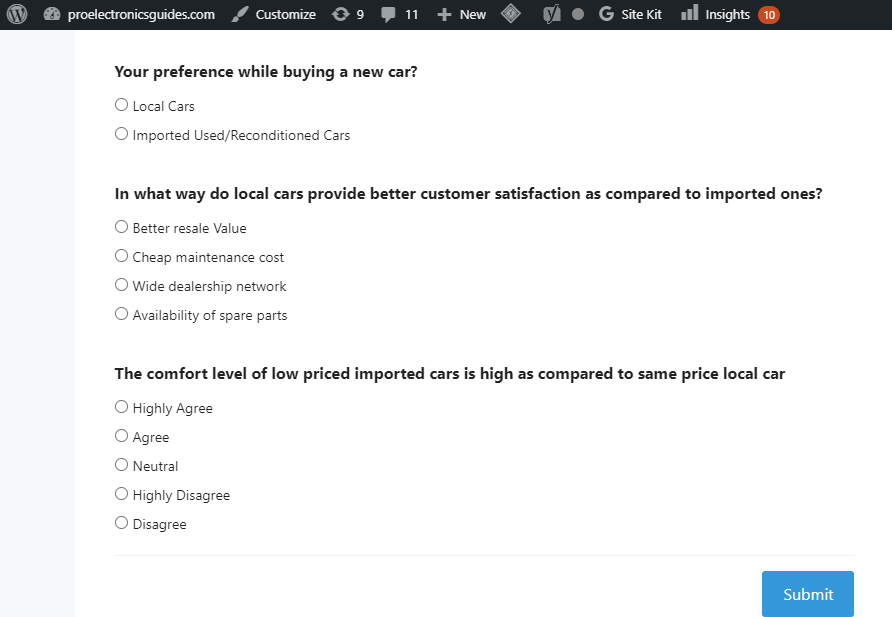
After making changes in the settings, the next step is to publish the quiz or survey. Publish the quiz by clicking on the publish quiz button. The survey or quiz form will be live instantly—ready to receive the responses.
This is how the survey form will look from the front end.
Take Input From Your Audience Using Survey Forms
Quiz and survey master is an excellent WordPress survey plugin for creating surveys, quizzes, polls, and other question-and-answer forms. With no requirement of coding experience, even non-techies can set up an engaging survey to collect data in no time.
If you find creating survey forms from scratch difficult, it's easier to create them with Google Forms. You can also embed Google Form in WordPress to conduct a survey on your website.