
A professional roadmap is an indispensable project management tool that helps you to create a visual timeline for projects, goals, or assignments. It helps to track progress and ensure that all project participants are on the same page at every stage.
You can create a professional roadmap using different tools. However, today we'll show you how to create a professional roadmap in PowerPoint. It's free, simple, and easy to do once you follow all the steps. And once finished, you can easily share it with other team members or showcase it in your weekly meetings.
Creating a Professional Roadmap in PowerPoint
There are two major ways to create a professional roadmap in PowerPoint. You can either use ready-to-use templates or create one from scratch. If you want to use a template, you can check out this list of sites where you can get free animated PowerPoint templates.
The beauty of using templates is that it saves you time and contemplation, so you can hit the ground running. All you have to do is simply edit as you see fit by removing or adding stuff.
Starting afresh, on the other hand, gives you creative freedom and complete control. This is great if you're already experienced with creating roadmaps or skilled at creating engaging PowerPoint presentations.
At the end of the day, whichever path you choose, you'll still end up with a professional roadmap. Let's now go over both methods.
How to Create a Professional Roadmap in PowerPoint Using Templates
To create a professional roadmap using PowerPoint-provided templates:
- Launch PowerPoint on your desktop.
-
On the start screen, go to the left sidebar and click on New, just below the Home button.
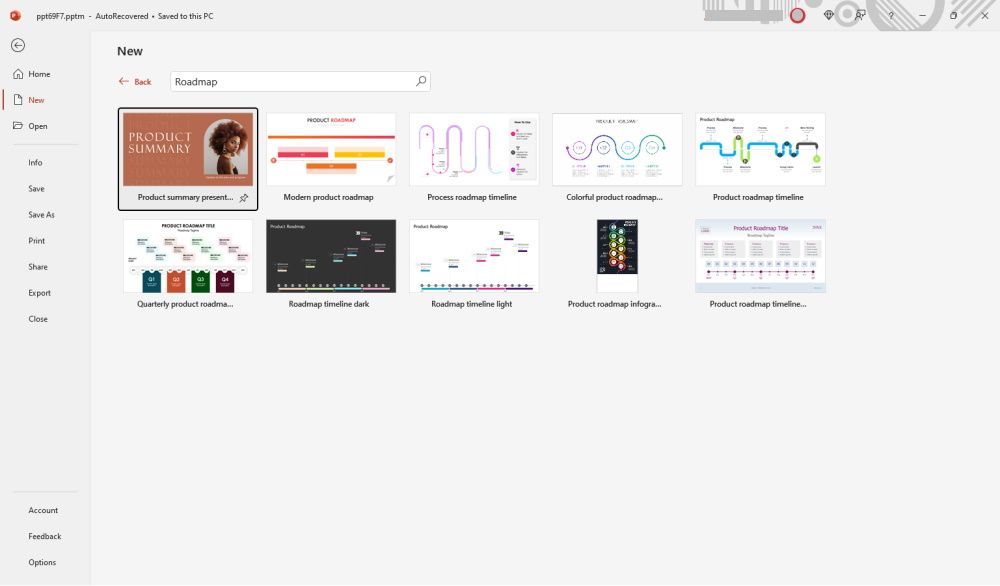
- Go to the search box, enter Roadmap, and hit the search button. After a few seconds, the PowerPoint templates library will populate.
-
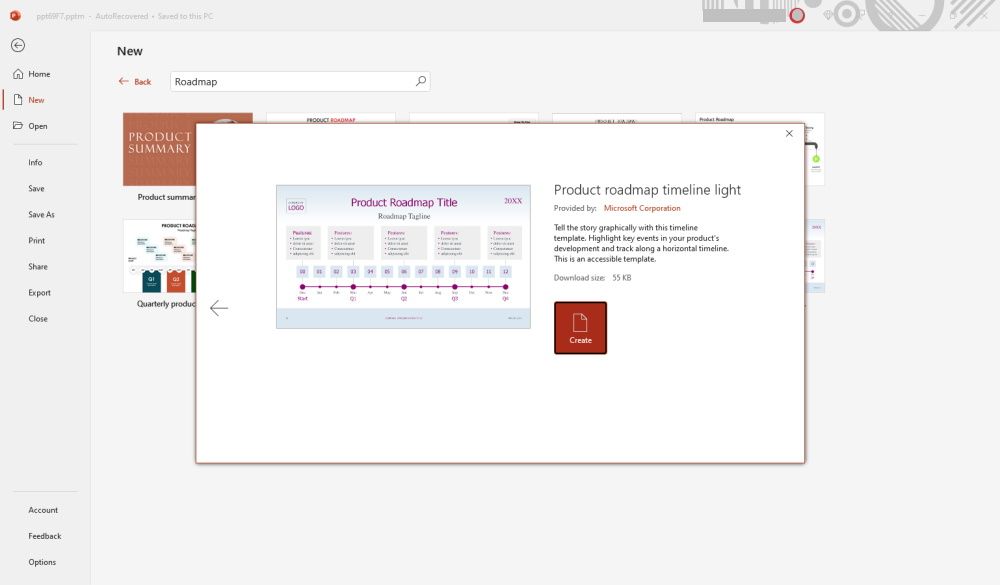
Select a template from the library and click on Create. You can try different templates until you find one that suits your needs. You can even select dark-themed templates.
- Once the roadmap is loaded onto the work area, you can start customizing it to your taste by adding text and other media.


When done, you can easily share your professional roadmap with other team members either as a PowerPoint presentation or as a PDF attachment.
How to Create a Professional Roadmap in PowerPoint From Scratch Using SmartArt
You can create a professional roadmap in PowerPoint from scratch using SmartArt. Here's how it's done.
- Open a new PowerPoint document on your desktop.
- Click on the Insert tab, followed by SmartArt. There are hundreds of SmartArt graphics to choose from.
-
To narrow down your search, go to the left panel of the SmartArt dialog box and click on Process.
If you don't see what you like, you can click on Office.com at the bottom of the dialog box. This will allow you to explore even more template options.
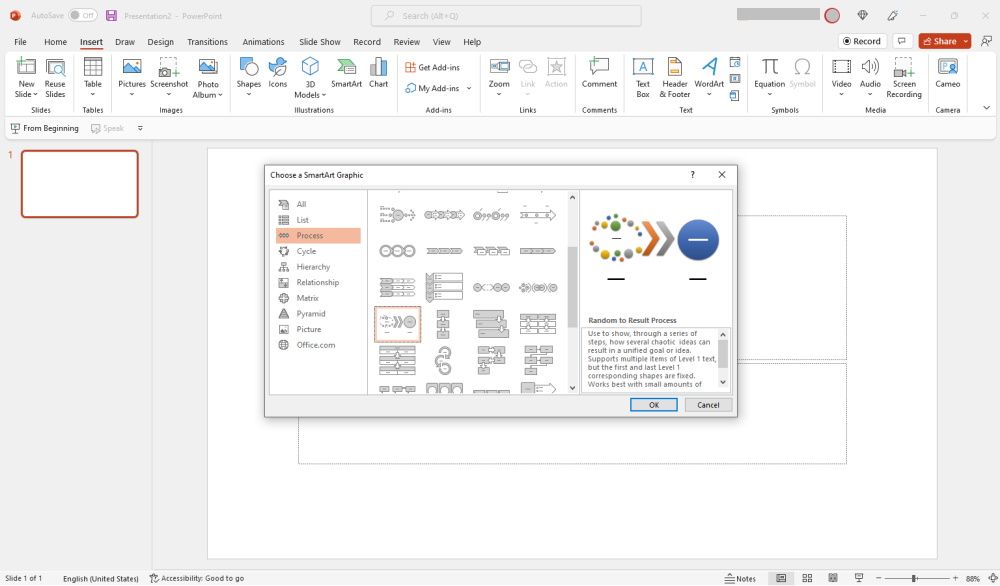
- When you select a particular SmartArt graphic, a preview will be shown in the right pane.
-
Click OK to confirm your selection.
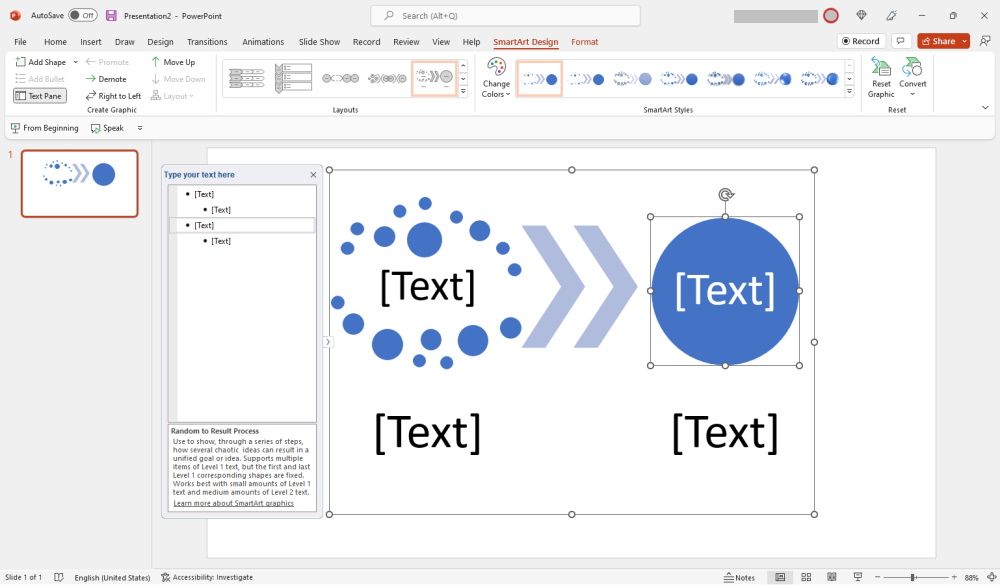
- With the SmartArt graphic added, it's now up to you to create a professional roadmap. You can enrich your roadmap by adding relevant text, images, infographics, audio clips, and even videos.


Start Creating Professional Roadmaps in PowerPoint
Creating a professional roadmap in PowerPoint is so easy that it will only take you minutes to get started. How long you spend creating yours will depend on your project's complexity and skill level.
Another cool benefit of creating roadmaps in PowerPoint instead of paper is that you can always return to the drawing board and make edits as new information becomes available.
Also, creating and distributing digital copies of your roadmap with PowerPoint will ensure that all team members get updates whenever changes are made to the original document. This way, no one is left behind.