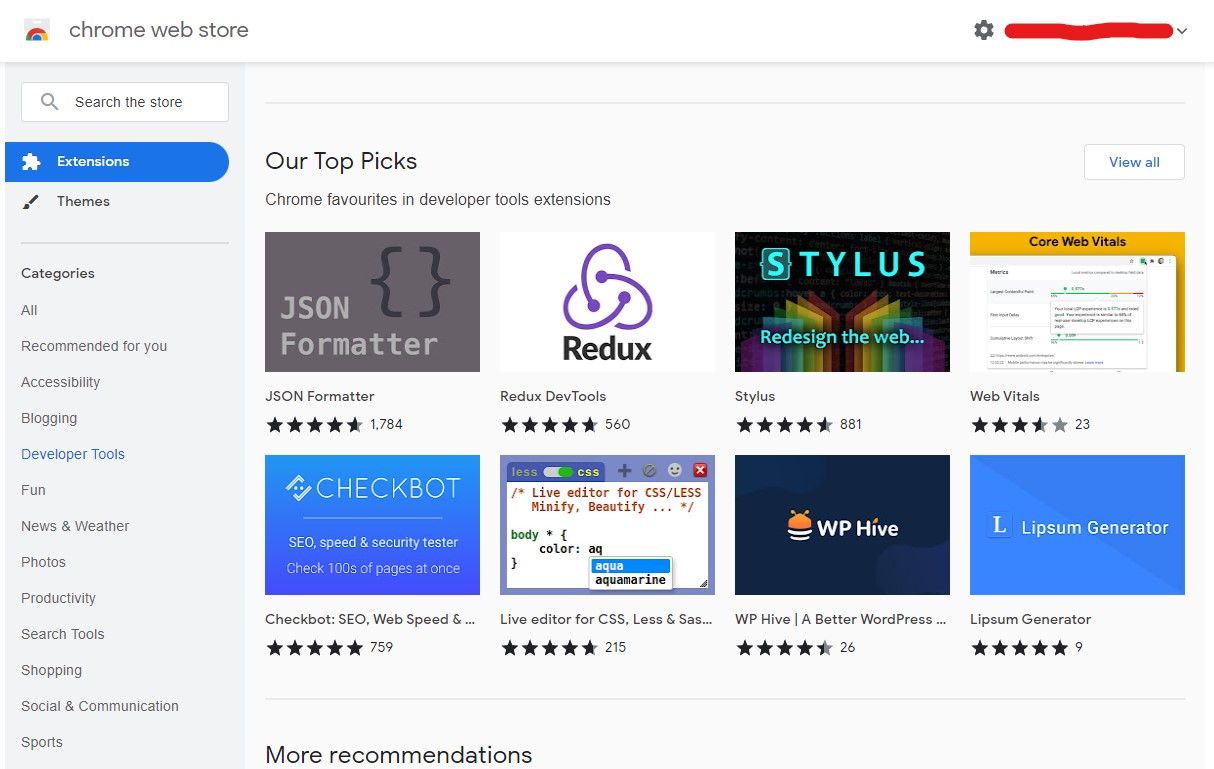
Have you ever found yourself unhappy with the features that come with your web browser? Even with hours of scouring the Google Web Store under your belt, it isn’t always a simple matter of hitting “download” to enhance your web surfing experience.
This is where browser extensions come in. In this article, we will be exploring the process of building your very own DIY Google Chrome Extension from scratch.
What Is a Google Chrome Extension?
Modern web browsers like Google Chrome come with an array of features that make them easy to use and able to meet the needs of most users. Extending these stock features can come with loads of different benefits, though. This is why browser developers usually make it possible to create extensions, add-ons, and plug-ins for them.
Google Chrome offers this feature, making it easy for anyone with web development experience to create their own Chrome Extensions. You can make an extension using HTML, JavaScript, and CSS, just like many websites.
Unlike a website, extensions can run in the background while you browse, sometimes even interacting with the sites that you visit.
What Will Our Google Chrome Extension Do?
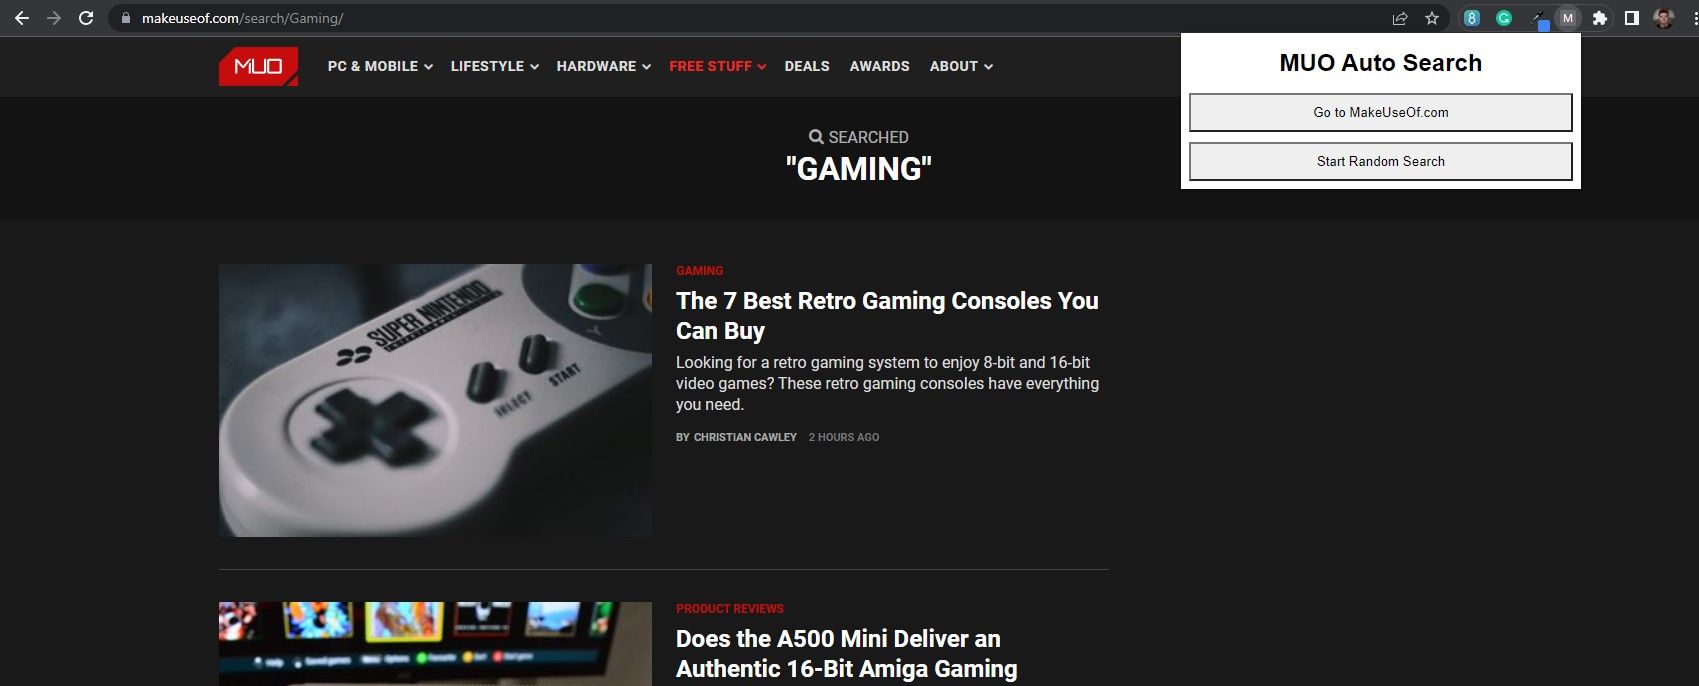
We are going to build a simple Chrome extension that will allow you to visit the Make Use Of website and make a random search based on the article categories found on the site. This is a quick and easy project, but you will still learn a lot.
You Will Learn How To
- Create a Google Chrome Extension
- Insert custom code into webpages using a Chrome Extension
- Create event listeners and simulate clicks
- Generate random numbers
- Work with arrays and variables
Building Your Own DIY Chrome Extension
Google has made it surprisingly easy to create your own Chrome Extensions, so it won’t take long before you have something working. Following the steps below will only take 10 to 15 minutes but we encourage you to experiment with your own code too.
Step 1: Creating the Files
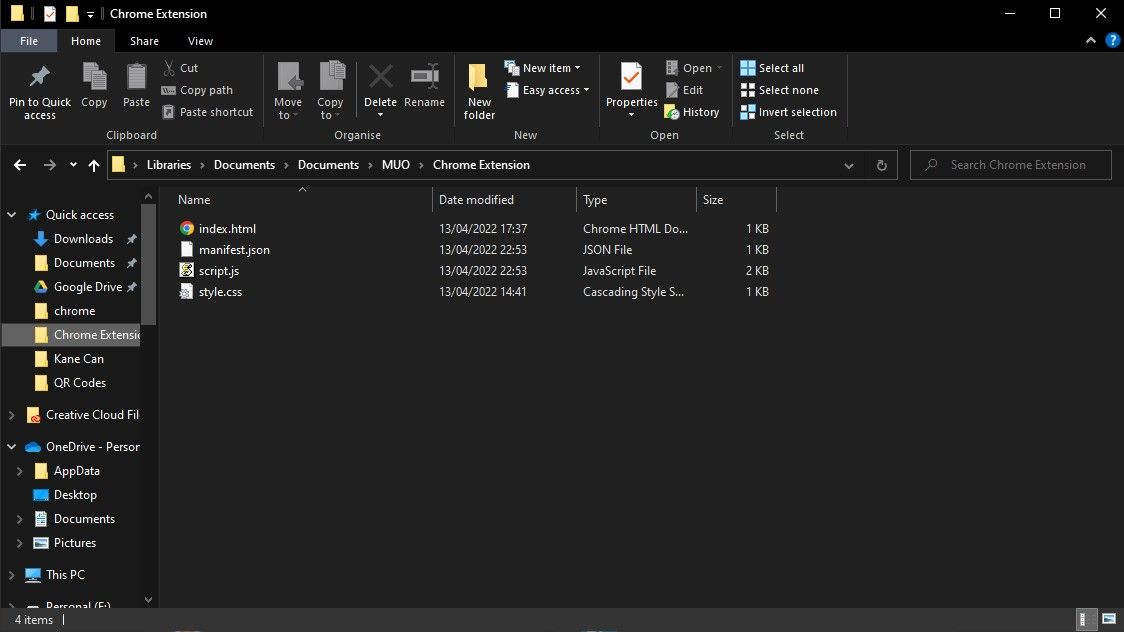
You can store your extension on your own local machine when you aren’t planning to distribute it. We only need to create four different files to create our extension; an HTML file, a CSS file, a JavaScript file, and a JSON file.
We called our files index.html, style.css, script.js, and manifest.json. The manifest file must have this name to work properly, but you can give the others any names you like, as long as you alter your code accordingly.
You should place these files in the same root folder.
Step 2: Building the Manifest File
The manifest file comes with every Google Chrome Extension. It provides information about the extension to Chrome while also putting some basic settings in place. This file has to contain a name, version number, description, and a manifest version. We’ve also included permissions and an action that loads index.html as the popup that appears for the extension.
        {
    "name": "MakeUseOf.com Automated Search",
    "version": "1.0.0",
    "description": "A search tool to find interesting articles",
    "manifest_version": 3,
    "author": "Samuel Garbett",
	"permissions": ["storage", "declarativeContent", "activeTab", "scripting"],
	"host_permissions": [""],
    "action":{
        "default_popup": "index.html",
        "default_title": "MUO Auto Search"
    }
}
Step 3: Building the HTML & CSS
Before we can start writing our script, we need to create a basic UI using HTML and CSS. You can use a CSS library like Bootstrap to avoid creating your own, but we only need a couple of rules for our extension.
Our index.html file features html, head, and body tags. The head tag contains a page title and a link to our stylesheet, while the body is home to an h1 tag, a button that takes you to MakeUseOf.com, and another button that we will be using as a trigger for a script. A script tag right at the end of the document includes the script.js file.
        <html>

<head>

   <title>MUO Auto Search</title>

   <meta charset="utf-8">

   <link rel="stylesheet" href="style.css">

</head>

<body>

<h1>MUO Auto Search</h1>

<a href="https://www.makeuseof.com/" target="_blank"><button id="buttonOne">Go to MakeUseOf.com</button></a>

<button id="buttonTwo">Start Random Search</button>

</body>

<script src="script.js"></script>

</html>
Our CSS file is even simpler than our HTML, changing the style of just five elements. We have rules for our html and body tags, as well as for h1 tags and both of our buttons.
        html {
	width: 400px;
}
body {
	font-family: Helvetica, sans-serif;
}
h1 {
	text-align: center;
}
#buttonOne {
	border-radius: 0px;
	width: 100%;
	padding: 10px 0px;
}
#buttonTwo {
	border-radius: 0px;
	width: 100%;
	padding: 10px 0px;
	margin-top: 10px;
}
Step 4: Building the JavaScript
As the last step in this process, it’s time to build our script.js file.
The first function in this file, called insertScript(), is in place to insert the other function (autoSearch()) into the current page. This allows us to manipulate the page and use the search features that are already present on the MakeUseOf.com site.
This is followed by an event listener that waits until the Start Random Search button is clicked before calling the function we explored above.
The autoSearch() function is a little more complicated. It begins with an array containing 20 of the categories on the MUO website, giving us a good sample to draw from when making our random searches. Following this, we use the Math.random() function to generate a random number between 0 and 19 in order to select an entry from our array.
With our search term in hand, we now need to simulate a button click to open the MUO search bar. We first use the Chrome developer console to find the ID of the search button, and then we add this to our JavaScript code with the click() function.
Like the search button, we also need to find the ID of the search bar that appears, enabling us to insert the random search term we have selected. With this complete, it is a simple matter of submitting the form to make our search.
        // This function inserts our autoSearch function into the page's code
function insertScript() {
    // This selects the focused tab for the operation and passes the autoSearch function
    chrome.tabs.query({active: true, currentWindow: true}, tabs => {
        chrome.scripting.executeScript({target: {tabId: tabs[0].id}, function: autoSearch})
    })

    // This closes the extension pop-up to select the website search bar
	window.close();
}

// This is an event listener that detects clicks on our "Start Random Search" button
document.getElementById('buttonTwo').addEventListener('click', insertScript)

// This function selects a random topic from an array and
function autoSearch() {
    // This is an array to store our search terms
	const searchTerms = ["PC and Mobile", "Lifestyle", "Hardware", "Windows", "Mac",
						"Linux", "Android", "Apple", "Internet", "Security",
						"Programming", "Entertainment", "Productivity", "Career", "Creative",
						"Gaming", "Social Media", "Smart Home", "DIY", "Review"];

    // This generates a random number between 0 and 19
	let selectorNumber = Math.floor(Math.random() * 20);

    // This uses the random number to select an entry from the array
	let selection = searchTerms[selectorNumber];

    // This simulates a click on the MUO website search icon
	document.getElementById("js-search").click();

    // This sets the MUO website search bar as a variable
	var searchBar = document.getElementById("js-search-input");

    // This inserts our random search term into the search bar
	searchBar.value = searchBar.value + selection;

    // This finishes the process by activating the website form
	document.getElementById("searchform2").submit();
}
Step 5: Adding Your Files to Chrome://extensions
Next, it’s time to add the files you just created to the Chrome extensions page. Once you have done this, the extension will be accessible in Chrome and will update itself whenever you make changes to your files.
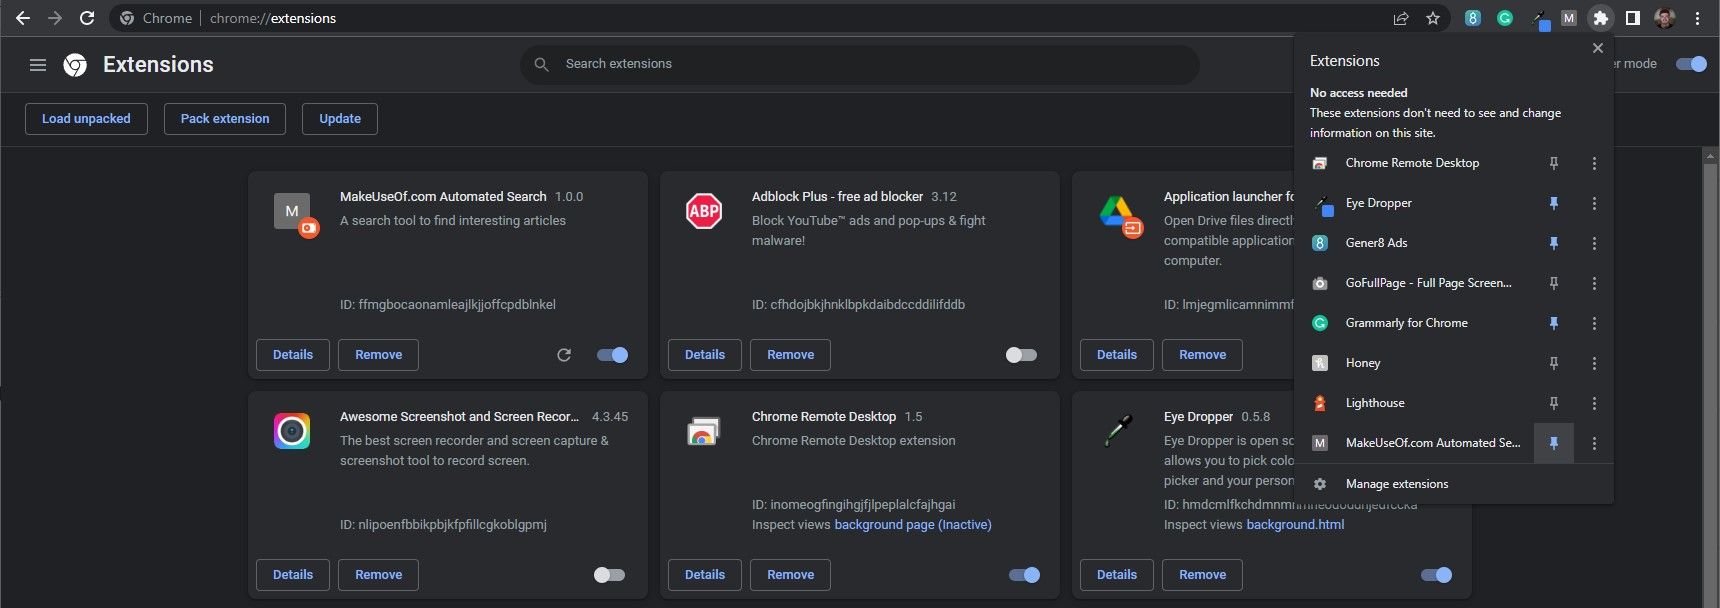
Open Google Chrome, go to chrome://extensions and make sure that the Developer Mode slider in the top right corner is in the on position.
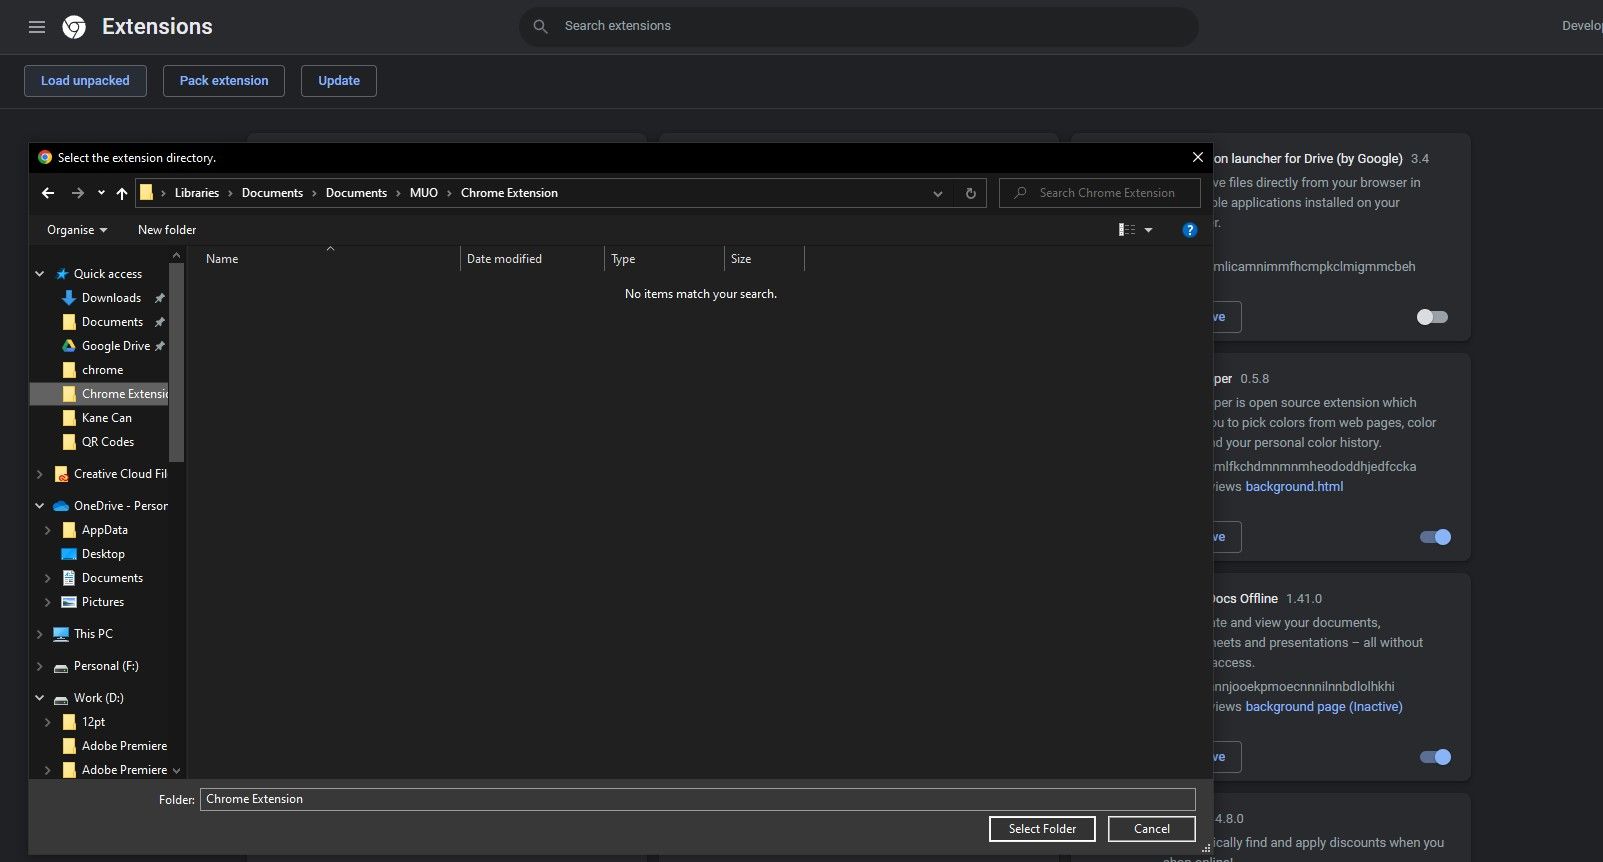
Click Load Unpacked in the top left corner, then choose the folder you have saved your extension files inside and click Select Folder.
Now that your extension is loaded, you can click the puzzle piece icon in the top right corner and pin your extension to the main taskbar for easier access.
You should now be able to access the completed extension within your browser. It is worth keeping in mind that this extension will only work on the MUO website or websites with the same ID for their search button and bar.
Building a Google Chrome Extension
This article only scratches the surface of the possible features you could build into your own Google Chrome extension. It’s well worth exploring your own ideas once you’ve learned the basics.
Chrome extensions can help you to level up your browsing but try to stay away from some of the known shady Chrome extensions for safe and secure browsing.

