
The importance of organizing and structuring your schedule is vital for productivity. You can get on top of your time and task management by maintaining a physical diary, a to-do list, or setting reminders on your mobile.
Some of these options work well for individuals who want to plan daily activities. In comparison, online tools are better if you work with a global team or have complex requirements.
There are many software and apps on the market that help you get organized. Miro is one such tool that provides a visual planner template which you share with colleagues or friends.
What Is the Planner Template in Miro?

The monthly planner template on Miro provides a way to visualize your schedule for the entire month in one place. It enables you to have a clear picture of the tasks, track your deadlines, and schedule essential milestones. Compared to other digital planners, Miro templates are easy to tweak and share, and you can add links, text and assign tasks to teammates.
Miro is a collaborative space and comes with many inbuilt templates to help you manage projects or conduct brainstorming sessions. You can make the most of the planner by using it on a board with other templates.
If you work as a freelancer, you can add reminders to virtual events, add your academic and professional commitments. You can access Miro from mobile and laptop, which lets you view and edit the planner seamlessly, even if you are on the move. Let's learn more about the monthly planner and how to use it.
Adding the Planner to Miro Board
To add the monthly planner to your board:
- Log in to Miro and open the board to which you want to add the planner.
- Click the template icon and enter planner.
- To use a blank template, click Use template.
- To use a template with partially filled tasks, click Preview > Use pre-filled.

To make the most of the planner, add it to the Miro board dedicated to a time-sensitive project. Hence, eliminating the need to constantly navigate away from the board to an external planner or calendar.
What Can You Do With the Planner?
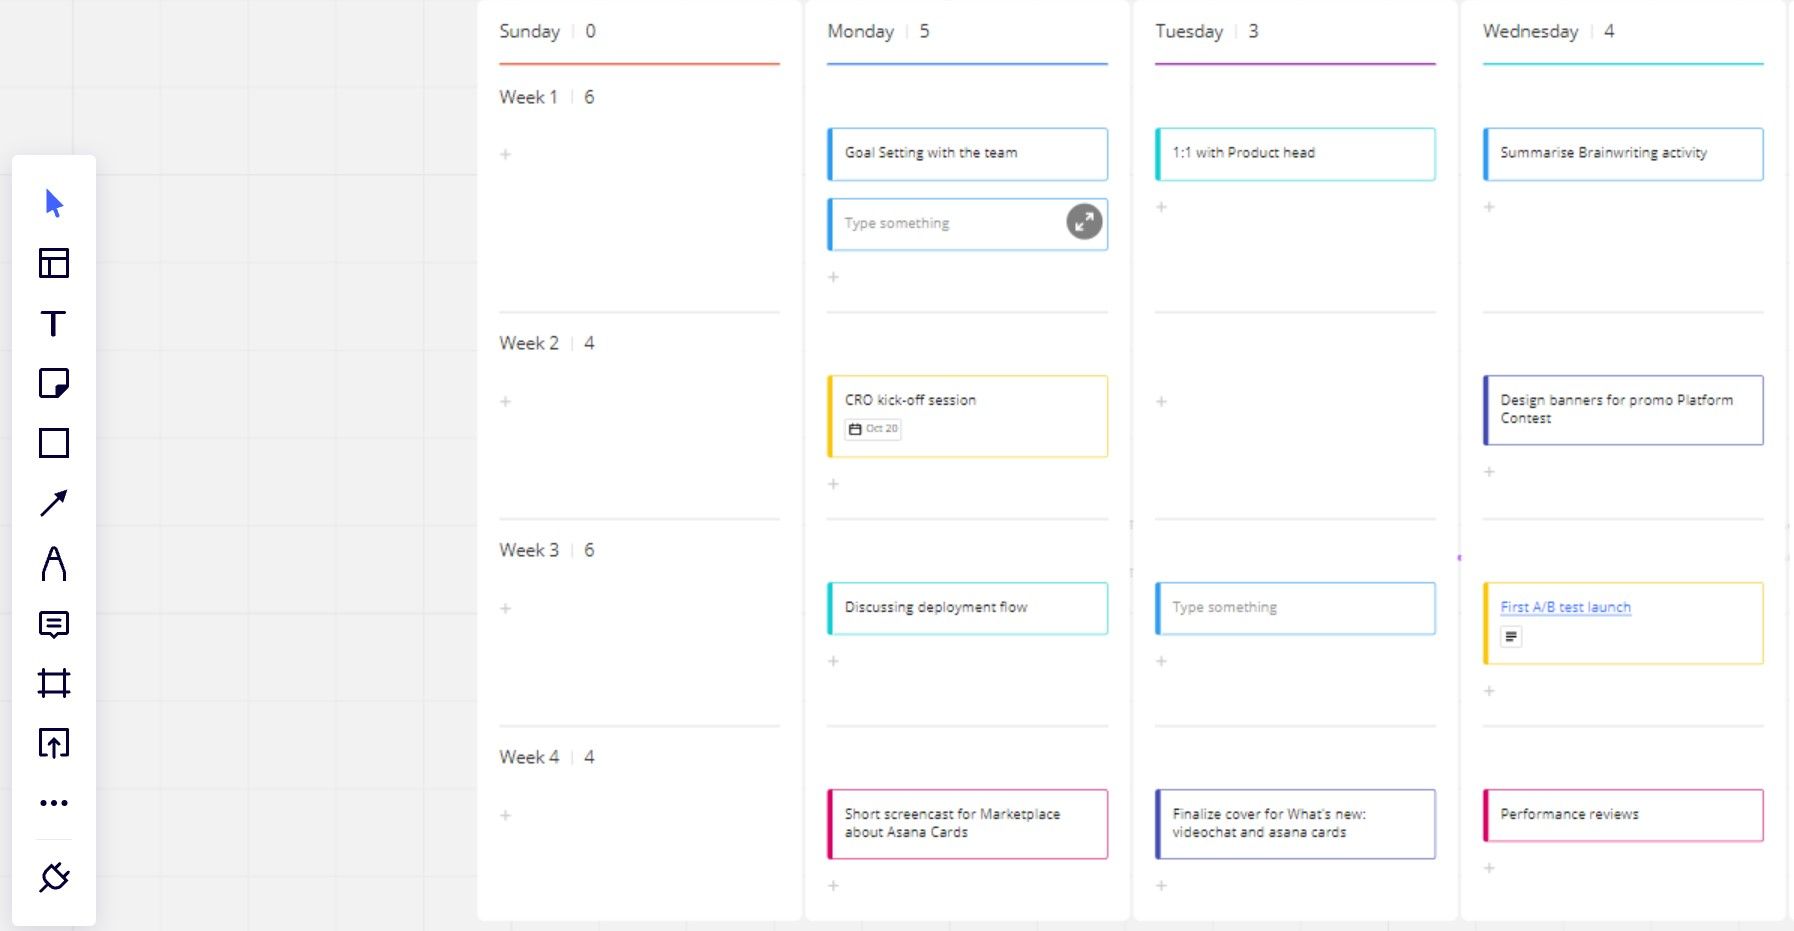
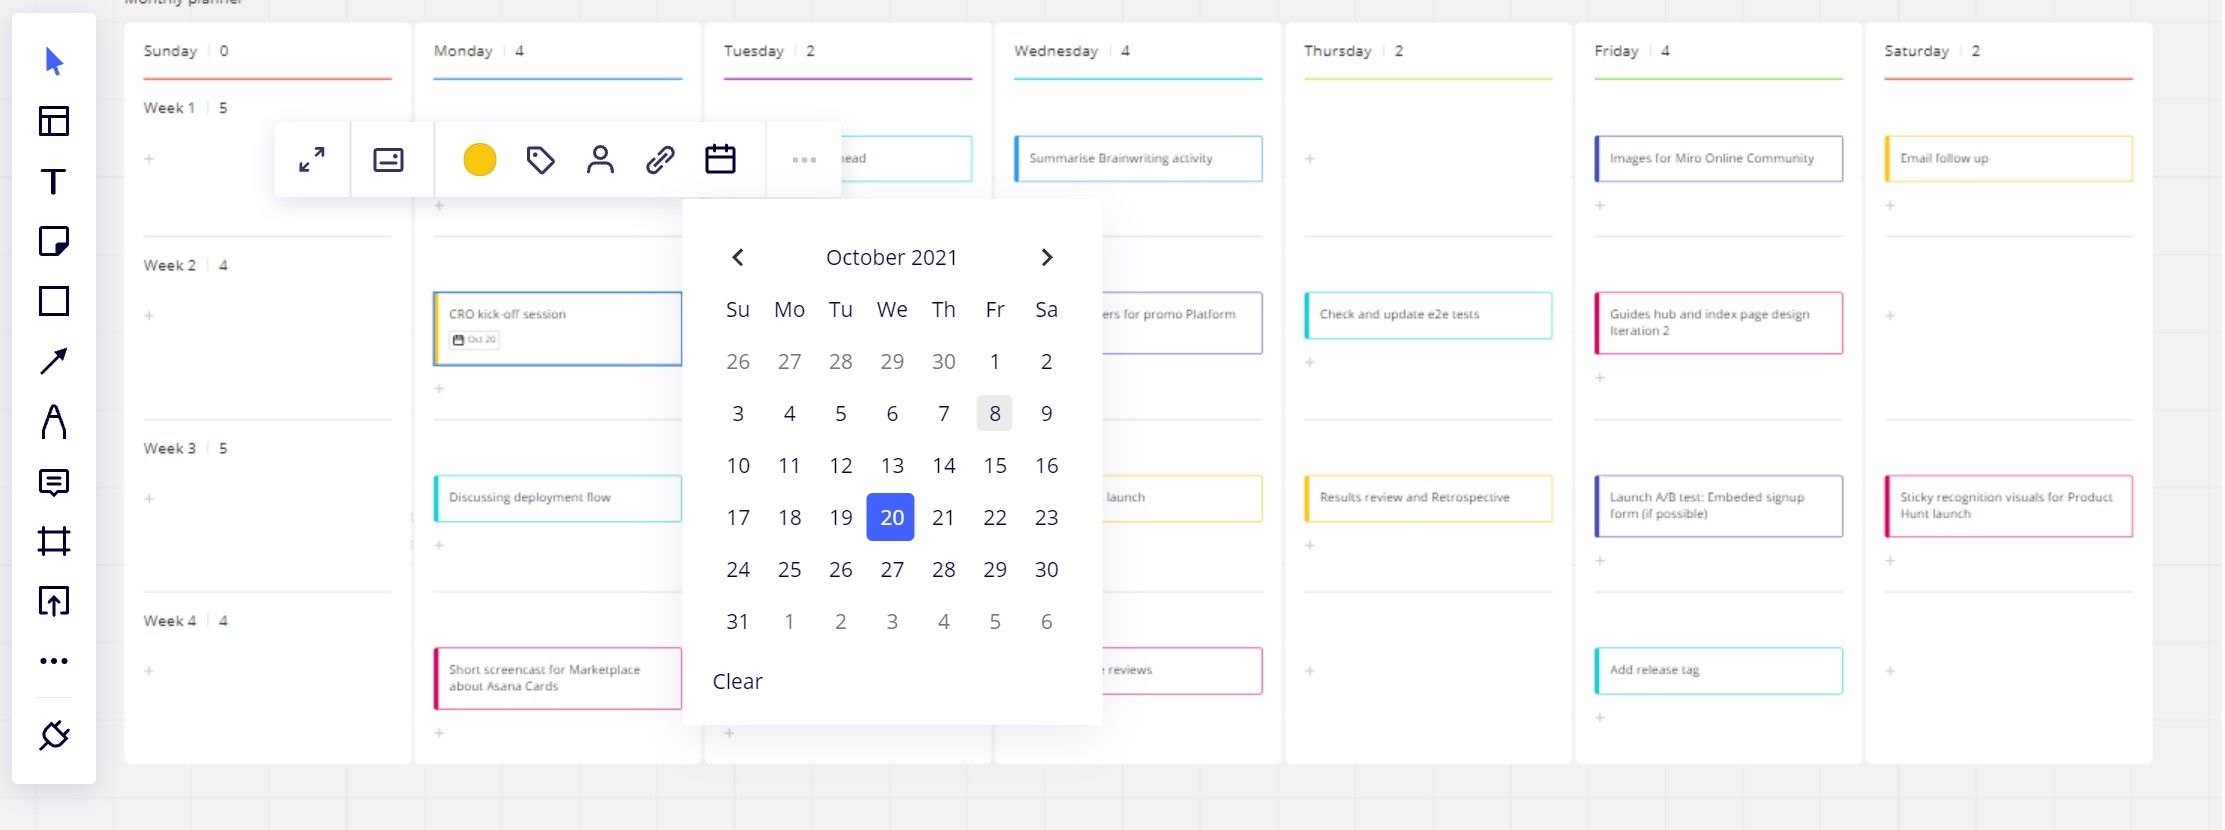
Now that you have added the planner, let's learn its features and functions you can perform on it. By default, the planner shows four weeks and seven days from Sunday to Saturday.
-
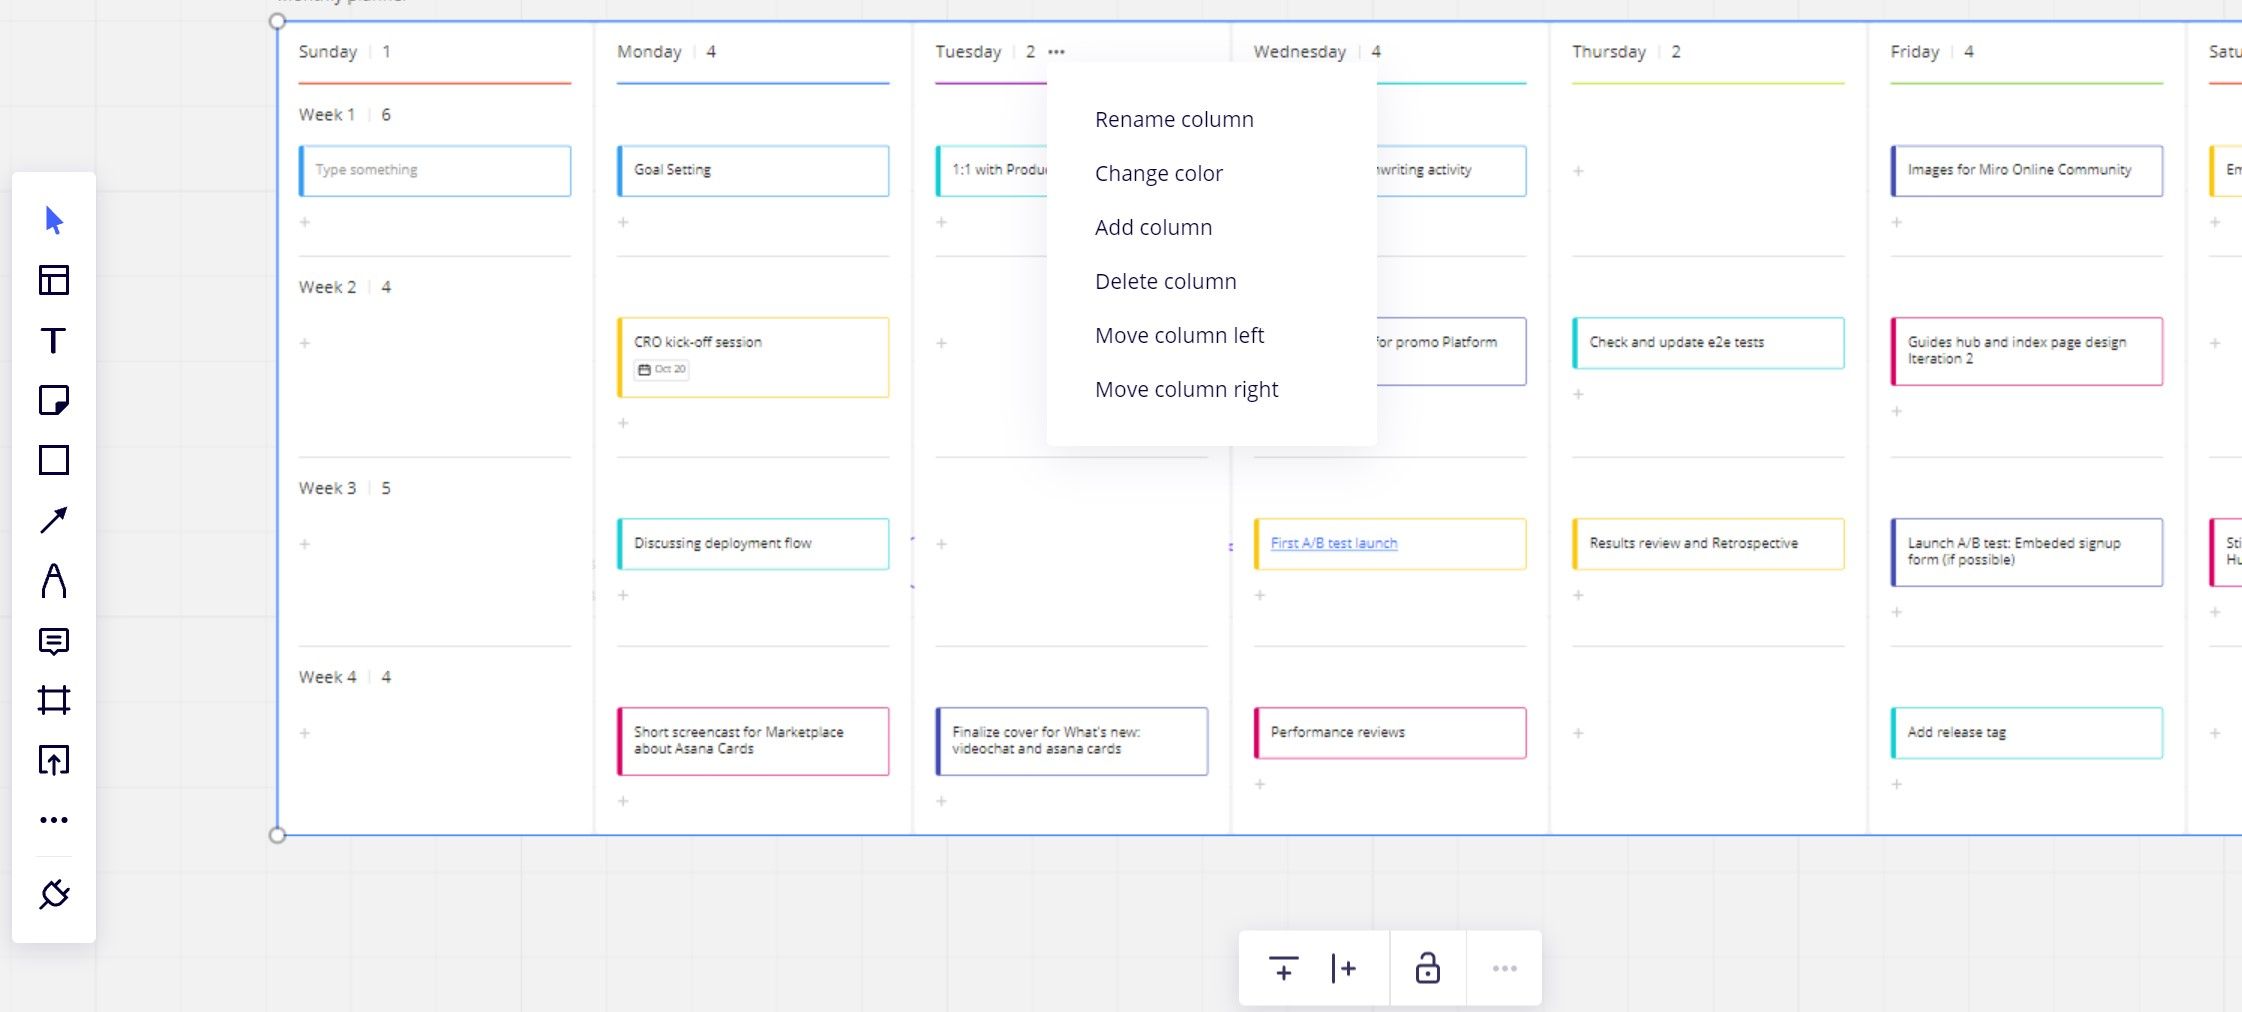
You can add or delete columns and swimlanes (rows) by clicking ellipses.
-
Rename the swimlane or column to align with the project.

-
Create tasks by clicking the plus icon in the swim lane. Every column and swimlane has a number next to it which denotes the number of tasks in that respective row or swimlane.
- Upload company logo or photos from the left panel on the Miro board. These help with branding and distinguishing different projects.
-
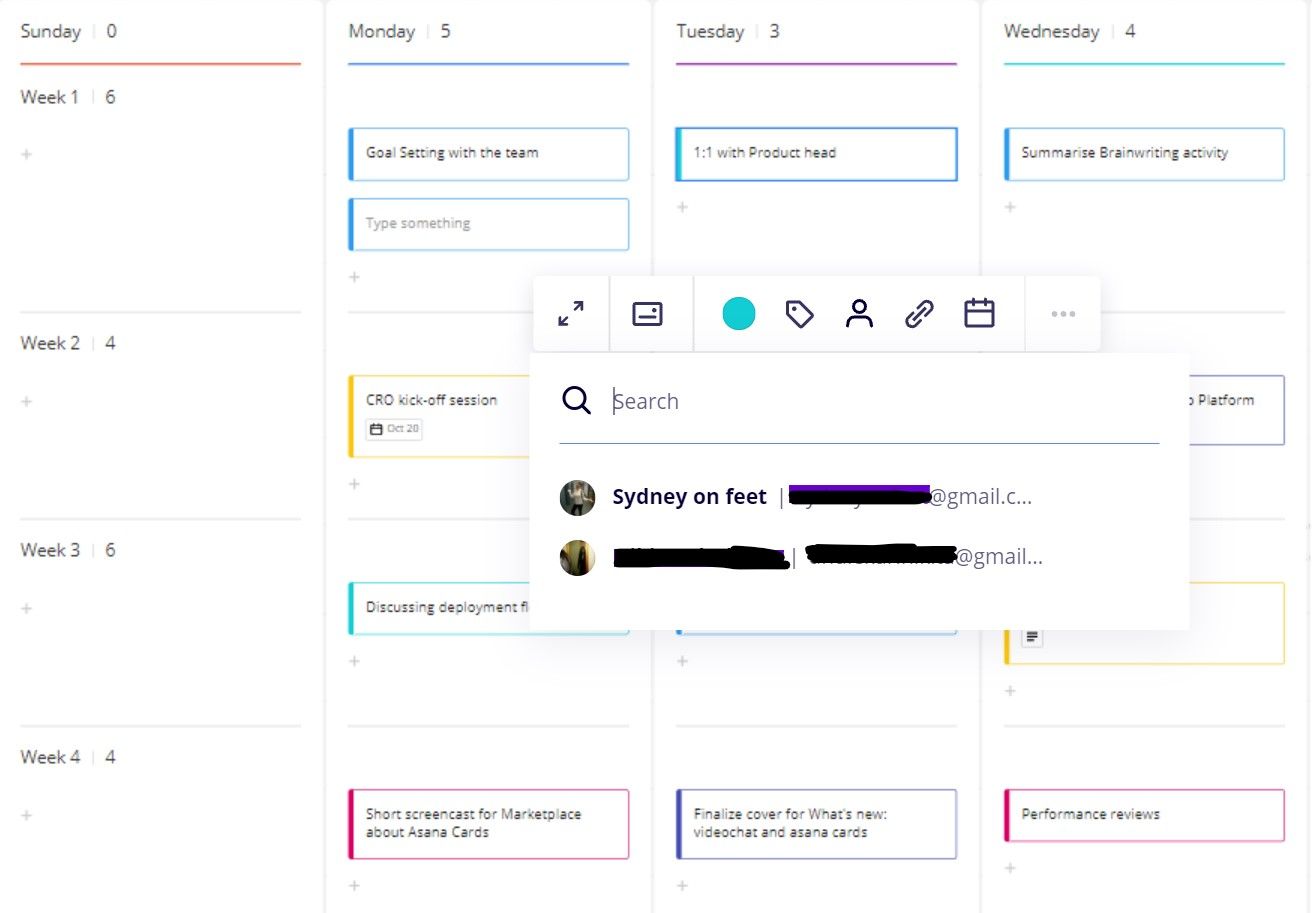
Tag people to bring their attention to a task or add dates for critical events.
- Add sticky notes or text blocks from the left panel on the Miro board to convey extra information.


As a best practice, enter detailed information about a task and distinguish its priority by assigning specific colors.
Adding Content to the Planner
Now that you understand the features of the planner, let's add content to it.
-
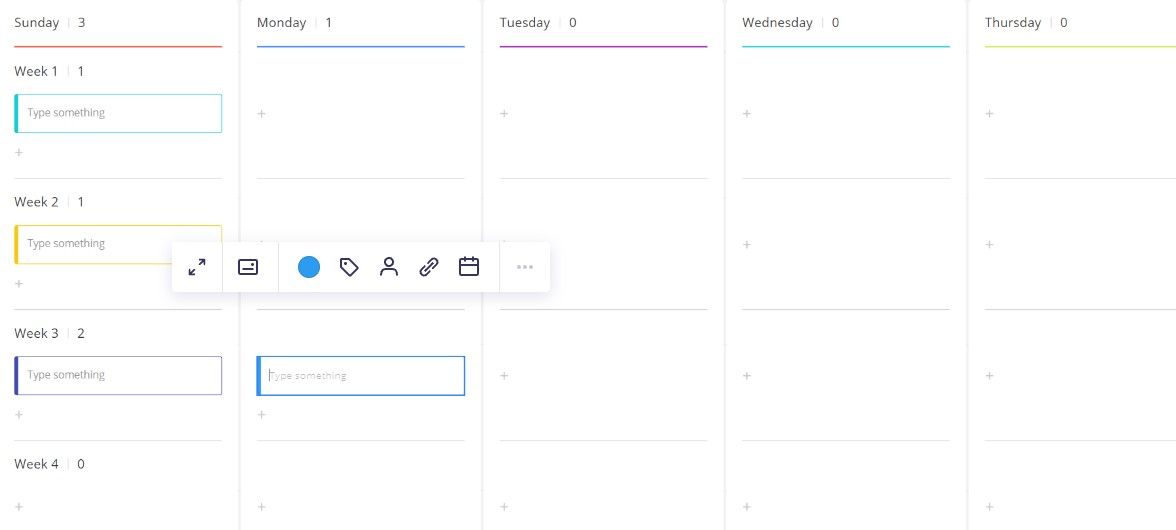
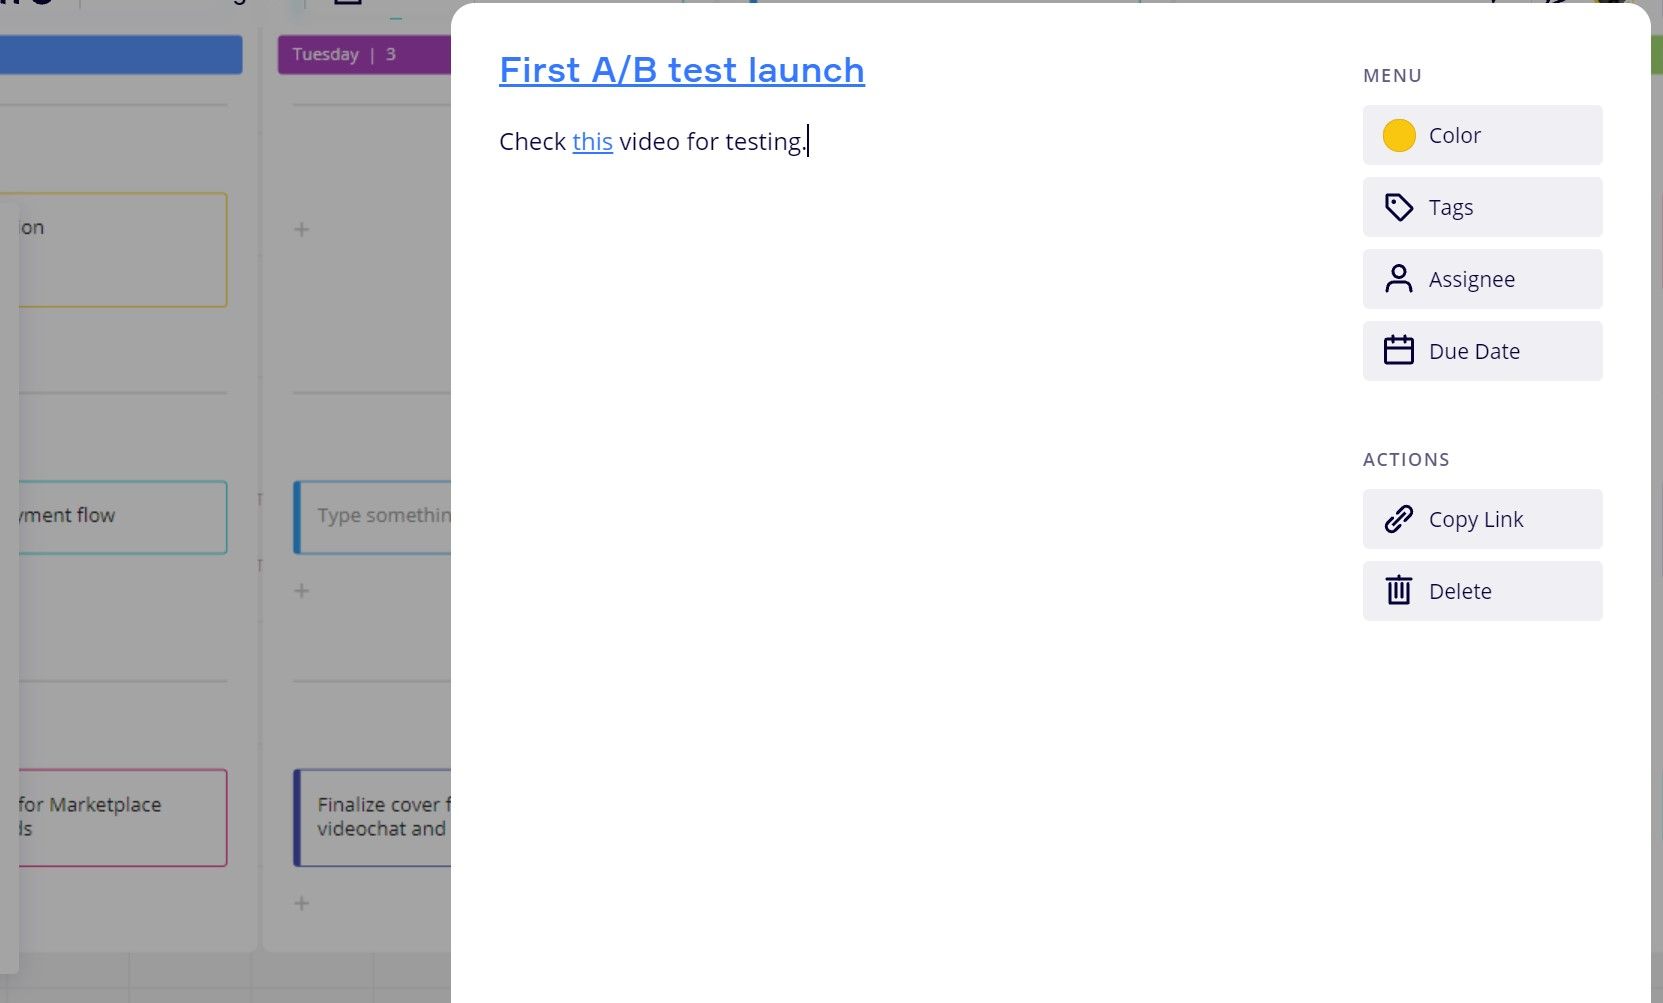
Click the text box to enter tasks for the day. You can change the shape of the text box by clicking it and selecting the swatch type.
-
To plan a meeting, click the add assignee link and select the person's email address. The person will receive a notification.
-
Assign a date to a task by selecting the calendar icon.
-
To add a link to a video to a task, click the link icon.


This planner is best viewed by zooming in, which takes a lot of space on the Miro board and hides other templates. So, be mindful when you are sharing this planner in a meeting along with different templates.
Sharing the Planner With Others
By default, the planner on Miro is accessible and shared with anyone who has access to the corresponding Miro board.

But if you want to bring someone's attention to the planner or reshare it, you can do so by selecting it, clicking ellipsis > copy link. You can then share the link via messenger or email.
To avoid editing or moving the planner by mistake, you can select the planner and click the lock icon. This feature is helpful when many people are working on different templates on the same Miro board.
Performing Other Tasks on the Planner
In addition to writing, editing, and sharing, there are many features of the monthly planner template which make it appealing. Select the planner and click the ellipsis button to reveal the extra functions.

- If you enjoy working with a specific planner design, you can save it by selecting the Save as template option.
- Modify the name to something meaningful as Planner for October 2020 by selecting the Rename option.
- If you want to work with this planner in a CSV format, you can convert it to Excel.
If you want to refer the planner offline or put it on your desk, you can print a copy. However, remember that calendars on Miro are created for collaboration, and the physical copy might become redundant soon unless the plan is final.
Organize Your Activities to Improve Productivity
Whether you are working on a month-long project or collaborating with a team on multiple projects, planning is essential to a successful outcome.
The monthly planner is one of the many templates on Miro. So, if you don't plan to use Miro for other purposes, it is better to explore free alternatives like Google calendar or iCalendar.
If you prefer focusing and organizing your daily schedule, many tools are available on the web to help you get started. Now that you know a fair bit about the advantages and challenges of the planer template of Miro, use it to plan your next big project.