Mockups are a great way to showcase your website, app, or any product of your brand. It gives the users a clear idea about your business and conveys your message to your audience.
Canva offers dozens of templates and features for you to enhance your designs. Even if you’re not a professional graphic designer, you can easily create amazing designs on the platform in no time.
In this article, we’re are going to show you how to create a mockup to showcase your website on a design using Canva. Here's how you do it...
1. Sign Up or Log In to Canva

A simple and user-friendly interface makes getting started with Canva a breeze. If you’re new to the platform, sign up with your email, Google, Facebook, or Apple account to begin.
2. Choose Your Design Dimensions

Once you’ve logged in to the platform, pick the design dimensions you want for your project. Click on Create a Design in the top-right corner of the screen and choose any one of the options you prefer. From designing a logo to a YouTube thumbnail, you can create anything and everything with Canva.
After you’re done, you’ll be directed to a blank canvas where you can customize your design as you like.
3. Upload Your Website Image

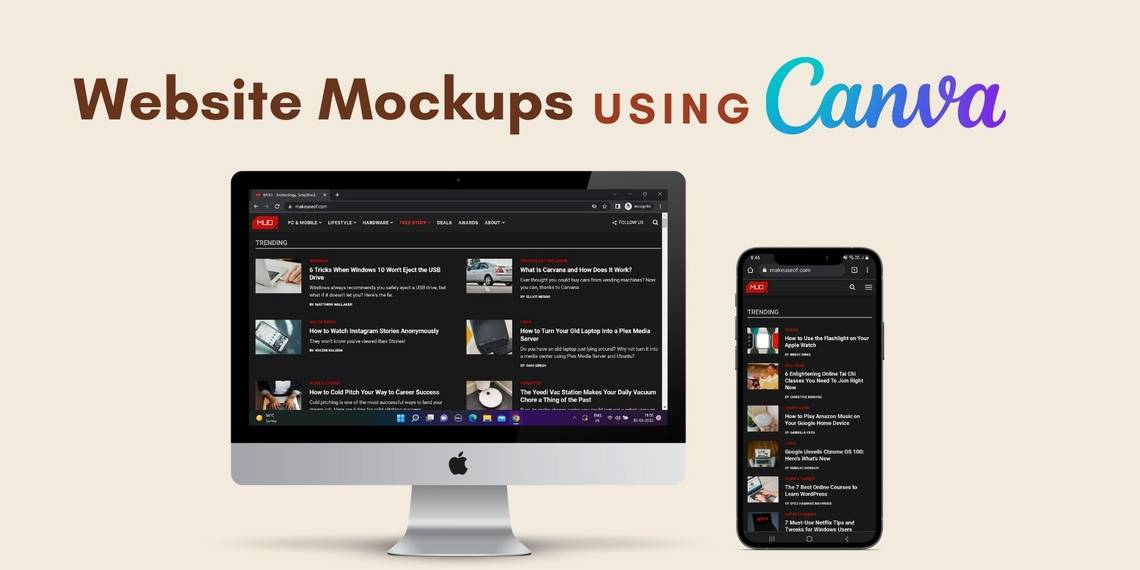
The next step is to select your website screenshots to turn into a mockup. You can add two screenshots of your website—one with the desktop and another with the phone. To do so, click on Upload on the left-side panel and then select the images to add them to your design.
4. Select Smartmockups

After you’re done adding your pictures, click on your image to see the Edit Image option on the toolbar. Scroll down to Smartmockups and select any one of the options with a computer, phone, or laptop to showcase your website.
5. Customize Your Mockup

You can customize your mockup to fix the positioning and size. To do so, click on your selected mockup to view three options—Fill, Fit, and Custom. Choose Fill if you want your mockup to completely fill the image and Fit if you want it to fit snugly.
To manually fix the positioning of your image, select Custom and drag the Horizontal and Vertical sliders until the mockup is exactly where you want it. Similarly, you can resize your mockup by adjusting the Size slider.
6. Add Text and Elements

Canva offers a ton of design elements and customization options. To make the most of this program, you can add elements like a search bar and type in your website name. If you have the Canva Pro subscription, you can take advantage of all the premium elements.
Additionally, you can change the background color, add your text, and choose the best font to go with it to finish your design.
7. Download and Share Your Design

Finally, after you’re done with the design, you can download it in JPG or PNG. To do so, click on Share in the top-right corner of the toolbar above the design. Furthermore, Canva allows you to schedule your design directly from the platform, letting you create, plan, and share all from one place.
Showcase Your Website by Making a Mockup in Canva
These steps will help you create impressive mockup designs of your website in Canva. With a slew of handy tools available on the platform, you can create any type of mockup you want. Play around with your design and get some ideas from the template library as well to figure out what works the best for you.