React is a JavaScript library used to build fast and interactive user interfaces. It was developed by Facebook and currently, it's the most popular JavaScript library for building user interfaces.
In this article, you'll learn how to create your first React app and get started with this amazing framework.
Prerequisites for ReactJS
You must have Node.js and npm (Node Package Manager) installed on your system before starting with React. You can check if Node.js and npm are installed on your system by running the following commands in your terminal:
node --version
npm --version
If Node.js and npm are not installed on your system, you can follow this step-by-step guide to install Node.js and npm.
You must have a code editor for React development. You can choose any free code editor you like for writing your first app. It's recommended to install Visual Studio Code or Atom text editor to get started.
Also, you should have a basic understanding of HTML, CSS, JavaScript, ES6 features, and npm to get going.
Setting Up the Boilerplate for the React Application
You can create a React app manually or using a node package create-react-app to generate a boilerplate version of a React application. Using create-react-app, you don't need to install or configure tools like webpack or Babel.
Open up your terminal and move to the directory where you want to install the React App. Run the following command in the terminal to get started:
npx create-react-app my-first-react-app
You can replace the name of the react application my-first-react-app with anything you want. But make sure that it doesn't contain any capital letters.
It will take some time to install, and after completion you'll get some information on how to use the application:
         npm start
    Starts the development server.

 npm run build
    Bundles the app into static files for production.

 npm test
    Starts the test runner.

 npm run eject
    Removes this tool and copies build dependencies, configuration files
    and scripts into the app directory. If you do this, you can’t go back!

 We suggest that you begin by typing:

    cd my-first-react-app
    npm start

 Happy hacking!
Move to the directory you just created by executing the following command in the terminal:
cd my-first-react-app
Now, open the project in your favorite code editor. But before running the app, you should understand the initial project structure of the application.
The Initial Project Structure
After opening the project in your favorite code editor, you'll see the following file structure:
        my-first-react-app
├── README.md
├── node_modules
├── package.json
├── package-lock.json
├── .gitignore
├── public
│   ├── favicon.ico
│   ├── index.html
│   ├── logo192.png
│   ├── logo512.png
│   ├── manifest.json
│   └── robots.txt
└── src
    ├── App.css
    ├── App.js
    ├── App.test.js
    ├── index.css
    ├── index.js
    ├── logo.svg
    ├── serviceWorker.js
    └── setupTests.js
README.md: This file contains the basic information to get started with Create React App.
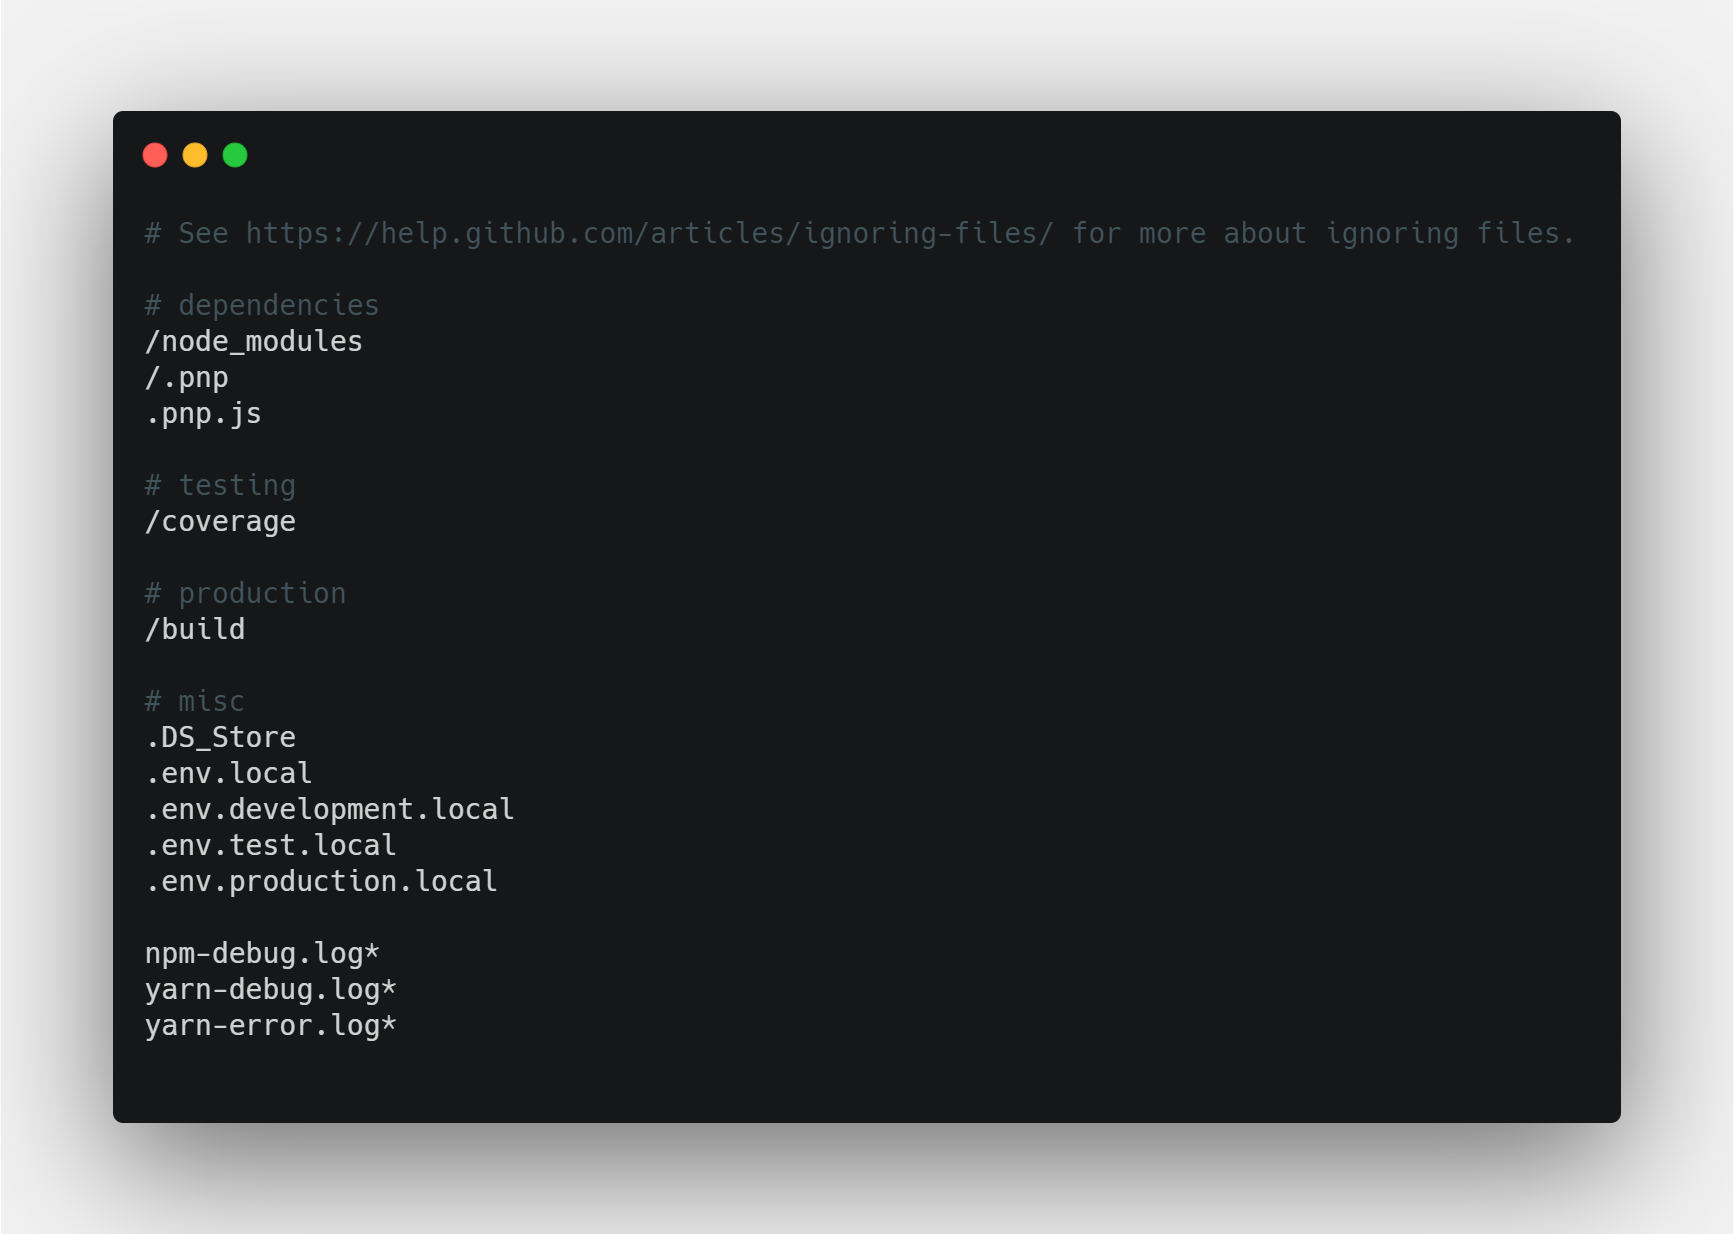
.gitignore: A text file that tells the source control tool git which files or folders to ignore in a project.
node_modules: This folder contains all the dependencies and sub-dependencies of packages used by the current React app.
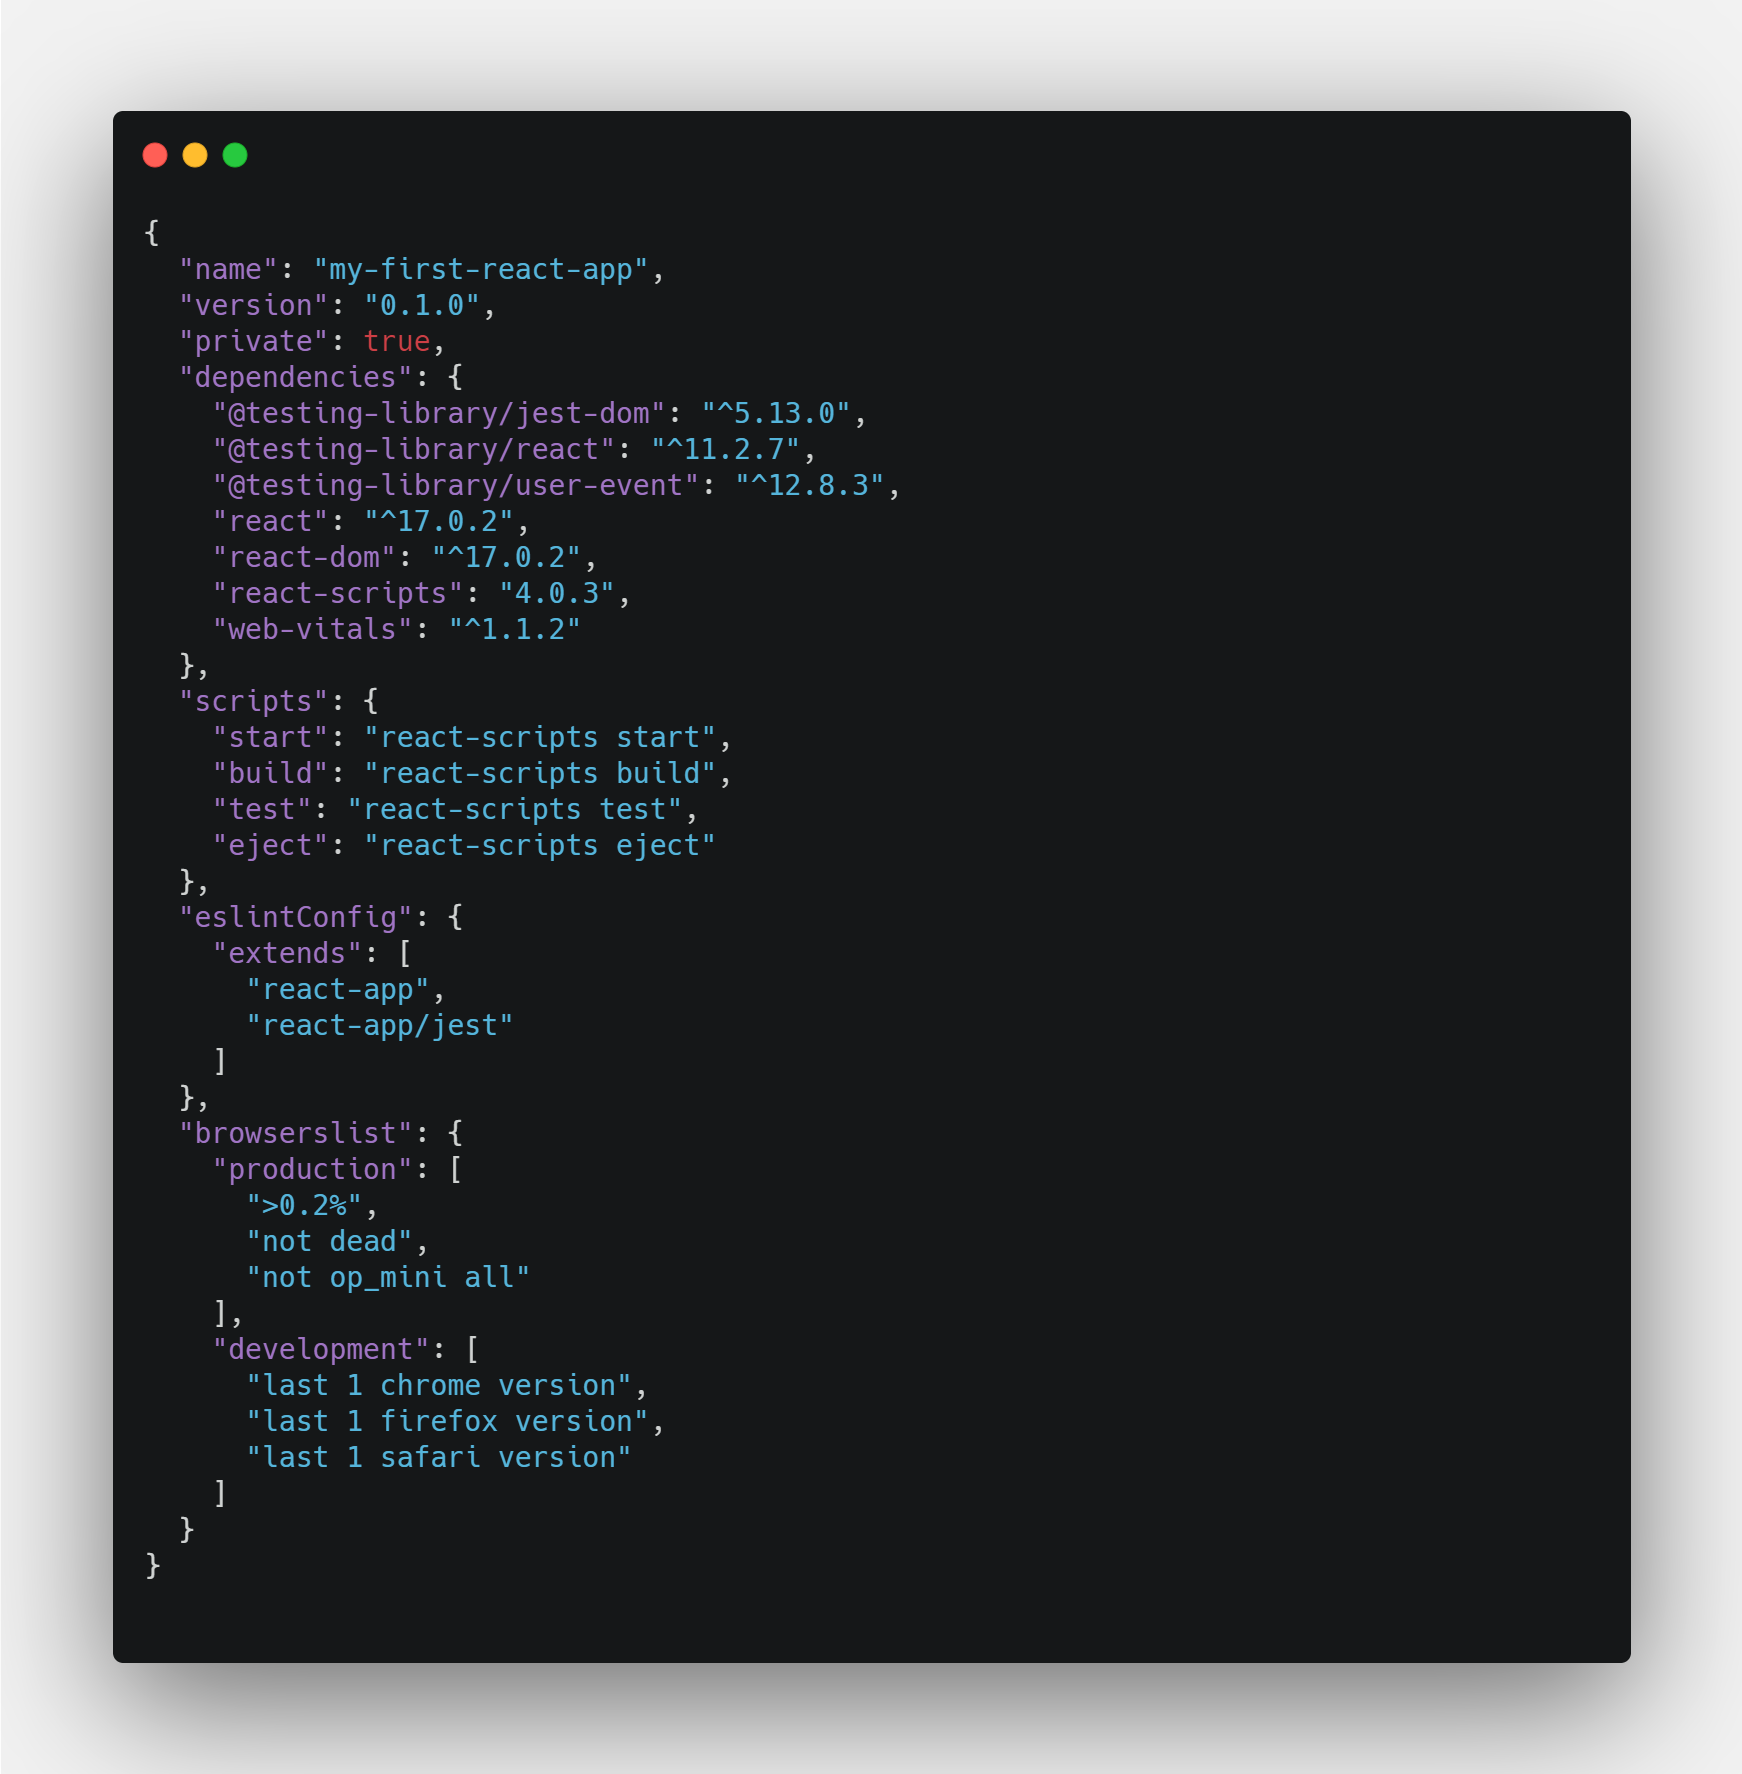
package.json: Primarily used to store the metadata associated with the project as well as to store the list of dependency packages.
package-lock.json: According to the npm Docs, package-lock.json is automatically generated for any operations where npm modifies either the node_modules tree or package.json. It describes the exact tree that was generated—subsequent installs are able to generate identical trees regardless of intermediate dependency updates.
public: This folder contains static assets of the web application. index.html provides the entry point for the web app.
src: This folder contains JavaScript that will be processed by webpack. It's the place where all your React-related source code lives. You'll work primarily in this folder to develop your app.
Running the Development Web Server
You can start the development web server by executing the following command in the terminal:
npm start
or
yarn start
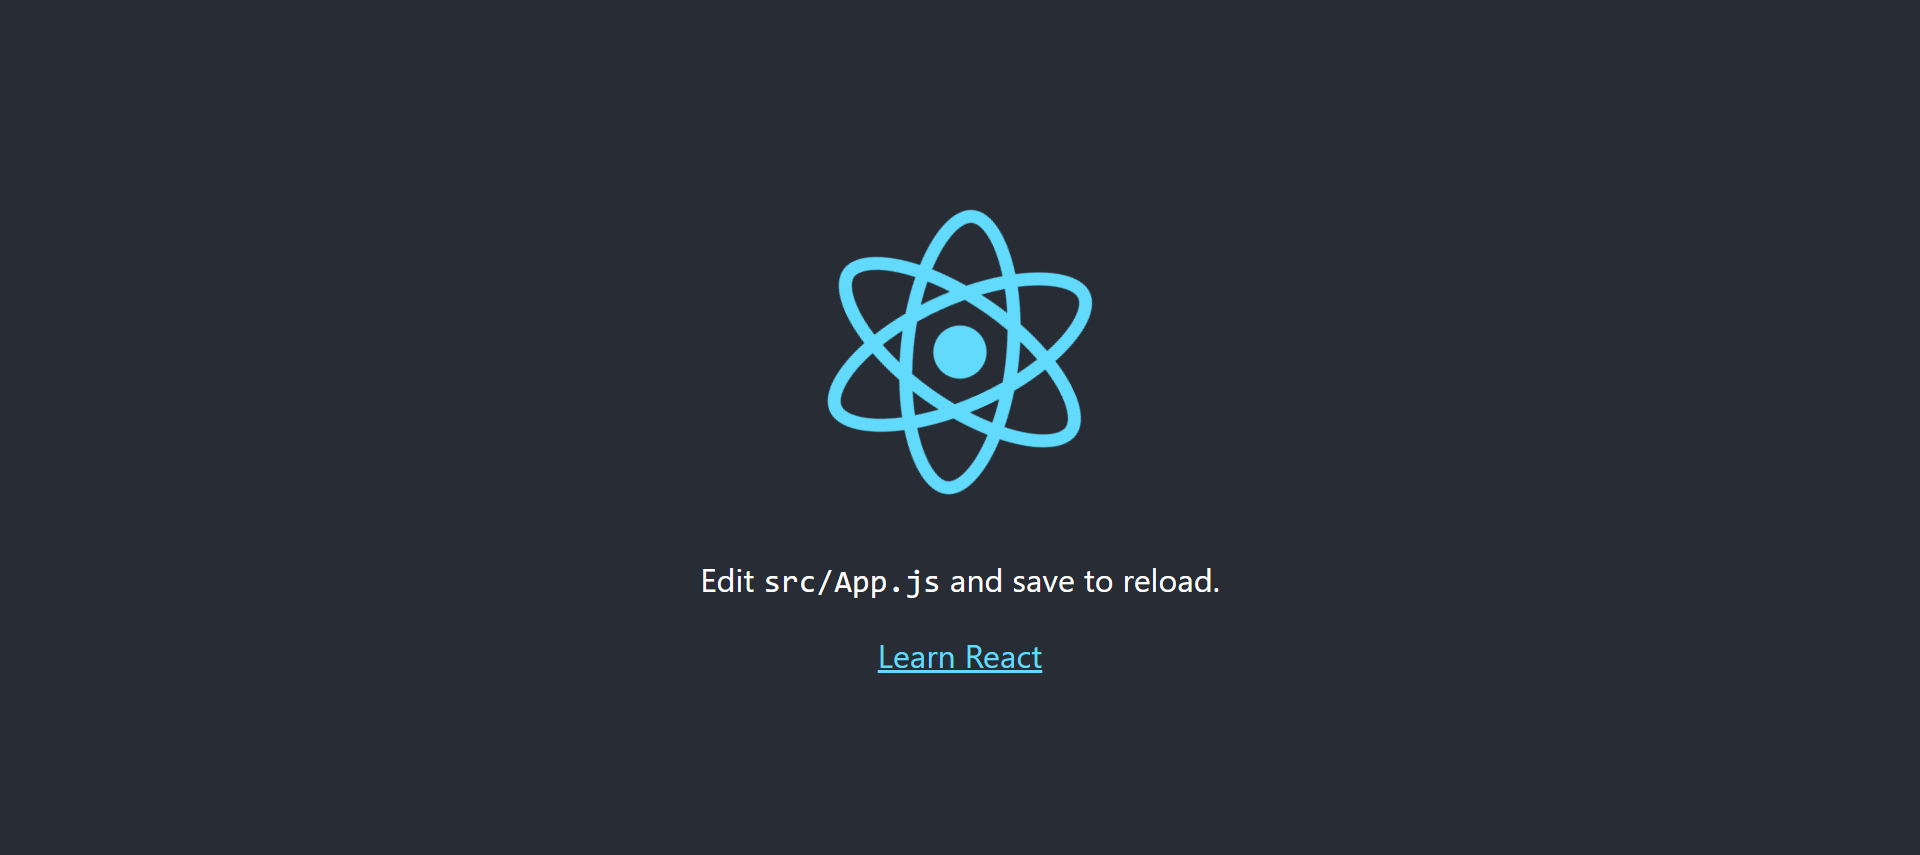
It runs the react app in development mode. Automatically a new tab will be opened in the browser that points to http://localhost:3000. If the tab doesn't open up automatically, you'll have to visit http://localhost:3000 manually. You'll see the following page at localhost:3000 address:
If you make any changes to the source code, it would be updated in real-time here. Open src/App.js in your favorite code editor. You'll find the following code in the App.js file:
        import logo from './logo.svg';
import './App.css';

function App() {
 return (
 <div className="App">
 <header className="App-header">
 <img src={logo} className="App-logo" alt="logo" />
 <p>
 Edit <code>src/App.js</code> and save to reload.
 </p>
 <a
 className="App-link"
 href="https://reactjs.org"
 target="_blank"
 rel="noopener noreferrer"
 >
 Learn React
 </a>
 </header>
 </div>
 );
}

export default App;
To create a Hello World application in React, modify the App.js as:
        import logo from './logo.svg';
import './App.css';

function App() {
 return (
 <div className="App">
 <header className="App-header">
 <img src={logo} className="App-logo" alt="logo" />
 <p>
 Hello World!
 </p>
 </header>
 </div>
 );
}

export default App;
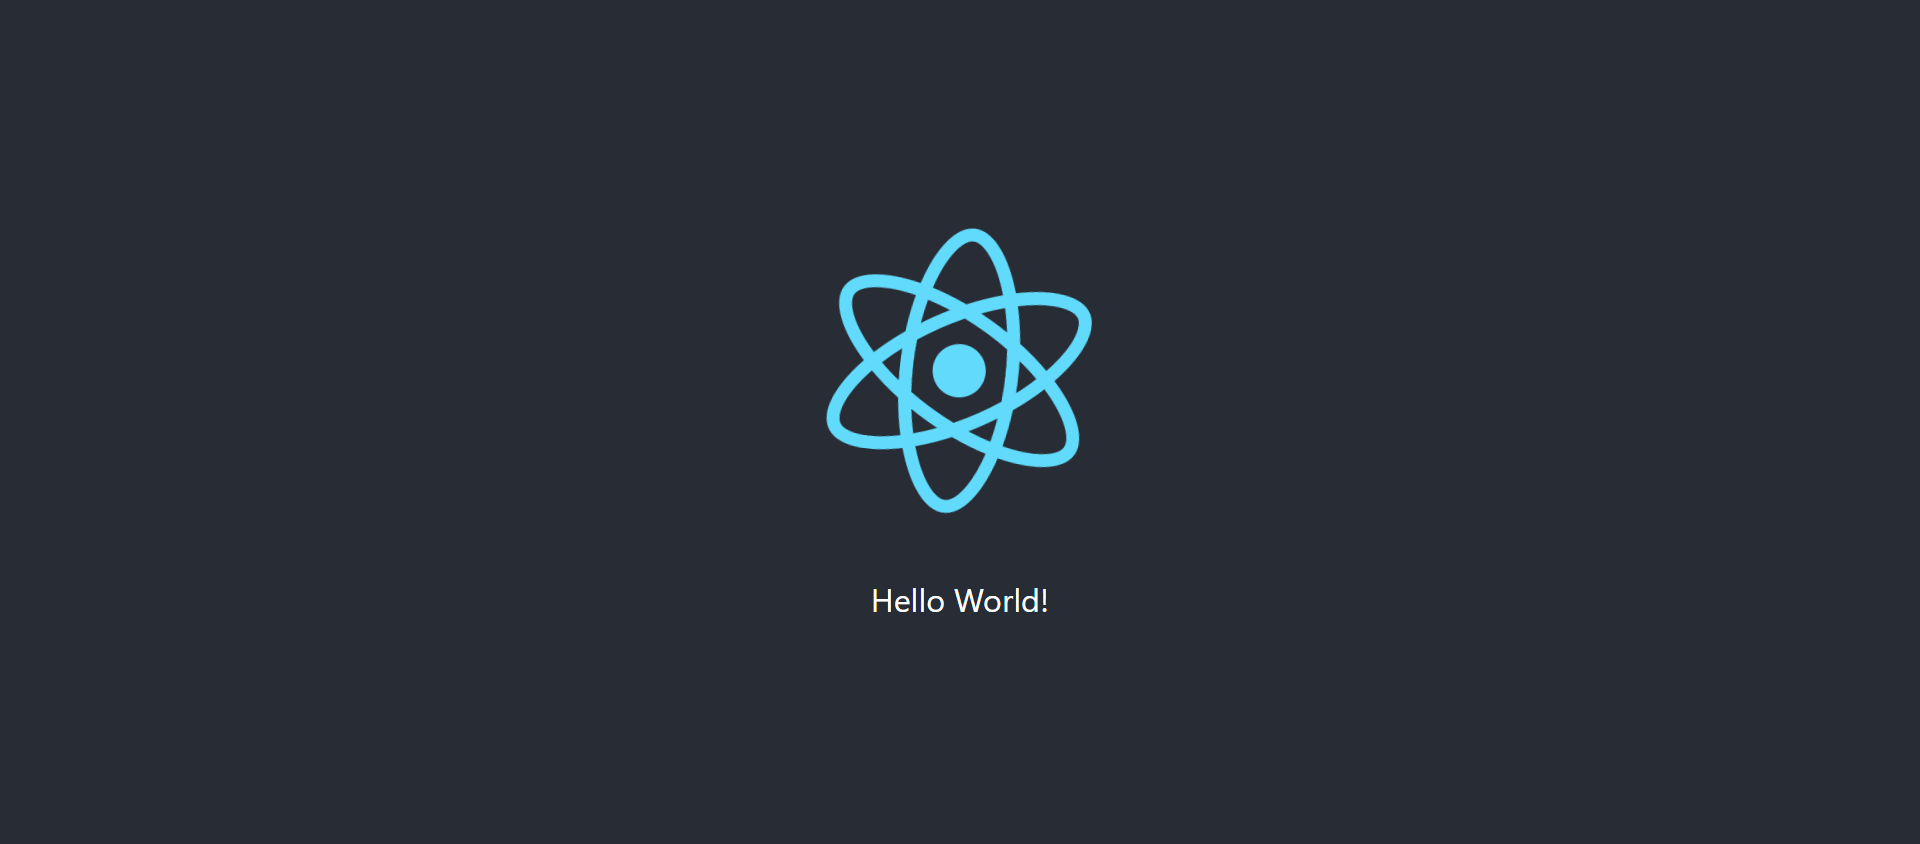
The changes are updated in real-time in the browser and you'll see the following screen:
Congratulations! Your Hello World React application is now up and running. You can now begin your React development journey from here.
Running Tests
When you create a React application, by default some unit test cases are defined in the src/App.test.js file:
        import { render, screen } from '@testing-library/react';
import App from './App';

test('renders learn react link', () => {
 render(<App />);
 const linkElement = screen.getByText(/learn react/i);
 expect(linkElement).toBeInTheDocument();
});
You can execute these tests by running the following command in the terminal:
npm test
or
yarn test
Build the Application for Production
If you want to build your React application for production, you can do so by running the following command in the terminal:
npm run build
or
yarn build
Executing the above command will build the app for production to the build folder. Now your app is ready to be deployed.
Strengthen Your JavaScript Concepts Before Choosing Any Framework
Every year there's a craze for new JavaScript libraries and frameworks. In past years, there was a craze for Backbone.js, jQuery, Ember.js, etc. Currently, there's a craze for React.js, Next.js, Vue.js, etc. In the future, some other framework will be all the rage. The framework array list is endless.
I highly recommend understanding the core JavaScript concepts before working with any framework. This will absolutely help you in long run.

