Have you ever made an awesome illustration with Adobe Illustrator and wondered what more you can do with it? You can import it to After Effects and turn it into a fantastic animation. Follow along to see how easy it can be.
Create an Illustration in Adobe Illustrator
There are different ways to create an illustration for a future animation. Using Adobe Illustrator offers you intuitive illustration solutions that can be easily imported and understood in After Effects. You could also use Photoshop to create a composition for After Effects, but we’re going to focus on working with Illustrator.
When creating your Illustrator document, set it for the size of your intended video (we’re using 1920 x 1080). To start a new document, click New File and choose your dimensions. Click OK and you’re ready to start designing.
Use Simple Shapes
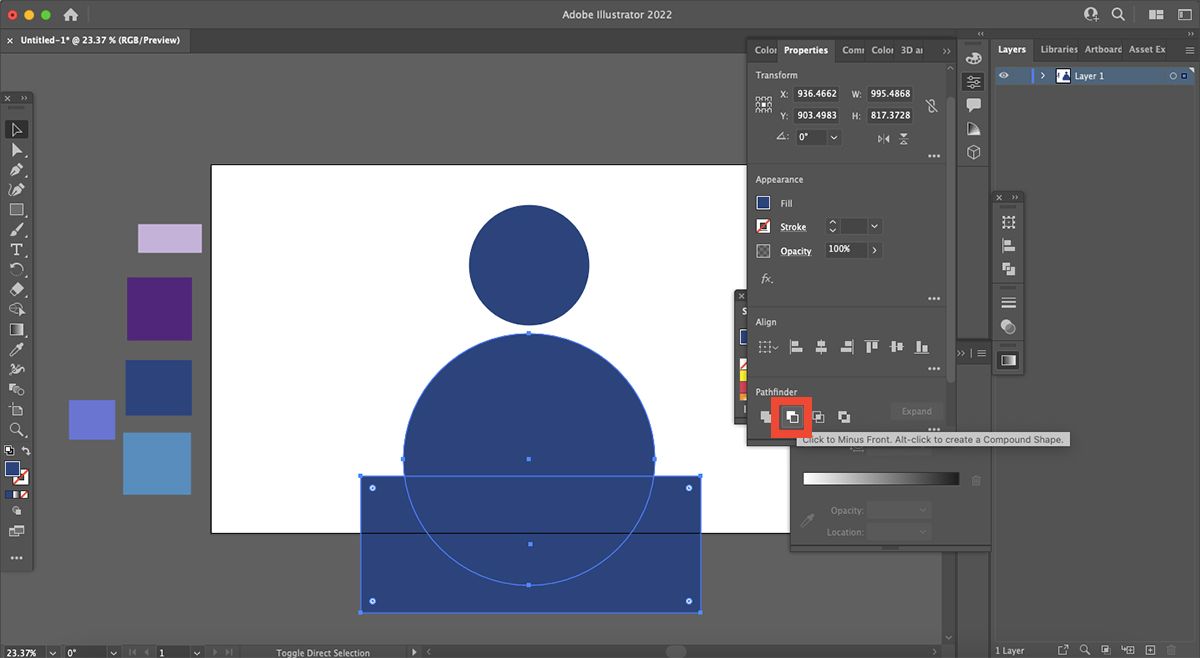
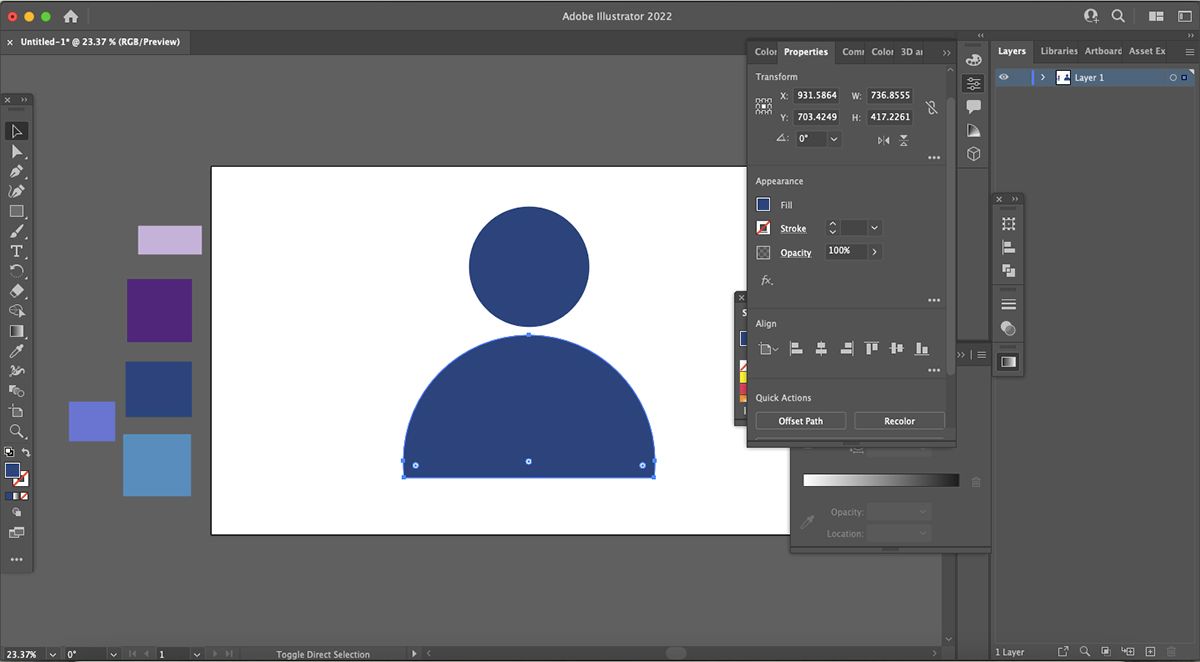
A real benefit of using Illustrator for your animation design is the pathfinder options. You can design using simple shapes, like an ellipse or rectangle, and by using the pathfinder functions, you can easily transform those simple shapes into more complicated illustrations.
Using simple, minimalist shapes for your illustration will also help you when it comes to animating. A simple illustration is easier to animate than something far more complex. You’ll probably notice that most animations you find online are pretty simple.
A minimalist color palette will complement your simple animation—we've written a guide for creating an automated color palette in Illustrator.
Work on Separate Layers
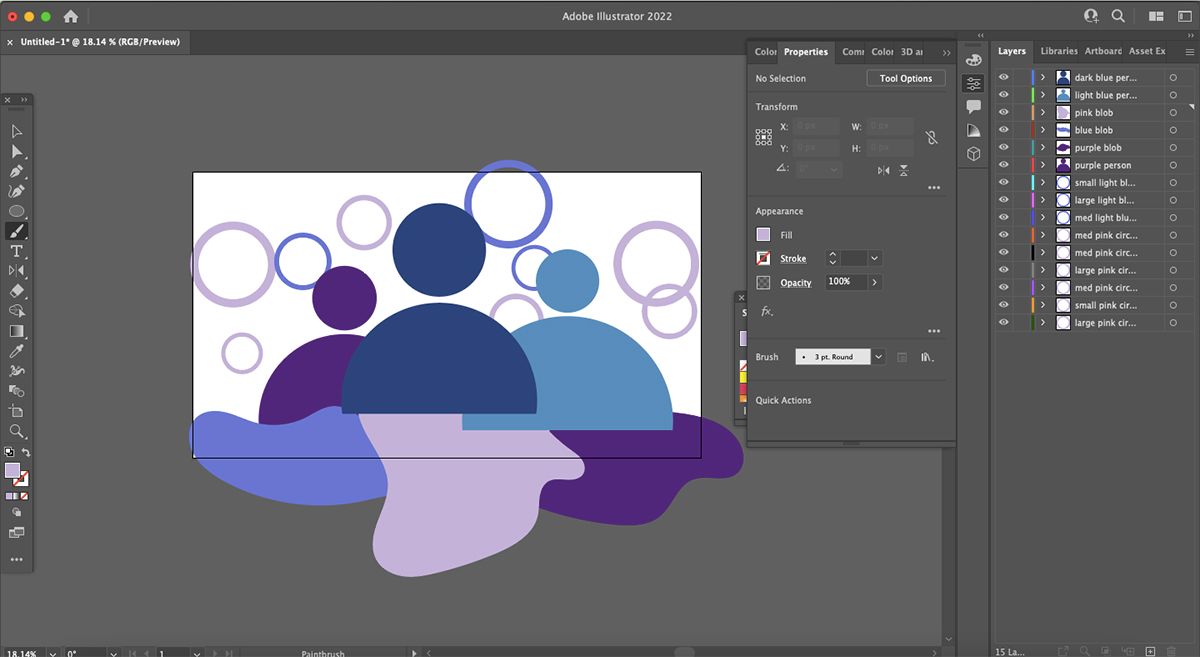
Working on separate layers in Illustrator is not only good practice, but it is integral for importing your illustration into After Effects later on. The layers will be retained, and you can easily animate layer-by-layer.
Each element of your design that you want to animate—or not animate—needs to be on a separate layer. If an element is complex but doesn’t have individual parts that can be animated, that whole section should be on the same layer together. Each layer should be renamed so you can keep track of them all in AE. To rename a layer, double-click on its current name.
When importing your illustration to AE, not only will the file and layer dimensions stay the same—thus keeping your elements in their correct positions—but the animating elements will all be correctly separated as well.
Saving Your Illustrator File
With your illustration complete, go to File > Save As and save it as an AI file. After you click Save, a popup will appear. Ensure that the Create PDF Compatible File box is checked, then click OK.
The reason for saving your illustration as an AI file is that it becomes a live file. If you created your animation with the same file, but later realize that you want to change the color or an aspect of the illustration, you can. Any changes saved in the AI file will be instantly reflected in the After Effects animation, as long as you’re using the AI file.
This is an option you hopefully won’t need if you’ve made the illustration the way you want it. But it’s great to have the option to change aspects in the future if needed.
Importing Your Design to Adobe After Effects
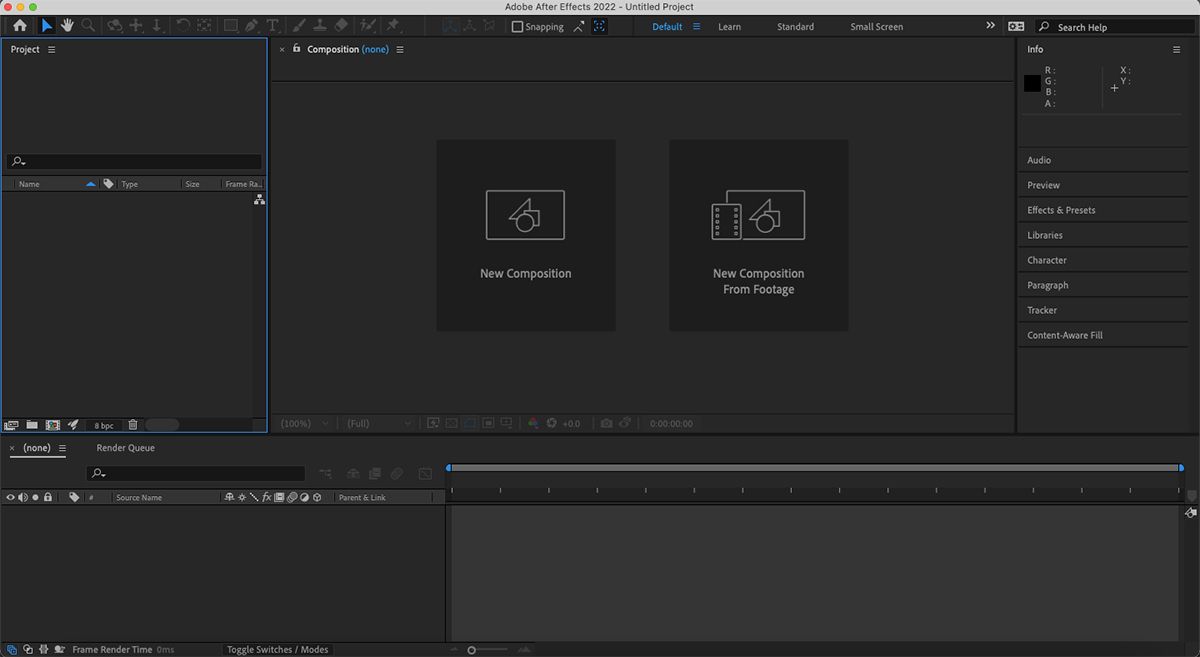
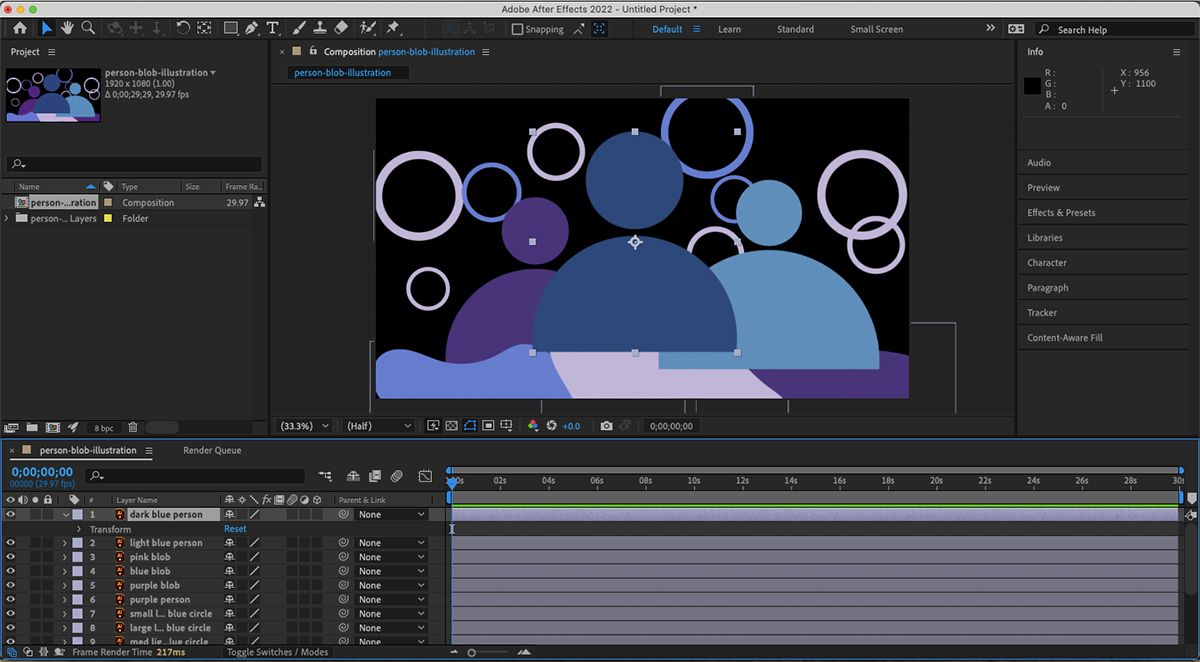
With your AI file saved, it’s time to import the illustration into After Effects. AE has three main areas: Project panel, Timeline, and Composition. Double-click in the Project panel and a popup will appear. Find your Illustrator file, choose Import As > Composition – Retain Layer Sizes, and click Import. Make sure Create Composition is checked.
When it opens, you’ll see two file options in the Project panel. One will be the composition file and the other will be a folder of the separate layers. You don’t need to use the folder. Drag the composition file down to the timeline, and your illustration will appear in the composition area. You’ll see all your layers in the timeline.
You can adjust the duration of the animation by extending or reducing the time band above the timeline. This will be the length of your video when exported, but it can be changed anytime throughout the design process.
Transform in After Effects
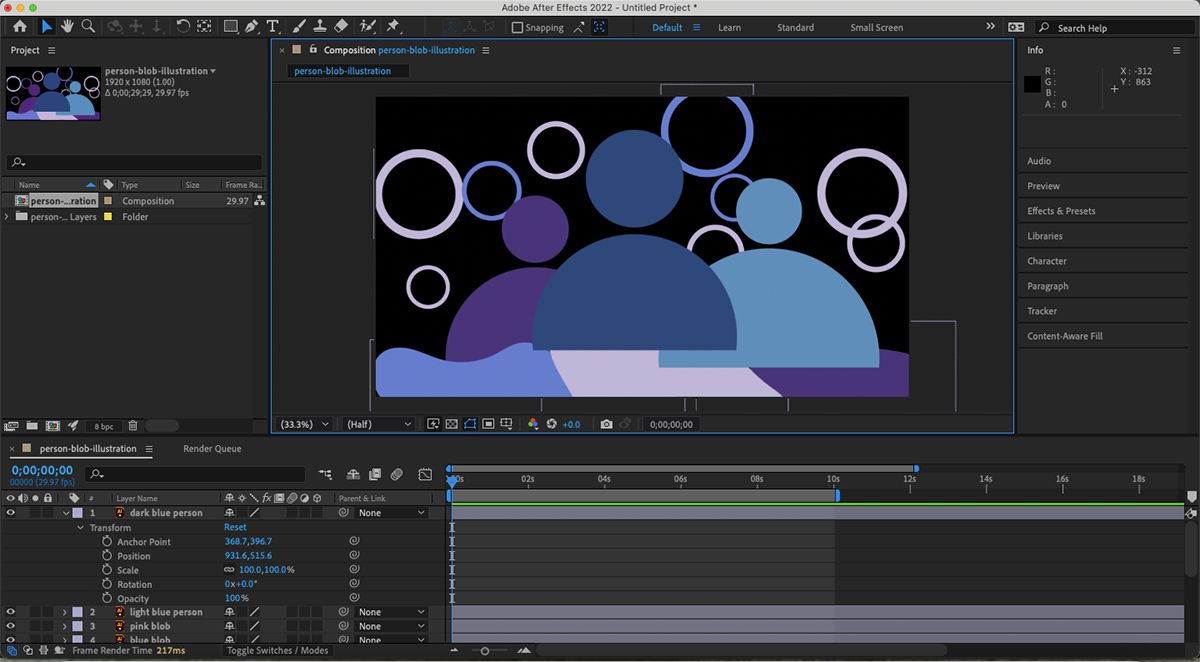
In the timeline, each layer can be individually animated with many different transition options. To see the transitions, click the small white arrow on a layer, then click the arrow next to Transform to view and change the animation types.
You’ll see these Transform options:
- Anchor Point
- Position
- Scale
- Rotation
- Opacity
Next to each of the options will be a set of numbers. These numbers may be a percentage, coordinates, or something else. They each relate to the Transform option they’re next to; when you transform part of your animation, the numbers will reflect the change.
Changing the Transform options will do nothing without the use of keyframes. They are the most important part of animation in After Effects.
Working With Keyframes
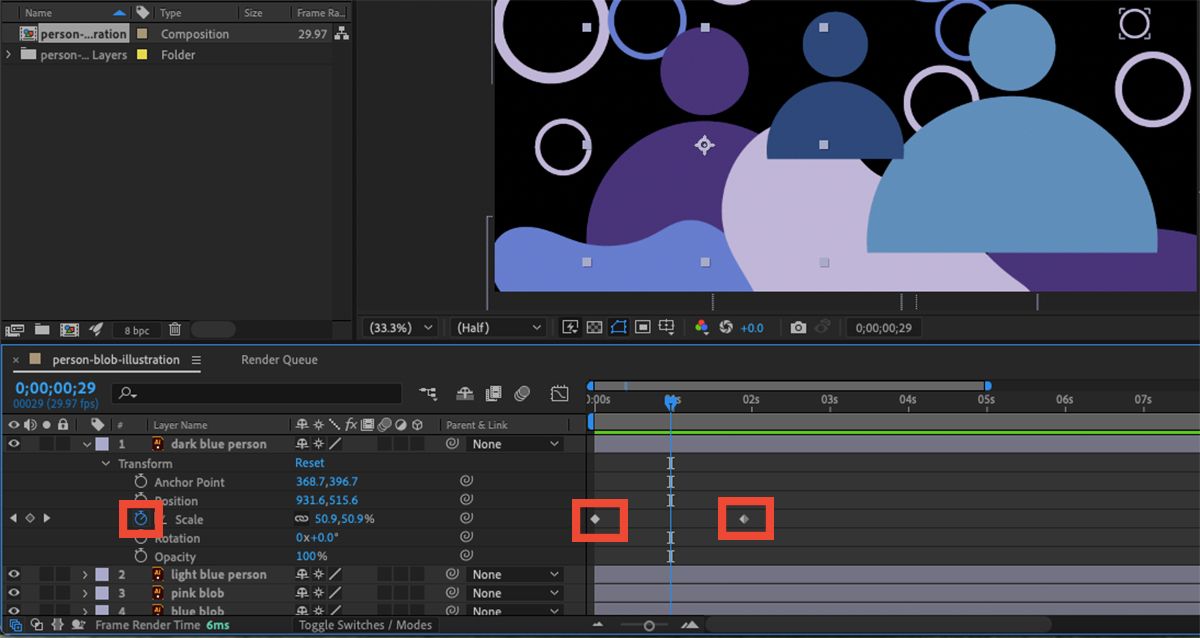
Keyframes are diamond-shaped icons that represent a Transform element for the time indicator. Before you can use the keyframes, you must press the stopwatch icon next to your chosen Transform option—it acts as a switch and recognizes the Transform option is being used.
With the stopwatch on, you can move the time indicator—a vertical blue line with a tab at the top—along your animation timeline to places you’d like animation elements to happen. Changing the number parameters will add a keyframe. For some Transform options—like Scale or Position—you can also manually move the element in the composition window instead of changing the numbers.
Every time you move the time indicator and then change a Transform parameter, it will add a keyframe. You can move keyframes from their positions and the parameter will move to where you place the keyframe.
You can also copy and paste a keyframe to be reflected on another layer. For example, if you want multiple layers to move at the same time, you can copy one layer’s Position keyframes and then paste them into another layer. They will paste to wherever the time indicator is sitting. Selecting multiple layers at once and adding keyframes to one will place the same keyframe on all the selected layers.
Using Easy Ease
The Easy Ease function is commonly used, but what does it do? The clue is somewhat in the name—it eases the animation elements.
Adding Easy Ease to a keyframe gives the Transform option a more natural ease, rather than a sudden ending (or beginning). It’s a very subtle difference, but it’s one that, arguably, adds a level of expertise to your animations.
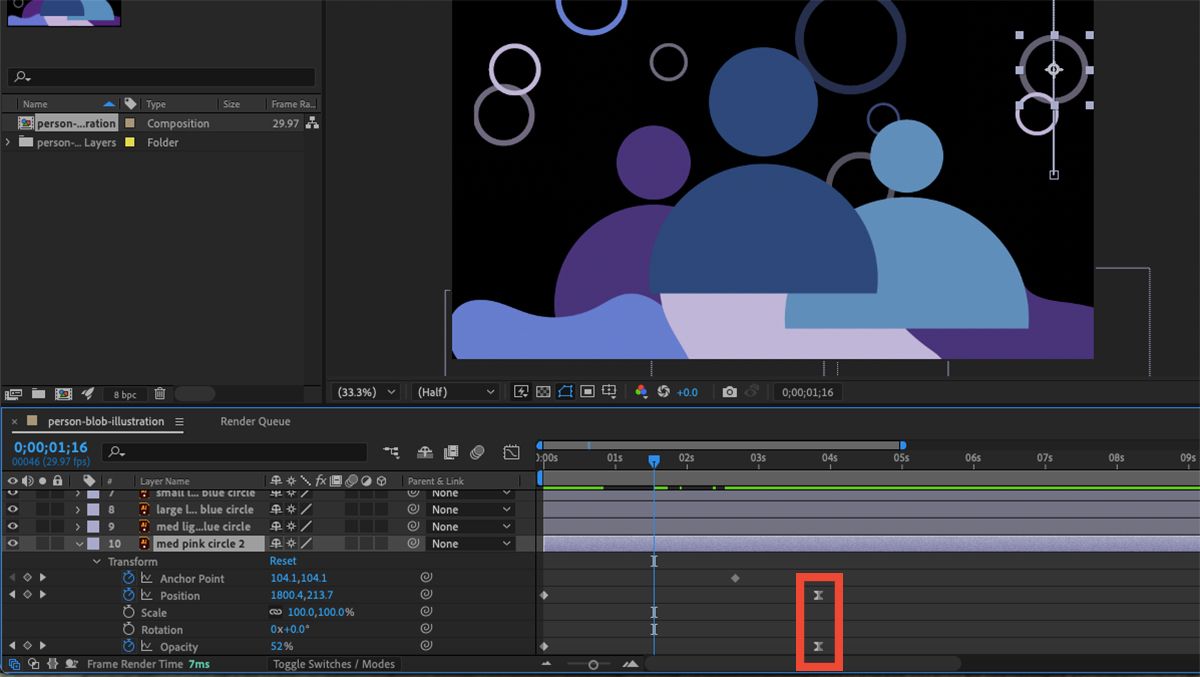
To use Easy Ease, right-click on any keyframe diamond and go to Keyframe Assistant > Easy Ease. You can also use the shortcut F9 to implement Easy Ease. The keyframe diamond will turn into an hourglass shape to represent the Easy Ease.
Exporting Your Animation
Once you’re done animating in After Effects, and you’re happy with how it all looks, you need to save your video. You can use plugins like LottieFiles to create Lottie animations from your video, or you can export as a video with different rendering options.
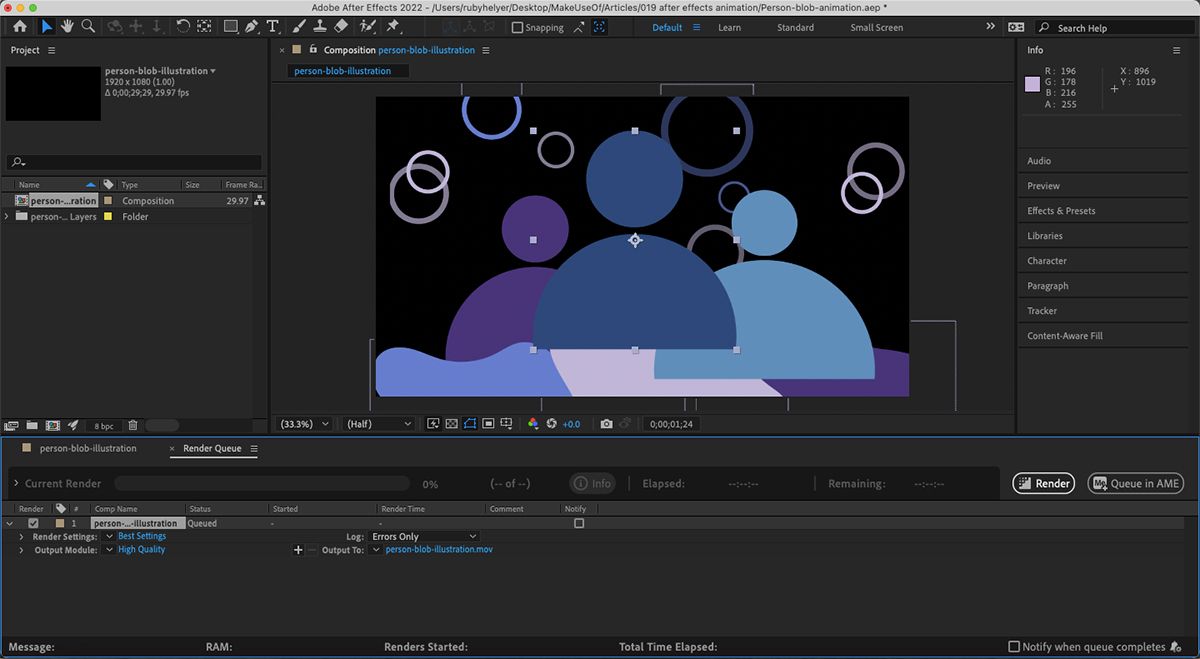
Go to File > Export > Add to Render Queue. Choose an output destination and click Render. You can leave your animation to render without supervision; depending on its length and the number of elements, it may take a while. Once it's done rendering, you have your animation video.
Transform Your Illustrator Art in After Effects
You can maximize your Adobe Illustrator skills by turning a simple illustration into an impressive animation. By using Illustrator’s pathfinder tool and layers, you’ll appreciate the tool after importing it into After Effects. Follow this guide and make a cool animation.


