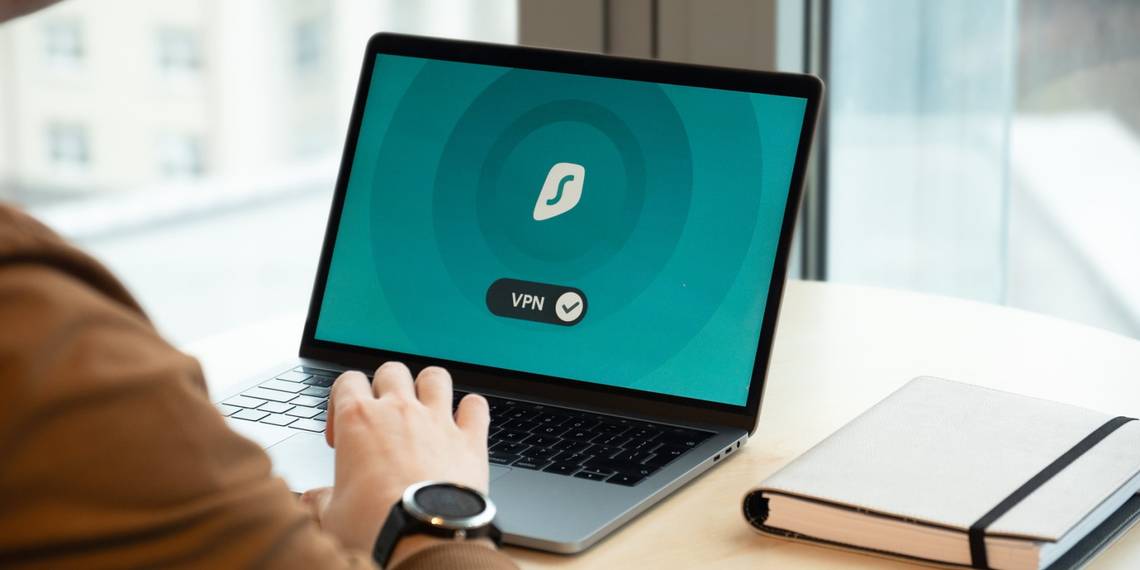
Algo VPN is a set of scripts which help you to deploy your own Virtual Private Network (VPN) on a rented Virtual Private Server (VPS).
Setting up Algo VPN is simple, but how do you connect to it using the most popular desktop and mobile clients?
Connecting to Algo VPN Is Easy!
Log into your VPS with
ssh -Y username@vps.ip.address
The -Y switch is important as you will later be viewing images in the terminal.
If you followed our tutorial on how to deploy Algo VPN on your VPS, you should already have a list of users. Unlike with commercial VPNs where you are given a username and password with which you can log in and use your VPN with a client on any machine, Algo requires that every device on which it is used is a new user. Your laptop is a user, your phone is a user, and each device needs to be added to a config file on your VPS.
Remember to use descriptive names to avoid confusion. For instance, the user "Laptop" is great if there will only be one laptop using Algo, but it is practically useless if there are multiple with multiple laptops.
Algo generates config files and certificates in the configs directory within the algo-master directory.
ls algo-master/configs/
This will let you view the contents.
There will also be a subdirectory with the IP address of your VPS, and within that, another folder named "wireguard".
ls algo-master/configs/your.vps.ip.address/wireguard/
You will see that, as well as .conf files, there are corresponding image files with a PNG extension.

To be able to display these image files in the terminal of your local machine, you will need additional software.
sudo apt install imagemagick
WireGuard is at the heart of Algo VPN, so you will be connecting to Algo VPN the same way you would connect to WireGuard.
How to Connect to Algo VPN on iPhone and Android
The official WireGuard app is available to download from the Apple App Store and the Google Play Store as well as F-Droid. WireGuard is completely free and open source. Download and install it on your mobile device in the usual way, then open it up by clicking on the icon.
Click on the little blue + button near the bottom of the screen and select Scan from QR Code.
Meanwhile, on your VPS:
display algo-master/configs/your.vps.ip.address/wireguard/laptop.png
This will show the QR code.
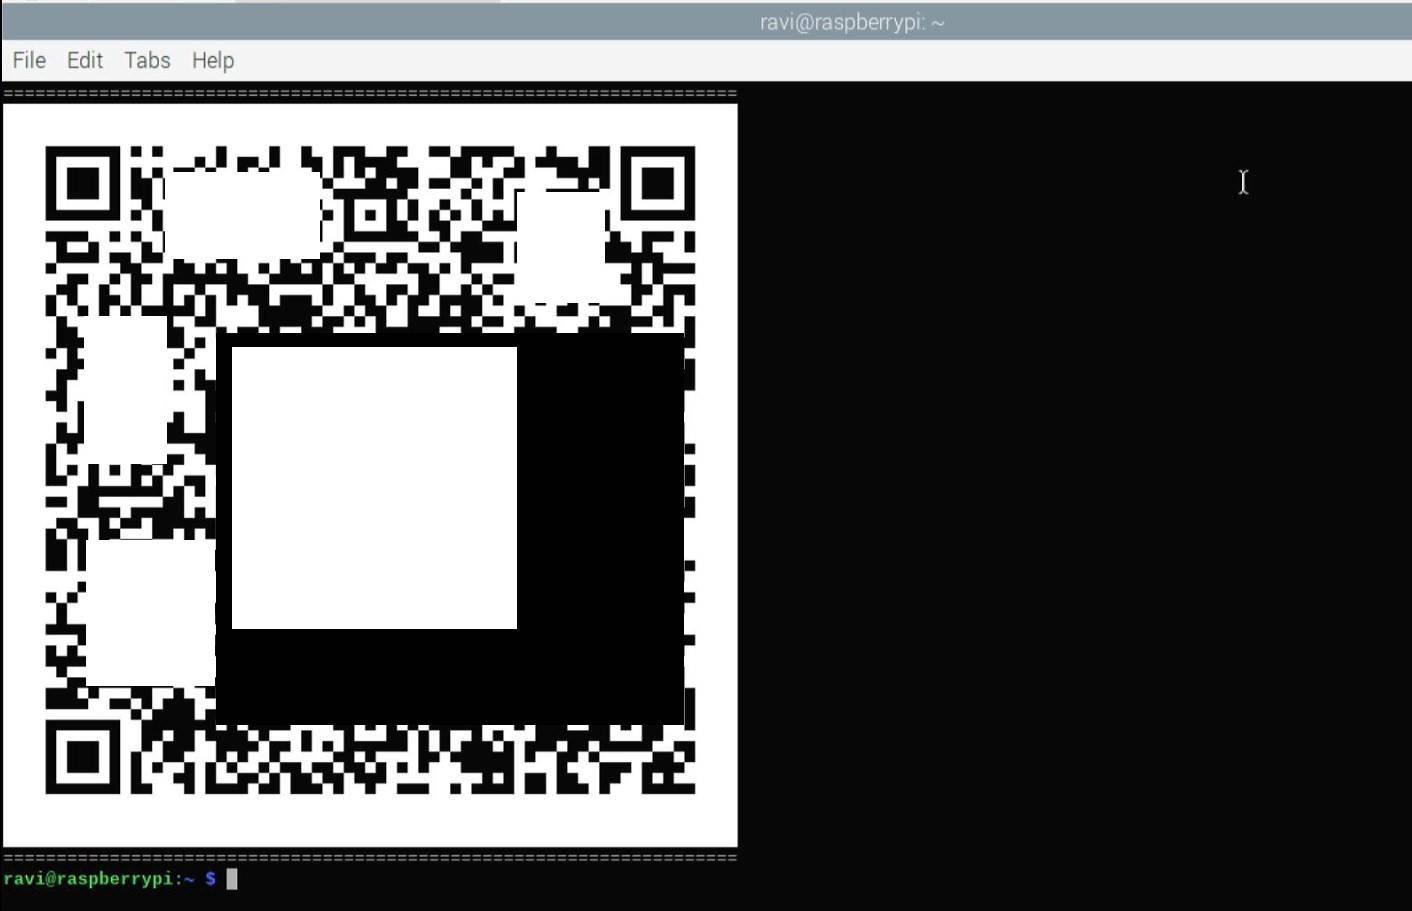
Point your phone camera at the QR code and the configuration for your Algo VPN will be added to the WireGuard app.
You will be asked to name your new tunnel, so choose something memorable. You can activate it by clicking on the toggle.
How to Use Algo VPN on Desktop
You can connect to your VPN on all desktop devices; however, it is not practical to scan a QR code on a PC—especially if you are using that PC to SSH into your VPS! Instead, you will need to copy the .conf files from the VPS to the machine with which you want to use Algo VPN.
Using either PuTTY or a terminal:
scp username@vps.ip.address:algo-master/configs/your.vps.ip.address/wireguard/laptop.conf .
will transfer the laptop configuration file to your current directory.
Connect to Algo VPN on macOS, Windows, or Linux
The official WireGuard client is also available for Windows, macOS (Mojave and later), and a variety of Linux distros. Simply download and install the correct version from the official WireGuard download page and open.
Click on the WireGuard icon, choose Import tunnel from file, and select the correct conf file.
You Can Now Connect to Your Own Personal VPN With All of Your Devices!
Whether you prefer Windows, macOS, or Linux, you have learned how to protect your desktop and mobile traffic from prying eyes. Algo VPN will shield your activity from your ISP and your mobile carrier—giving you peace of mind to carry on your normal online activities.