Although AirPods are designed for Apple devices, they function over Bluetooth, meaning you can use them like any other pair of wireless headphones. You just need to pair your AirPods manually to use them on your Windows PC. We're here to guide you with that.
Connecting Your AirPods to a Windows PC
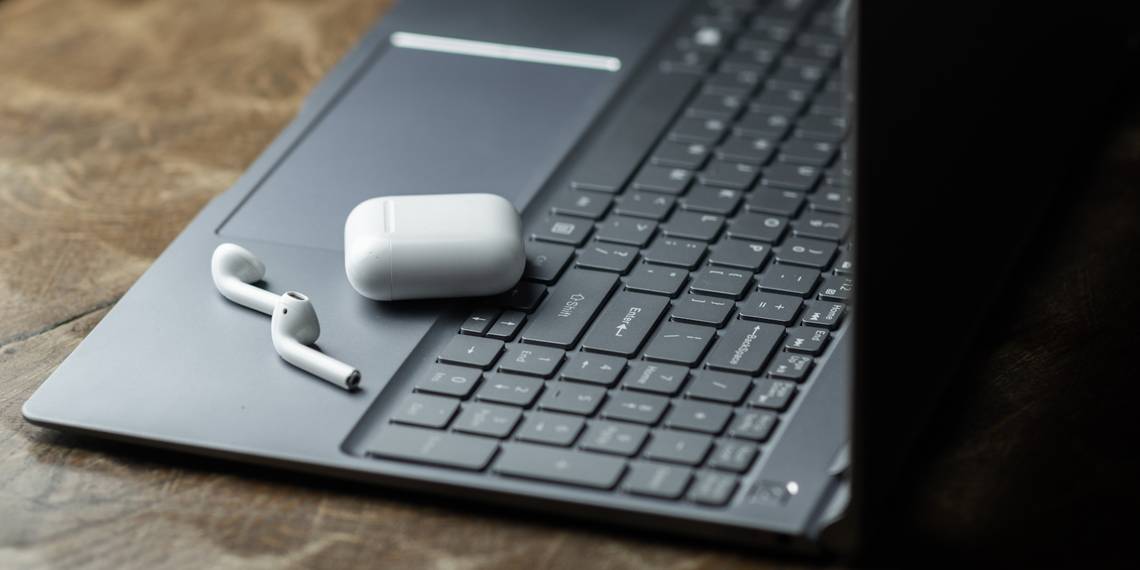
Connecting your AirPods to a Windows desktop or laptop is as easy as setting up any other Bluetooth device. Put your AirPods or AirPods Pro in their charging case and follow these steps:

- Press Windows + I on your keyboard to open the Settings app.
- On Windows 10, click Devices. On Windows 11, select Bluetooth & devices from the sidebar.
- Click the plus (+) button on the right to add a new Bluetooth device.
- When you get a pop-up to add a device, choose Bluetooth.
- Open your AirPods' charging case and press and hold the Setup button until the status indicator flashes white. On the AirPods Max, hold down the Noise Control button instead.
- Select your AirPods as they appear under the list of Bluetooth devices and click Done.

That's it. You've successfully connected your AirPods or AirPods Pro to your Windows computer. You can use them to listen to music right away.
Using AirPods or AirPods Pro on Windows
Sometimes, you may not hear system audio through your AirPods after connecting them to your Windows PC. This happens when Windows uses a different output device for audio playback.
To change that, click the volume icon in the system tray, select the current output device, and then choose your AirPods or AirPods Pro from the list of devices.

You can do the same using the quick settings panel on Windows 11. Click the volume icon in the system tray and select the sound output button in the bottom-right corner of quick settings. Then, choose your AirPods from the list of output devices.

If you subsequently end up using your AirPods on another device (like your iPhone), you'll need to reconnect them manually. To do that on Windows 10, go to Settings > Devices > Bluetooth & other devices, select your AirPods, and click Connect. On Windows 11, click the chevron icon next to Bluetooth in the quick settings panel and click on your AirPods.
Microphone compatibility with AirPods on Windows is often a hit or miss. So, be prepared to try our fixes if Windows fails to detect the microphones on your AirPods.
Note that Windows doesn't don't let you change the default AirPods gestures. However, you can double-tap the first and second-gen AirPods to play and pause tracks. If you have the AirPods (3rd generation), you can do that by pressing the stem.
If you have the AirPods Pro, you can squeeze the stem to toggle between Transparency and Active Noise Cancellation modes. On the AirPods Max, you'll need to use the Noise Control button to do the same.
On the bright side, Windows lets you change the name of your AirPods. The procedure is the same as renaming any Bluetooth devices on Windows.
Using a pair of AirPods on a Windows desktop or laptop allows for a fairly decent listening experience. Your AirPods can be a good pair of backup earbuds when your PC headset stops working. You should be fine if you're prepared to deal with potential microphone-related issues and the lack of seamlessness.