Apple’s macOS Recovery mode serves many purposes. From this boot mode, you can reinstall the operating system (macOS), restore a Time Machine backup, reset an admin password, perform disk maintenance, and more. The recovery partition is also a viable way to isolate software or hardware issues, and tools like Terminal, Disk Utility, and Safari make troubleshooting easy.
Here, we’ll discuss macOS Recovery’s main features and explain why each one is useful.
How to Boot Into macOS Recovery
Boot methods vary depending on your Mac’s chip type—Intel or Apple silicon—but in either case the process is simple.
To boot to macOS Recovery on an Intel Mac, follow these steps:
- Turn on your Mac.
- Quickly press and hold Cmd + R until recovery starts.
To boot to macOS Recovery on an Apple silicon Mac, follow these steps:
- Turn on your Mac and continue to hold the Power button until the boot options screen appears.
- Select Options.
- Click Continue.
1. Reset the FileVault Password
If you’ve forgotten your FileVault password, you can use macOS Recovery as a reset method. To do so, follow these steps:
- Boot to macOS Recovery.
- Choose Forgotten all passwords.
- Follow the prompts.
Based on the method chosen when you enabled FileVault, you’ll receive the option to either reset the password using your Apple ID or your recovery key. If you fail to regain access to your admin account, you may need to erase the disk from internet recovery or another startup volume.
2. Reinstall macOS
Some Mac issues require a full macOS reinstall to remedy them. For example, your Mac may not be booting, or you may have been unable to fix another system-wide glitch with a more targeted approach.
When reinstalling, you have two options: you can either reinstall over the top of the current operating system or erase the hard drive for a completely fresh start. Before performing either action, you should back up any important data.
To reinstall the operating system from macOS Recovery, follow these steps:
- Boot to macOS Recovery.
- Enter your admin password if needed.
- Launch Disk Utility and erase the hard drive if applicable.
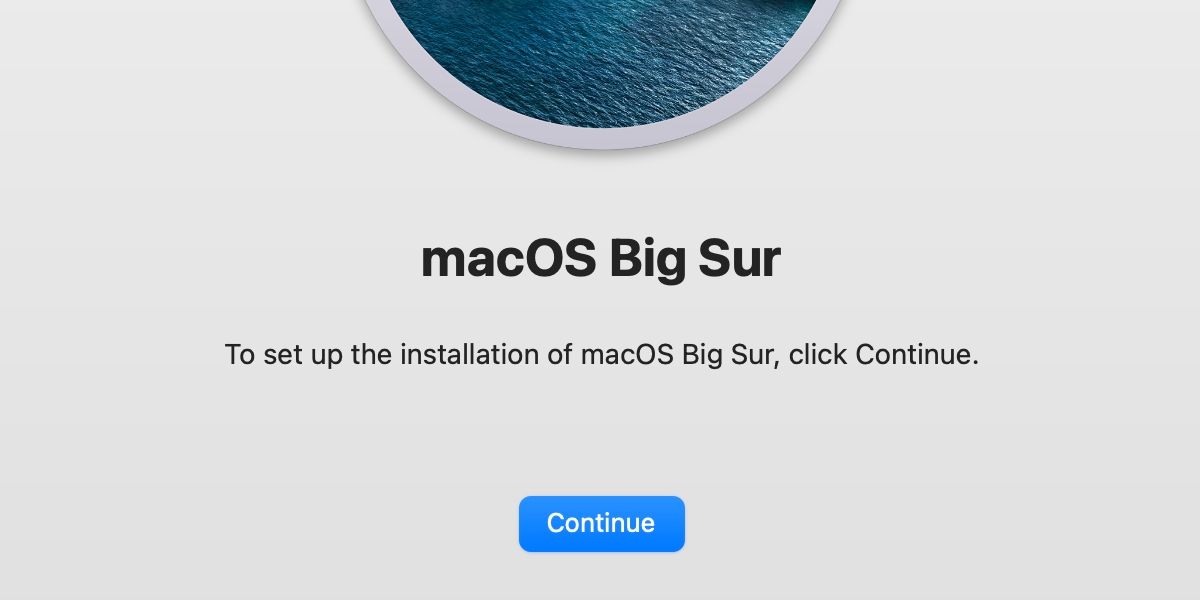
- Choose the Reinstall macOS option and follow the prompts.
3. Restore a Time Machine Backup
Time Machine provides another option when you need to recover your entire system. Generally, you shouldn’t use snapshots that could contain the problem you’re trying to fix. However, if your backup is clean, or you want to wind back your operating system to an earlier state, a full Time Machine restore may be ideal.
To restore your system from a Time Machine backup, follow these steps:
- Boot to macOS Recovery.
- Enter your admin password if needed.
- Choose Restore from Time Machine.
- Follow the prompts.
4. Use Disk Utility
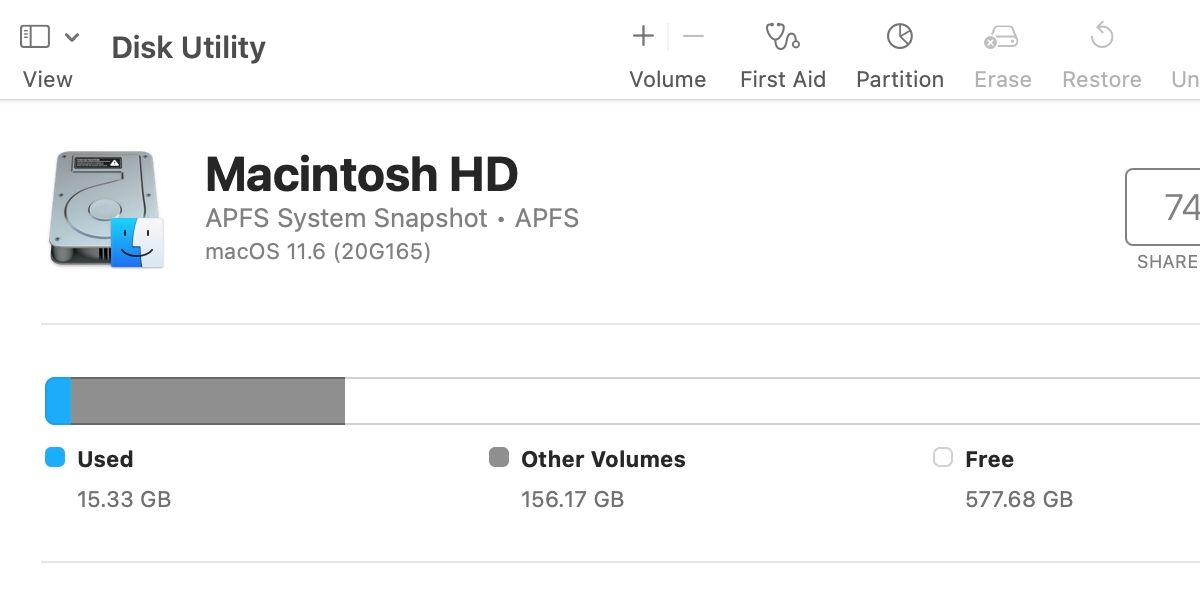
Disk Utility can perform disk maintenance or prepare a hard drive for macOS installation, and macOS Recovery grants you access to this important tool. To launch Disk Utility, follow these steps:
- Boot to macOS Recovery.
- Enter your admin password if needed.
- Choose Disk Utility and click Continue.
Once launched, you can use Disk Utility to perform first aid, erase or reformat your hard drives, and more. When preparing a drive for macOS installation, remember to use a Mac-friendly file system, such as APFS, and the GUID partition scheme.
5. Use Terminal
Terminal is a versatile command line interface with boundless functions, making its inclusion in macOS Recovery a logical move. If you know the right commands, you can reset admin passwords, modify your operating system, and perform other advanced tasks.
To launch Terminal from macOS Recovery, follow these steps:
- Boot to macOS Recovery.
- Enter your admin password if needed.
- Click Utilities from the top menu bar.
- Choose Terminal.
If you need to research Terminal commands in recovery, you can do so using Safari, which we’ll discuss in the next seciton.
6. Use Safari
Safari is another invaluable macOS Recovery tool. While the application won’t directly help you fix an issue, access to Apple’s browser lets you research problems and solutions without booting to the operating system. Additionally, using Safari in macOS Recovery is an excellent way to troubleshoot internet connectivity issues outside the main OS.
To launch Safari, follow these steps:
- Boot to macOS Recovery.
- Enter your admin password if needed.
- Choose Safari and click Continue.
Safari feels a little clunky in macOS Recovery, and you won’t have access to your plugins or extensions, but the application is functional and handy in many situations.
7. Use Startup Security Utility or Firmware Password Utility
If you’re running an Intel Mac, you have the option to set a firmware password as an extra layer of security. While Apple silicon devices have a similar feature built into FileVault, older Macs can really benefit from the additional protection. When you set a firmware password, unauthorized users can’t access the macOS Recovery partition and most other boot modes, preventing malicious operators from tampering with your machine using those methods.
To set a firmware password, follow these steps:
- Boot to macOS Recovery.
- Enter your admin password if needed.
- Click Utilities from the top menu bar.
- Choose Startup Security Utility or Firmware Password Utility, whichever is applicable.
- Follow the prompts.
Hopefully, you’ve kept your OS up to date and can see the Startup Security Utility option; however, older software versions use the Firmware Password Utility.
8. Launch Target Disk Mode and Share Disk
From macOS Recovery, your Mac can enter a mode that allows you to share files with another device connected via a USB, USB-C, FireWire, or Thunderbolt cable, depending on the models involved.
To enter Target Disk Mode on an Intel Mac, follow these steps:
- Boot to macOS Recovery.
- Click the Apple in the top menu bar.
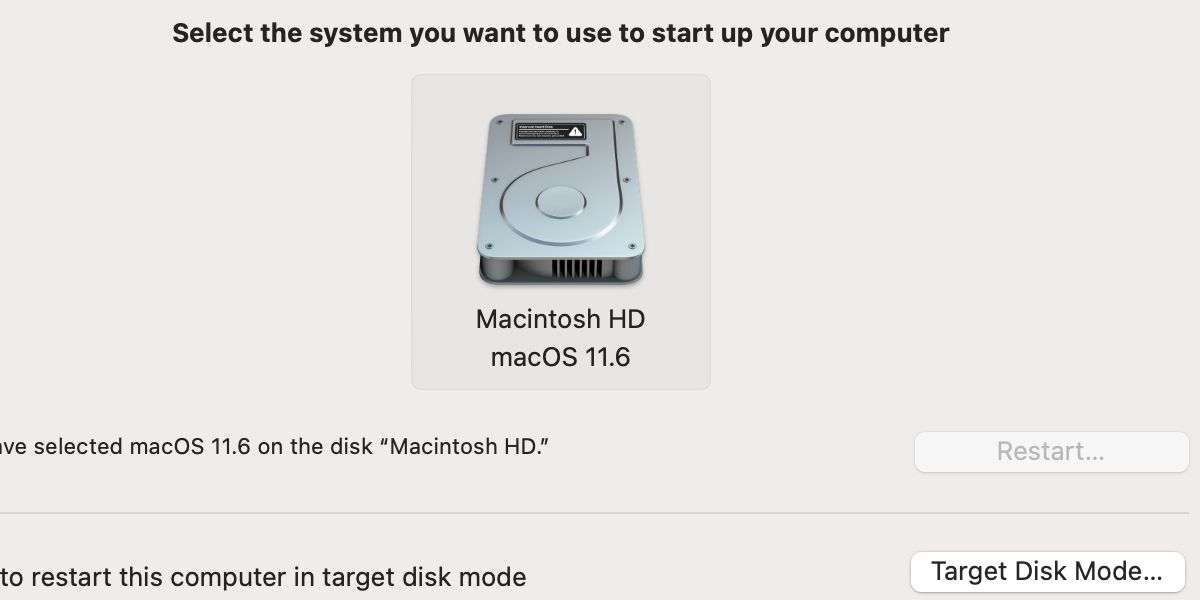
- Choose Startup Disk.
- Click Target Disk Mode.
- Click Restart.
Alternatively, you can boot to target disk mode by holding the T key during startup.
The process for an Apple silicon Mac is a little different. To share your disk from macOS Recovery, follow these steps:
- Boot to macOS Recovery.
- Click Utilities from the top menu bar.
- Choose Share Disk.
- Follow the prompts.
Target Disk Mode and Share Disk make your Mac appear like an external volume, granting you access to files in Finder on a connected device.
macOS Recovery Makes Maintenance Easy
The days of using discs or USB drives to perform OS reinstalls or undertake system maintenance have long passed. Now, the Apple recovery partition makes these tasks simple.
macOS Recovery mode allows you to reinstall macOS or restore your system from a Time Machine backup, and useful tools, such as Terminal and Disk Utility, provide additional support. On top of that, you can set a firmware password if needed, share your Mac’s disk with another connected device, and launch Safari for research and troubleshooting. Even if booting to recovery fails, internet recovery is still an option, so you’ll always have a way to repair or reconfigure macOS.


