As amazing as Procreate is, it doesn’t come without issues. Whether your work looks pixelated, you’ve run out of layer space, or you want to save time in your design process, there are ways to overcome those issues. With these fixes and workarounds, you’ll no longer have common problems hindering your creativity in Procreate.
1. Brush Size Changing When Zooming
If your brush size keeps changing while zooming in or out, it can disrupt your workflow. To fix this, tap Actions (wrench icon) > Prefs and toggle Dynamic Brush Scaling. Now you can work with the same brush size, whether you’re zoomed in close or working on a large overview.
Your brush size may also be affected if you have any issues with your Apple Pencil. See our list of tips to try if your Apple Pencil is glitching in Procreate.
2. Can’t Find Previous Brush Widths

If you’re drawing, painting, or inking, and you need to reuse the same brush width later, there’s an easy way to save the width. As you move the brush slider to your desired size or percentage, a small box appears. Hold the slider in place with one finger and tap the + icon on the size box to save the size on the slider. You can also do this for the Opacity scale in the same way.

This saves the current brush size on the slider for the selected brush, so you can access it later. It only saves the size for the brush you’re currently using, so when you change brushes, you’ll have to find the size again.
Tap the line on the slider to access each saved size. It will save across all other Procreate files when using that brush until you delete it. To delete a saved size, tap and hold the line and tap – on the size box.
3. Imported Images Become Pixelated
When opening an image directly in Procreate, the document will be the same DPI—Dots Per Inch—as the image. This isn’t always as high as it needs to be for the best quality, which can result in pixelated designs if you open a low-quality image.
To avoid a low-quality Procreate design, open a blank canvas in your desired size and set a high DPI, like 300. Then import your photo to the canvas by tapping Actions > Insert a photo. The photo will follow the DPI settings of the document, rather than its original DPI—resulting in better quality.
If you plan on printing your final design, 300 DPI is always preferable for best quality. If you intend to use your design for screen display only, then a DPI of 72 is standard and usually acceptable.
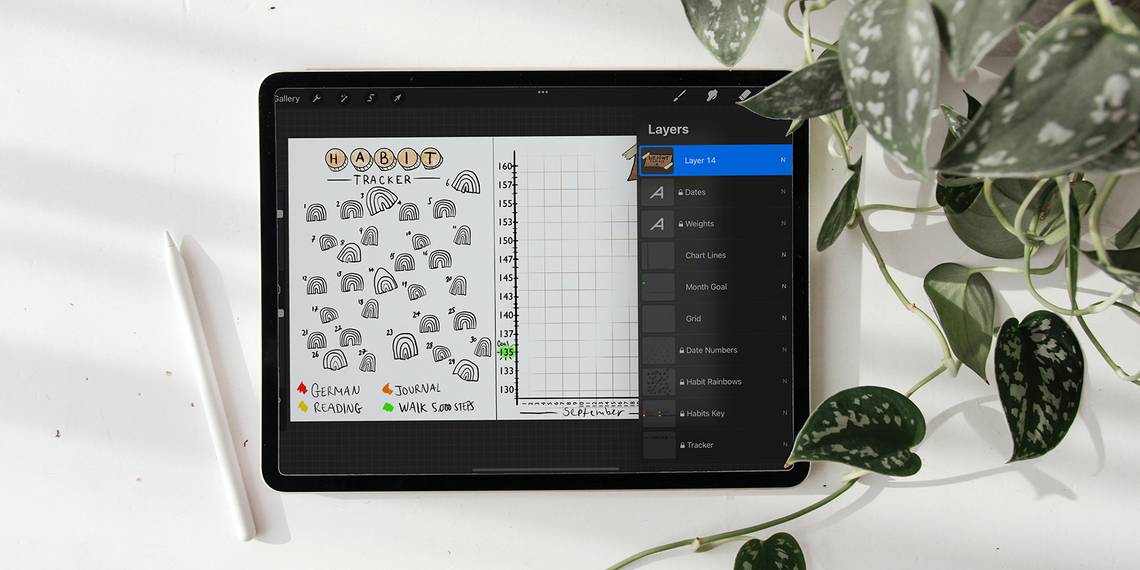
4. Too Many Layers

Procreate lets you have a limited number of layers per project, depending on size. If you’re working on a large-scale project, your layers are limited even more. If you find you’re using too many layers, you can merge multiple layers to free up your quota.

If all the layers in a group are to be merged, put your thumb on the bottom-most layer and index finger on the top-most layer, then bring your fingers together. All the layers between the top and bottom ones will merge.
If you need to merge layers while avoiding a specific layer, ensure you move that layer up or down from the group before merging using the above method. Just tap and hold the layer and drag it up or down.
5. Drawing Intricate or Symmetrical Designs
Procreate drawing guides offer mirrored drawing, 2D and isometric grids, and perspective grids. These guides are helpful when drawing repetitive elements, symmetrical designs, or if you need precision at any point.

Toggle on the drawing guides by going to Actions > Canvas > Drawing Guide. Then tap Edit Drawing Guide to choose the type of guide and apply its settings. These guides help you draw complex ideas with extra precision you don’t get by hand.
- 2D Grid offers a square grid across the entire canvas.
- Isometric shows a triangular isometric grid to help you draw with precise grid details.
- Perspective provides a perspective grid to help you draw with specific angles from different perspectives, such as when drawing buildings and landscapes.
- Symmetry will copy your drawing to the opposite side of the canvas as you draw, great for drawing intricate symmetrical designs.
The drawing guides also provide options for the opacity of the grid to avoid distraction, the thickness of grid lines, and adjusting the size of grid spaces. You can also turn on Assisted Drawing which keeps your drawn lines parallel with the grid lines.
6. No Drop Shadow Option

Procreate has no native drop shadow feature, but there’s an easy workaround. First, duplicate your layer by swiping the layer left and choosing Duplicate. Select the lower layer, go to Adjustments > Hue, Saturation, and Brightness, and turn down the Brightness.

Then, go to Adjustments > Gaussian Blur and slide your finger left or right until the blur creates a shadow effect. Use the Selection tool to move the blurred layer to one side, if desired.

You can add to this effect by lowering the opacity levels of the top layer. To change a layer’s opacity, tap N on the layer, choose Opacity in the menu, and slide left until you get your desired result.
7. Losing Quality When Duplicating Layers

If you need to duplicate the same layer multiple times, it will lead to quality loss, but there’s a way around it. Uncheck all other layers on the Layers panel, so only the layer you’re duplicating is visible. Then save the file as a PNG: Actions > Share > Share Layers > PNG Files.

Recheck your hidden layers. Then, instead of duplicating the layer, insert the PNG as a photo by going to Actions > Add> Insert a photo. You can do this multiple times instead of duplicating the same layer, and it will retain the layer’s quality.
Once you've finished your high-quality project, make sure to add your artist signature in Procreate.
8. Colors Look Weird When Printed
When creating a new Procreate project, your canvas options have CMYK or RGB next to them. You should set your Procreate projects to the correct color profiles before continuing your designs.
RGB means red, green, and blue. This is the color profile for digital art and imagery presented on screens. CMYK means cyan, magenta, yellow, and black—or key. CMYK is the color profile used for printed art and imagery.
For the correct color balance for your purpose, you should use the right color profile from the beginning. Some art software allow you to change color profiles midway through a project, but Procreate doesn’t. If you draw in grayscale, however, you can easily recolor your grayscale drawings in Procreate.

It’s best to set up the correct color profile before starting your artwork. If your art is only ever going to be shared digitally and not going to be professionally printed, it’s best to use an RGB profile. The RGB P3 profile will offer the best saturation levels for ultimate vibrancy.
If you’re creating artwork for print, especially if professionally printed, then you should use CMYK. The colors may look slightly muted compared to RGB, but this means the colors will be accurate when printed.
If your colors still look odd after you’ve printed your designs, ensure your iPad screen is calibrated correctly. Apple provides instructions for Reference Mode which can help correct the colors on your iPad screen.
9. Designs Become Pixelated
Procreate is a raster-based program rather than a vector-based one. There are some differences between vectors and raster images which are important to know. Creating a raster-based image means that when you scale your designs up or down, they lose quality and pixelate. This is even the case during creation, not just after saving the file.
The best advice to avoid pixelation is to avoid scaling up or down as much as you can. Also, create your artwork as large as possible, so you still retain quality when scaling down from a large canvas or layer. It’s when scaling back up that the quality loss becomes evident.
Work on the largest canvas you can. And if you must scale any layers or the whole work, try to do it only once. For some Procreate users, creating a very large-scale design may limit the number of layers you can work with, so keep this in mind when deciding how large to work.
10. Time-Consuming Menus

Procreate has many menus, but it takes time to learn where everything is. Luckily, you can use finger gestures or Apple Pencil gestures as shortcuts.
The default Procreate gestures are helpful, but they can be changed to your preference: go to Actions > Prefs > Gesture controls. Apple Pencil gestures are also time-saving. You can view, change, or disable Apple Pencil gestures in the same Gesture controls menu.
The default Procreate gestures include:
- Tap the screen with two fingers to undo an action.
- Tap the screen with three fingers to redo an action.
- Scrub the screen with three fingers to clear the selected layer.
- Pinch or push with your finger and thumb to zoom in or out.
- Twist two fingers around to rotate your canvas.
- Tap the side of the Apple Pencil to toggle between eraser and brush.
On top of the touch gestures, there's also the QuickMenu. You can read more about QuickMenu in our guide of tips and tricks to master Procreate.
Easily Overcome Your Procreate Problems
Procreate for iPad is already a convenient and helpful tool for artists and digital artists. Now you know a handful of tips and features to make your Procreate projects less stressful, less time-consuming, and produce better results. When you eliminate the obstacles in Procreate, only your imagination is the limit.