Whether you need to put your photos side by side, stack them vertically, or combine multiple images however you want, there are several ways to achieve this on a Mac.
You can use macOS tools like Preview or the print command to create a photo collage, combine multiple images with a dedicated shortcut, or take advantage of specialized third-party collage makers available on the App Store—the choice is yours.
Follow along with our tutorial as we look at both built-in features and third-party solutions to merge multiple photos into a picturesque collage on your Mac.
1. Combine Photos Into a Collage Easily With a Shortcut
You can use the Photo Grid shortcut to build a collage from images in Apple's Photos app. If you've downloaded images from the web, you must import them into Photos first.

Click Gallery in the Shortcuts app's sidebar, type "Grid" into the search field at the top-right corner, and hit Enter. Select Photo Grid in the search results and click the Add Shortcut button to add it to your library.
To use it, head to All Shortcuts and then the Play button in Photo Grid's top-right corner. Select the images you want to add to the collage from the Photos app and click the Add button.

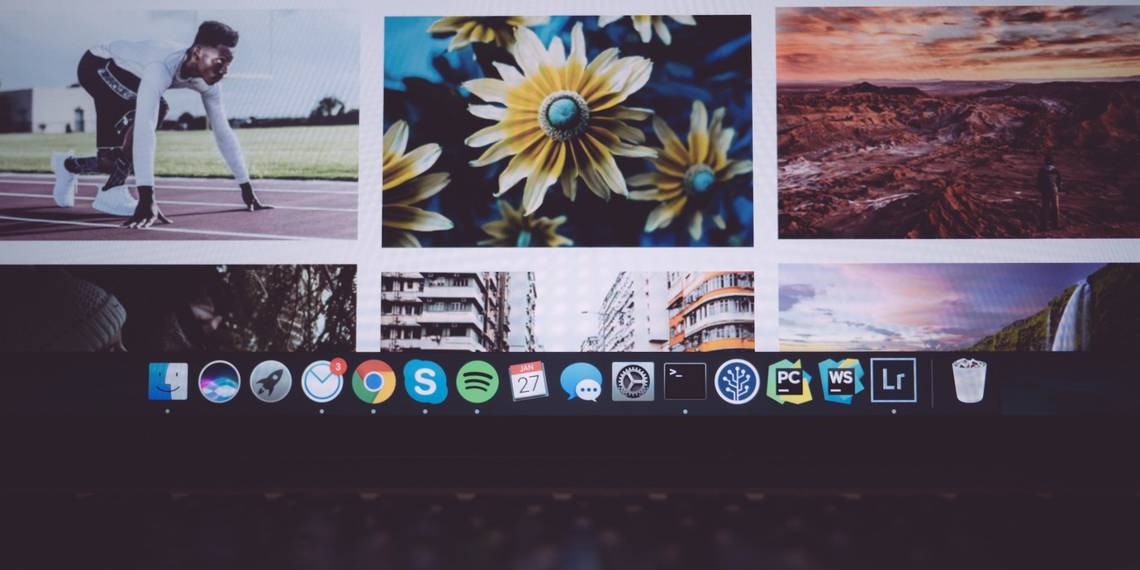
A preview of your collage pops up in a window. Click Open with Preview in the window's top-right corner to open and save the collage to your Mac using the Preview app, or click the Share button to add it to Photos or share it with others via social platforms.
2. Use Preview to Create a Photo Collage
If you want to avoid downloading third-party collage makers, the built-in Preview app lets you stitch together multiple images on a Mac and arrange them however you want.

Let's first measure photo sizes. Open a Finder window, Command-click the photos you'd like to combine, then Control-click the selection and choose Open With > Preview.
Now, switch to Preview, choose Tools > Show Inspector from the menu bar, click the Info (i) tab, select the first photo in the sidebar, and take note of its width and height. Repeat the process for the remaining images.
If needed, select View > Thumbnails to show the Preview sidebar.
To avoid accidentally destroying your originals, we'll now create a blank canvas we can add to. Select any photo in the sidebar, press Cmd + C, and click File > New from Clipboard. Preview will create a new document based on the clipboard contents in a new window.
Next, we'll enlarge our canvas to fit all the photos. Click Tools > Adjust Size and untick the Scale proportionally option. Enter the sum of the width of all your images in the Width field, and the height of the tallest one in the Height field, then hit OK to apply the changes.

Press Cmd + A to select everything and choose Edit > Delete. If prompted about preserving transparency, click Convert. We now have a blank canvas in the correct dimensions.
Time to combine photos. In the sidebar, select the thumbnail of the first photo you want to add and click its bigger version on the right. Press Cmd + A to select the photo, then Cmd + C to copy it. Switch to the blank canvas we just created and hit Cmd + V to add the image.

Repeat the process to add the remaining photos.
Use some white space to separate the individual images visually. Or, consider a grid-like arrangement instead of a side-by-side design.
When satisfied, choose File > Save to save the collage to your Mac. If you prefer a solid white background over transparency, be sure to set Format to JPG instead of PNG.
3. Use the Print Menu to Make a Collage
The Print menu in macOS lets you create a digital contact sheet with your photos. In photography, a contact sheet is a set of thumbnails printed on photographic paper.

Select multiple image files in Finder, then Control-click your selection and choose Open With > Preview. In Preview, click File > Print and expand the Layout section, then hit the Pages per Sheet menu and select the number of images to fit on a single page. Adjust your page layout under Layout Direction and set image borders under Border.
When satisfied, click the PDF menu at the bottom and select Open in Preview. You should end up with a photo collage in Preview that you can save to your Mac in various formats.
4. Combine Photos in macOS With Terminal
You can use Terminal to combine multiple photos without noting their dimensions or manually dragging them around the canvas. However, you must first install HomeBrew on your Mac to download ImageMagick, a free command-line utility for image manipulation.

Here's how to use ImageMagick in Terminal to combine multiple photos:
- Launch Terminal using a Spotlight search (Cmd + Space).
-
Type the following command into Terminal to install ImageMagick, then press Enter:
brew install imagemagick - In Finder, drag the photos you want to combine into your Pictures folder.
-
Run the following Terminal command to switch to this folder:
cd ~/Pictures -
Now, paste this command into the Terminal window, replacing IMAGE_SEQUENCE with the file names of the individual images separated by space, then press Enter:
convert +append IMAGE_SEQUENCE ~/Desktop/Result.jpgconvert +append 1.jpg 2.jpeg 3.jpg 4.png 5.png ~/Desktop/Result.jpg
ImageMagick will create and save your collage as the file named Result.jpg on the desktop.
To combine photos vertically, replace +append with -append.
5. Use Third-Party Apps to Combine Photos Into a Collage
The easiest way to combine photos on macOS is via third-party apps on the Mac App Store. Posterino is arguably the best app for the job, regularly updated with new features. Although exporting requires a subscription, a free 7-day trial is available. Don't forget to cancel the subscription on your Mac when you're done to avoid unwanted charges.

Download Posterino, launch it, and you'll be greeted with the template browser. Click All Templates in the sidebar and double-click a template on the right to use it.
To source images from the Photos app, tick Use Photos in the sidebar. Otherwise, drag one or more image folders from a Finder window onto the sidebar, then drag thumbnails onto document placeholders.

Use your layout options under Basic, Image, and Frame on the right panel to customize the collage design to your liking. Lastly, click File > Export to save your collage as an image file.
If you don't want to download a third-party app, you can check out some of the free online tools for combining multiple photos, as they're web-based and require no installation.
6. Combine Images Into a Collage in Pages
You can make a simple photo collage using Apple's Pages app, which is completely free for your Mac. Open Pages, click File > New, and choose a blank page from the template browser. Now, click File > Page Setup and set Paper Size to at least A4 and Orientation to Landscape, then hit OK.

Click Media in the toolbar at the top of the window to choose whether to use images from Photos, an image folder in Finder, or other available sources. Now, drag one or more images from the media browser or a Finder window onto the document to add them.

Drag the boxes around an image to resize it or double-click to crop it. To customize the layout further, click Format in the toolbar and experiment with the various options for creating borders, shadows, reflections, etc., under the Style, Image, and Arrange tabs.
For pixel-perfect layouts, click View > Show Ruler to precisely position images using the vertical lines in the ruler at the top. Use the yellow lines when moving an image to aid object snapping.
Repeat the steps to add additional images to fill the canvas. When done, click File > Export To in order to save your collage as a PDF or File > Print to open the document in Preview. From there, click File > Save and use the Format menu to save the collage as an image file.
So Many Ways to Combine Images in macOS
Combining photos into a collage on a Mac can be as easy as dragging them around in Preview or running the Photo Grid shortcut. Command-line experts can merge multiple images in Terminal, while folks who prefer specialized apps should try dedicated collage makers on the App Store.
For deeper customization of your collages, consider advanced image editors like Photoshop that give you virtually limitless options when combining images.