For creators in the modern age, accessibility options are crucial for building an inclusive audience. Whether you have hard-of-hearing fans or viewers who rarely raise the volume of their videos, closed captions are a fantastic way to make your video content more accessible to more people.
Adobe Premiere Pro has numerous useful features for making these captions, including speech-to-text to speed up your workflow.
Why Should You Transcribe Your Videos and Make Captions?
There are plenty of reasons to include captions and subtitles in a video project, especially if you plan on eventually exhibiting your work. Let's have a look at some of them:
- Captions provide an accessibility consideration to those who are hard of hearing.
- Captions make it so that people can watch without the sound on. Potential viewers are much less likely to scroll past you on YouTube if they get a glimpse of what you have to say via closed captions in the thumbnail.
- Subtitles translate your work into other languages, enabling a broader audience to enjoy what you've created.
- The transcription of your work is indexed and Google-able SEO fodder. This is especially the case when you share your work on sites like Instagram and YouTube. Including your transcript is better than relying on caption bots to do the work for you, and you'll be sure that they aren't getting anything wrong.
Aside from the reasons listed here, it should go without saying that you should always ensure what's being communicated throughout the course of your project is clear and easy to understand, no matter what type of video you're creating.
How to Create Speech-to-Text Captions in Premiere Pro
Speech-to-text technology has dramatically improved in recent years. There are many dedicated speech-to-text apps, and if you want to add captions to your video in Premiere, the speech-to-text feature is by far the easiest way to do so.
Before transcribing your video, make sure your video is fully edited. If the length of the video changes, your captions and transcriptions will be inaccurate, so ensure no further edits are necessary before transcribing.
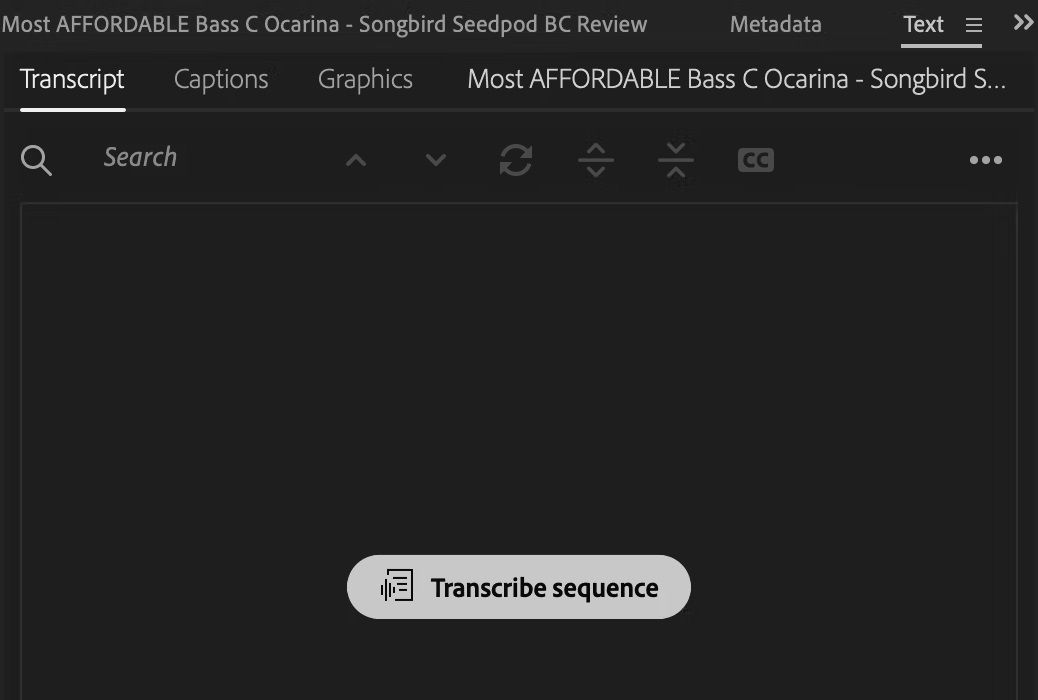
To transcribe, open the Text window, go to the Transcript tab, and hit the Transcribe sequence button.
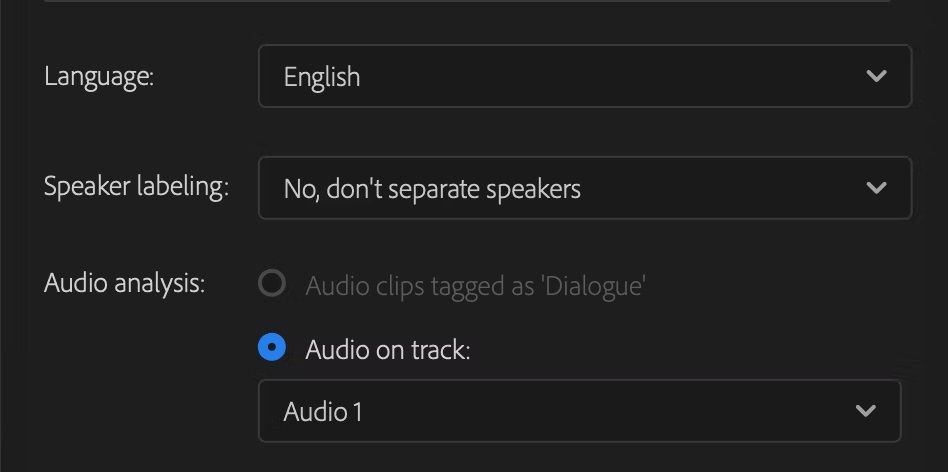
You'll be given a chance to modify a few settings before the process begins, including which audio tracks to use in the transcription. If you only have one track with speech, select that track in the prompt. If you have multiple tracks with speech, mute any tracks with sound effects or music before transcribing, and transcribe the full audio mix. Then re-enable your sound effects and music tracks afterward.
Depending on your video length and computer's power, transcription may take several minutes.
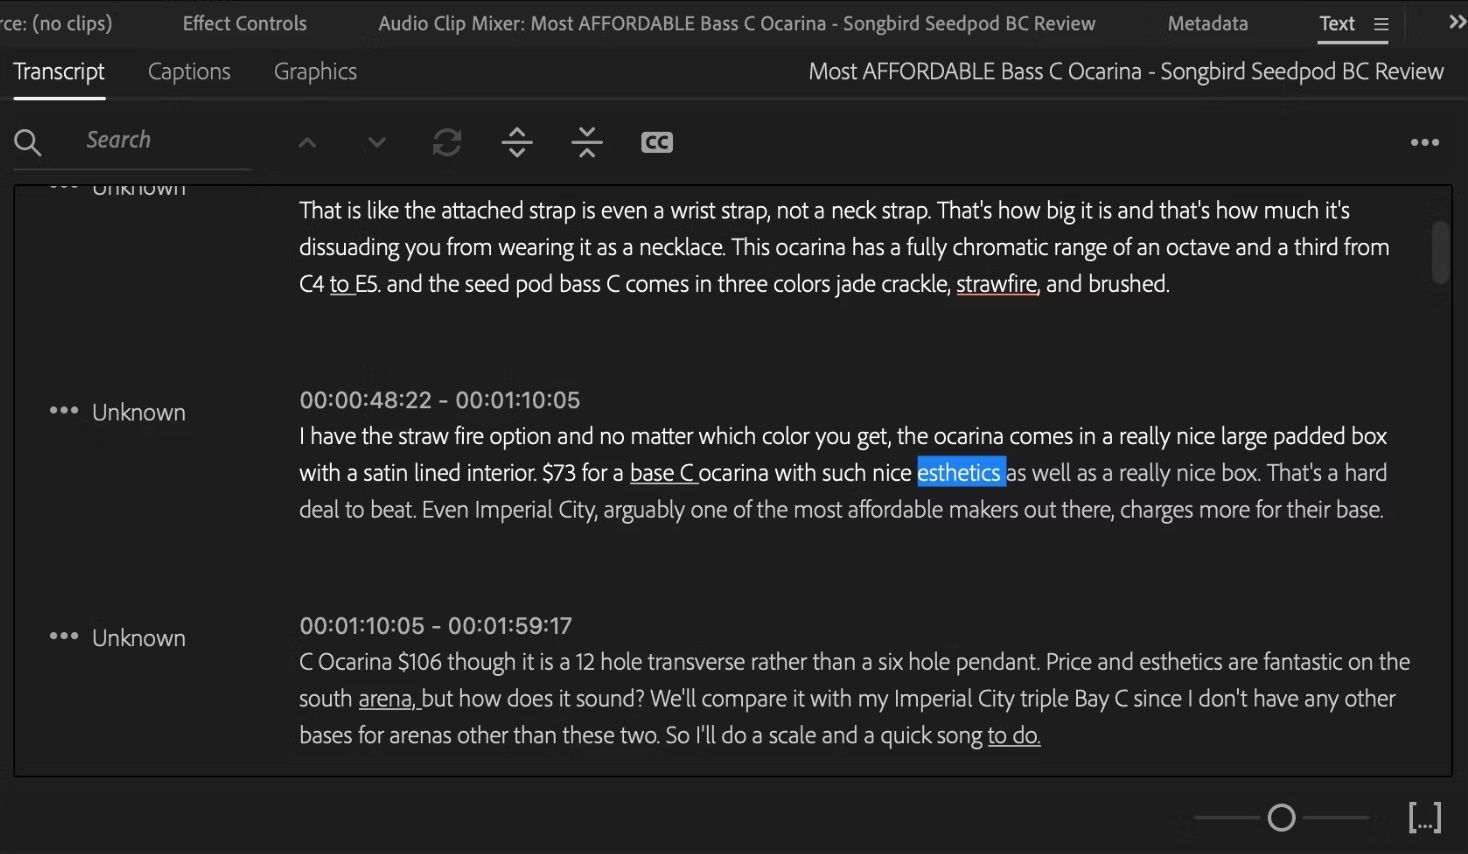
Here, you can see that Premiere's auto-transcription has successfully transcribed this video. If you look closely, you'll see some words, especially less common ones, have mistakes. Similarly, some sentences aren't punctuated properly. As such, you can manually make corrections by double-clicking any given paragraph of the transcription.
If you'd like to verify what your audio says, playing your sequence will also highlight the same words in the transcript.
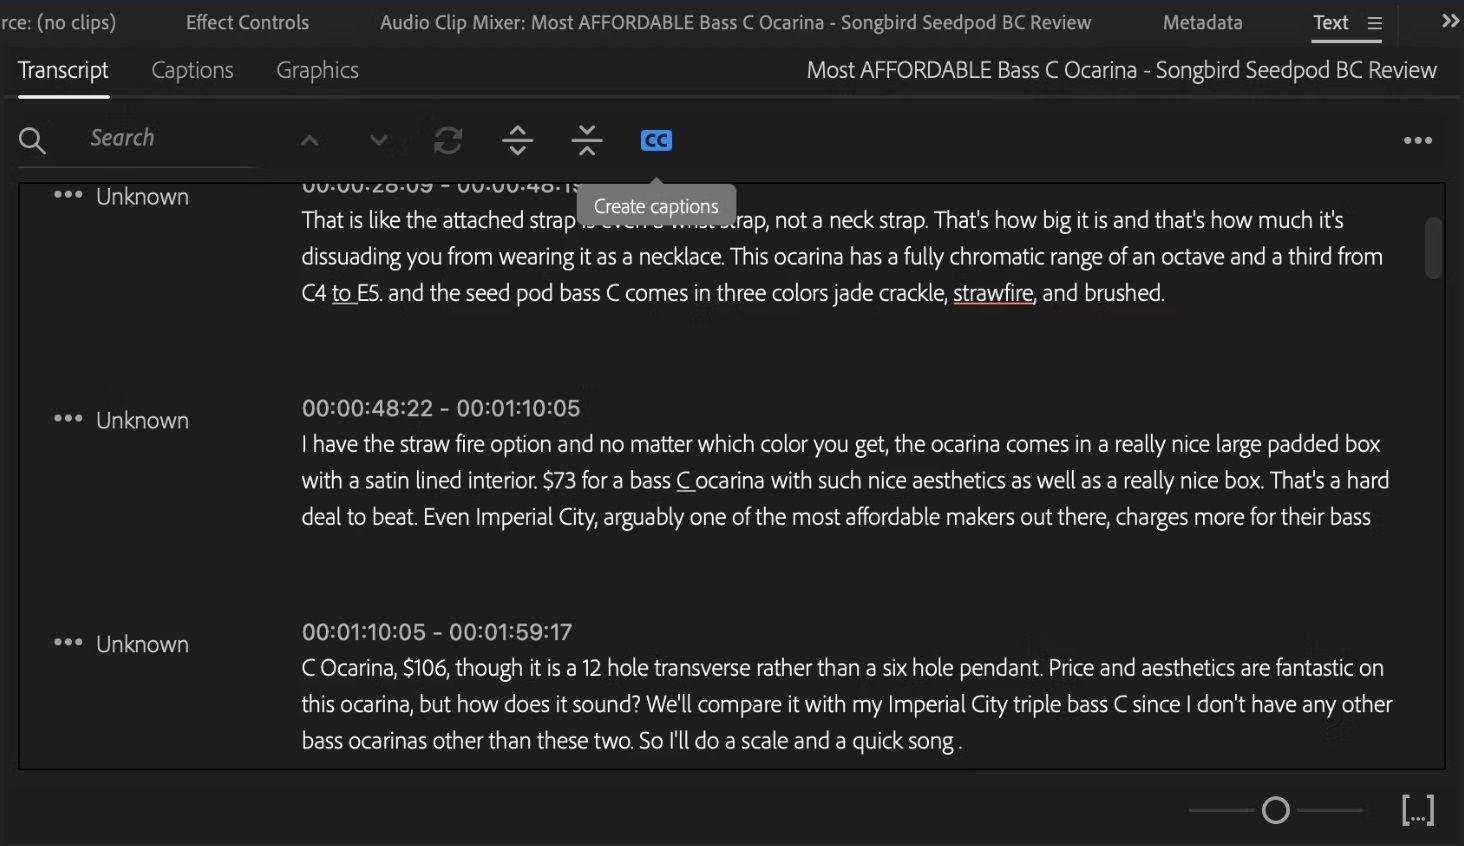
After editing, click the CC button at the top of the Transcript tab. You'll see a prompt with various settings such as Maximum length in characters, Minimum duration in seconds, and Lines with options for Single and Double.
Once you make your captions, you can also bulk-edit settings like font, size, color, and drop shadow then save these as a Track Style to use in future projects.
While Premiere's speech-to-text transcription function is surprisingly accurate, creators should still ensure the audio in their videos is as clear and high-quality as possible.
How to Write Captions Manually in Premiere Pro
Given how powerful speech-to-text transcription is, we recommend you generally resort to that first. Otherwise, for shorter productions and unscripted work, transcribing your own captions by hand isn't particularly time-consuming or tedious.
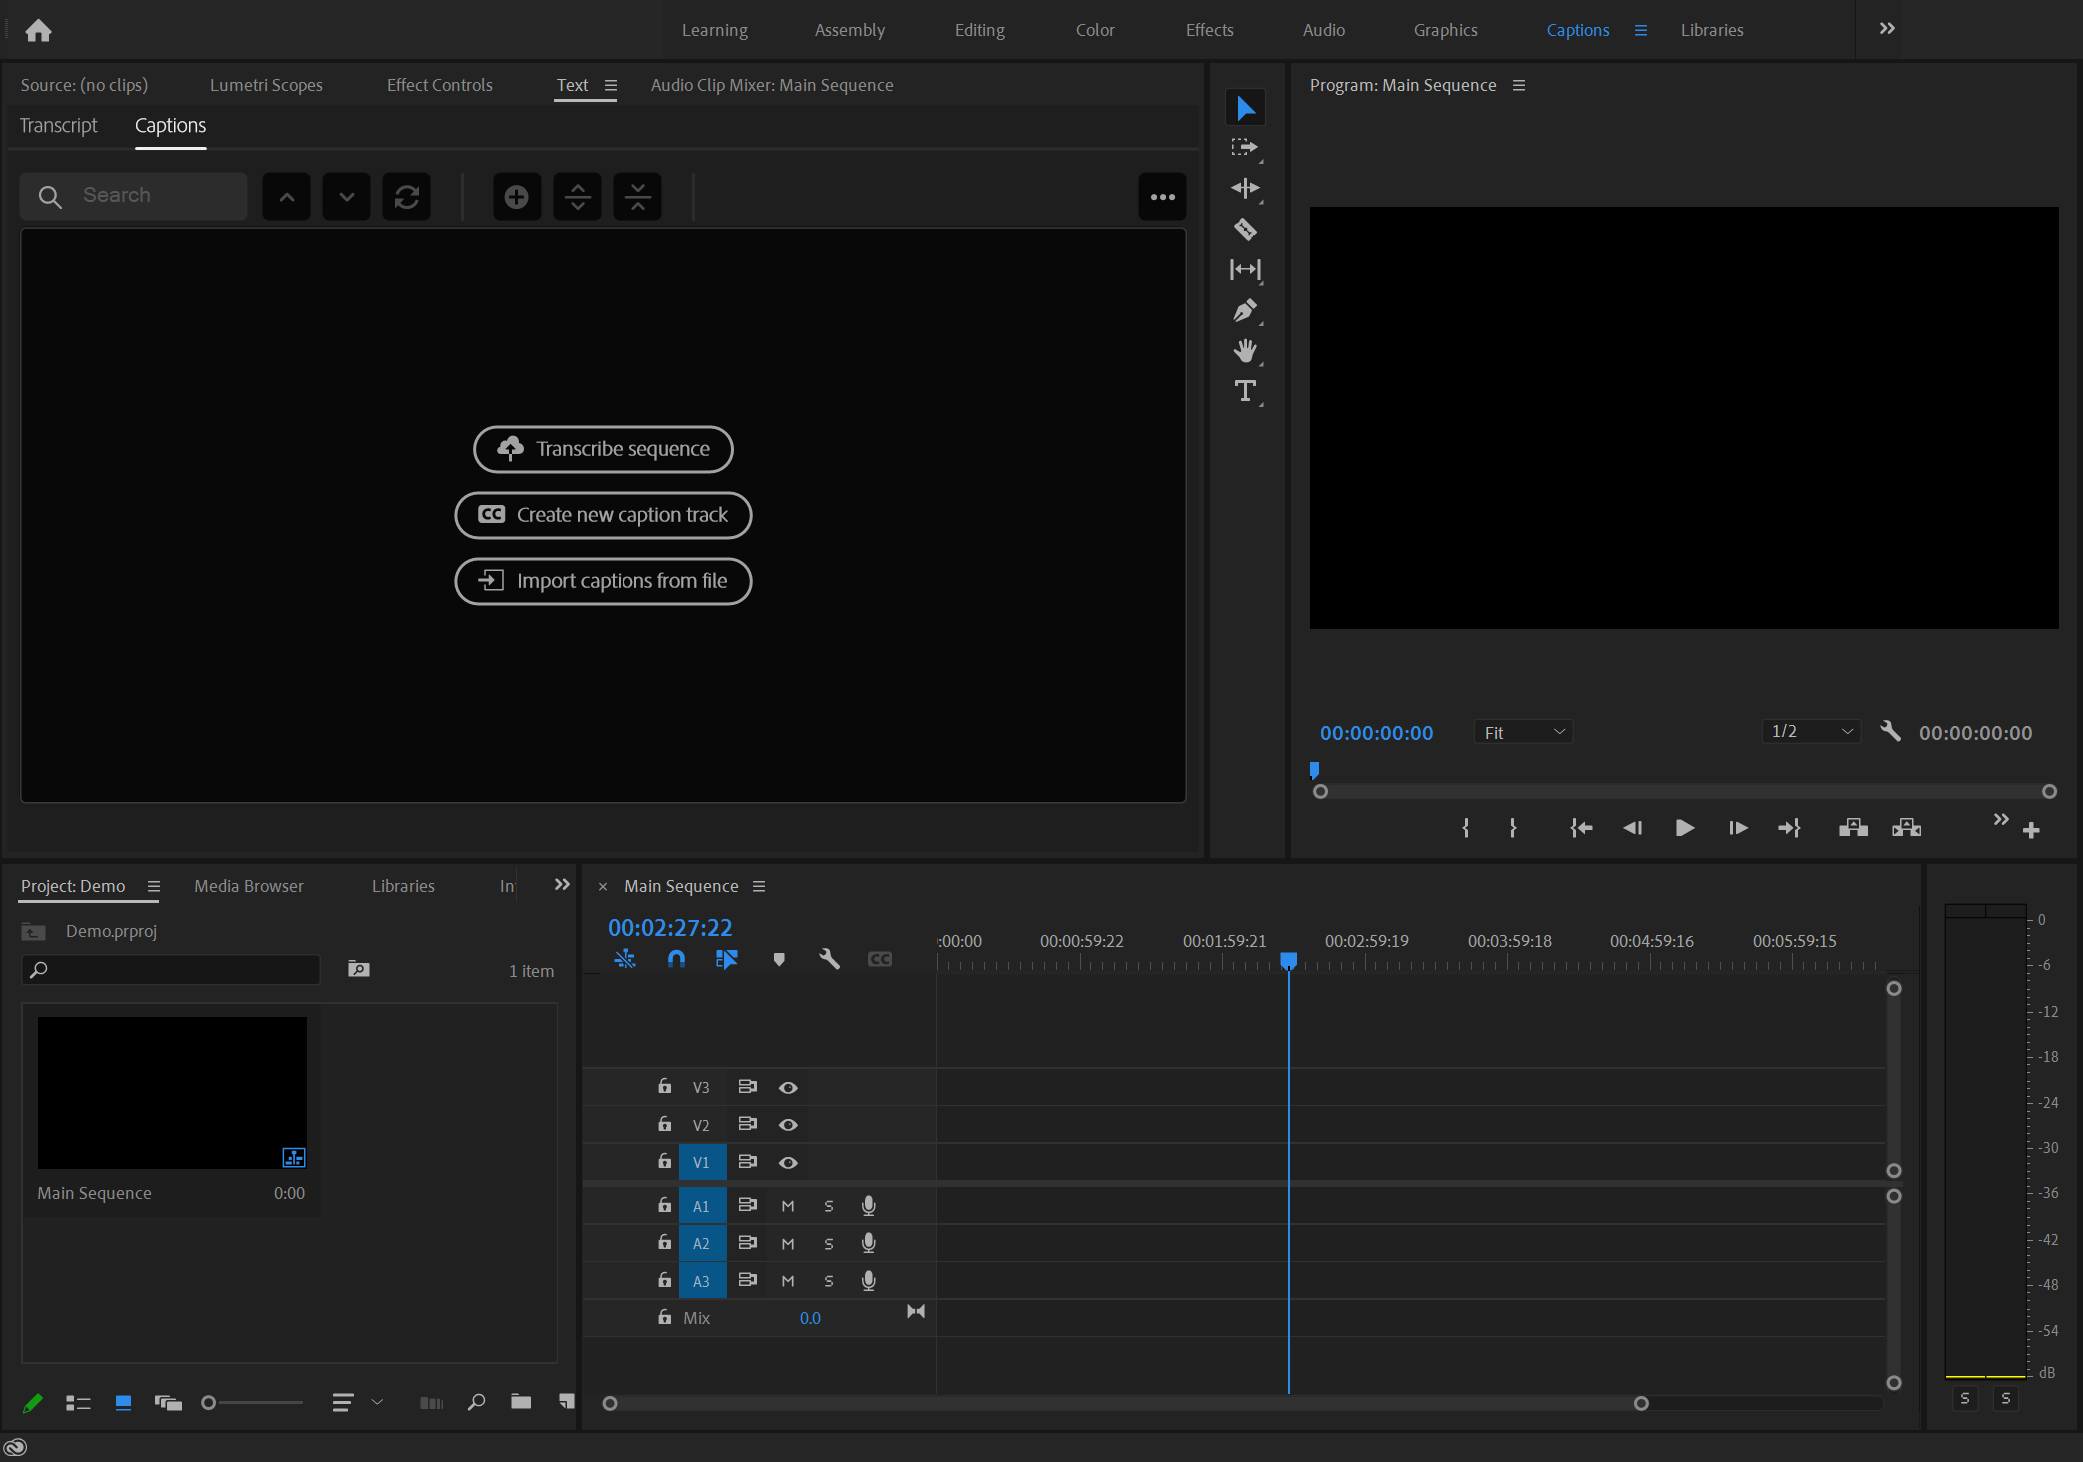
To begin, switch over to the Captions workspace from the workspace options above. You can also click Windows then select Text.
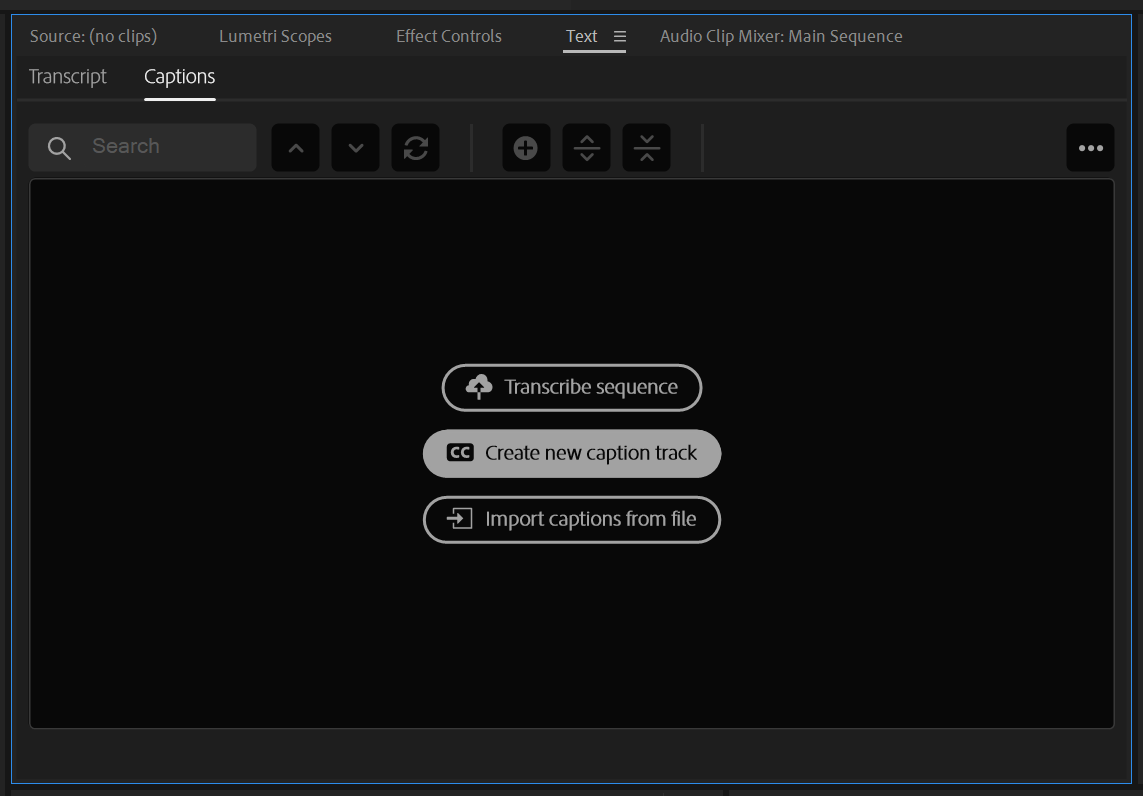
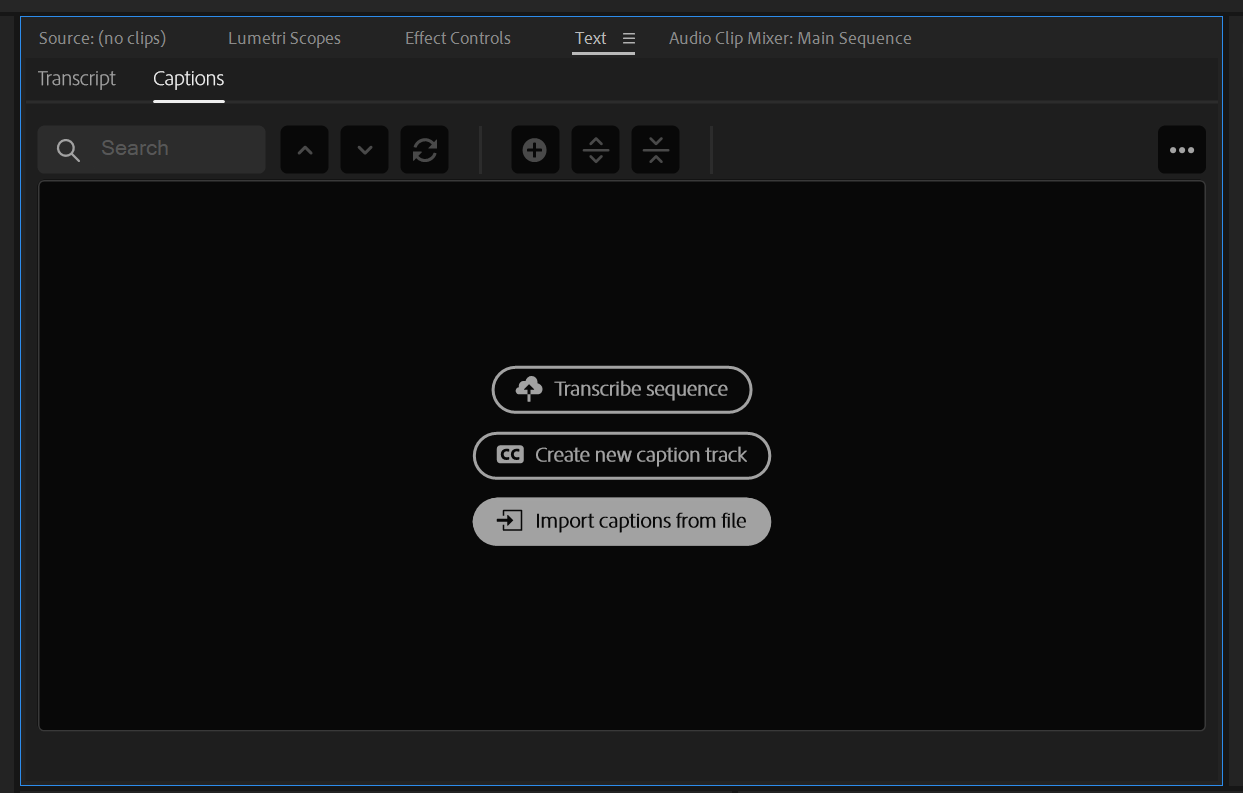
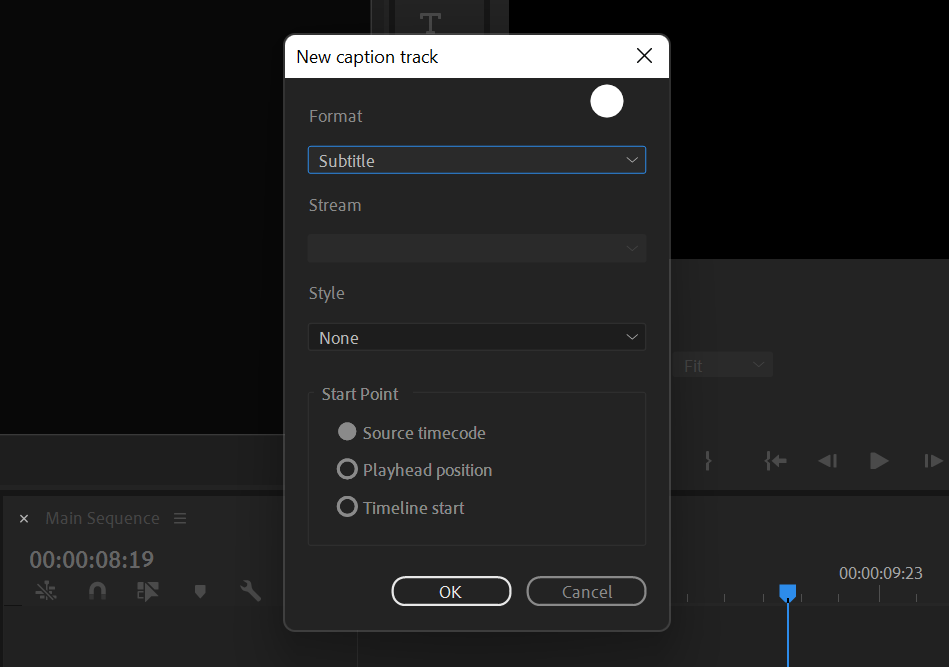
In the Text window, go to the Captions tab, then click Create new caption track. You can also use the shortcut [Ctrl + Alt + A] or [Opt + Cmd + A].
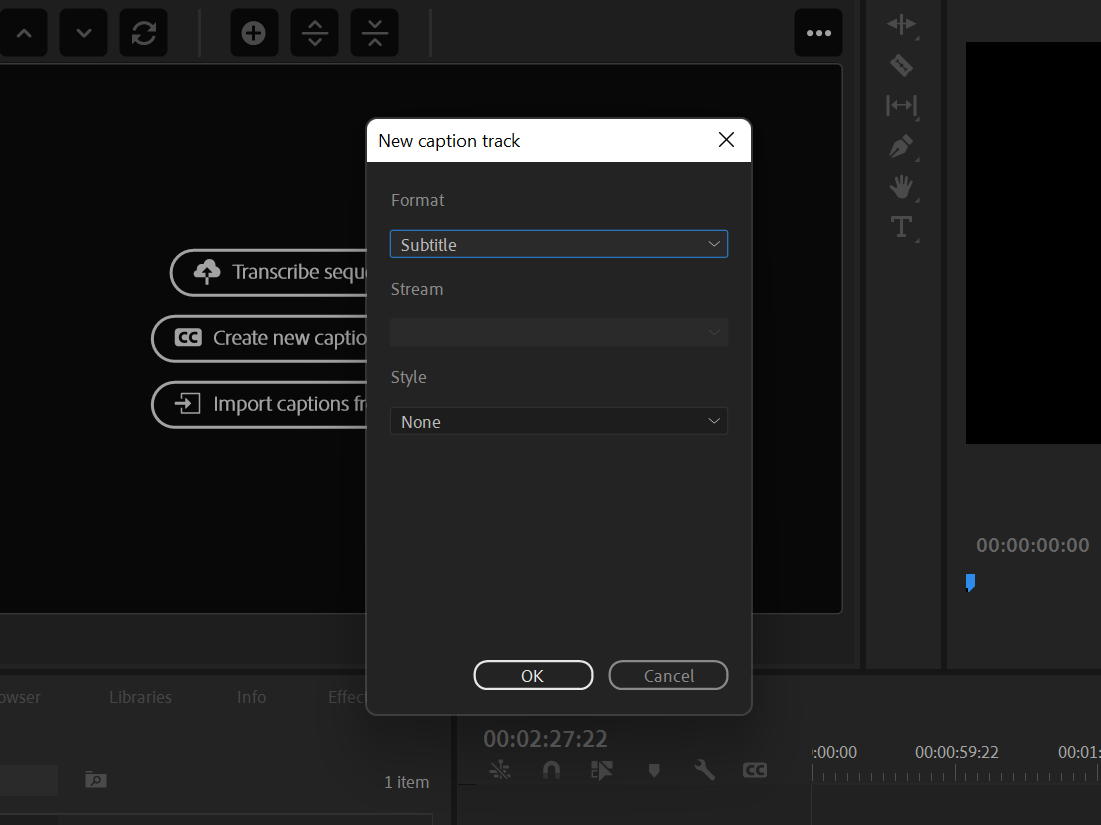
Choose a track Format and Style. Hit OK.
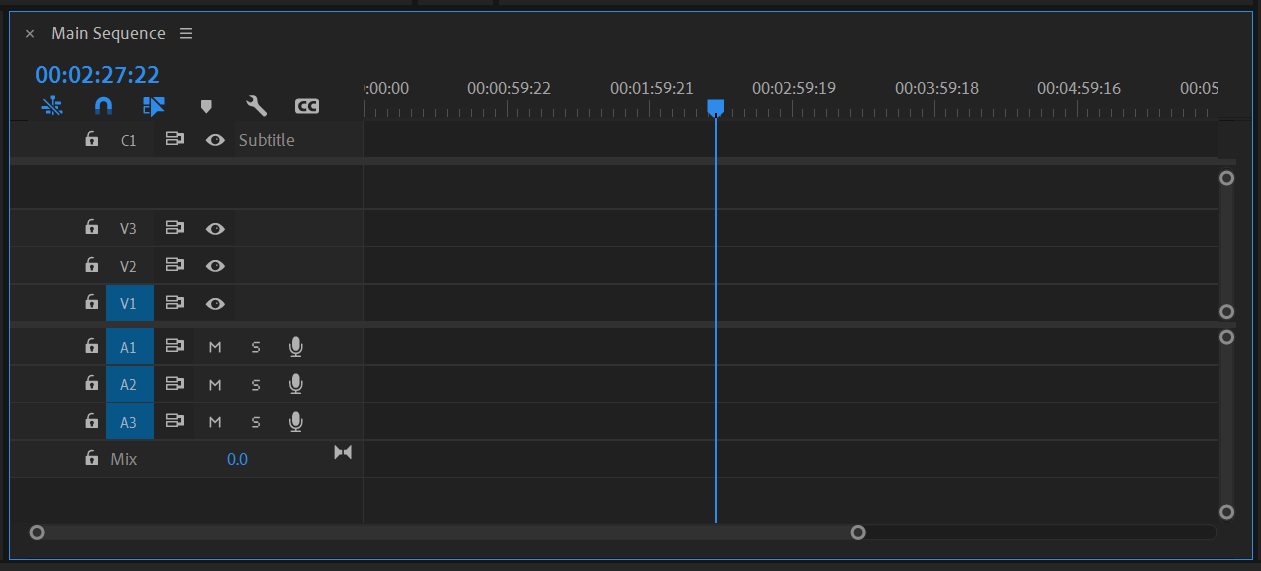
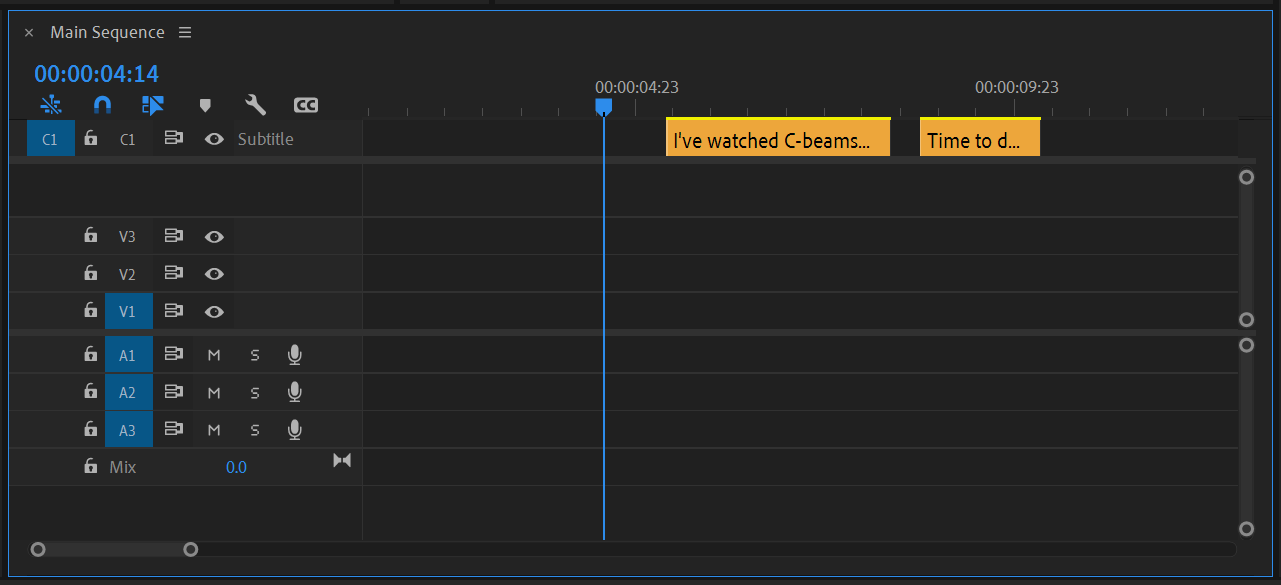
Back in the Timeline panel, you'll see a new track above what's already there. Now, add some footage. Line the playhead up with the waveform of somebody speaking.
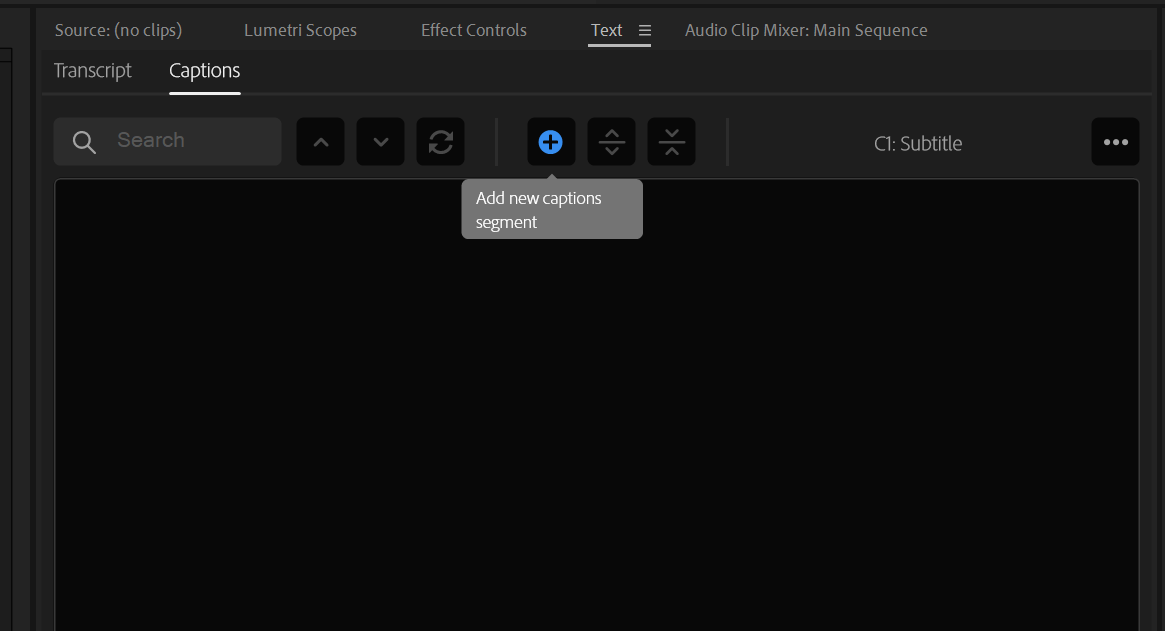
In the Text panel, hit the plus icon to create a new caption, or use the shortcut [Ctrl + Alt + C] or [Opt + Cmd + C].
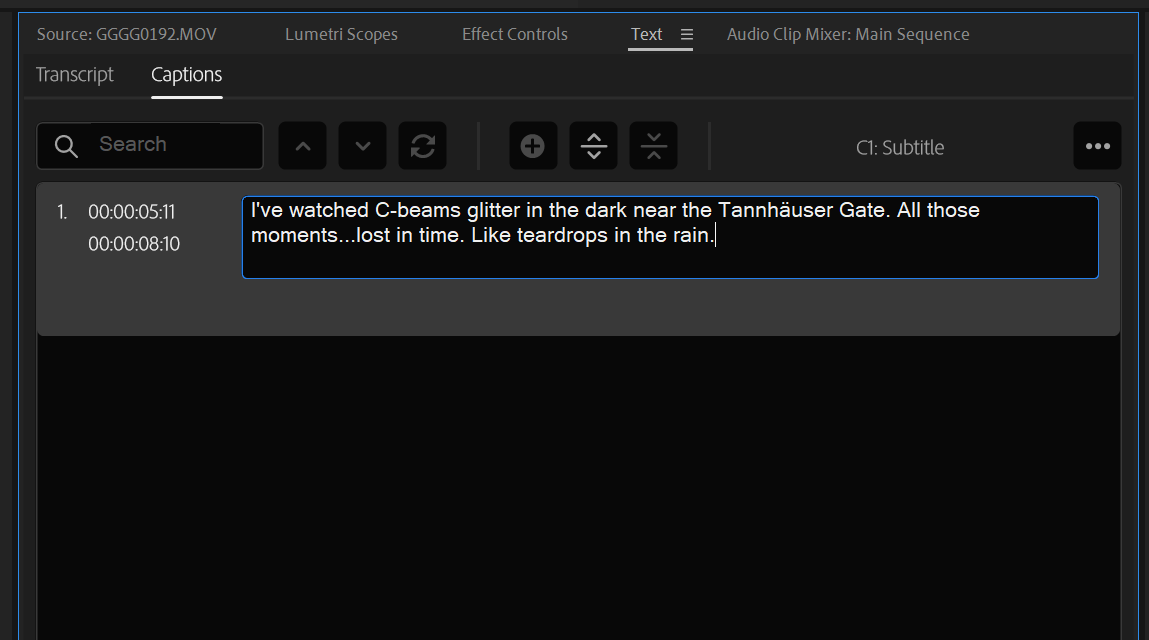
Double-click into the text field provided and transcribe what's being said.
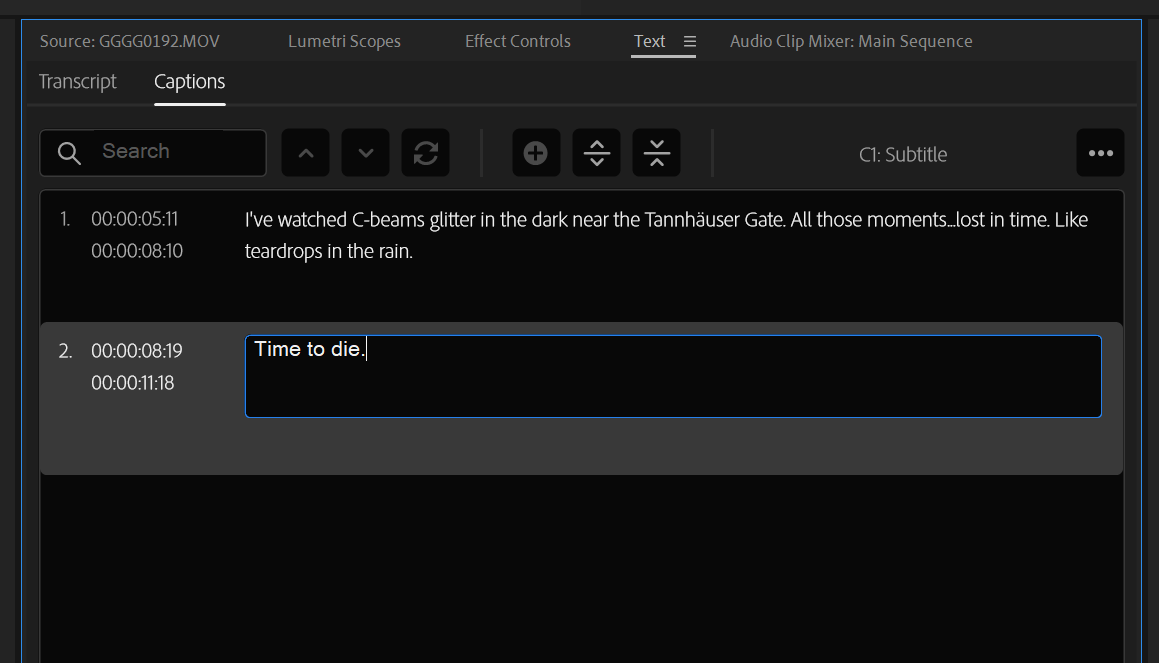
Continue adding lines until the entire sequence has been captioned.
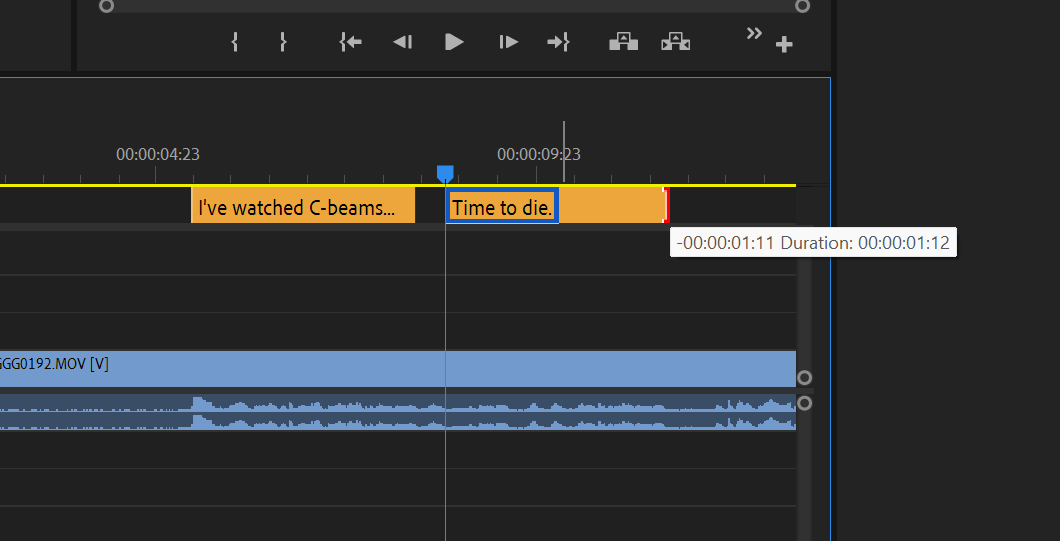
As you add each new caption, you can trim it in the Timeline panel, keeping it on-screen for just the right amount of time.
Changing the look of your closed captioning is easy—you can create new styles for your subtitles or choose from many professional-looking templates using Premiere's Essential Graphics panel.
How to Export Captions in Premiere
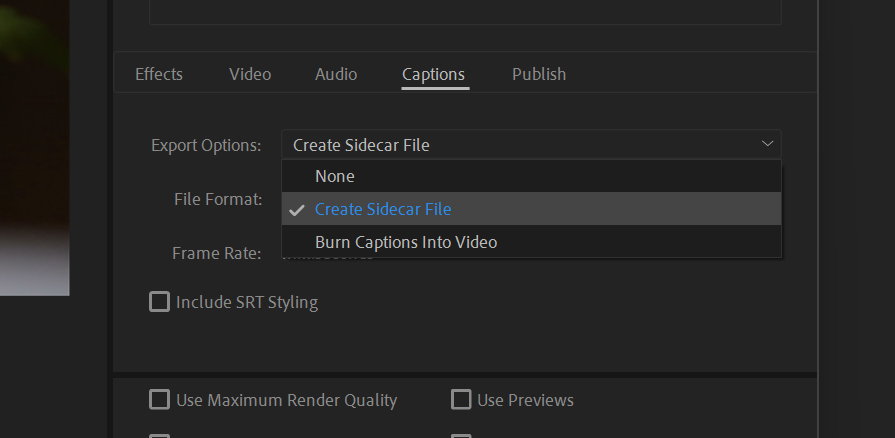
Aside from simply burning them into your final peel-out, you're also able to export your captions as a separate sidecar file when you render the entire project.
You'll be given the option when you export your project. Scroll down in Premiere's Export Settings until you reach the tabbed menu that includes all of your Caption settings.
You can choose a closed captions burn-in, the aforementioned sidecar file, or simply leave your captions behind on the cutting room floor.
As far as sidecar file types are concerned, Premiere will assign you one of several appropriate companion options:
- For regular subtitles: SRT or STL
- For OP47, EBU subtitles, or Teletext: XML, STL, or SRT
- For CEA-608: SCC, MCC, STL, or SRT
- For CEA-708: SCC, MCC, or SRT
The Embedded option may be tempting, but it is forbidden unless you happen to be working for your local television broadcast station. One day...
How to Import Captions in Premiere
Another option in the Text panel is to import captions from an external file. Anything that you export using the above method can be brought into another project, just like you've created them the first time.
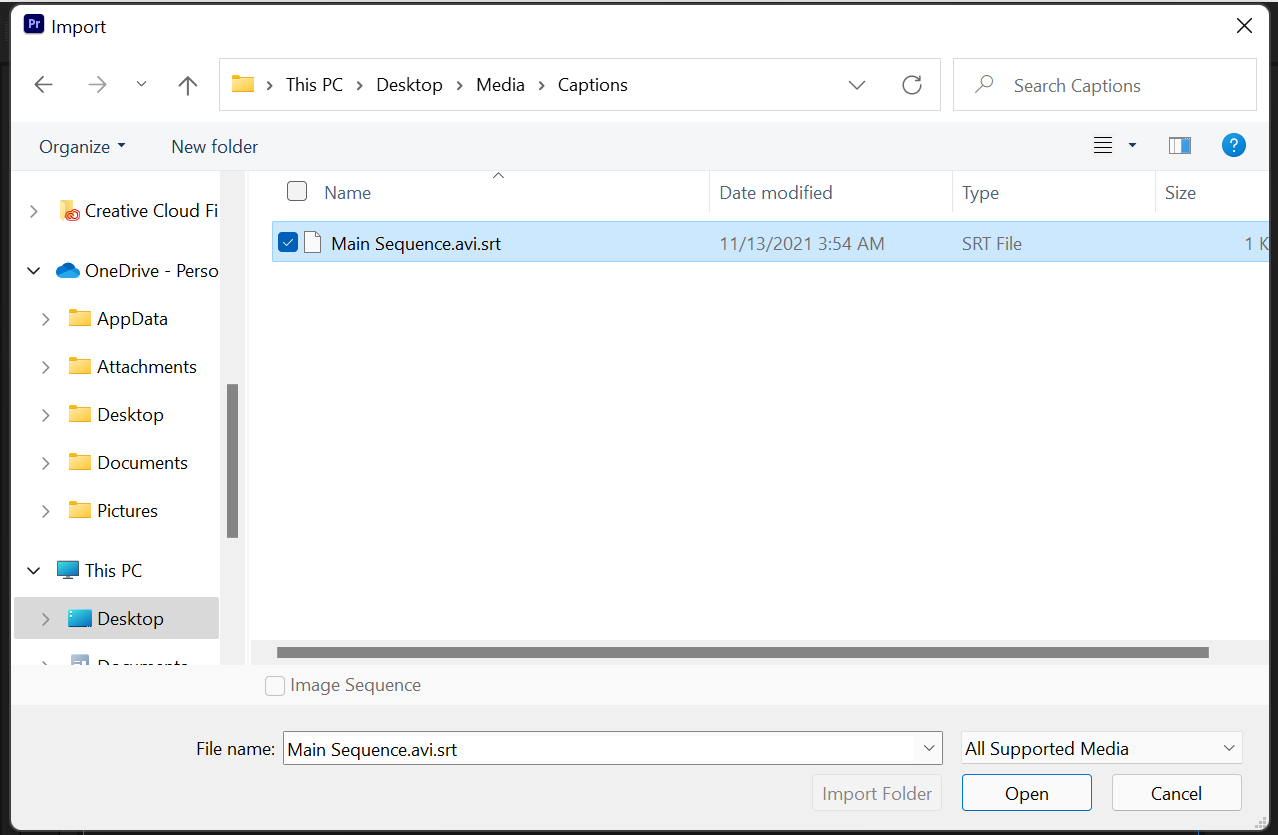
We're going to create a new project and import the captions that we've just created. To begin, click on the Import captions from file button in the Text panel. Find your closed captions in the destination folder. Select the file that you need and hit Open.
You'll once again be asked to specify the Caption Format that you prefer. You can choose a Style and your desired Start Point as well. Hit OK.
There they are, pristine and just as we remember them.
Closed Captions in Premiere: Show, Don't Tell
Transcription and closed captions allow you to unambiguously showcase your thoughts and add much-needed accessibility for hard-of-hearing viewers and folks who set the volume to zero. In fact, many services outside of media production have pushed out captioning services in light of this necessity, Zoom most certainly included.
Laying it all out on-screen makes each idea expressed explicitly clear. Premiere is one great tool to use if you would like to provide this service for your own viewership, and you can do so easily with speech-to-text transcription or manual captioning.


