
Page orientation is an important aspect of formatting in Excel that determines how your worksheet looks when printed or viewed. By default, Excel sets the page orientation to portrait mode, but you may need to switch to landscape orientation for a better view of your worksheet.
We'll show you how to change the page orientation of a single worksheet or an entire workbook in Excel.
How to Change the Page Orientation of a Spreadsheet in Excel
There are various ways to change the page orientation of an Excel spreadsheet.
1. Using Page Layout
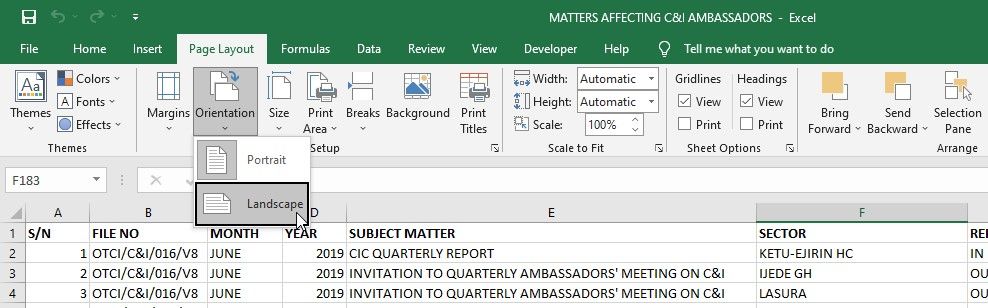
To change the page orientation in Excel using the Page Layout option:
- Open the worksheet with the orientation you want to change.
- Click the Page Layout tab at the top of the window.
- Select the Orientation option.
-
Choose Portrait or Landscape orientation.

2. Using Page Setup
If you need to change one or two settings in the Page Setup window, you can also change the page orientation of your spreadsheet using the Page Setup tool. Here's how.
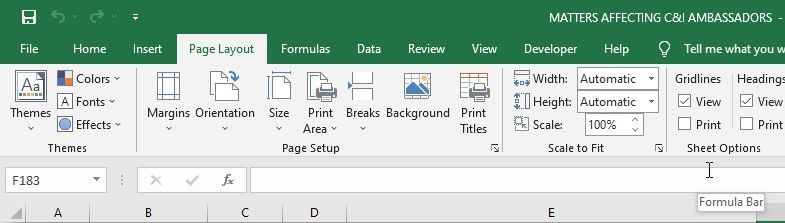
- Open your Excel worksheet.
- Select the Page Layout tab.
-
Go to Page Setup and click the arrow at the bottom right of the group.
- Click the Page tab at the top of the dialog box that appears.
-
Under the Orientation section, select Portrait or Landscape.
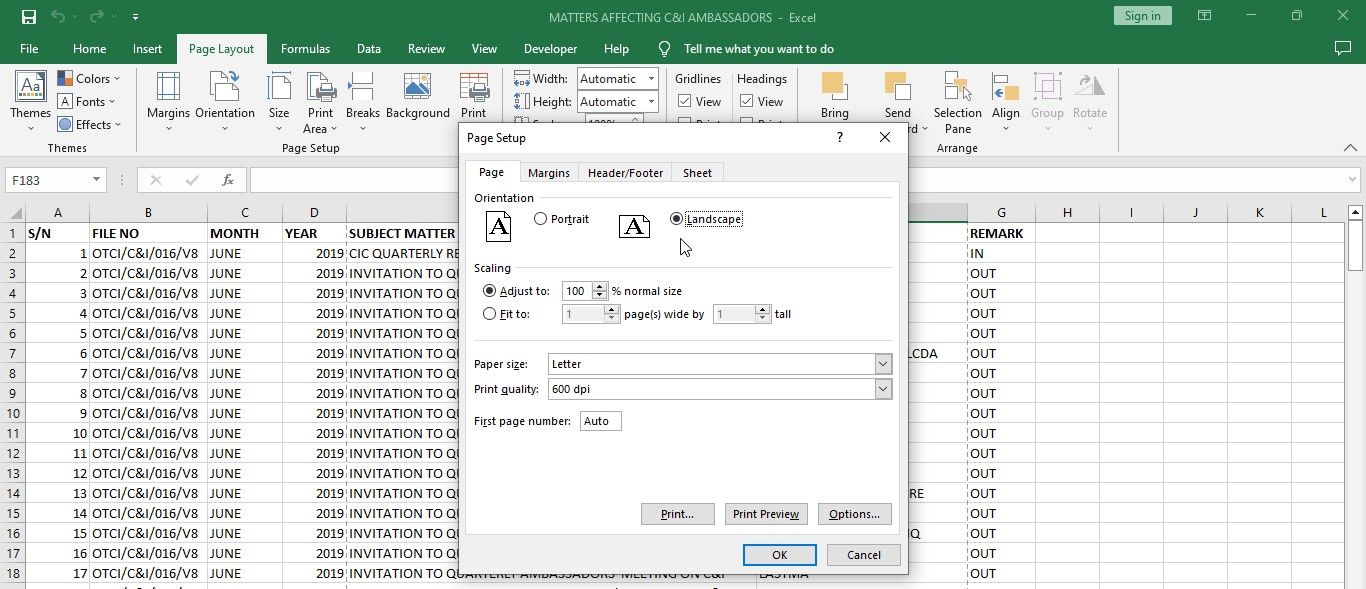
- Click OK to save your changes.


In the dialog box, you can also adjust the page scale to fit your Excel spreadsheet to your screen.
3. Using Print Preview
Another way to change the page orientation of an Excel spreadsheet is when printing. This method is convenient because it allows you to preview how your worksheet will look before you print it. Here's how to change page orientation using the print preview window.
- Open your Excel spreadsheet.
- Click on the File tab and select Print.
-
Under Settings, click on the Page Orientation drop-down menu.
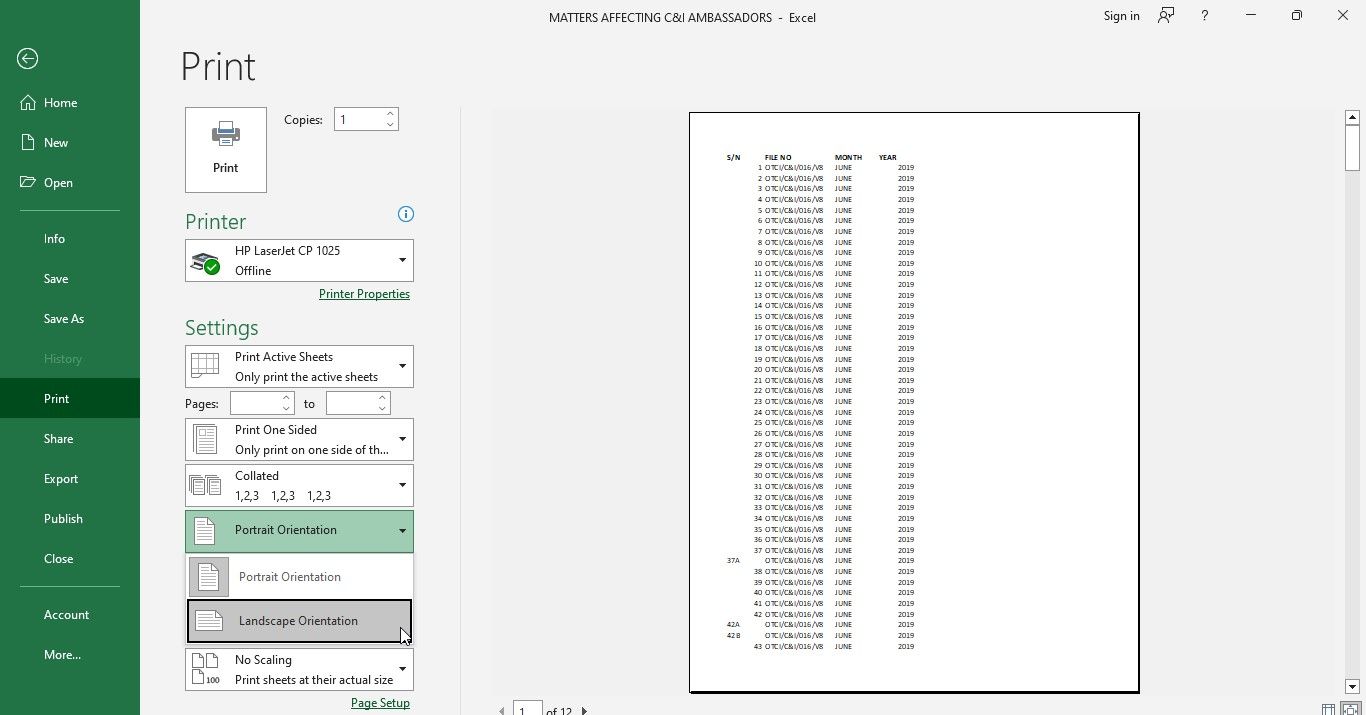
- Choose the page orientation you want to use and hit Print when you're ready to print.

4. Using a Keyboard Shortcut
If you prefer using keyboard shortcuts, use the steps below:
- Press Alt + P + O one after the other on your keyboard.
-
Select Portrait or Landscape from the drop-down menu that appears at the top of the screen.
How to Change the Page Orientation of Multiple Spreadsheets in Excel Using VBA
When you change the page orientation of a spreadsheet, it only applies to that particular sheet and not to any other sheets within your workbook.
Changing the orientation of each sheet would be time-consuming, especially if the workbook contains many worksheets. Here's a simple VBA method you can use to change the page orientation of multiple worksheets in your Excel workbook.
- Open the workbook you want to edit.
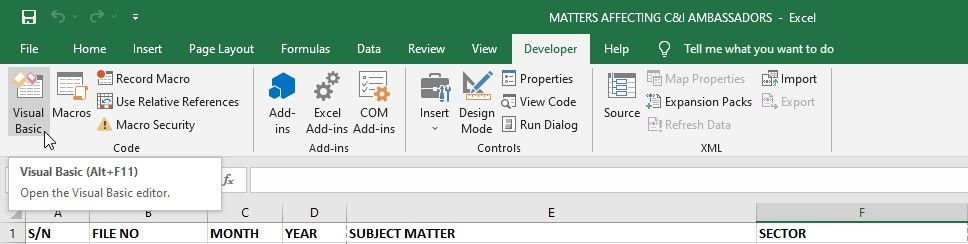
-
Click on the Developer tab and select Visual Basic to open the Visual Basic Editor. Here's how to enable the Developer tab in Excel if you don't have it.
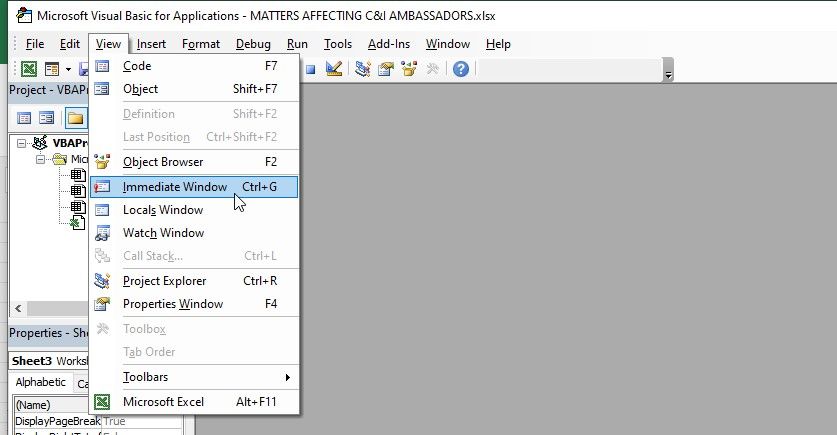
-
Click the View tab and select Immediate Window. You can also use the keyboard shortcut Ctrl + G.
-
Enter the following code in the Immediate window.
For each ws in Worksheets: ws.PageSetup.Orientation = xlLandscape: Next ws -
Hit Enter and close the VB editor.

A


All worksheets in the workbook should now have the landscape orientation. To set the page orientation to portrait instead, enter the following code in the Immediate window and press Enter.
For each ws in Worksheets: ws.PageSetup.Orientation = xlPortrait: Next ws
Set Appropriate Page Orientation in Excel
Excel is great for managing and analyzing data, but sometimes the default page orientation may not be suitable for the data you're working with.
Whether it's for printing or presentation purposes, changing the page orientation in Excel can help improve the layout and readability of your data. With a few clicks, you can easily switch between portrait and landscape orientations and organize your spreadsheets the way you want them.