For those of us who are not well-versed in design software, tools like Canva can be a great resource. You can quickly whip up amazing creations without spending hours learning all the complexities of design software. Canva is also handy if you want to do some fun things like menus and recipe cards to share with your family and friends.
Let's show you how to make a Thanksgiving dinner menu in a jiffy with Canva.
How to Design a Thanksgiving Menu in Canva
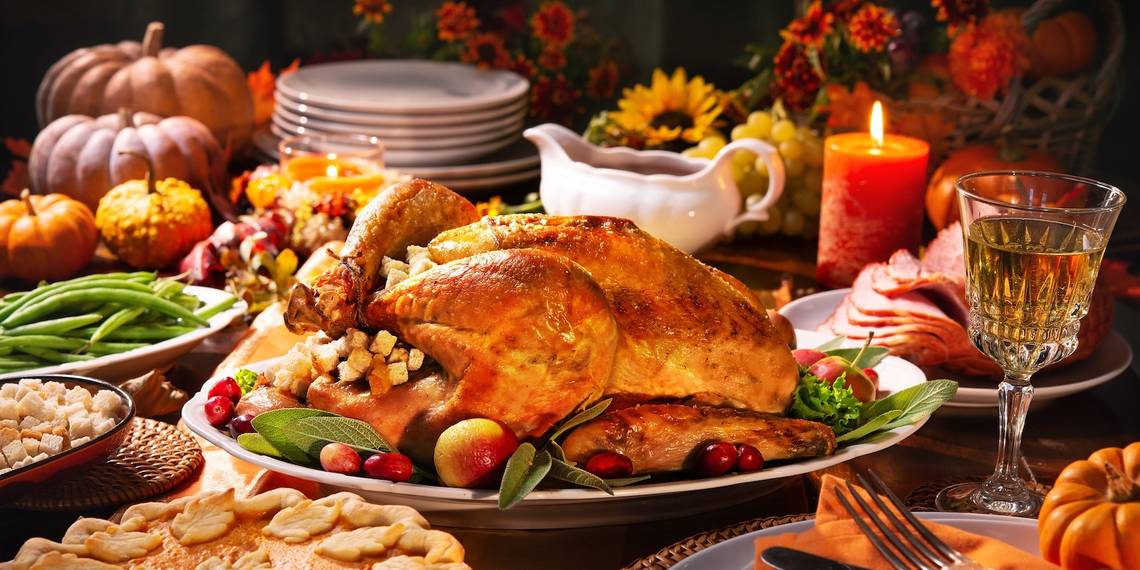
Come fall, you know what's around the corner: Thanksgiving. With Thanksgiving comes the vivid pictures of glossy turkey, mashed potatoes soaked in gravy, grilled corn, and yummy pies. Even more than the food, it is your friends and family who make it so special.
If you're planning to throw a Thanksgiving dinner party, you have come to the right place. We are here to help you create a dinner menu with Canva.
Whether you're entirely new to Canva or have tinkered with it before, you should know that it is easy to design anything with Canva. It's so easy that even kids can create many fun projects with Canva. From simple posters to ebooks and recipes, Canva has templates and other design elements that make it a breeze for beginners.
Here are the steps to design your own Thanksgiving dinner menu.
Step 1: Log In to Canva
Open the Canva website on your browser and log in to your account. If you don't have an account, you can sign up with your Apple, Gmail, Facebook, or email account.
We recommend using Canva on your laptop or desktop because it is convenient to work on a larger screen.
Step 2: Find a Template or Create a Blank Menu

On the left side of the home page, you can see All Templates right under Home.
Click All Templates and navigate to the Marketing section. Expand the section and click on Menu (Portrait).

You can either choose a template or start a blank menu. You can also search for a Thanksgiving menu in the search box on the top right.
If you're using a template, it is pretty straightforward. All you have to do is edit the names of the dishes, and you're set. You can then download and share it.
Choose Create a blank Menu if you want to design the menu from scratch.
Step 3: Choose Your Background

If you created a blank menu, you now have a blank canvas for your design. Start by adding a background color for your menu. You can see a multicolored box in the top left corner. Click it to change the background color.

You will see default options under Default Colors. If you want to add a different color, use the Add a new color option under Document Colors. We went with an orange shade to fit the fall theme. You can also explore some hidden Canva features here.
Step 4: Make a Layout

Play around with borders, boxes, or other elements to come up with a layout. For example, floral and vine borders perfectly portray the festive season.
You can add a box by right-clicking on the blank page. Select Add and choose the Rectangle option. You can also add a box by going to Elements > Lines & Shapes. Choose the square box and crop and stretch it on the canvas as you see fit.
If you want a border, go to the Elements section and search for "border". Of course, you can also work without them if you wish.
Step 5: Include Fall Elements

Canva has a lot of options for fall-themed elements. For example, you can find autumn leaves, turkey, corn, pumpkin, and many other fall items. Take your time to explore the available elements and then try a few to develop your desired layout.
Step 6: Add Text

Time to add the text. There is no right or wrong choice here—you can choose one that catches your eye.
You can add text by right-clicking on your canvas and using the Add button to include Text. Click on the text box to open the font settings and choose your preferred font and color in the top panel.
You can also add text by going to Text on the left side of the screen. Here, you have customizable options which include Add a heading, Add a subheading, and Add a text box. There are also some editable text designs under these options that you can add to your canvas.
Just remember some ground rules. Pick a legible font so your family and friends can read the menu easily. Here is a list of our favorite free fonts from Canva. Don't like any of the fonts? No problem; you can add your preferred font to Canva.
With respect to color, reds and browns will work with our orange background. You can use black, too, if you want the text to pop.
Feel free to adjust your font size according to the number of dishes you add. In our sample, we used three categories: appetizer, main course, and dessert, with two dishes under each. You can also include other things like drinks and sides.
Step 7: The Finishing Touches

Check your menu carefully and make sure everything is in order and looks nice. Particularly look for issues like extra space, spelling mistakes, and color mismatches. Try to fill in the extra space with fall elements or rearrange the text if needed. The aim is to keep things fairly symmetrical with equal visual weight over the page.
Step 8: Share Your Menu

Now it's showtime. Download your menu as a JPG so it is easy to share with your loved ones. Go to Share at the top-right corner and click the Download option. Set the file type to JPG. Your other options include PNG and PDF.
You can also share it as a link directly to your friends and family, share it on various social media, or print it and collect it from a nearby store.
Bring Your Family Together With a Thanksgiving Dinner Menu
It is quick to create a fun Thanksgiving menu with a simple tool like Canva. This straightforward project not only makes you a designer but also helps you connect with your loved ones in a fun way. Happy Thanksgiving and Bon Appétit!