Adobe Camera Raw is the standard in photo editing software for most photographers in the game. If you already use Photoshop, you've actually already got it on your computer.
Those who shoot raw have likely stumbled into Camera Raw on their own. As for everybody else? There's a first time for everything. It's an incredible tool, and it can help you produce extraordinary-looking photos if you know how to use it.
What Is Camera Raw Used For?
When you try to open a raw image in Photoshop, the image's file type triggers Camera Raw. It's a self-contained Adobe plug-in built for professional photo editing and retouching.
Among some of its most powerful features are the sharpening effects, a robust healing brush, and the usual and expected in terms of both basic and advanced color correction.
A couple of key points about Adobe Camera Raw:
- Photoshop Camera Raw is at its best when processing large batches of raw photos; its layout and design make working in volume extremely easy.
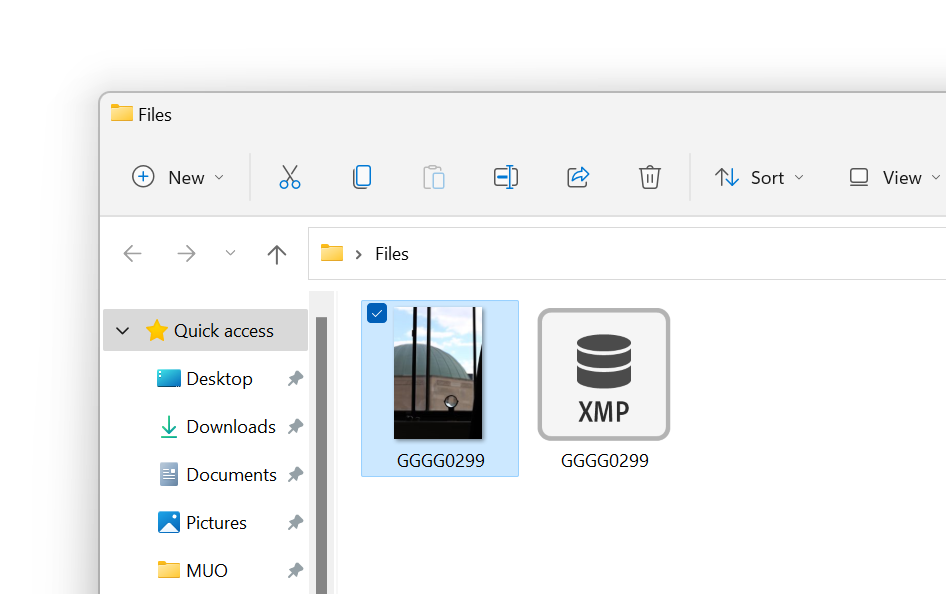
- It's non-destructive; instead of modifying the image file directly, any adjustments that you make to the photo in Camera Raw are instead saved as a sidecar XMP file.
- You can actually edit JPEG and TIFF images in Camera Raw too. These types of files won't enjoy the same treatment as raw photos, but they're still perfectly compatible with Camera Raw's interface.
To check whether or not you're shooting raw, you can look into your camera's settings. Once you've got a couple of raw photos to work with, head back to the lab and copy them over to your computer. We're about to dive in.
How to Open Images in Adobe Camera Raw
Fire up Photoshop. From the start menu, choose Open and find your raw image files.
After doing so, Camera Raw should activate automatically. You'll see your image in the center, and you'll see a filmstrip if you've imported more than one file. Below, you'll be able to do things like rate your image or delete it. You can also delete images by hitting Delete as you work.
After you've made your first adjustment, you'll see that Camera Raw has already created the aforementioned XMP sidecar file to go along with the original.
This additional file is where all of your changes will be stored, sparing the raw image itself from being marred by your hand.
Color Correction in Camera Raw
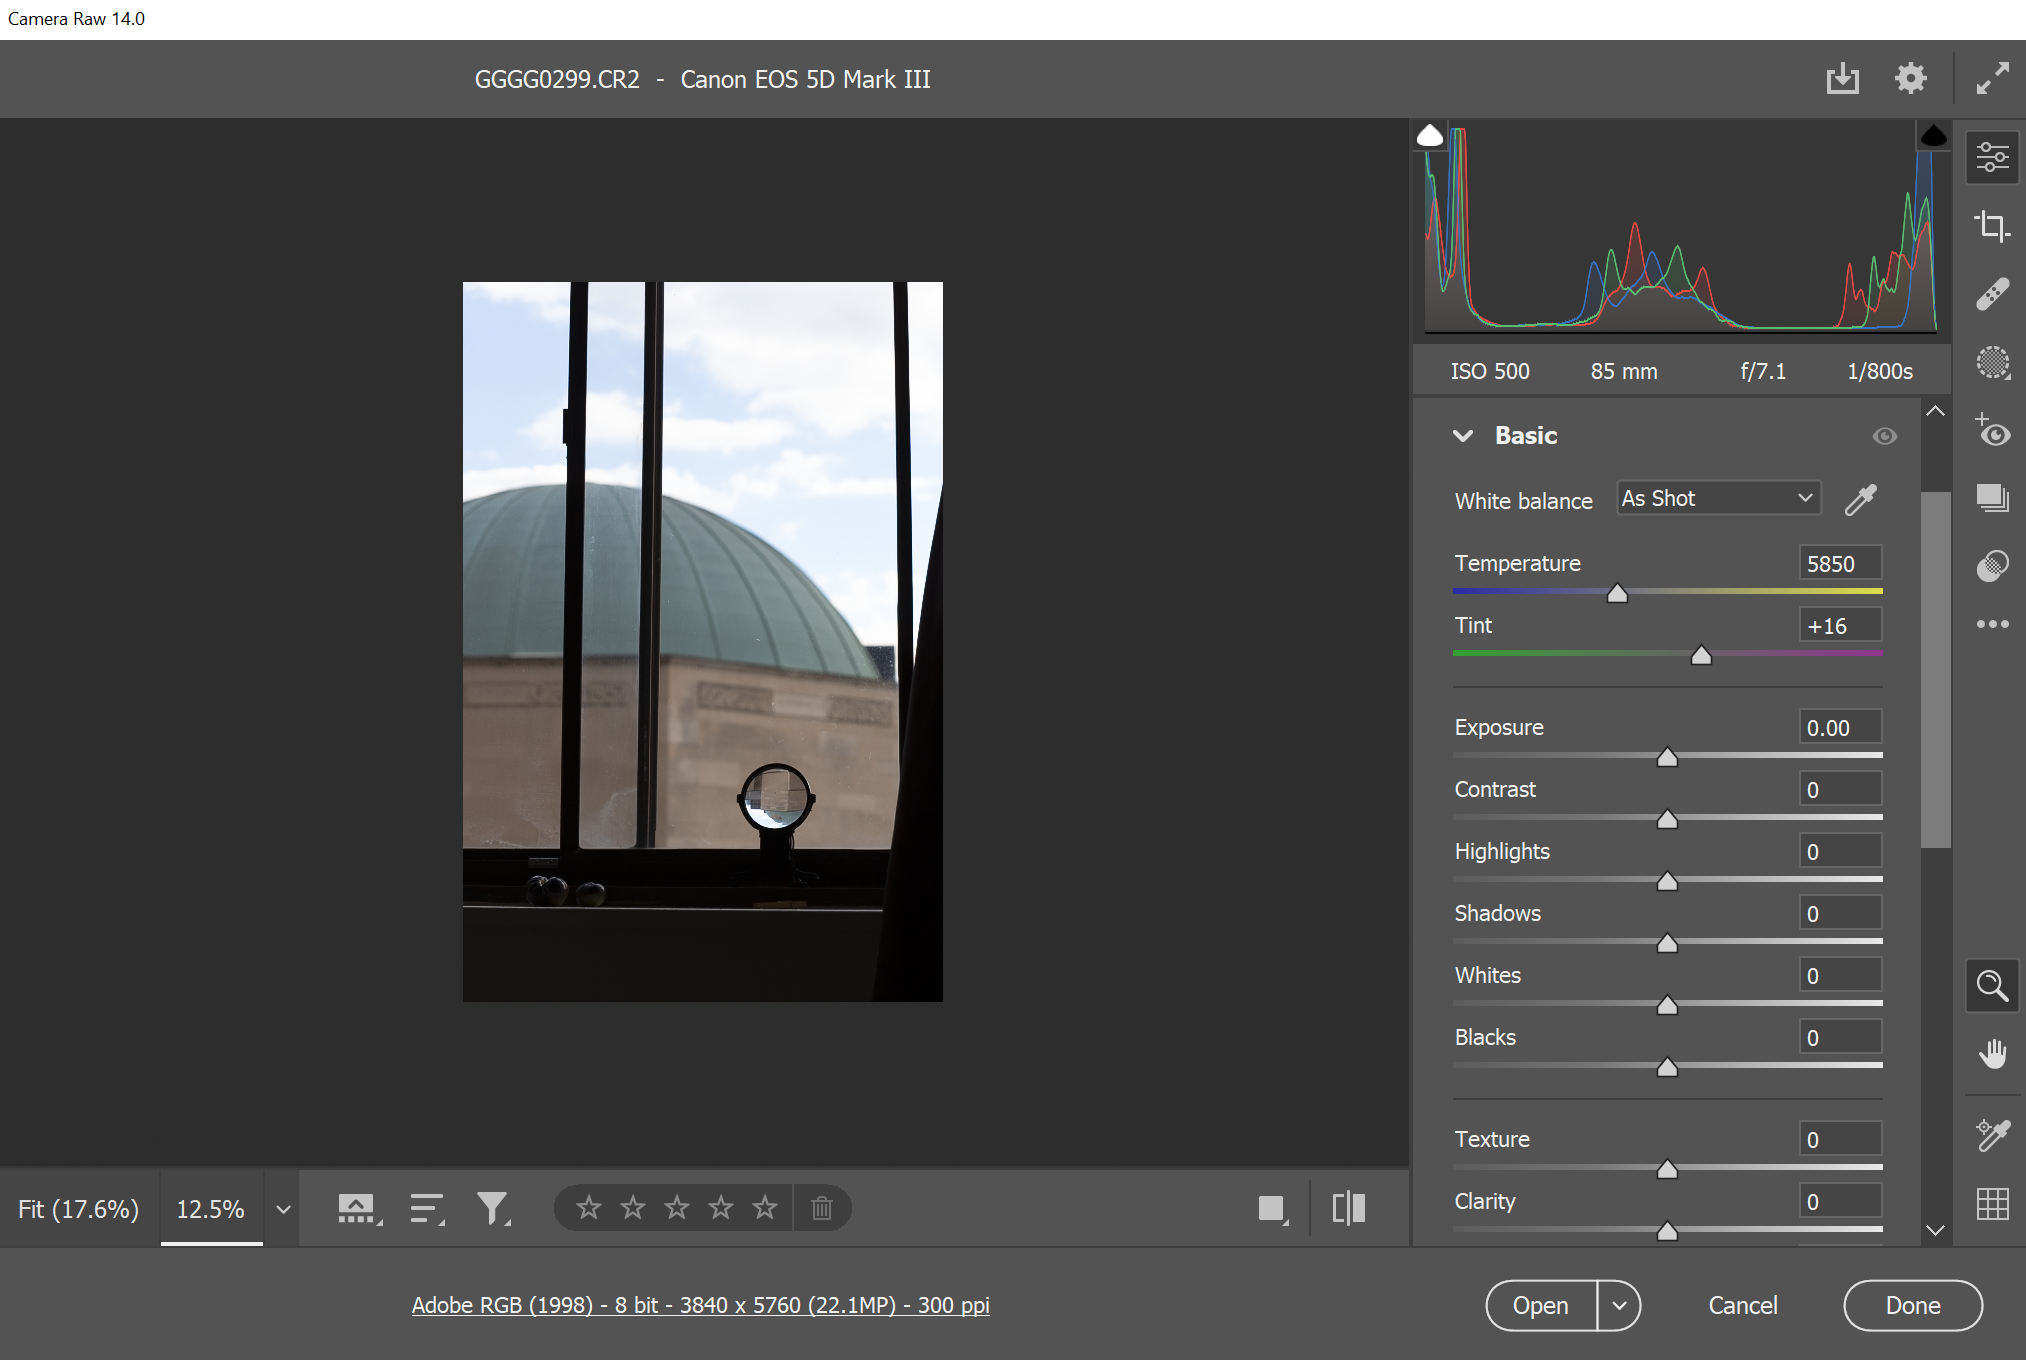
To the right of the image, you'll find all of your tools and controls. By default, you'll start out on the Edit tab. You can switch back to this tab at any time by pressing the E key.
These options should all look familiar to the veterans among us—color temperature, exposure, contrast, and saturation can all be found under this heading, as well as more extensive grading options further below. At the top is a histogram that you can use as well as the photo's native attributes—ISO, focal length, F-stop, and shutter speed.
As you continue to scroll through this tab, you'll find lots of other stuff to dig into. The Curve pull-out, for example, works exactly like the one in Photoshop; it's one of our most-used tools in this plug-in.
How to Crop a Photo With Camera Raw
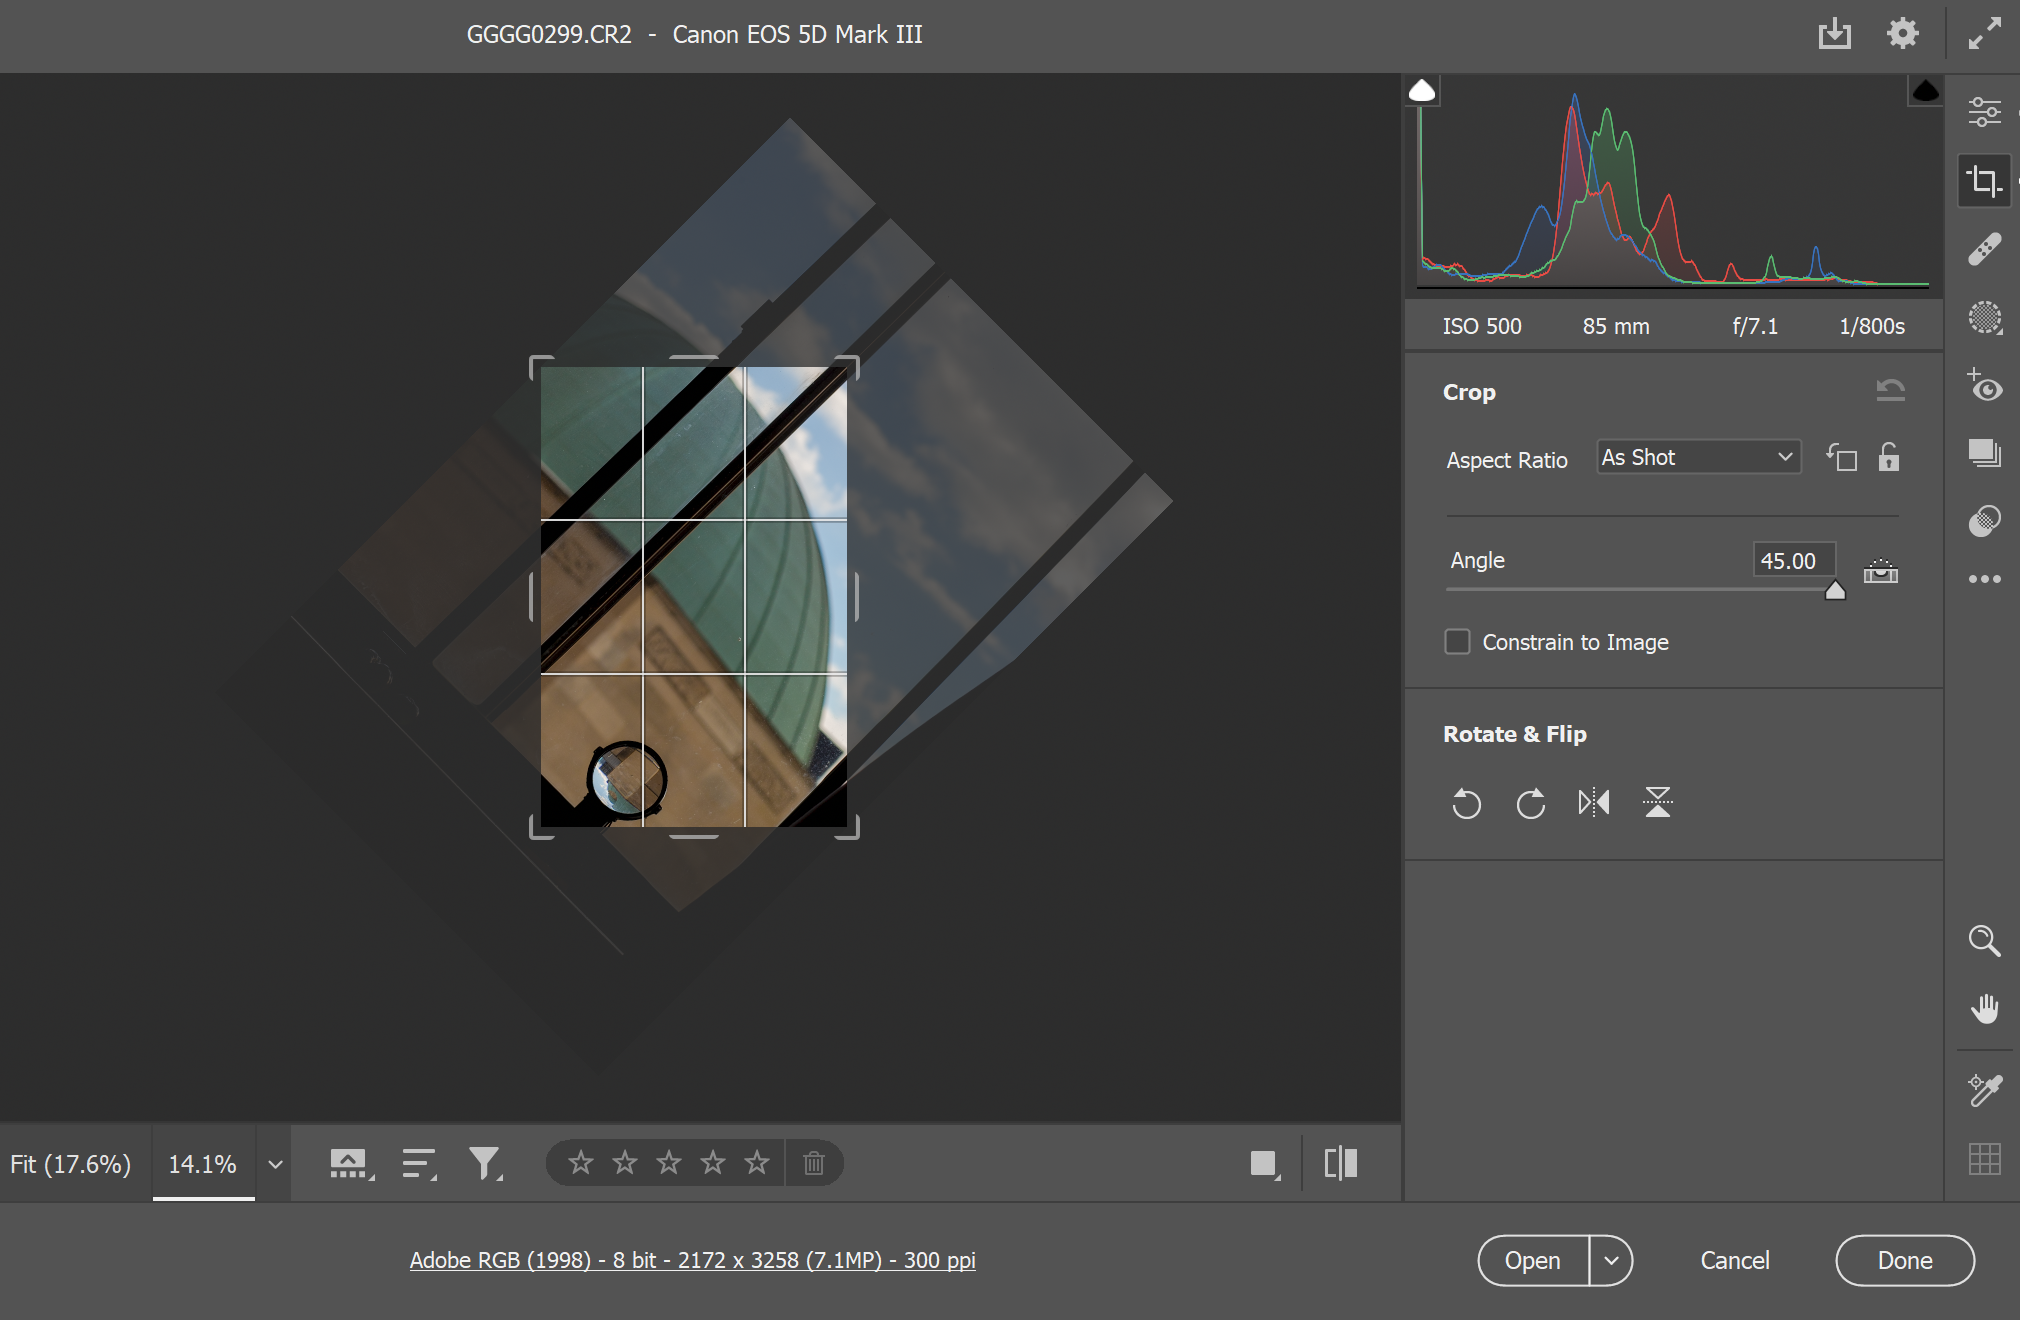
Hit C to enter Crop mode. You can rotate your image, adjust its aspect ratio, or flip the image using this extremely simple and straightforward menu.
How to Use Spot Removal in Camera Raw
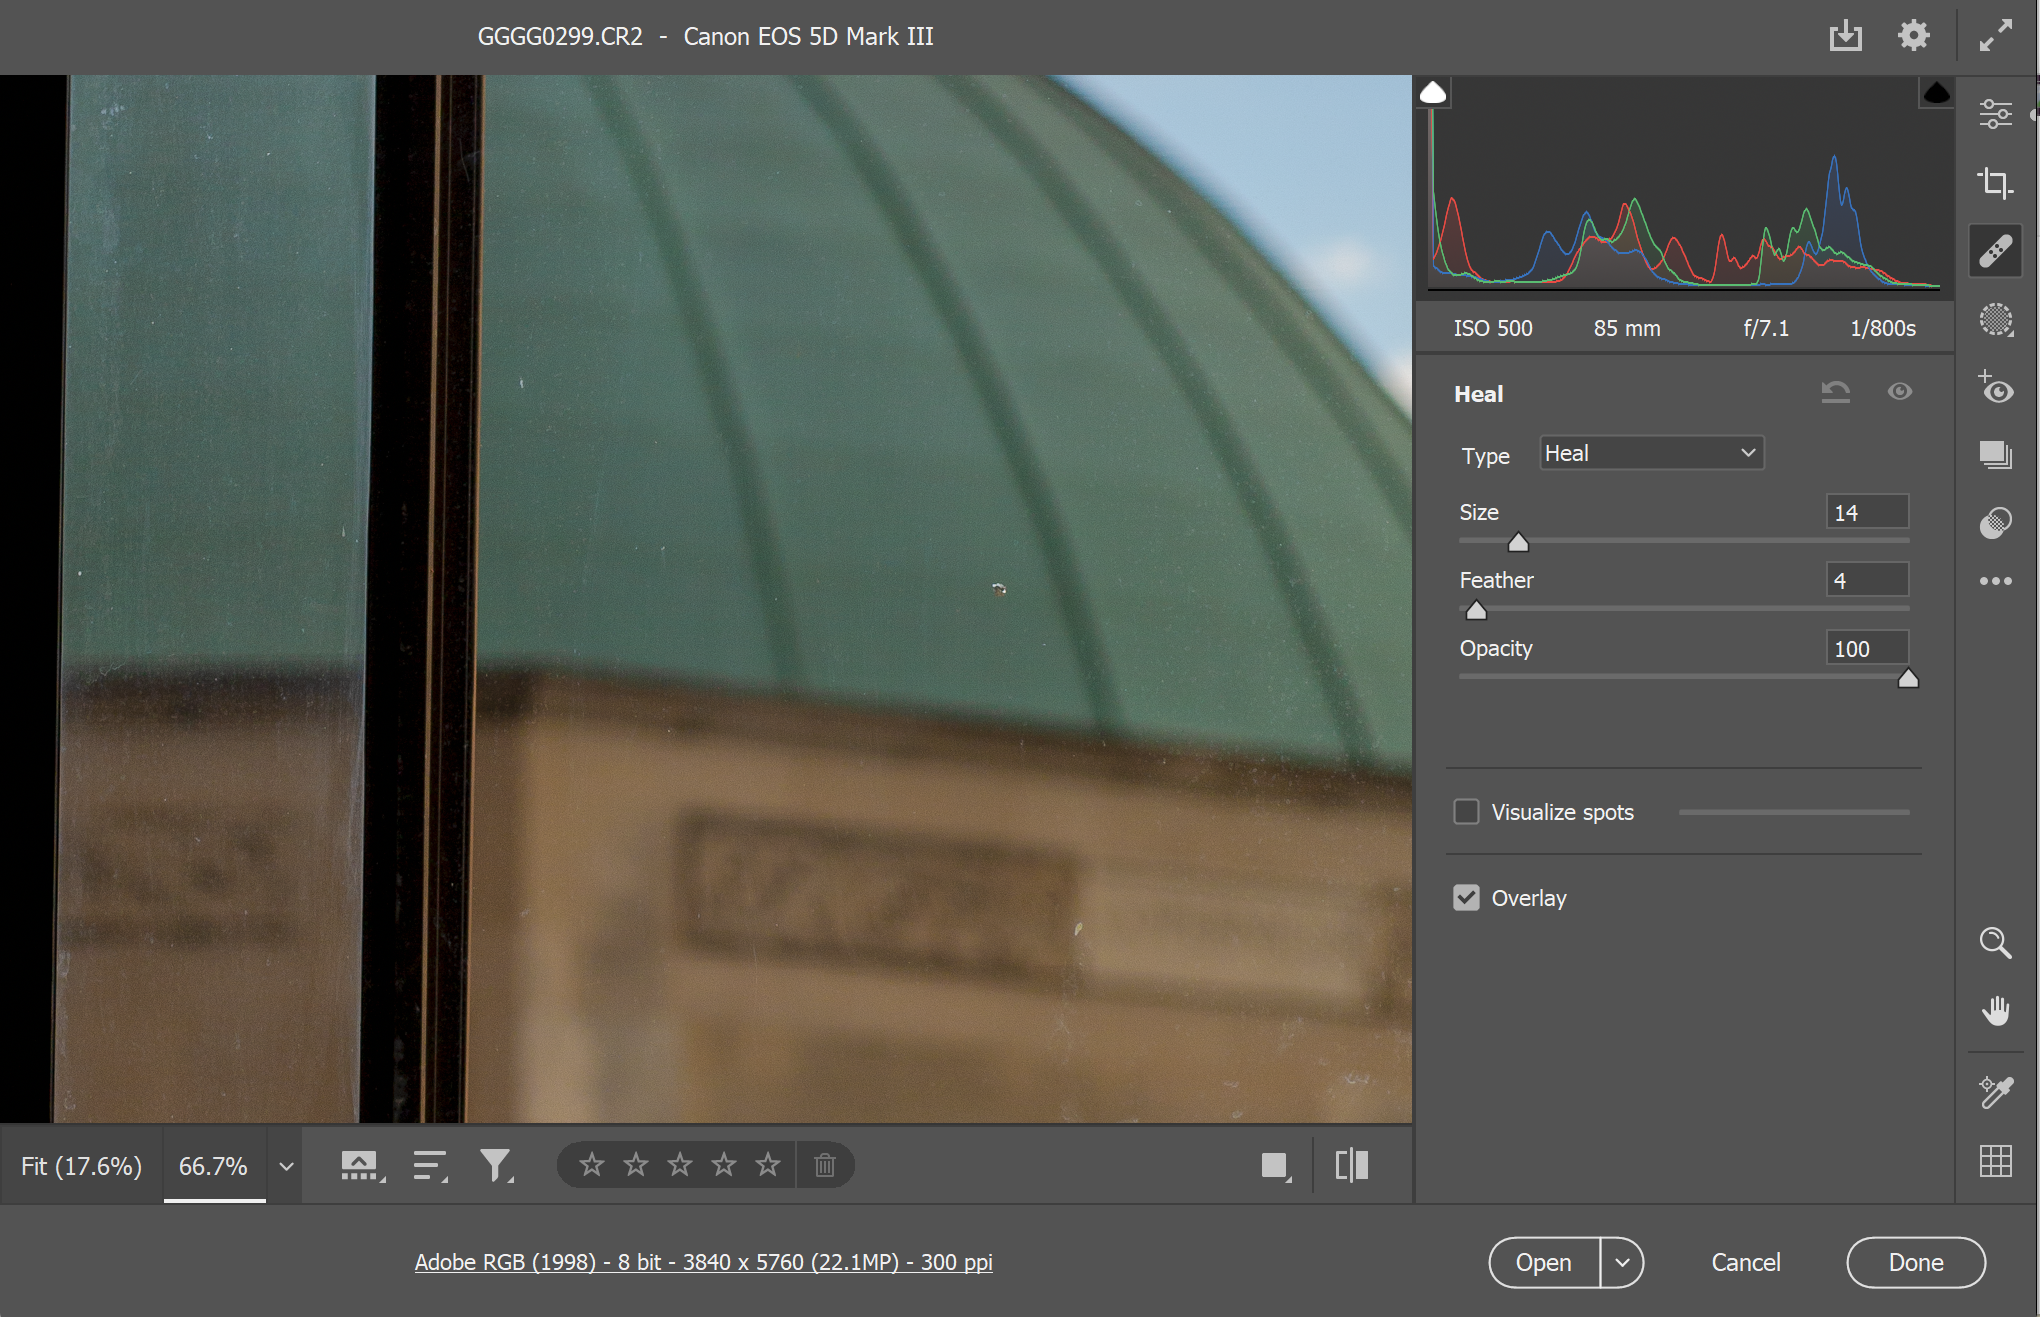
As mentioned previously, the Spot Removal feature in Camera Raw is one of the most effective that we've ever used. You can select it from your list of tabs or hit B to access it.
This is a healing brush tool that works a lot like the Clone Stamp in Photoshop, with a slight twist. We're going to use it to fix some of the junk on the outside of this window.
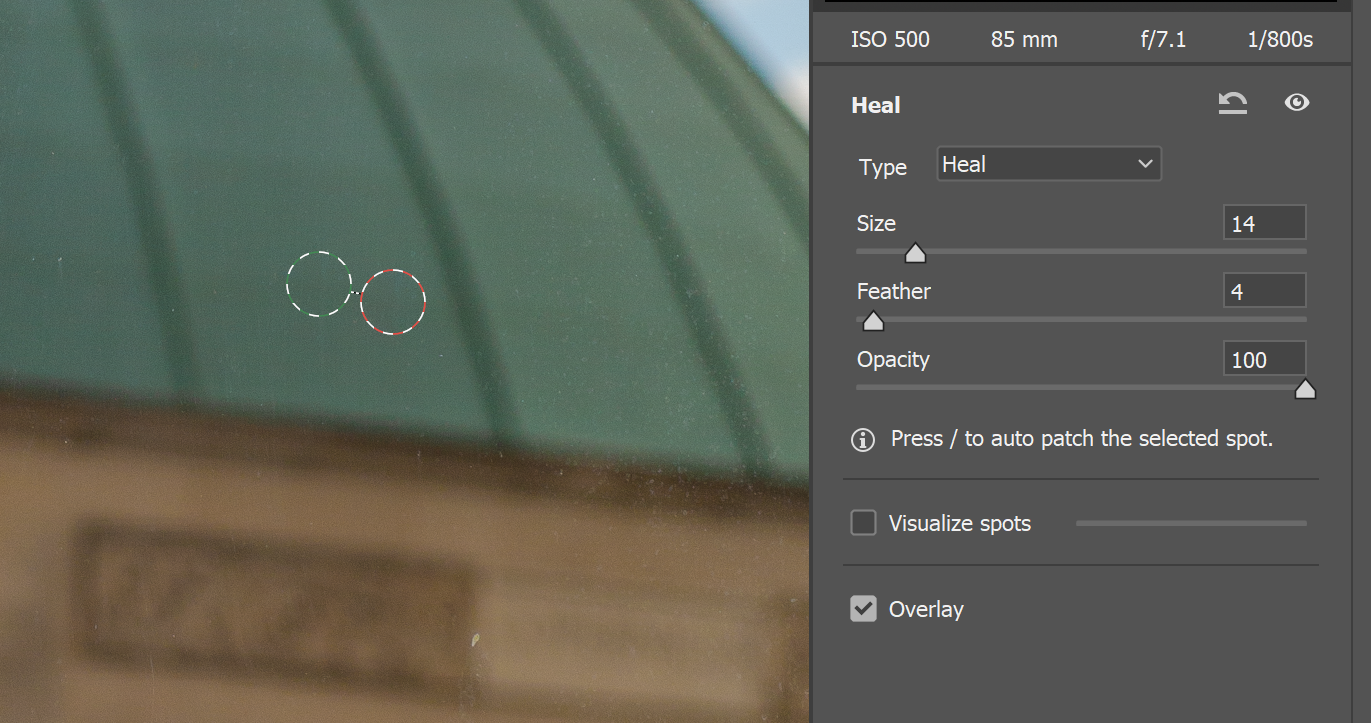
As you can see, you can specify the Size, Opacity, and Feather of your spot brush. Under the Type dropdown, you can choose between Heal and a Clone effect.
Use the brush to mask any unwanted spots that you see. A second accompanying patch will be chosen and paired with the first. To adjust the healing brush's source texture, simply click and drag its partner elsewhere.
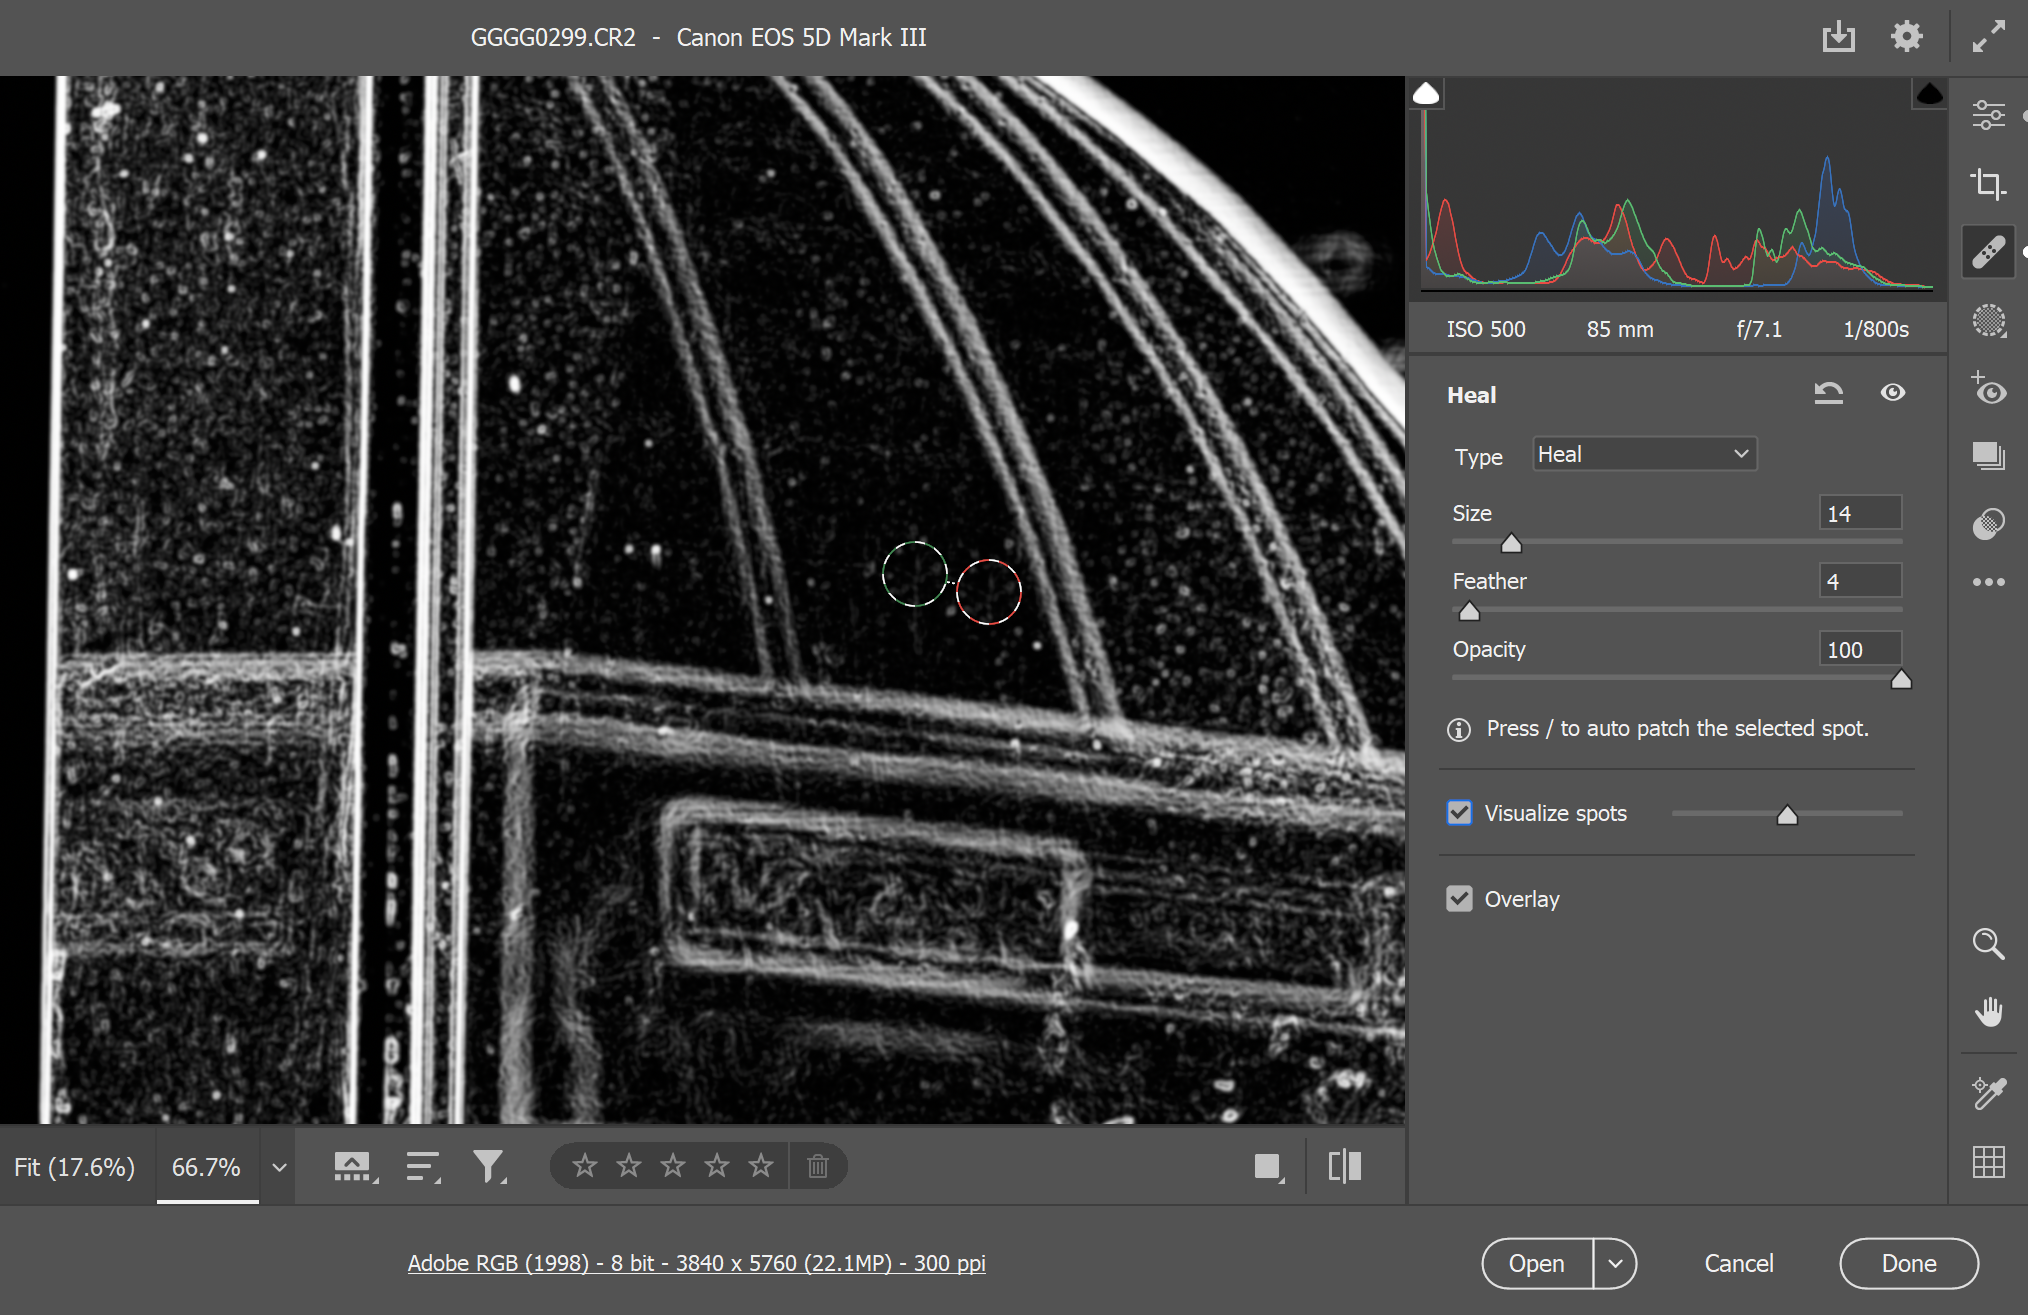
Enabling Visualize spots inverts the image, making all of the nastiness that much easier to to see.
How to Use Presets in Camera Raw
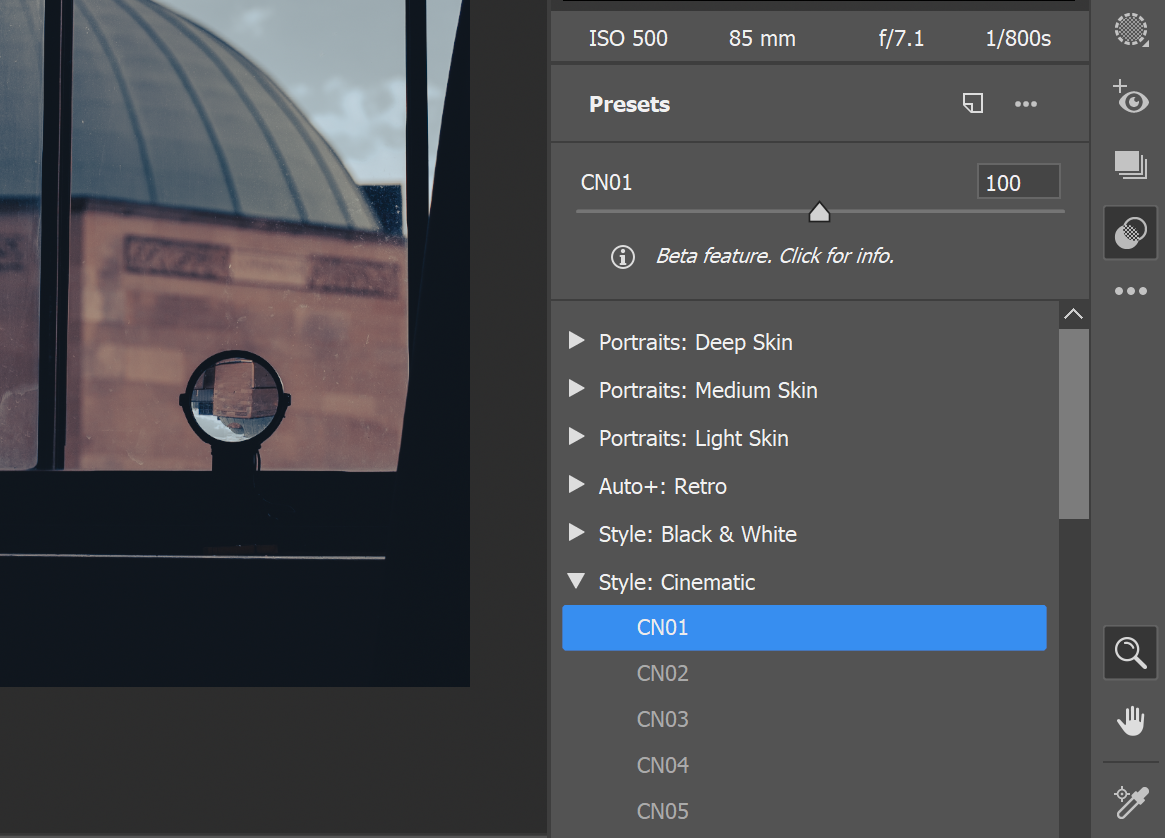
Photoshop and Camera Raw actually ship with a wide variety of artistic image filters. They'll take your photo from "Sunday at home" to "existential doomsday" in a single click.
To explore each option, use Shift + P to see the entire list in all of its imposing glory. You'll find monochrome looks, portrait styles, and vintage photo effects for every possible occasion.
All of these canned presets can be applied to your photos and adjusted freely. And, of course, you're also able to import your own custom LUTs directly into Camera Raw for complete artistic control.
Other Adobe Camera Raw Tips and Tricks
Aside from these extremely common and broad-reaching essentials, Adobe Camera Raw also features a multitude of tools suitable for more niche needs. This account is far from complete, but it does cover some of the most useful Camera Raw tools for beginners.
How to Mask a Photo in Camera Raw
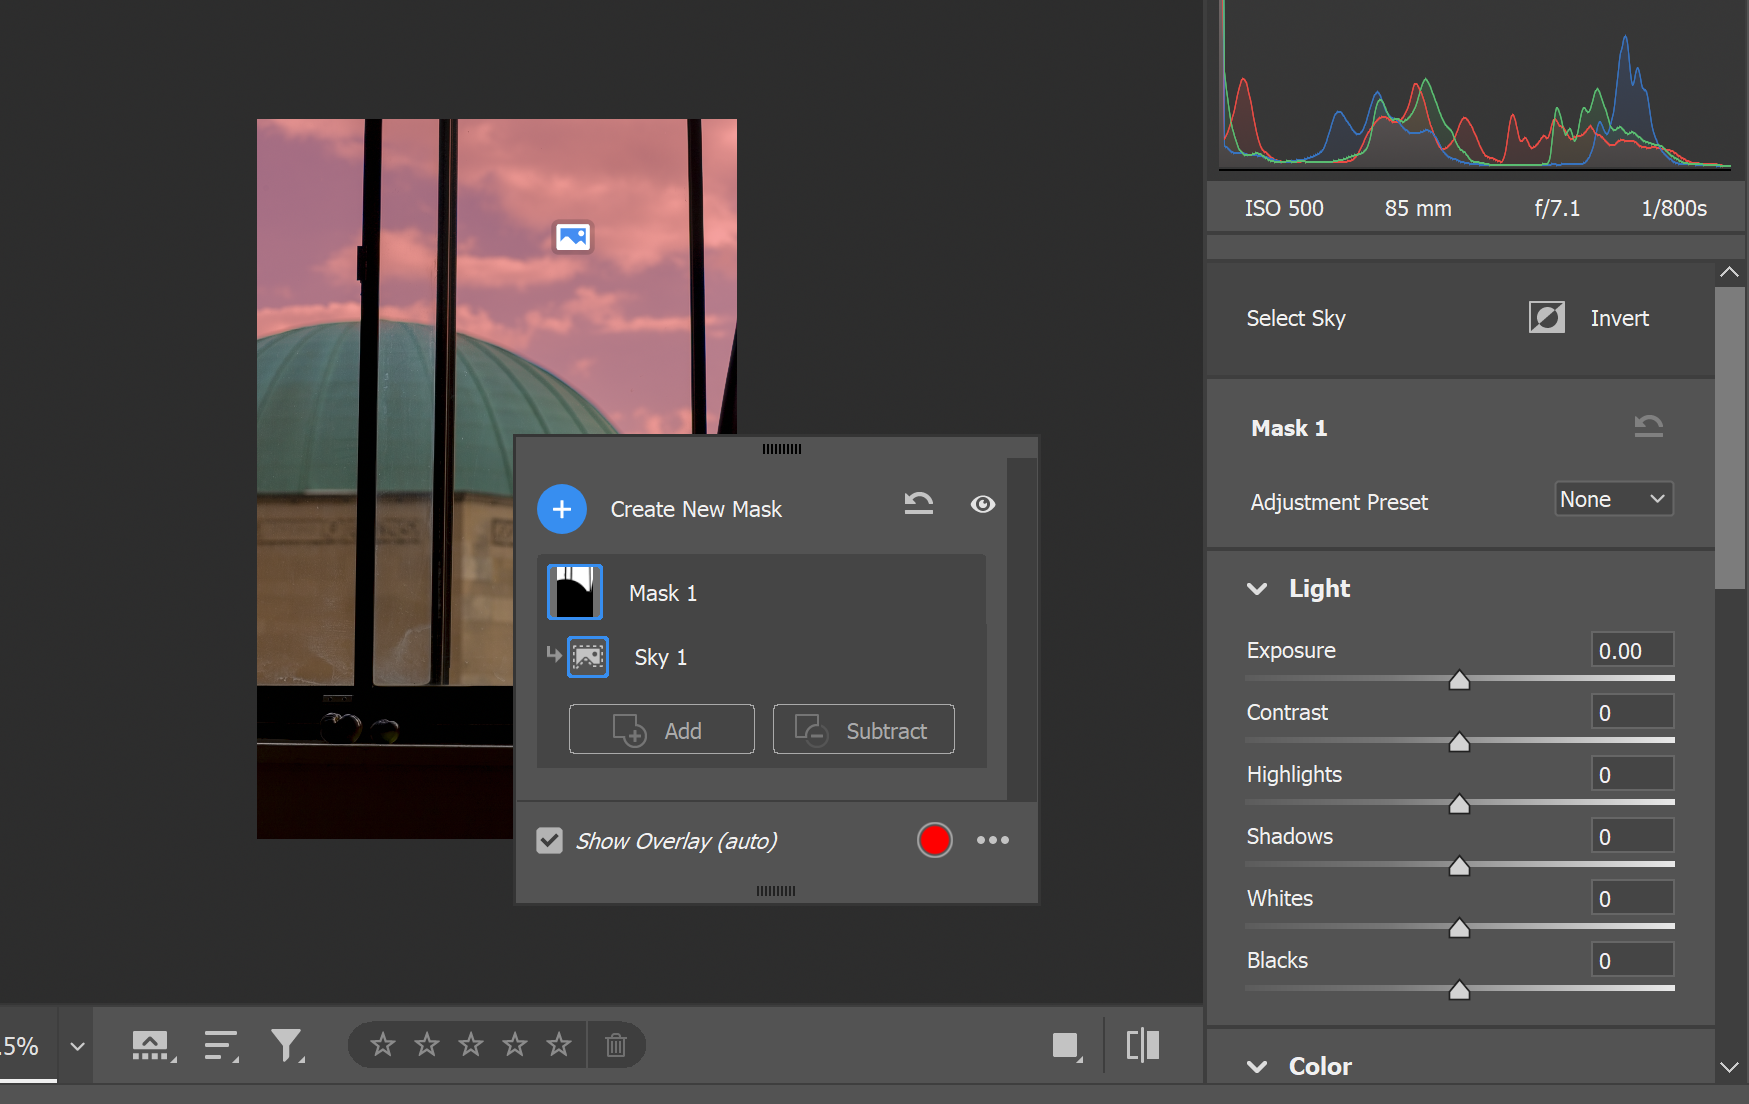
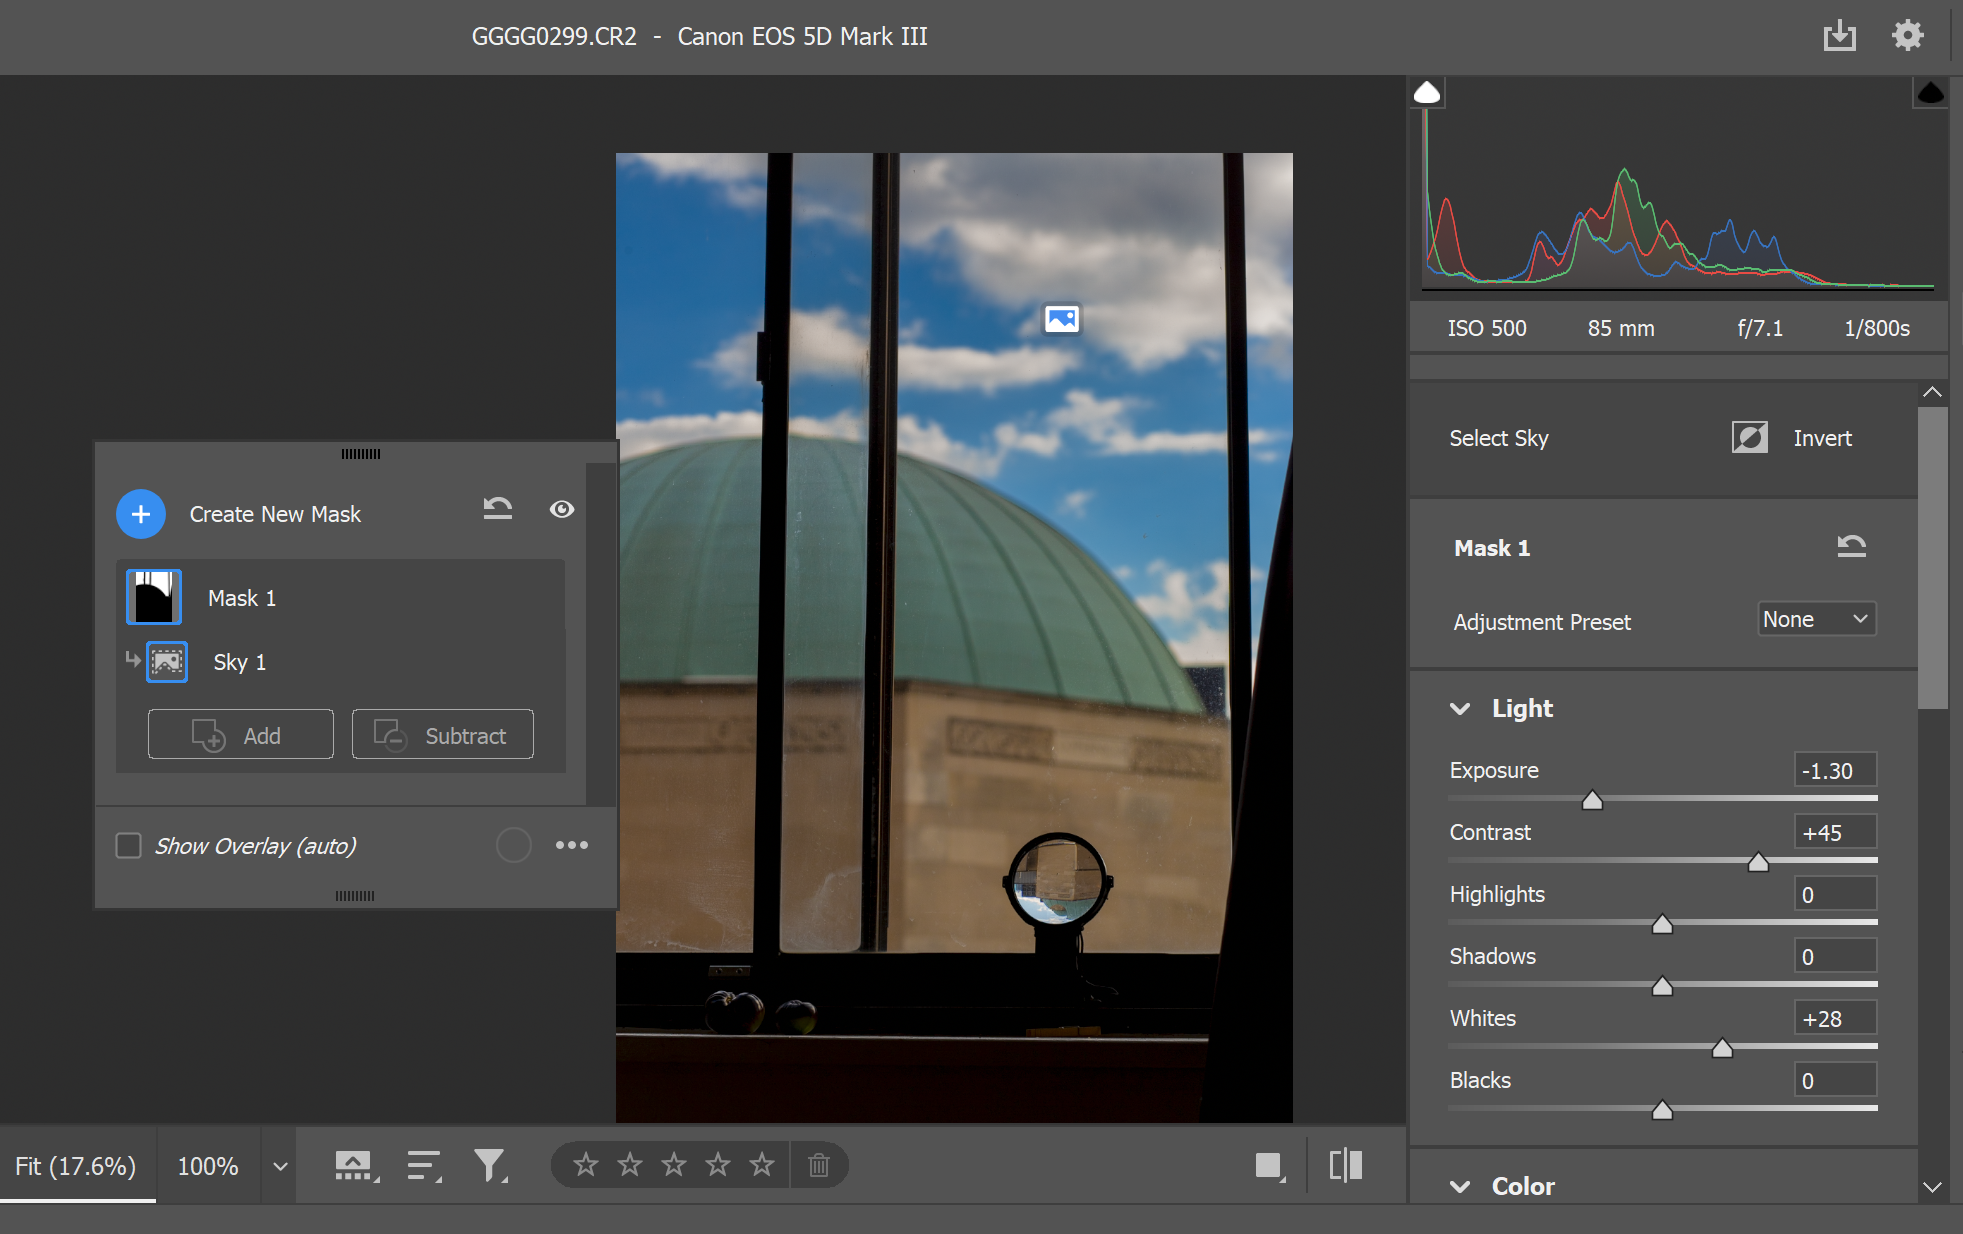
Camera Raw makes things like subject isolation and sky adjustment really easy. The Masking tab will be your dedicated workspace whenever you would like to adjust two parts of the image separately.
When we have the sky selected like this, we're able to cool those clouds down and deepen the original shade of blue.
It makes for a much more dramatic look overall—this approach can also be applied to things like bright screens, white walls, and other hot areas in the frame.
How to Fix Red Eye in Camera Raw
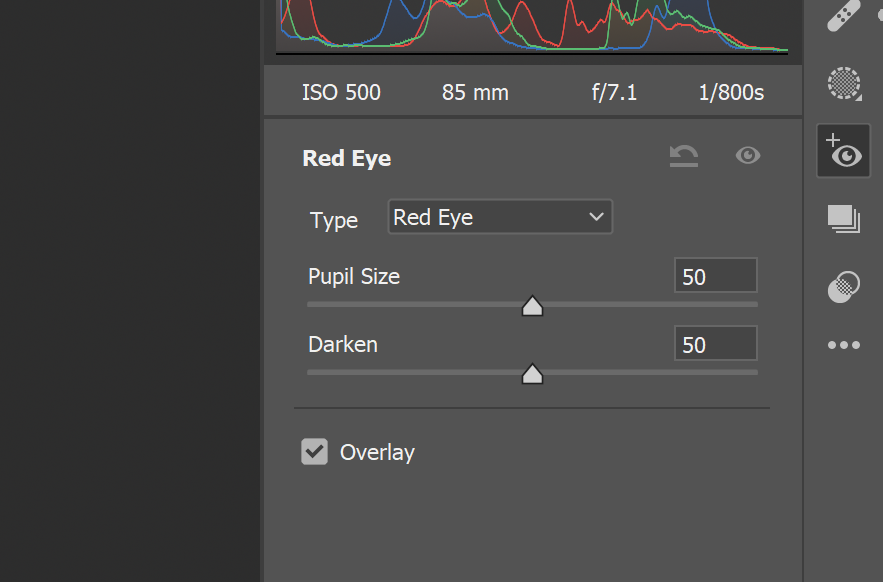
If your son's cat-like pupils are piercing through the lens over his birthday cake once again, you're in luck. Photoshop Camera Raw can be used to free him from the demon within, Walmart Photo Center-style.
All that you need to do is hit Shift + E to activate the Red Eye work area and match the tool's Pupil Size and Darken factor to match the portrait that you're working with.
How to Export Images From Camera Raw
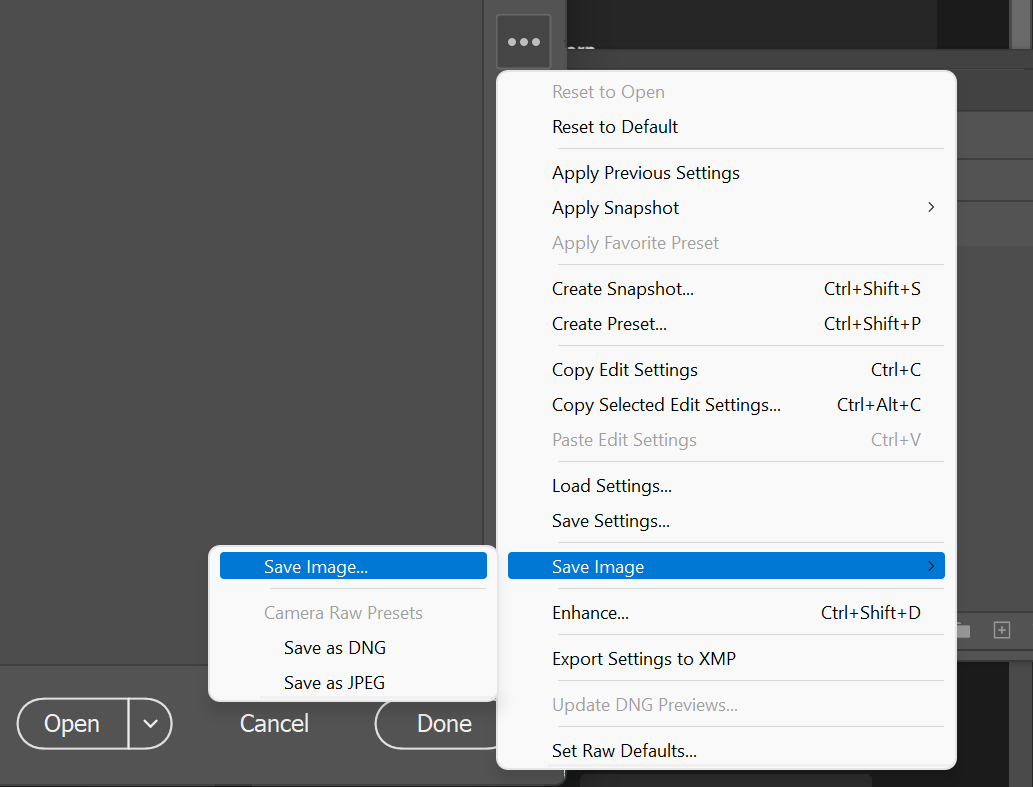
Clicking into the ellipses at the bottom of your list of tabs shows you the rest of your image options—Save Image is what we're after right now.
You can choose to save your image as a DNG or as a JPEG here, or you can continue by choosing the second Save Image option in the same pull-out.
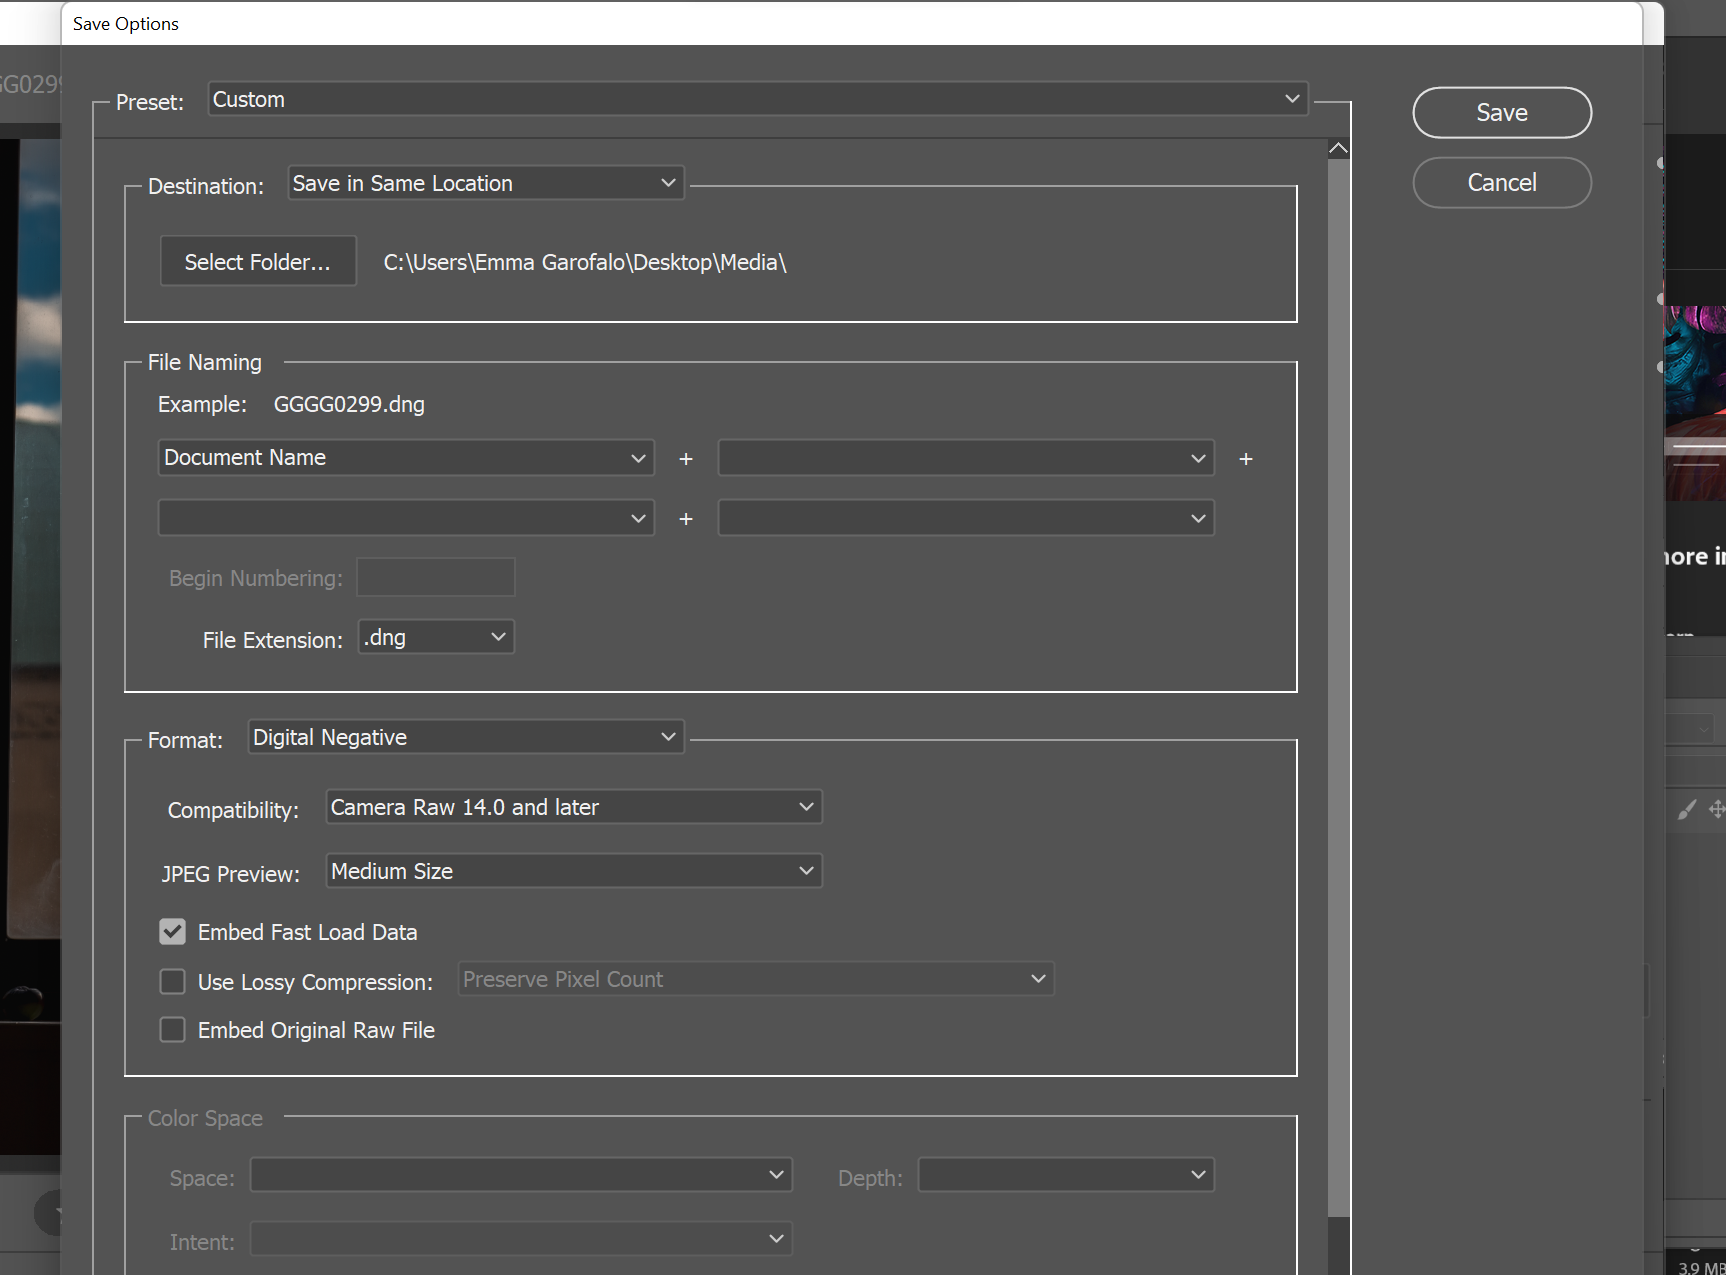
The latter will call up Camera Raw's Save Options menu. There are many ways to customize your fit—the image's Format, Color Space, and even group naming convention can all be modified to suit your needs.
Once everything has been buttoned up, hit Save. Your output image will be waiting for you in the destination folder that you've specified.
Adobe Camera Raw Is the Ultimate Creative Sandbox for Photographers
Many of us in this field love editing—few things give us that kid-in-a-candy-shop feeling like busting into an SD card full of new photos.
Camera Raw makes each image an entire world to explore. This plug-in eliminates the distraction of Photoshop, with its seemingly-endless list of tools and effects; we feel like we're in an oasis, just us and the work ahead.
If you're shooting raw, this is the height of editorial luxury. We highly recommend that you give it a try.

