
Windows Forms is a framework that lets you build desktop applications. You can click and drag components like buttons onto a visual user interface. It also helps you manually create various shapes within your code.
This article will show you how to add lines, shapes, and images to your application. This tutorial uses the Visual Studio 2019 Community Edition to show examples.
What Are the Built-In Classes Used for Drawing Graphics?
Windows Forms uses the C# programming language. Its built-in classes and methods allow you to draw various shapes onto a Windows Form canvas. These include the Graphics, Pen, Color, and Brush classes.
|
Class |
Description |
|---|---|
|
Graphics |
The Graphics class allows you to draw shapes and lines onto the canvas. It includes methods such as:
|
|
Pen |
The Pen class allows you to specify the properties of a 'pen' tip which you can use to draw your shapes. You can specify properties such as color, thickness, or dash style. Methods include:
|
|
Color |
A color object made up of R (red), G (green), and B (blue) values. You will need a color object for many of the built-in methods that create shapes. |
|
SolidBrush, HatchBrush, TextureBrush |
These brush classes derive from the "Brush" interface. These classes allow you to color in blank spaces on the canvas. You can also choose to fill the spaces using different patterns or textures. You can specify properties such as the color. |
|
Rectangle, Line, Polygon, Ellipse |
You can create objects based on these shapes, and use them when calling methods such as DrawRectangle(). Instead of passing the x, y, width, and height as arguments, you can choose to pass an existing Rectangle object instead. |
To view the source code for a running example of the above tutorial, visit the GitHub repository. You can try out the following examples once you've created a Winforms application.
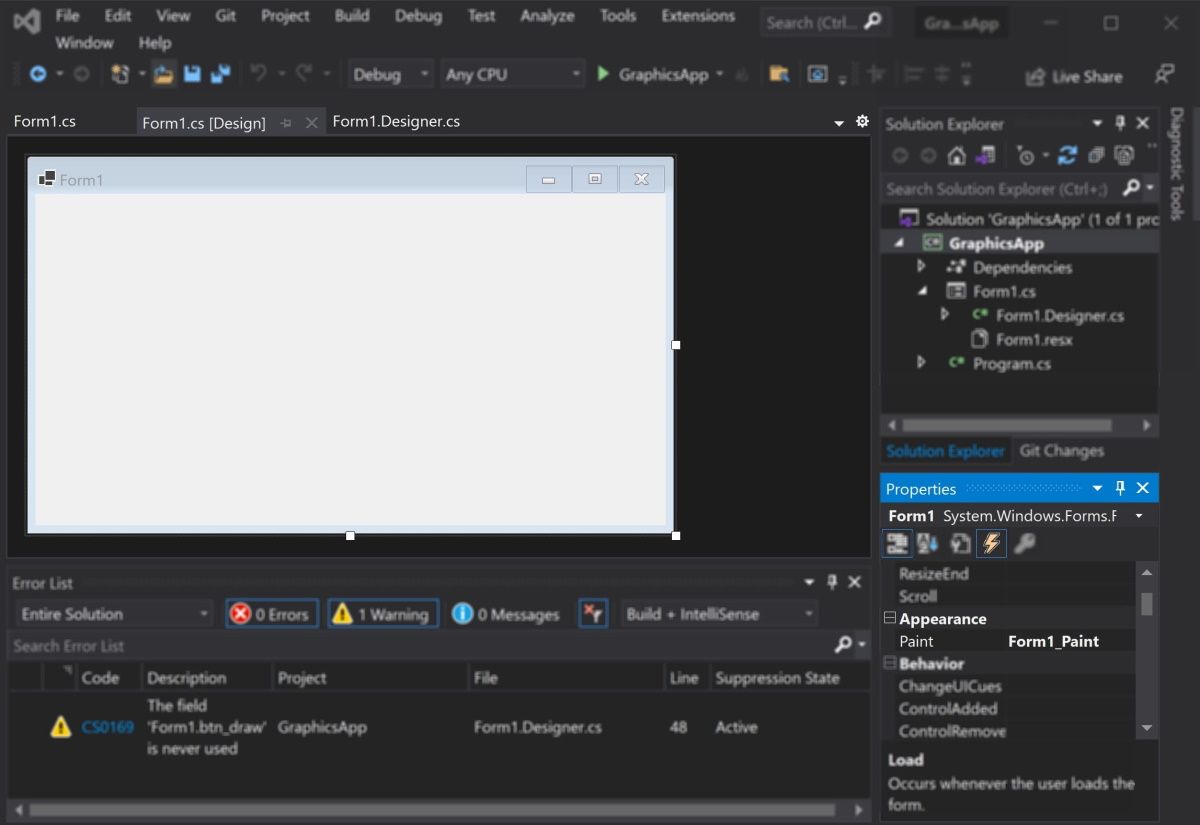
How to Add a Paint on Form Load Event Handler
First, add an event handler to draw shapes when the canvas loads.
-
Add a Paint function for the form.
        private void Form1_Paint(object sender, PaintEventArgs e)
{
    // Code goes here
} - Go into the Design View Tab.
- In the Properties window, select the lightning icon to open the "Events" tab.
-
In "Paint", under "Appearance", select the Form1_Paint function. This will execute the function when you run the application.

How to Draw Lines Onto a Windows Form Canvas
You can use a Color, Pen, and the DrawLine() method to draw lines on a canvas.
-
Inside the Form1_Paint() function, create a Color object with the color you want the line to be. Then, create a Pen object to draw the line with.
        Color black = Color.FromArgb(255, 0, 0, 0);
Pen blackPen = new Pen(black); -
The DrawLine() method from the Graphics class will draw a line using the pen. This will start drawing a line from an x, y position to another x, y position.
e.Graphics.DrawLine(blackPen, 300, 200, 800, 200); -
You can modify the properties for the pen object to change its width, dash style, and start or end cap.
        blackPen.Width = 20;
blackPen.DashStyle = System.Drawing.Drawing2D.DashStyle.Dash;
blackPen.StartCap = System.Drawing.Drawing2D.LineCap.ArrowAnchor;
e.Graphics.DrawLine(blackPen, 300, 200, 800, 200); -
Press the green play button at the top of Visual Studio to see the changes.


How to Draw Shapes Such as Rectangles and Circles
You can use the shapes classes for different shapes, or draw shapes manually onto the canvas.
-
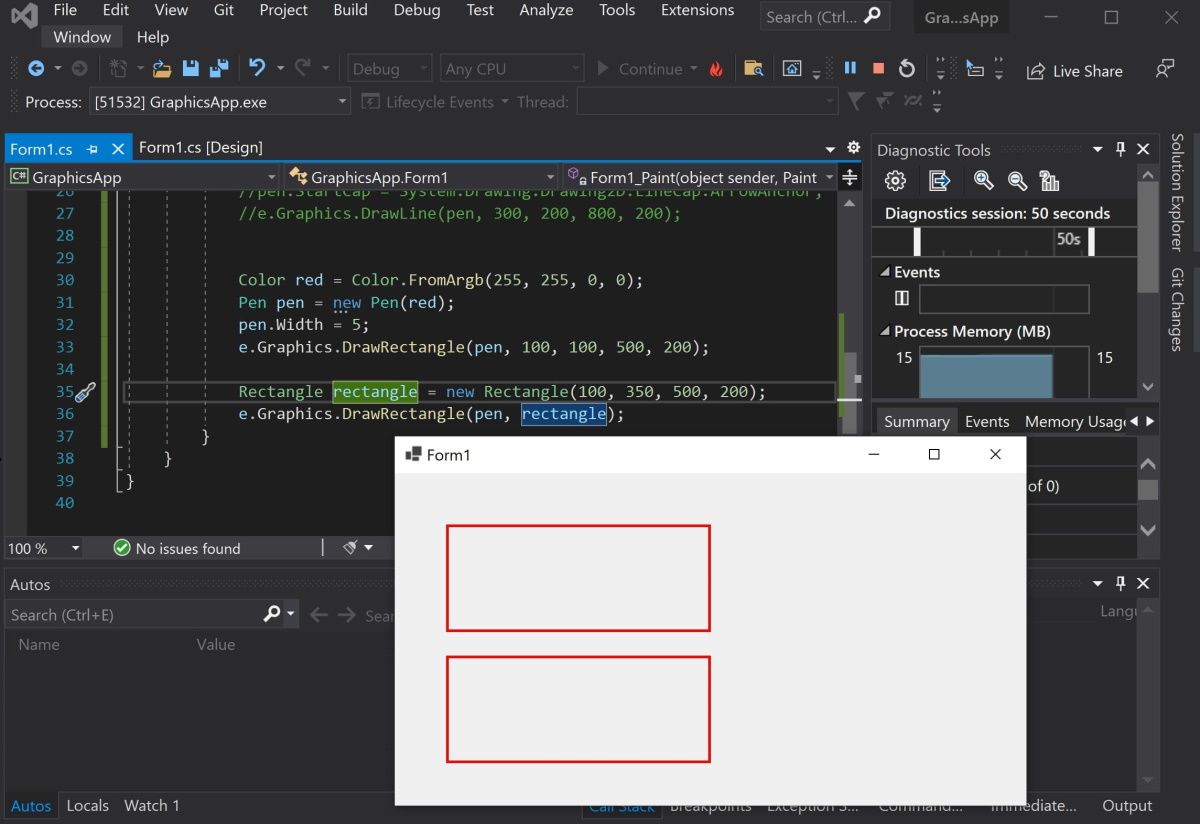
Create a Color and Pen object as shown in the previous steps. Then, use the DrawRectangle() method to create the rectangle. The arguments are the x and y coordinates for the top-left of the rectangle, along with its width and height.
        Color red = Color.FromArgb(255, 255, 0, 0);
Pen redPen = new Pen(red);
redPen.Width = 5;
e.Graphics.DrawRectangle(redPen, 100, 100, 500, 200); -
You can also create a rectangle using the Rectangle Class. First, create a Rectangle object. The arguments are also the x and y coordinates for the top-left corner, width, and height.
Rectangle rectangle = new Rectangle(100, 350, 500, 200); -
Use the DrawRectangle() function to draw the rectangle. Instead of passing the x, y, width, and height like before, you can use the Rectangle object instead.
e.Graphics.DrawRectangle(redPen, rectangle); -
Press the green play button at the top of Visual Studio to see the changes.
-
Go back to the code to draw other shapes. Use the DrawEllipse() function to draw a circle.
        Color green = Color.FromArgb(255, 0, 255, 0);
Pen greenPen = new Pen(green);
greenPen.Width = 5;
e.Graphics.DrawEllipse(greenPen, 400, 150, 400, 400);
-
To draw other shapes such as triangles or hexagons, use the DrawPolygon() method. Here you can specify a list of coordinates to represent the points of the shape.
        Color blue = Color.FromArgb(255, 0, 0, 255);
Pen bluePen = new Pen(blue);
bluePen.Width = 5;

PointF[] coordinatesForTriangle = new PointF[] {
    new PointF(400, 150),
    new PointF(300, 300),
    new PointF(500, 300)
};

e.Graphics.DrawPolygon(bluePen, coordinatesForTriangle);


How to Use the Brush Class to Fill In Shapes With Color
You can use the FillRectangle(), FillEllipses() or FillTriangle() methods to create shapes with a solid color.
-
First, create a brush object.
        Color purple = Color.FromArgb(255, 128, 0, 0);
SolidBrush solidBrush = new SolidBrush(purple); -
Use the FillRectangle(), FillEllipses() or FillTriangle() methods. They work the same way as the draw functions above, except instead of a Pen, they use a Brush object.
        e.Graphics.FillRectangle(solidBrush, 50, 50, 200, 250);
e.Graphics.FillEllipse(solidBrush, 300, 50, 200, 200);
e.Graphics.FillPolygon(solidBrush, new PointF[] { new PointF(700, 150), new PointF(600, 300), new PointF(800, 300) });
-
You can also input a shape object directly instead of providing coordinates.
        Rectangle rectangle = new Rectangle(100, 350, 500, 200);
e.Graphics.FillRectangle(solidBrush, rectangle); -
Use the HatchBrush to fill the shape using a different fill style, such as a horizontal or vertical pattern.
        Color blue = Color.FromArgb(255, 0, 0, 255);
Color green = Color.FromArgb(255, 0, 255, 0);
HatchBrush hatchBrush = new HatchBrush(HatchStyle.Horizontal, green, blue);
e.Graphics.FillRectangle(hatchBrush, 50, 50, 200, 250);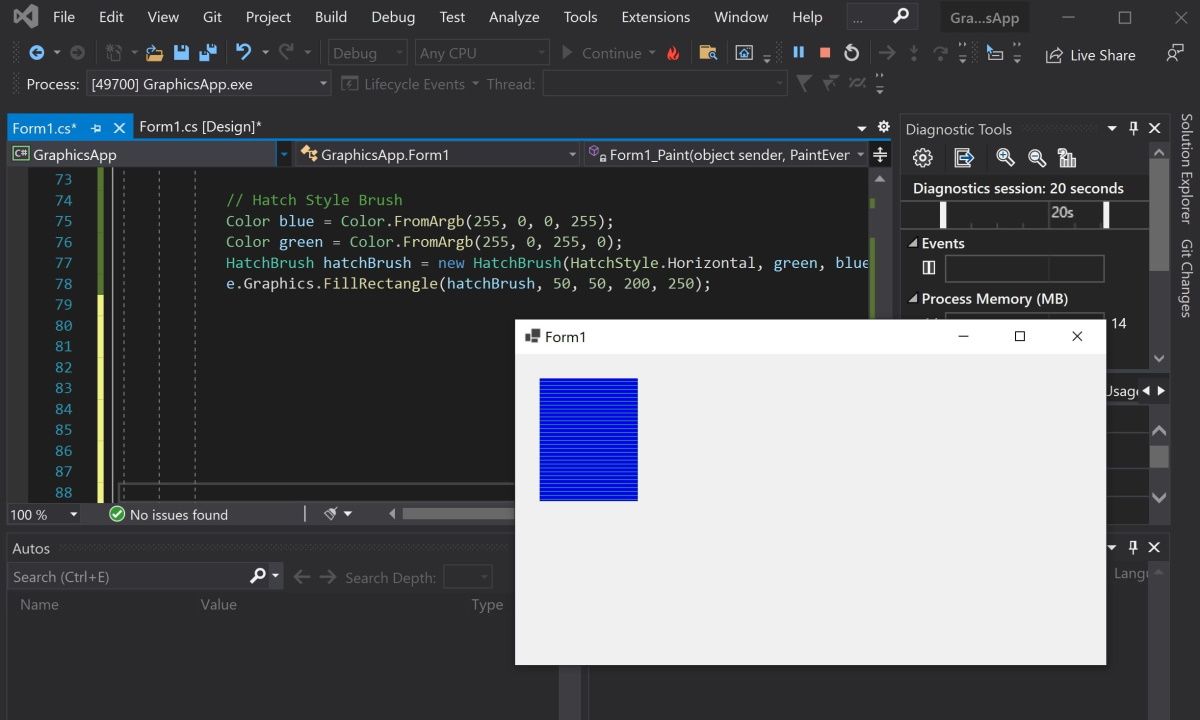
-
You can use the TextureBrush to fill a shape using an image. Here, create a bitmap by pointing to an image file. Instead of creating a brush using a color, create it using the image.
        Bitmap image = (Bitmap)Image.FromFile(@"C:\Users\Sharl\Desktop\flag.bmp", true);
TextureBrush textureBrush = new TextureBrush(image);
e.Graphics.FillRectangle(textureBrush, 100, 100, 500, 400);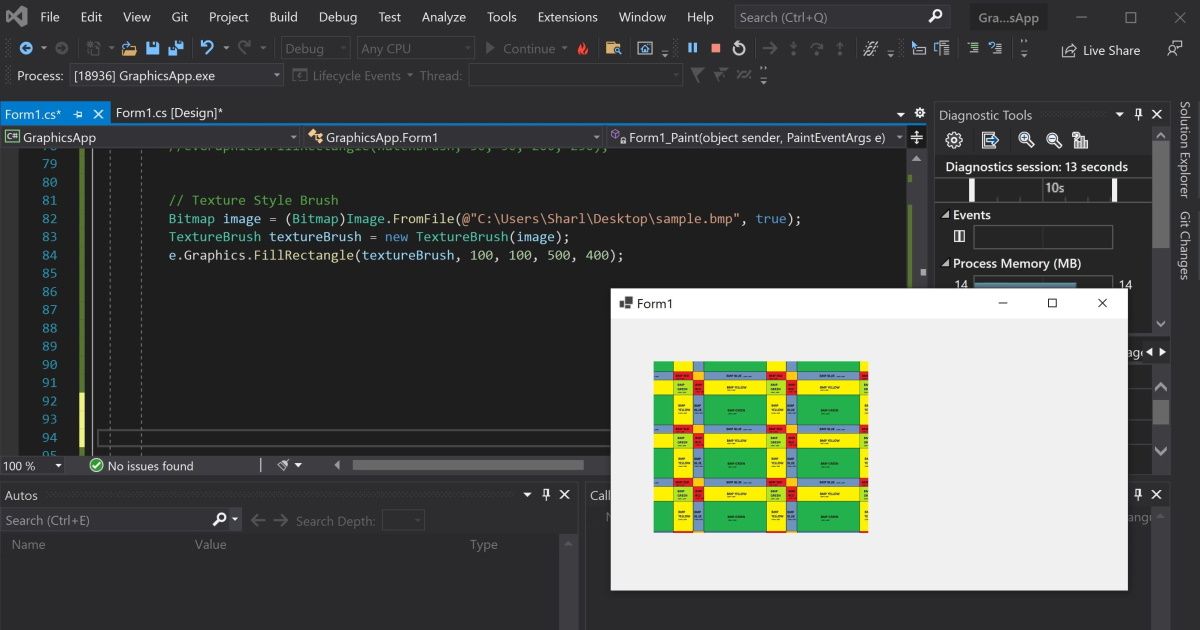


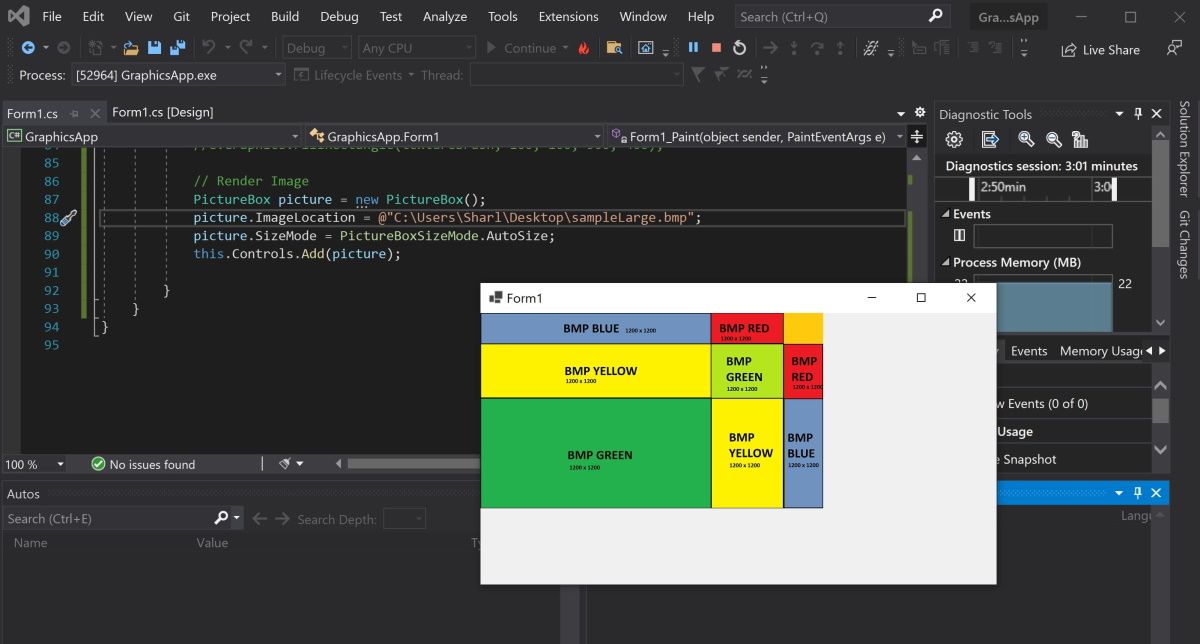
How to Render Images Onto the Form
To render an image, create a PictureBox control object and add it to the form.
-
Create a PictureBox control object using an image file.
        PictureBox picture = new PictureBox();
picture.ImageLocation = @"C:\Users\Sharl\Desktop\flagLarge.bmp"; -
Set the size of the image and add it onto the form so it renders.
        picture.SizeMode = PictureBoxSizeMode.AutoSize;
this.Controls.Add(picture); -
Press the green start button at the top to view the image.

Adding More Shapes to Your Windows Form
You should now understand how to add lines, shapes, and images to your Windows form. You can combine shapes to create new shapes. You can also play around with the built-in functions to create more complex shapes.