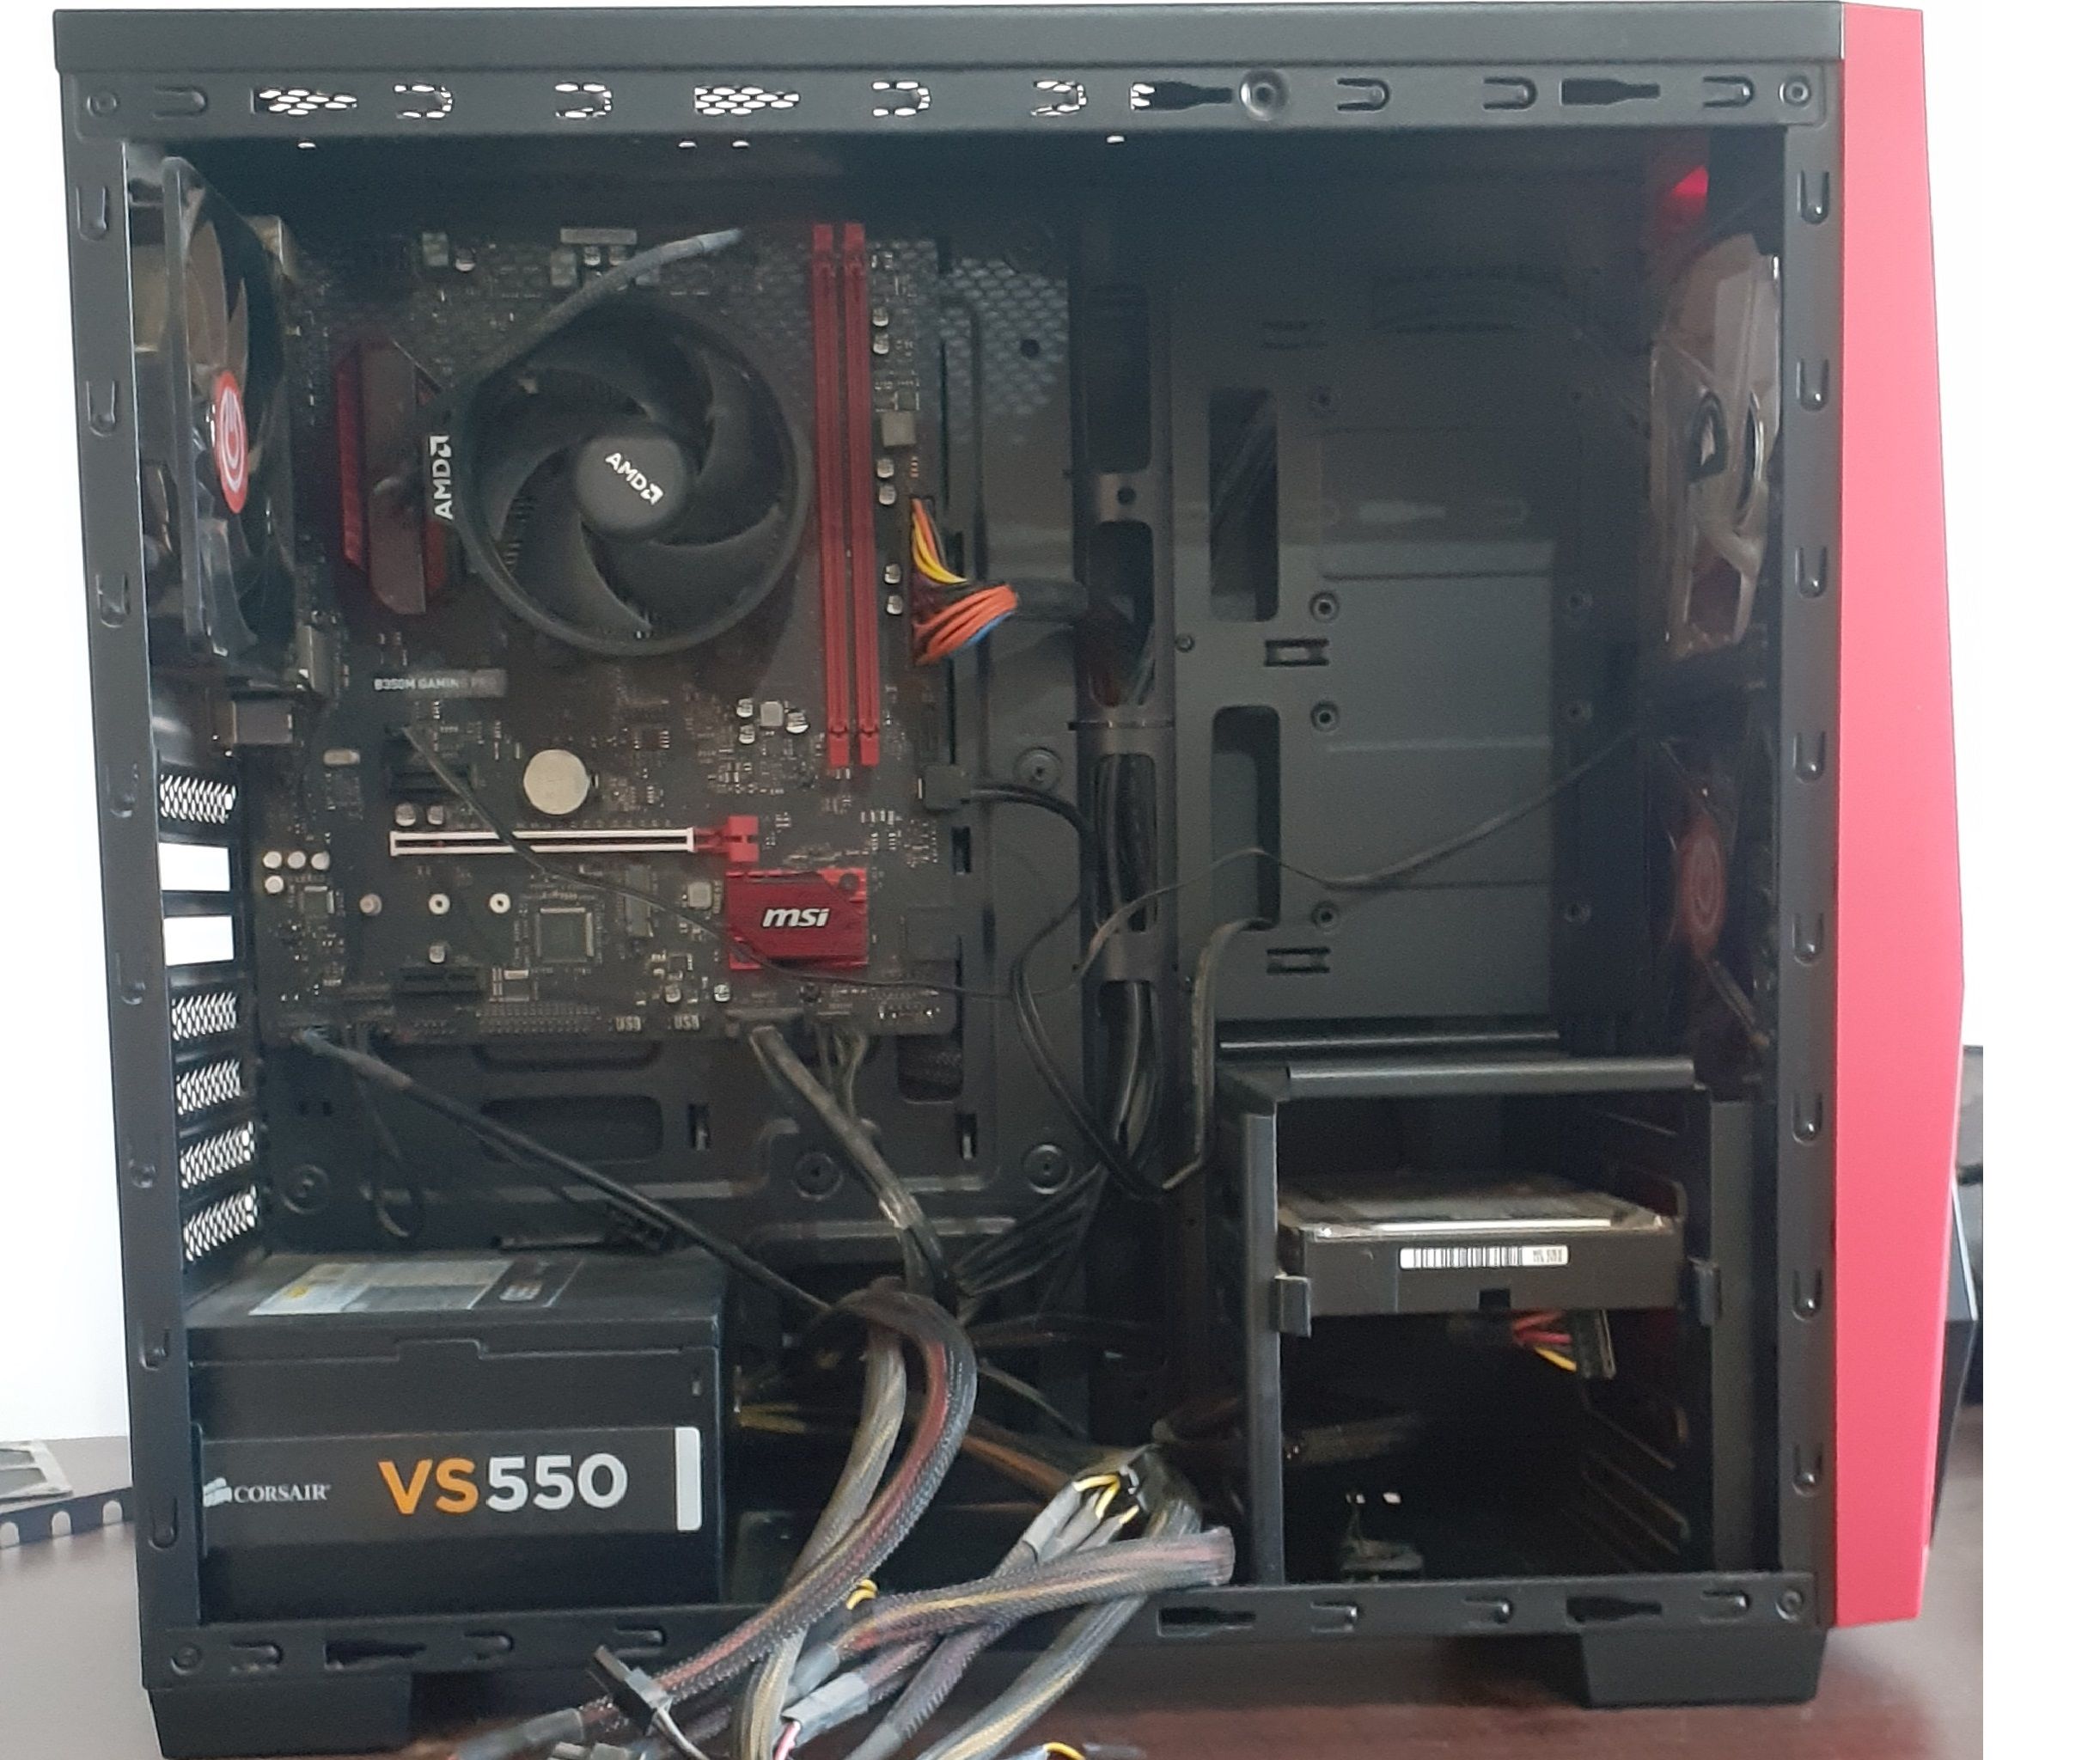
For a newbie, building a gaming PC may seem like a daunting process. And the truth is that yes, there is some hard work involved. The primary questions you may have could include: what parts do you need to build a PC, and what is the actual build process?
Whether you're looking to build a beginner gaming PC or a high-end rig, this article will answer most of the questions that you may have.
What Do You Need to Build a Gaming PC?
Choosing the right parts is essential before you build a gaming PC. It's easy to fall into the trap of buying the most expensive core components, such as the central processing unit (CPU) or graphics processing unit (GPU)—at the cost of neglecting components like the random access memory (RAM) or power supply unit (PSU).
To make the process easier, here is a list of the core components, and how to choose the correct options according to your needs.
1. CPU/Processor
At the core of your gaming PC build lies the CPU. It is likely to be the most expensive component of your computer, after the GPU. Thus, it's important to choose the right one. If you don't plan on upgrading your PC for at least 3-5 years after the build, it may be worth investing in an expensive CPU since it will future-proof your computer.
2. Graphics Card/GPU
In a gaming PC, the graphics card arguably plays the most important role when it comes to gaming performance. Always try to go for the best graphics card you can afford, ideally from the latest lineup of GPUs from either NVIDIA or AMD.
3. Motherboard
The motherboard is where all the components are housed and connected to each other. This is where most compatibility issues occur, as some motherboards may not support your shortlisted GPU or RAM.
Double-check all the ports and connectors such as PCIe slots, and CPU sockets. Keep in mind other needs, such as Wi-Fi and Bluetooth capability, as some motherboards do come with these wireless functionalities in-built.
4. Memory/RAM
The RAM is an integral part of your computer, as it technically determines how quick your computer is at processing data at any point.
Just like the CPU, and GPU, the RAM also has a clock speed—and it's better to get RAM with a higher clock speed. However, you should ensure that your motherboard supports those clock speeds. For playing the latest games, it is recommended you have 16 GB of RAM.
5. Storage
You have two types of storage options available for your build: a hard disk drive (HDD), or a solid state drive (SSD). If your budget allows, always go for SSDs because they offer higher read and write speeds. These translate into faster loading times, plus an overall smoother performance in video games.
6. Power Supply Unit (PSU)
The PSU is what directs power from your wall socket to all the components in the computer. It also plays an important part in protecting your computer against power surges and fluctuations.
The PSU has wires that connect to your motherboard, GPU, fans, and storage device. Never cheap out on the PSU, and always look for an "80+" certification tag when buying one.
7. Case/Cabinet
The computer case is what houses the entire build, including the fans, motherboard, PSU, and storage. While the choice is mostly aesthetic, some cases do have better cable management and ventilation.
Other Small Components You’ll Need for Your Gaming PC
Besides the core components, there are other parts that you may need during the building process. These include:
1. Thermal Paste
Before attaching the CPU cooler, you will need to apply some thermal paste on the surface of the CPU, so ensure you have a quality one, at hand.
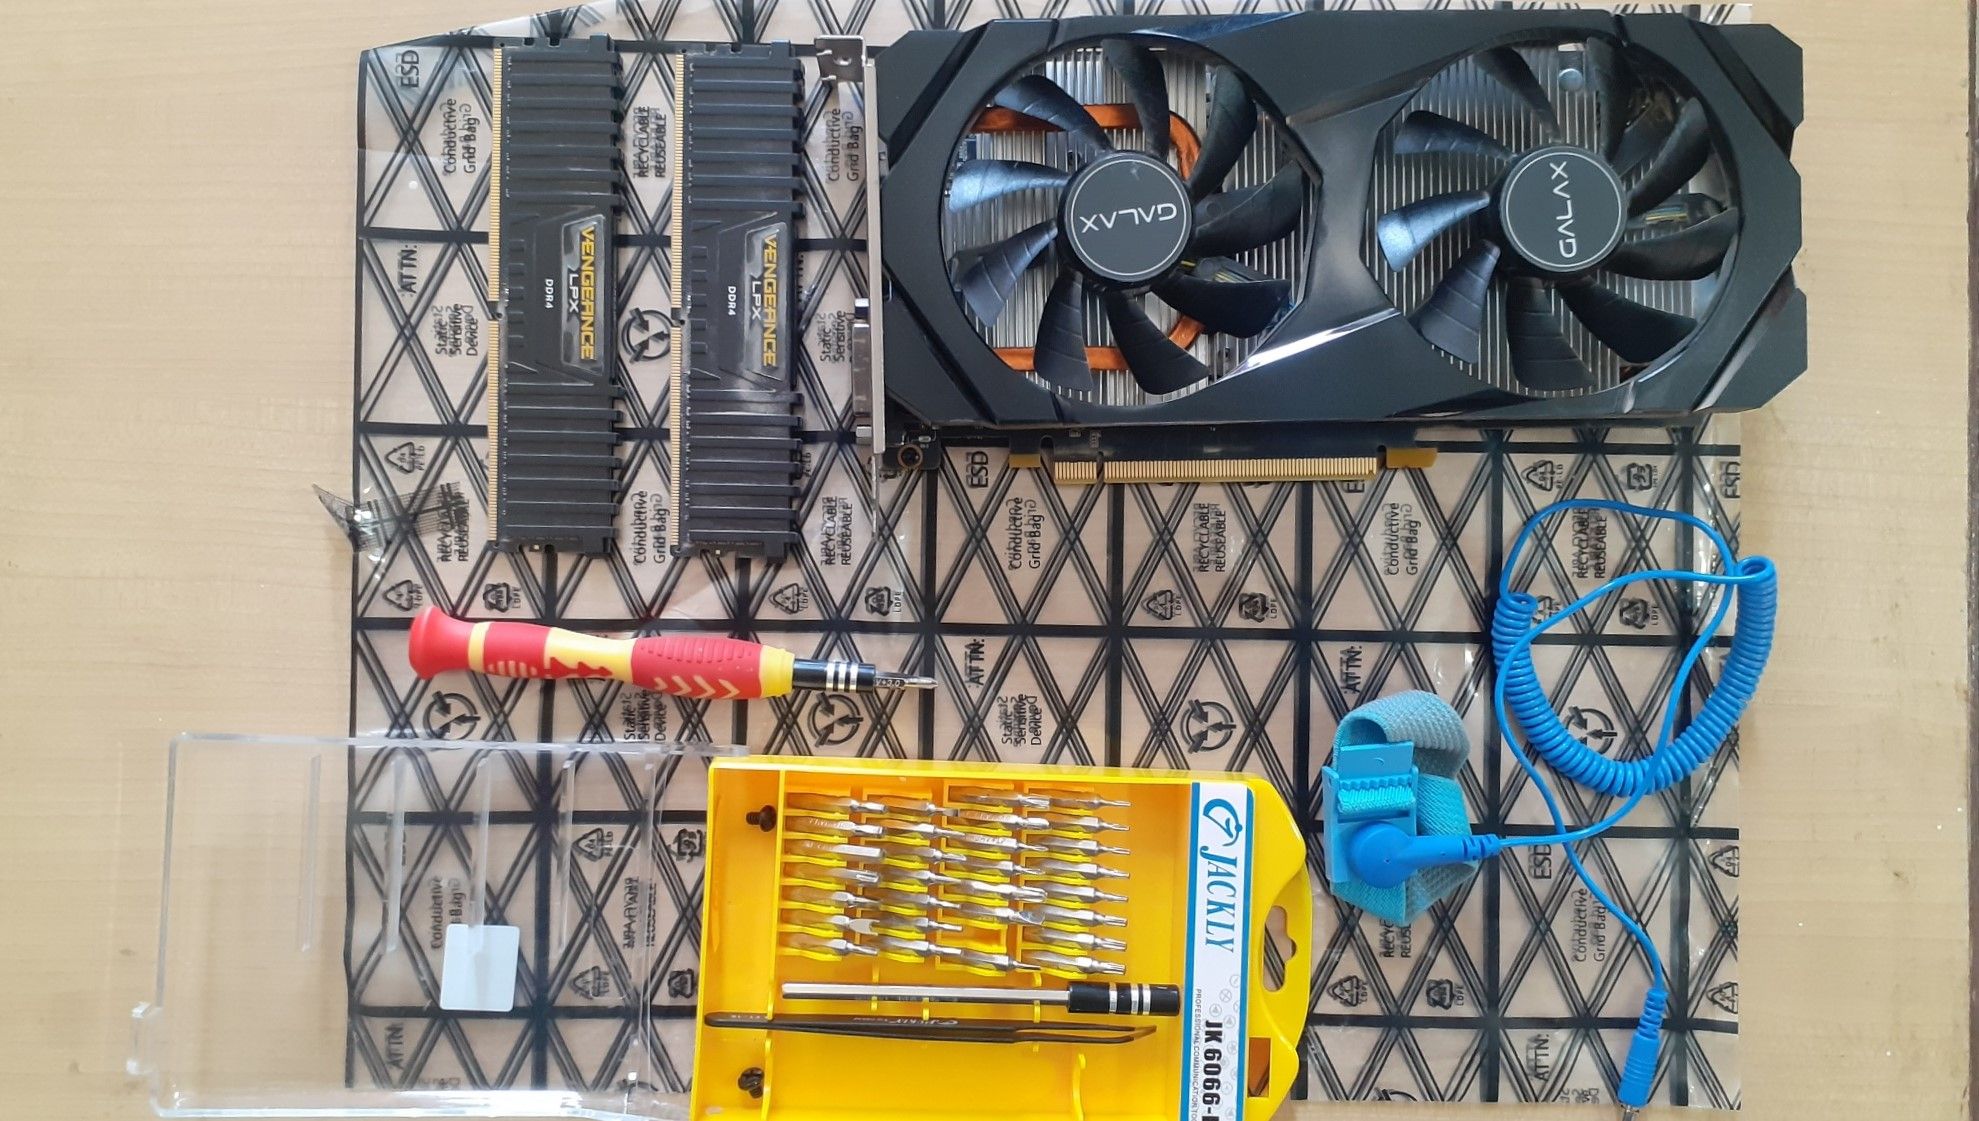
2. Anti-Static Wristband
Static electricity is harmful for the components, and an anti-static wristband can help you avoid this problem. One end of the band is tied to your wrist and the other attaches to your case, or any metallic surface.
3. A Screwdriver Kit
Since there may be multiple types of screws involved when attaching different components, it's always good to have a screwdriver kit at hand. Preferably with magnetic tips, since it will make your work much easier.
There is also the question of compatibility. Due to the sheer variety of components available, there is a high chance that the list of parts you made may have compatibility issues. As a general rule, always run your list of parts through websites like PC Part Picker before committing to a purchase.
How to Build a Gaming Computer
When building the computer, you may realize that it is easier than you thought. All components in modern day computers are designed to fit into the right slots. However, one needs to be careful when handling delicate parts such as the CPU.
Here's how to go about assembling your first gaming PC:
Install the CPU
The first component you should install is the CPU:
- Place the motherboard on an anti-static surface, i.e. the sleeve it came in, or an anti-static mat.
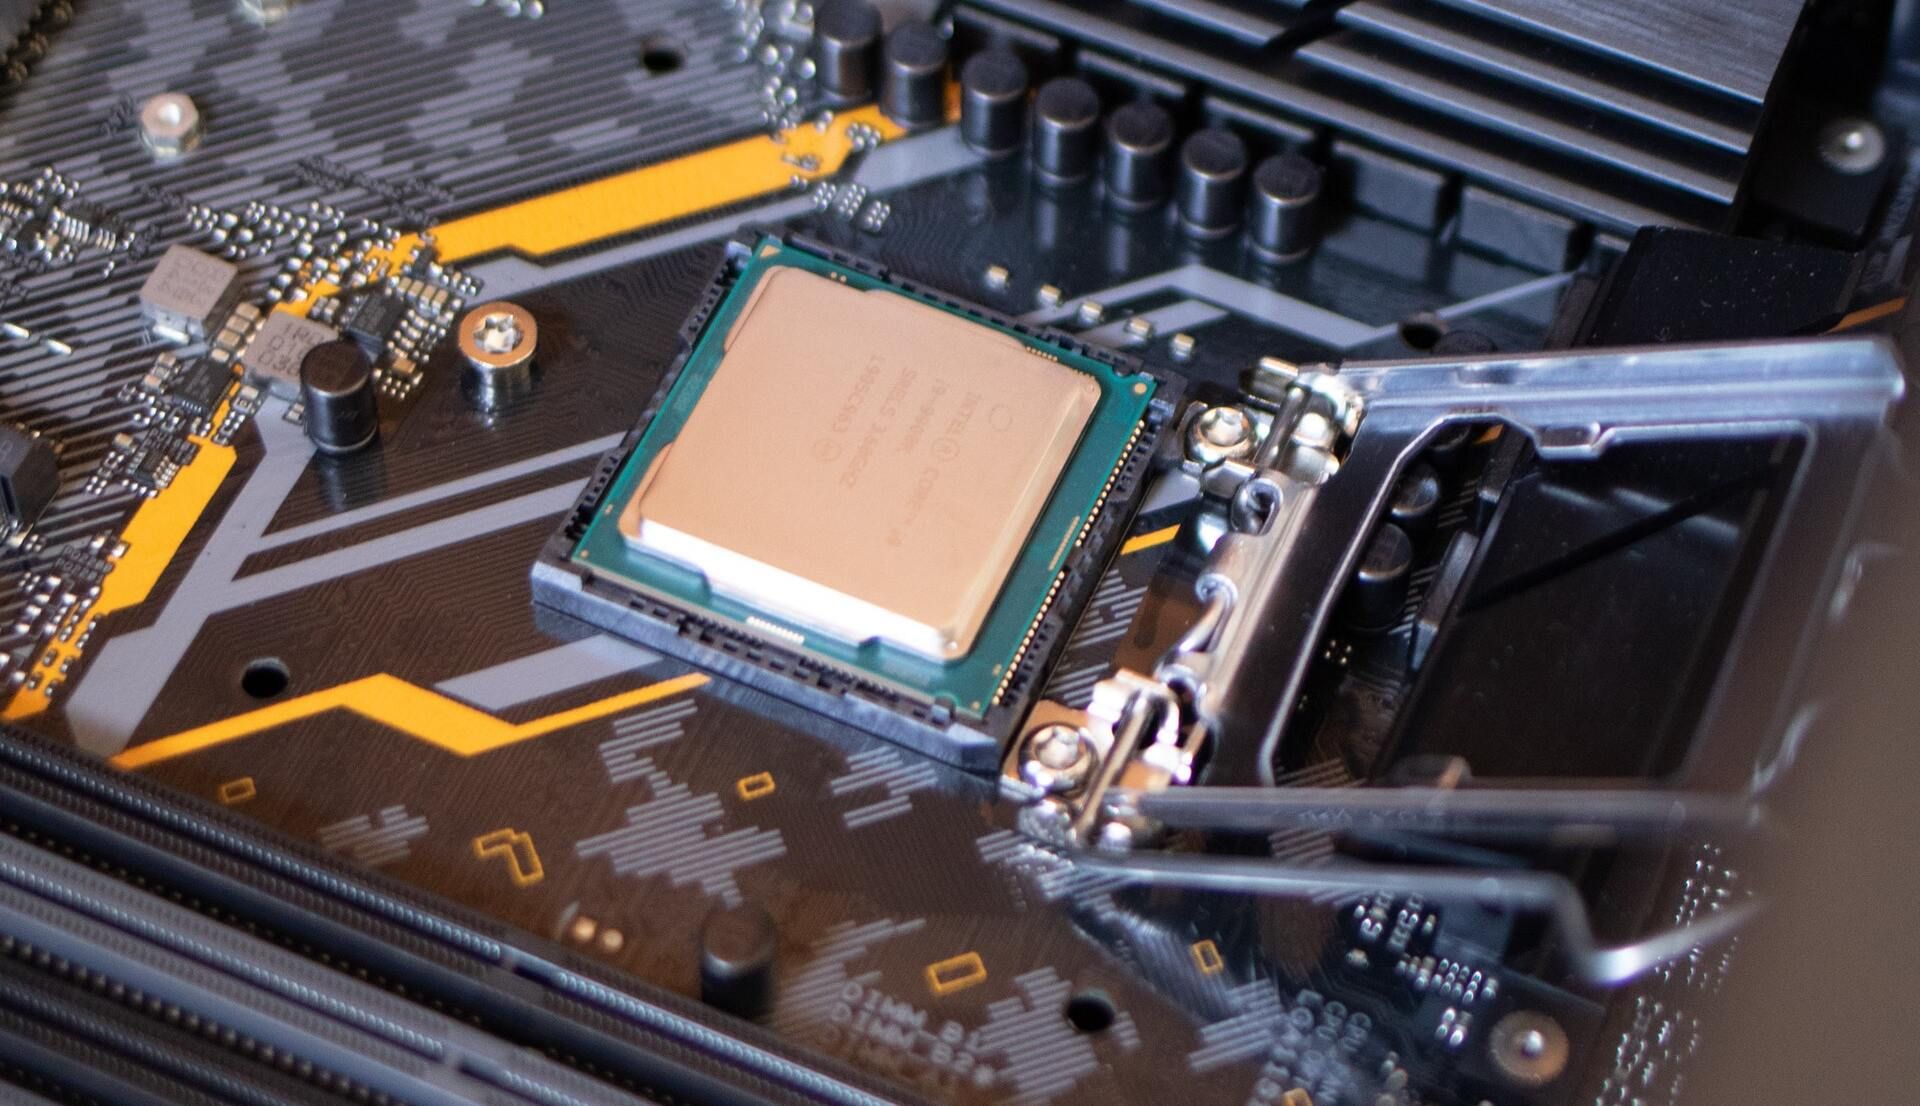
- Now, lift the latch that opens the mechanism that will house the CPU.
- Take the CPU and gently place it in alignment with the socket. Be sure to hold it from the edges to prevent damage to the gold pins at the base.
- Close the latch. You may have to apply a little more pressure than you would think.
Attach the CPU Fan
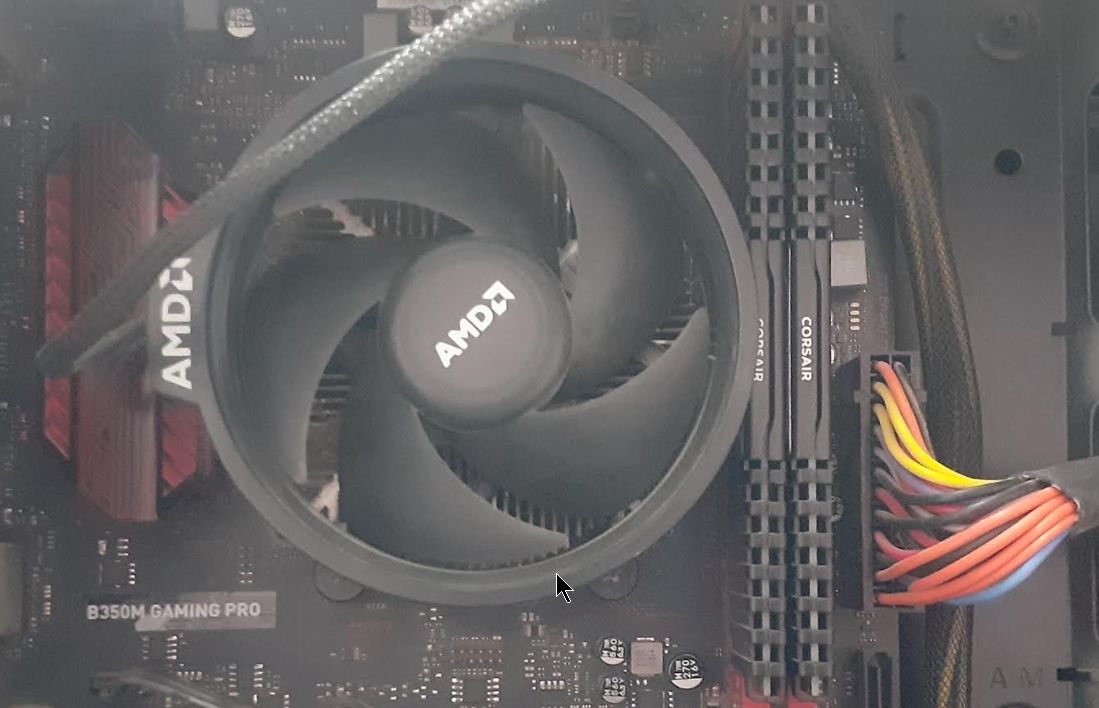
The CPU will come with a fan that will be placed atop the CPU and screwed in to the motherboard. Keep the thermal paste at hand, as you will need this during this step.
- Squeeze a pea-sized amount of thermal paste on the top surface of the CPU you just installed, and spread it evenly. This is an important step as it prevents your computer from overheating.
- Take the CPU fan and place it in alignment with the screw slots on each corner of the CPU slot. The fan itself should be facing upwards.
- Tighten the screws on each corner of the CPU fan. Ideally, you should do this diagonally—and don't tighten one screw completely before moving on to the next. Try to maintain equal pressure on all four corners.
- After the CPU cooler is installed, you can use it to life the motherboard instead of touching it directly.
Install the RAM
After installing the CPU and the CPU fan, it's time to slot in the RAM. Fortunately, this is very easy, and you should have no trouble doing so:
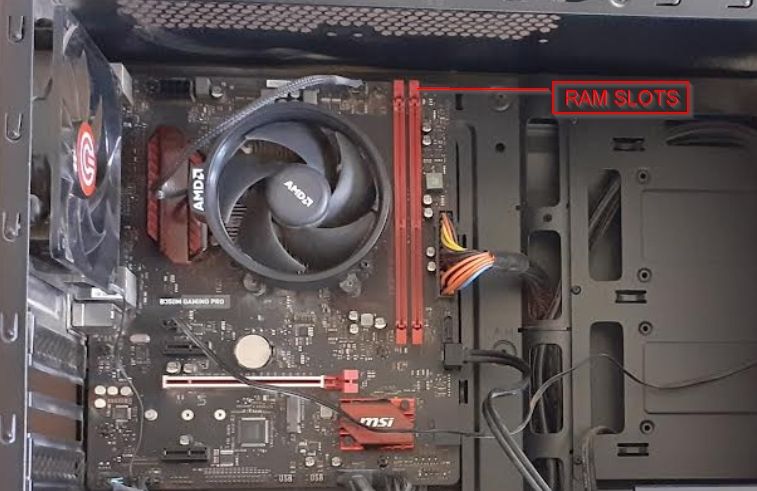
- Take out the RAM stick and lock for the RAM slots on your motherboard. Usually they're labelled, and it should be easy to find them.
- Ensure that the clamps on both sides of the RAM slot are open.
- Align the RAM module with the slot and insert it. After it is snugly fit, close the clamps on both side. Usually, the clamps will automatically click in place if you inserted the RAM properly.
Attach the Motherboard to the Case
After installing the RAM, it's time to place the motherboard inside the case:
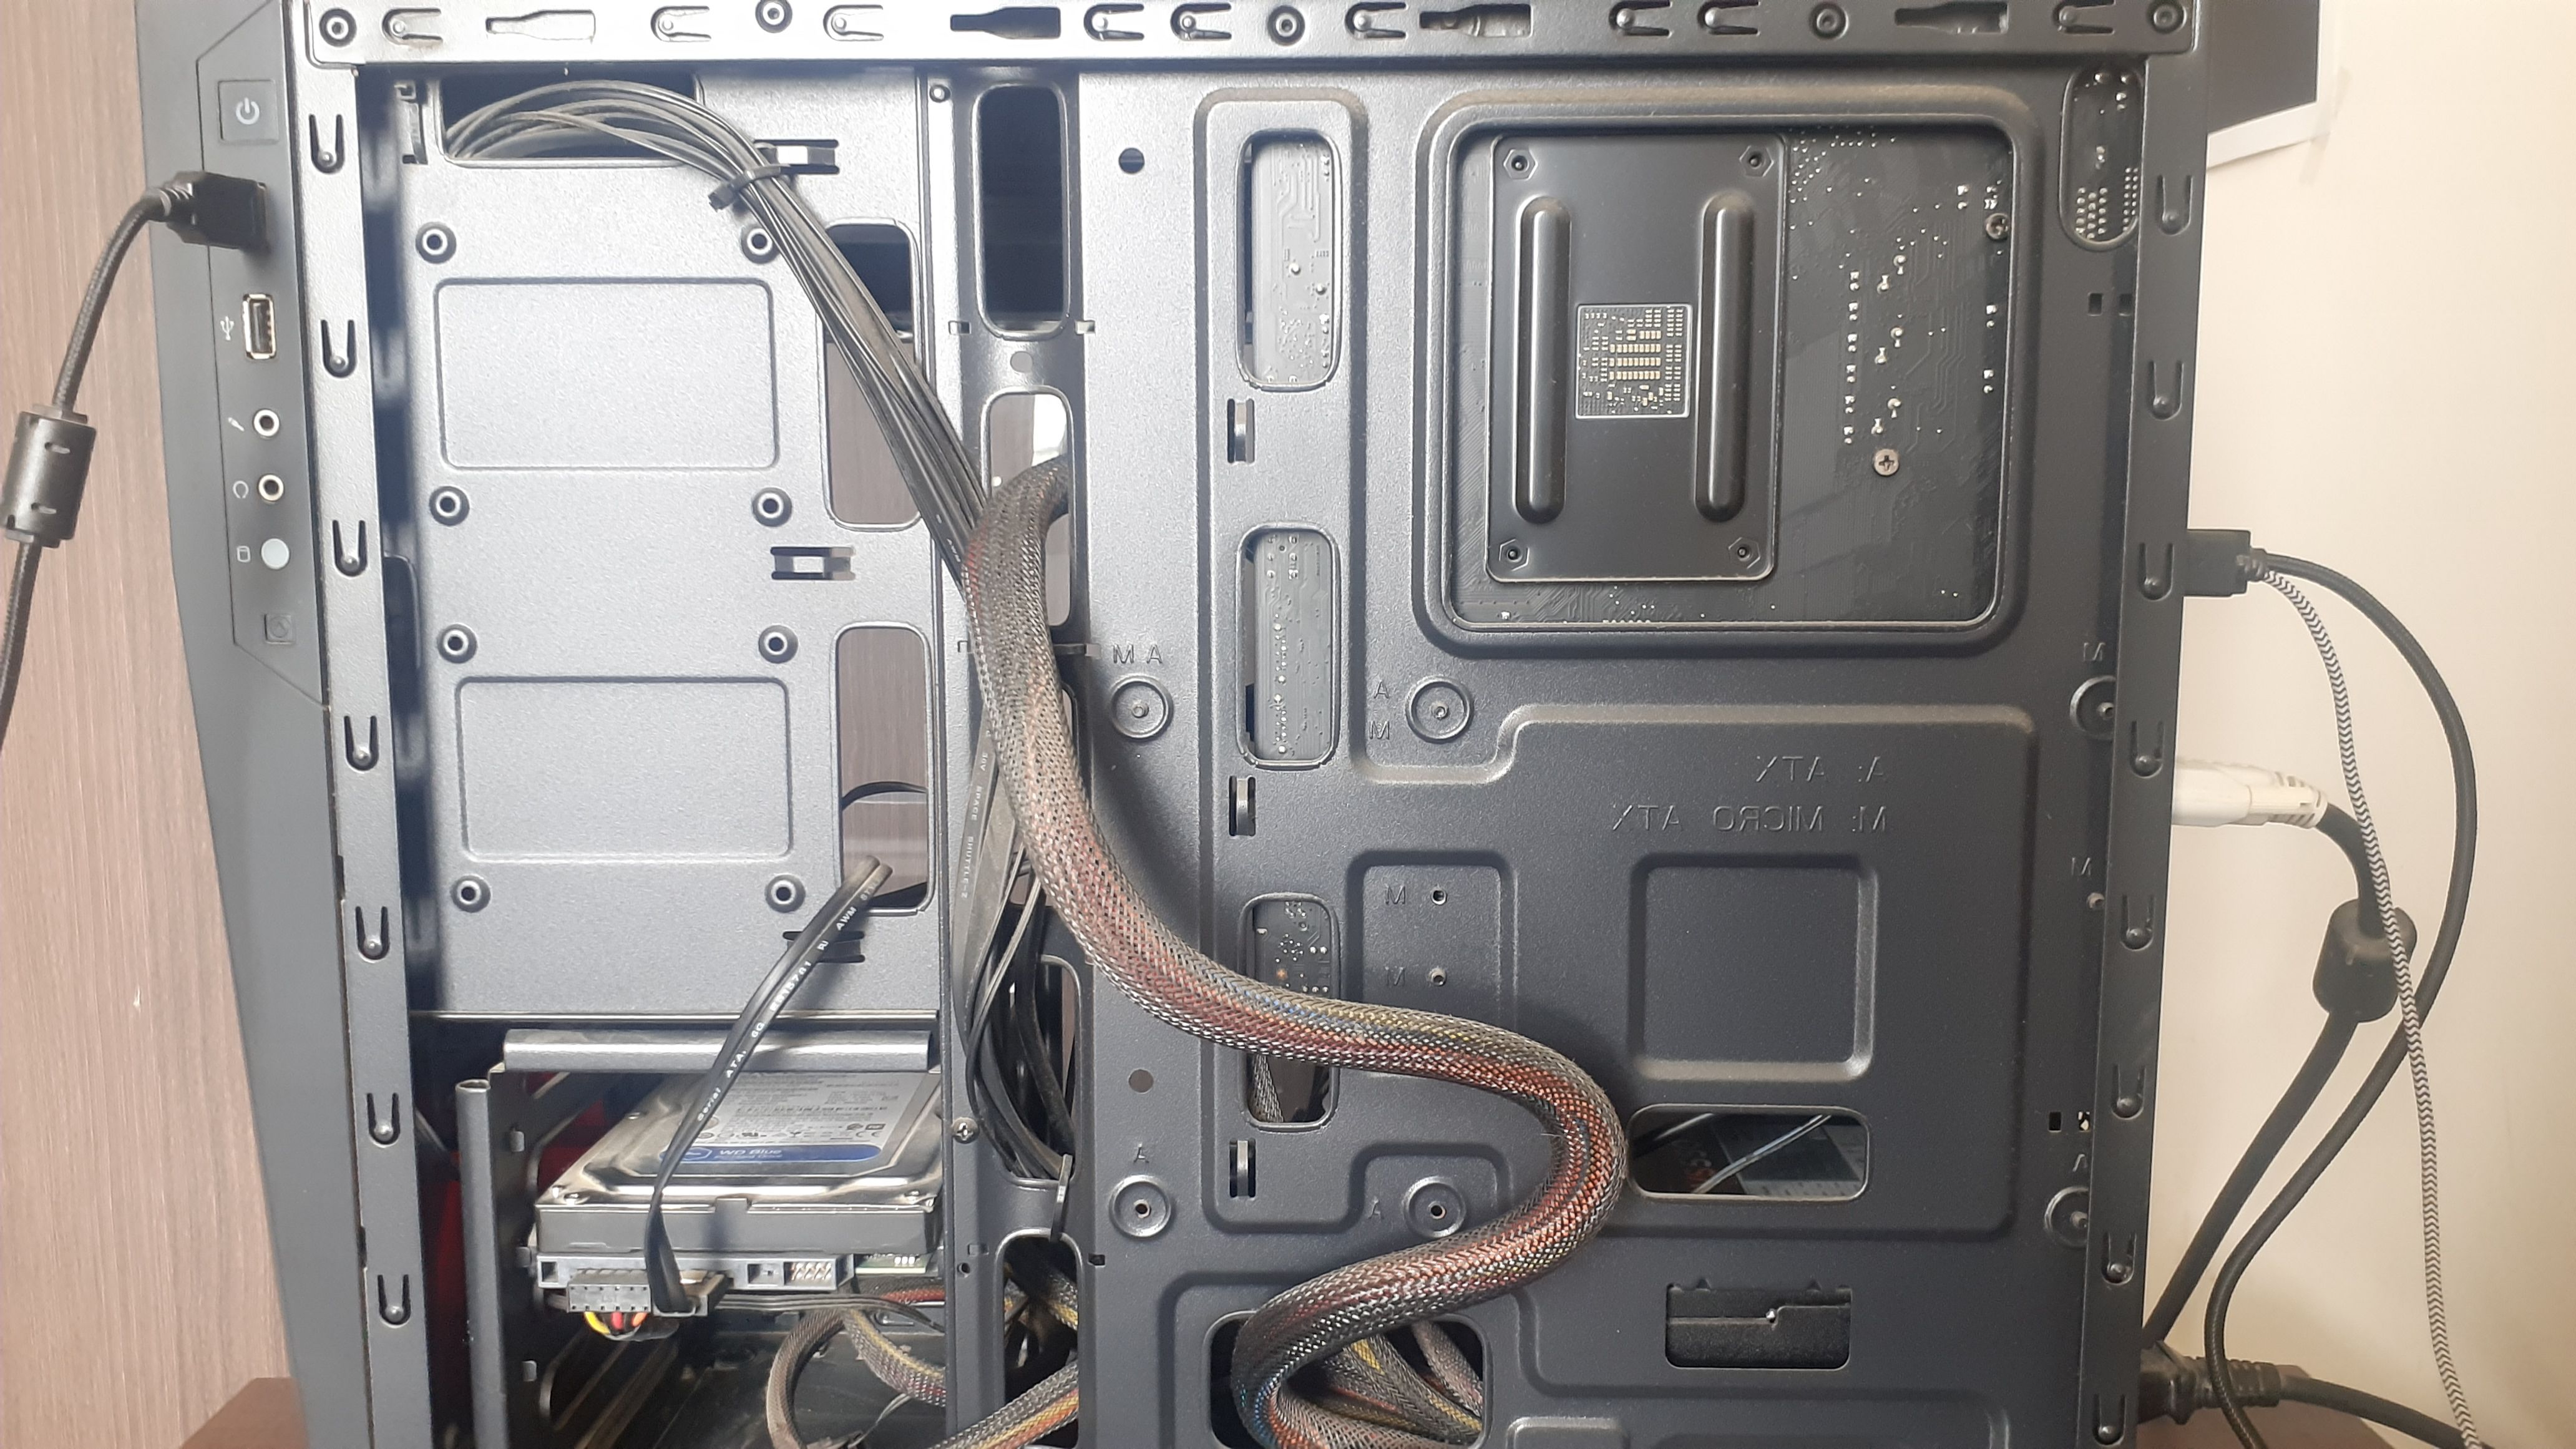
- It's important you install the standoffs that came with the case in accordance with the screw slots on your motherboard. Direct contact of the motherboard with the case could damage it.
- After installing the standoffs, align the motherboard and screw in all the bolts. Again, do it in a diagonal manner and maintain equal pressure across all the bolts.
Even after you've finished building your gaming PC, always ensure you avoid mistakes that can damage or ruin your motherboard.
Install the GPU and Storage
When you're ready to install the graphics card and storage, follow these steps:
- Look for the PCIe slot on the motherboard and align the graphics card with it.
- Similar to how you did when installing the RAM, slide in the GPU and flick the clamps into place. The graphics card is now installed.
- For storage, if you have an HDD, you'll have to place it in one of the drive bays in the case. Then, connect the SATA cable on the hard drive to the motherboard. The SATA port shouldn't be too difficult to find as it will be marked.
- If you have an m.2 SSD, that will directly slot in to the motherboard.
Install the PSU and Connect the Cables
For the last step in the primary process of building your PC, you just need to install the PSU and connect all the wires.
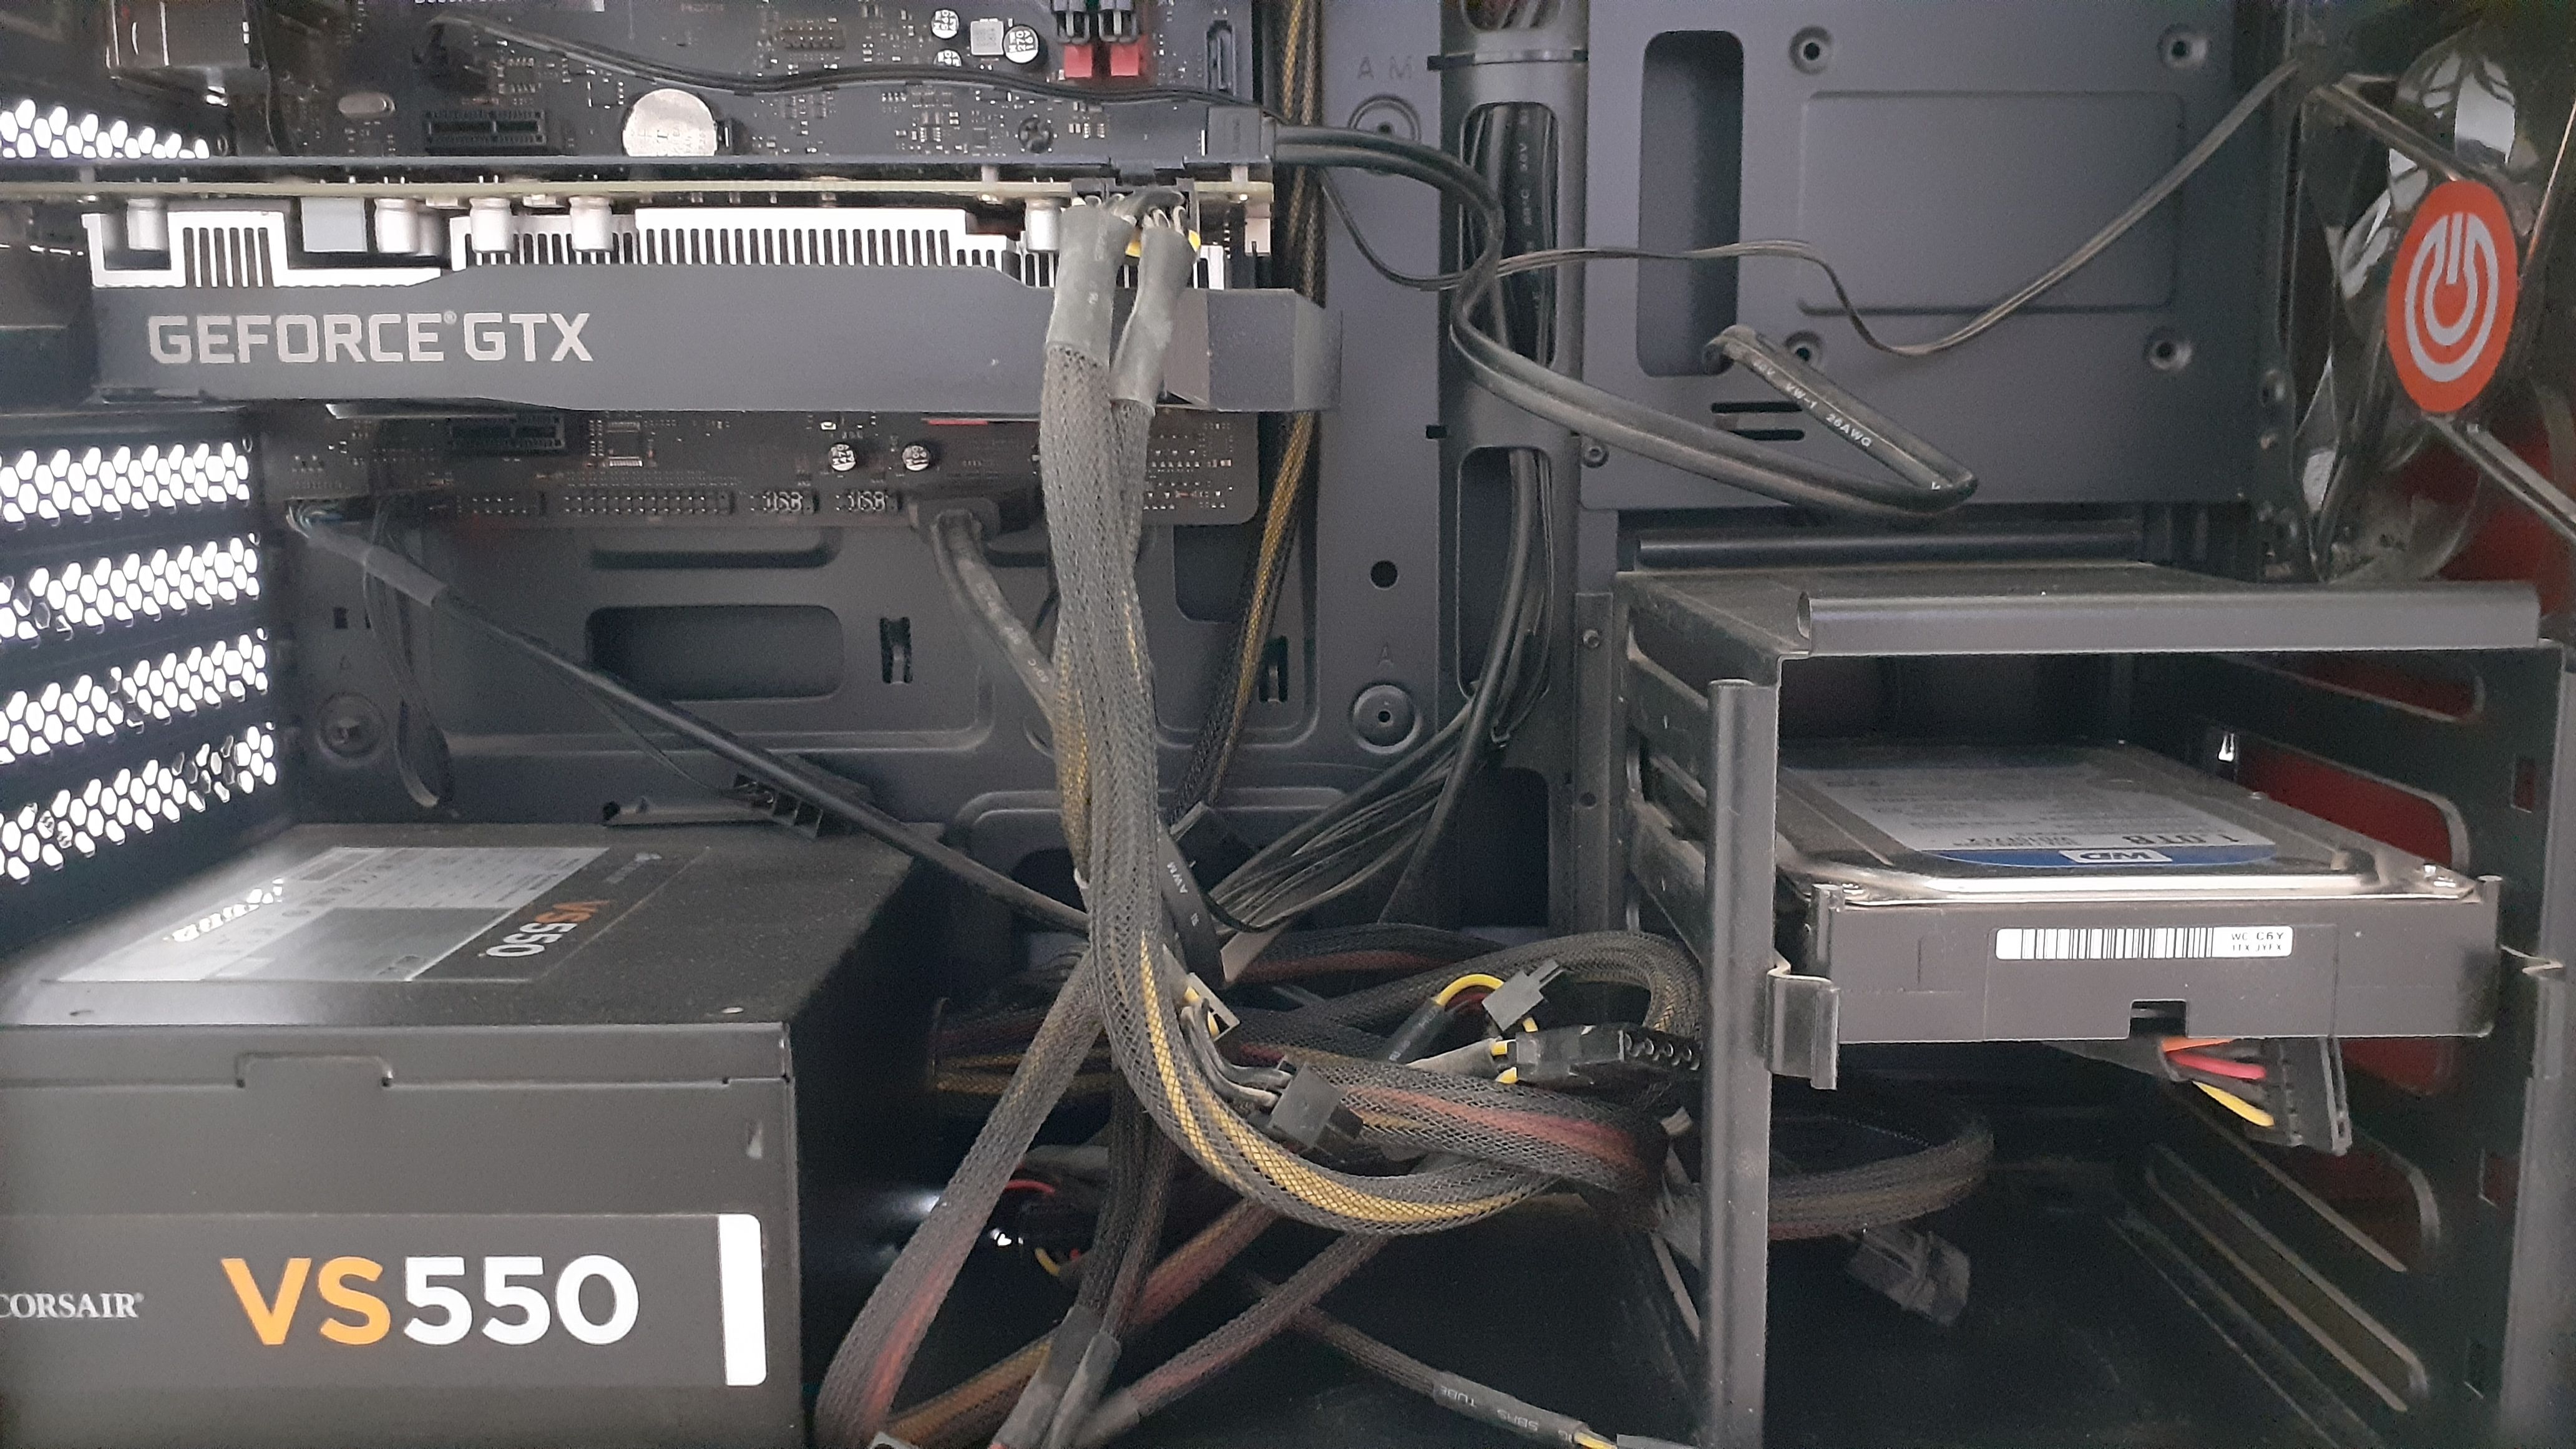
- Each computer case has a different slot for the PSU, so refer to the manual and accordingly place the PSU there. Be sure to tighten all the screws.
- Connect the power cables to the motherboard, CPU, and the GPU. Refer to the manual to know what kind of connector you need to power on these components.
- Usually, you will need to slot in two types of wires to the motherboard: one for the motherboard, and one to power the CPU.
- Your GPU will require a dedicated power wire as well. Also ensure you connect other components such as the case fans, and case power buttons to the motherboard. Refer to the motherboard's manual for this.
Now You Know How to Build a Gaming Computer
After following the steps listed above, 90% of your gaming PC build is complete.
All you need to do now is connect the peripherals and set up your computer for first-time use. So, what are you waiting for?

