Windows supports up to 128 million pixels of desktop resolution. So, theoretically, you can use multiple high-resolution displays and still not encounter any issues. But many users report blurry screen issues on Windows 11. The problem ruins their overall visual experience because the screen elements appear distorted.
If you face the same problem, don’t worry. We will list out all the possible methods to remove the screen blurriness and make the screen elements sharp and easy to read.
How to Fix Blurry Screen Issues on Windows 11
Here are the following methods you can try to remove the blurry screen issue on your Windows 11 system.
1. Restart Your System
Before trying out any major troubleshooting method, restart your system. Restarting your computer can fix common issues with services and background programs. Press Alt + F4 and select the Restart option from the list. After the computer restarts, launch any program and check if the blurriness issue is still there.
2. Tweak the Display Resolution and Scaling
Lower screen resolution settings can make the screen element look grainy. However, low scaling settings on a high-resolution display can make matters even worse. So, you need to adjust these two display settings.
To adjust the display resolution and scaling on Windows 11, do as follows:
- Press Win + R to open the Run command box. Type ms-settings:display and press the Enter key.
- Click on the Display Resolution option and set it to the resolution Windows recommends for your display.
-
Apply the resolution and if the blur is still noticeable, click on the Scale option.
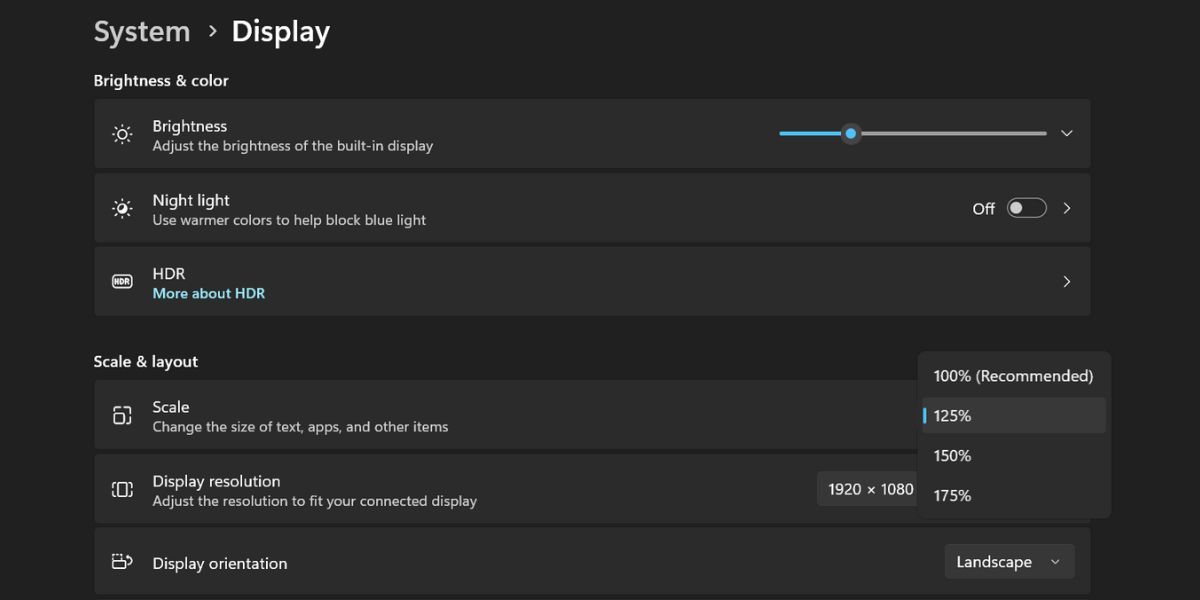
- If the recommended scale settings look very small and unreadable, pick the higher scaling percentage option from the list.

3. Enable ClearType Text
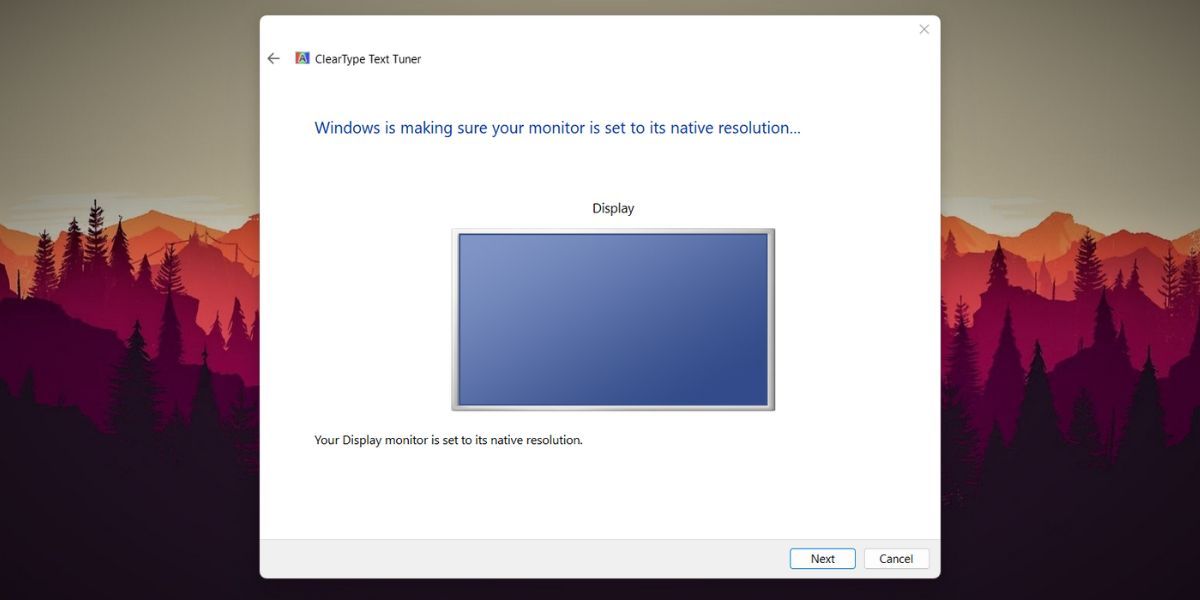
Microsoft bundles the ClearType technology which reduces the visible pixelation in fonts. If you experience blurry screen elements including text, you can use ClearType Text Tuner to fix the issue.
To enable ClearType Text on Windows 11, repeat the following steps:
- Press Win + S and type ClearType. Click on the Adjust ClearType text option in the search results.
- Click on the Turn on ClearType checkbox. Then click on the Next button.
-
Pick the text sample that looks the best on your display and click on the Next button.
- Repeat this process for all text samples.
- Lastly, click on the Finish button to apply the new text rendering settings.

4. Change Application Graphics Preference
If you experience blurriness with a specific app, you can adjust the graphics settings to solve the issue. It will drive more GPU power to the app and improve its visual appearance.
Here’s how to change graphics settings for an app on Windows 11:
- Press Win + I to launch the Settings app.
- Navigate to System > Display > Graphics.
- Select the app to change its graphics settings and click on the Options button.
-
Now, click on the High Performance radio button.
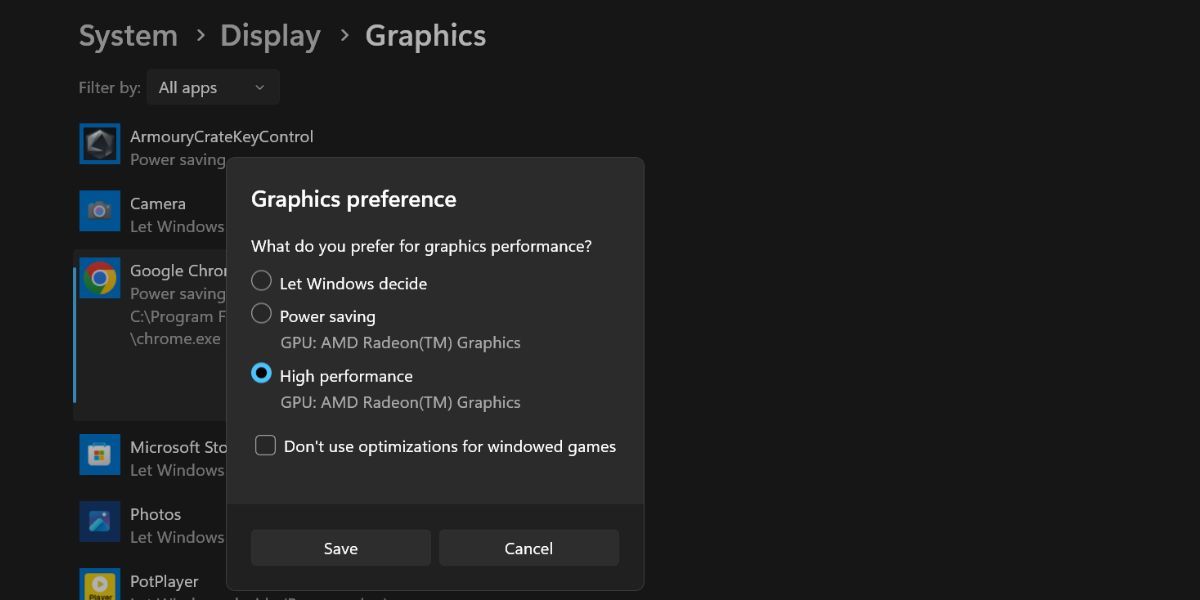
- Lastly, click on the Save button to save the new graphics settings.
- Run the app and check if the screen element appears blurry or not.

5. Switch to the Best Appearance Settings
Windows offers three visual effects modes. If you use the "Best Performance" mode, it removes all visual effects and the result looks washed out and grainy. However, switching to the "Best Appearance" mode can offer the best possible visual experience and remove blur.
Repeat the following steps to apply the best appearance settings on your system:
- Press Win + R to open the Run dialog box. Type sysdm.cpl and press the enter key to open the System Properties utility.
- Navigate to the Performance section and click on the Settings button.
-
Select the Adjust for best appearance radio button. Click on the Apply button.
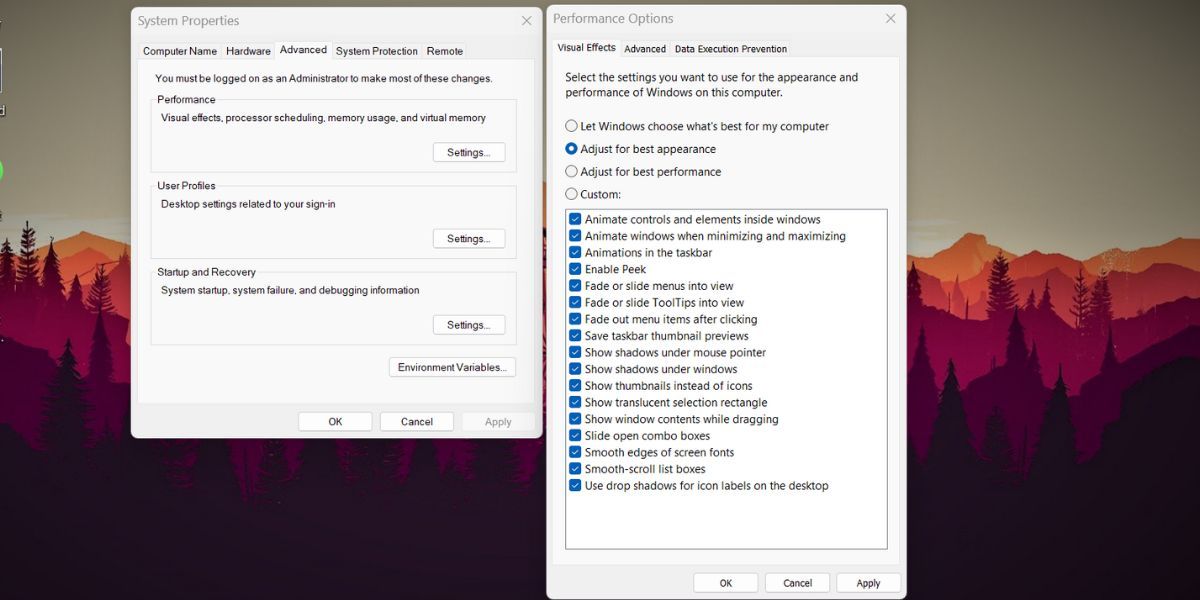
- Finally, click on the OK button and exit the System Properties window.

6. Adjust App DPI Settings
Another method to remove blurry text on Windows is using the Program DPI settings. If an app or program doesn’t automatically scale up to the default settings, you can override the high DPI scaling to improve the clarity and text sharpness.
Retrace the following steps to adjust the app DPI settings:
- Press Win + E to launch the File Explorer and navigate to the program executable file location.
- Click on the program icon and then press Alt + Enter to open the Properties window.
- Switch to the Compatibility tab and click on the Change high DPI settings button.
- Now, click on the Use this setting to fix scaling problems for this program instead of the one in Settings checkbox.
-
Next, enable the Override high DPI scaling behavior checkbox as well.
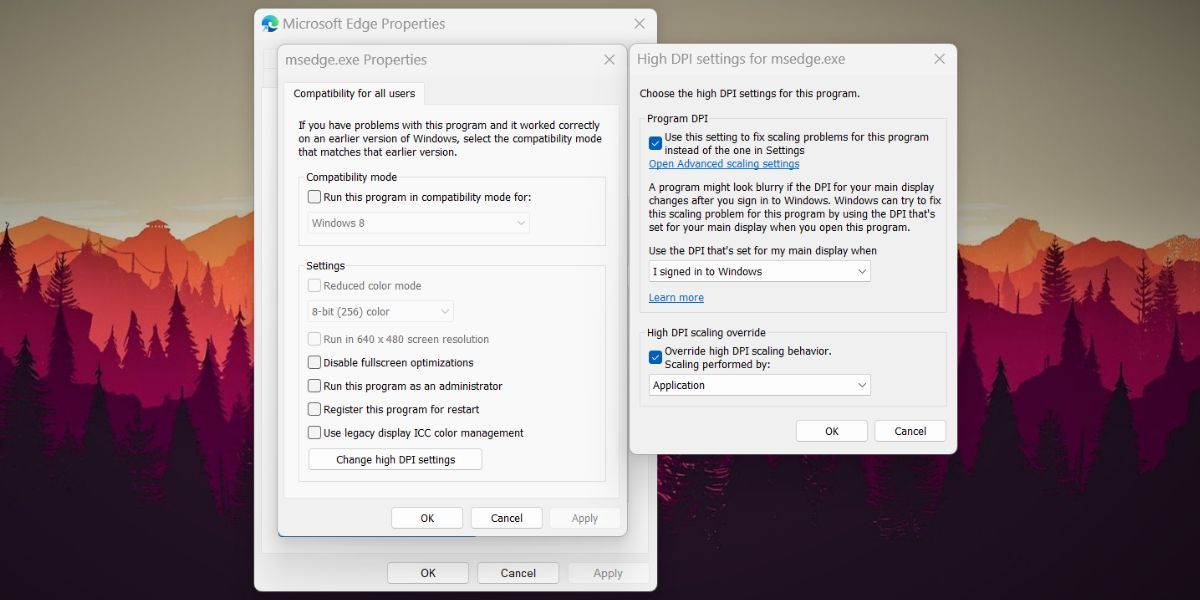
- Lastly, click on the OK button and close the Properties window.

7. Update Your Graphics Driver
An outdated GPU driver can run into compatibility issues with programs. Updating the GPU drivers can resolve the issue. Here’s how to update the GPU drivers on your system:
- Press Win + X to launch the Power user menu and click on the Device Manager option.
- Scroll down and expand the Display Adapters section.
-
Right-click on the GPU and select the Update driver option from the list.

- Click on the Search automatically for drivers option and wait for the utility to download and install the latest GPU drivers.
- Restart your system and run an app to check if the screen elements appear sharp or not.

Device Manager isn't the best for finding new drivers, so if the above trick doesn't work out, check out how to update AMD graphics cards or how to update Nvidia graphics cards, depending on your GPU's model.
8. Roll Back the Latest Windows Update
If the blurry screen issue appears after a recent Windows update, you can try rolling back to the previous version. New updates can have bugs that wreck your system's performance.
Here’s how to roll back a recent Windows update:
- Press Win + R to launch the Run command box.
- Type appwiz.cpl and press the enter key to launch the Programs and Features utility.
- Click on the View installed updates option.
- Scroll down and locate the most recent update installation.
- Then, click on the Uninstall button and follow the onscreen prompts to remove the update from your system.
9. Use System Restore or Reset Your PC
System Restore lets you roll back Windows to a previous state. If you encounter a screen blur issue after a recent program installation or update, you can use system restore to roll back to a state where things worked better. However, your system needs to have existing restore points saved to use this feature.
If you don’t see any restore points available in the System Restore utility, then resetting Windows 11 is your last resort. Ensure that you back up all your data or use the in-place upgrade to keep all your files intact.
You can check out how to do both of these in our guide on how to factory reset Windows or use System Restore.
A Blurry Windows 11 Blur Issue, Fixed
Screen blurriness can impede work productivity. Start by adjusting the display scaling and enable the ClearText Type on your system. After that, override the High DPI settings and set the system for the best visual appearance. Lastly, update the GPU driver or perform a system restore to revert the system to a normal viewing experience.