You can probably already picture this scenario: you're standing in front of a beautiful landscape, ready to take a picture, but after clicking the button on your camera, you end up with a blurry shot.
Does that sound familiar to you? If so, don't worry; every photographer has experienced something similar. And even if you become professional, you'll find that at least some of your photos will still be blurry.
Fortunately, there are solutions to taking sharper images. And you'll often find that the solution is much easier than you think. Without further ado, let's discuss why your photos come out looking blurred and the things you can do to avoid that from happening.
The Most Common Reasons for Blurry Photos
If you're new to photography, your blurry photos are probably a result of one or more common mistakes. To help you determine where you're going wrong, we've listed four likely reasons why your images don't look very sharp.
1. Handholding Your Camera
Let's face it—shooting handheld is much more convenient than needing to set up a tripod or finding somewhere to rest your camera. Often, you can get away with this; taking photos when the weather is warm and you've got good lighting is one such instance.
But in some circumstances, it's nigh-on impossible to take sharp pictures by holding the camera in your hands.
One example is if you're trying to photograph the Northern Lights. To capture this phenomenon, you need a slow shutter speed, which is almost always accommodated by a tripod or some type of stable surface for your camera. And you'll probably be shooting somewhere cold and windy—the slightest shake will result in a blurred image.
2. Moving Around Too Much
Blurry images caused by movement can sometimes have an artistic effect; it's a good way to highlight how busy a city street is or the fast-paced nature of sports. However, too much movement can also leave your photos looking like a mess.
If you find that your pictures aren't sharp, one reason might be that you're moving too much. This happens most often during the winter; it might be cold and wet, and if you shiver while trying to take the shot, your camera will move too much.
In other cases, your photos might be blurry because you're walking around or moving your camera as you take the picture. Alternatively, the person or subject you're trying to capture might be doing the same thing. If you're doing a portrait shot, try to get your model to relax.
3. Using a Slow Shutter Speed
Cameras have gotten very good at capturing still images without you needing to raise your shutter speed too high. But at some point, using a slow one without stabilizing your camera is a recipe for disaster.
How do you know if your shutter speed is too slow? There is no one-size-fits-all answer; it'll depend on your camera and the lens you use, as well as the conditions you're shooting in.
Many photographers recommend that you don't shoot handheld with a shutter speed slower than your lens' focal length. So, while you might get away with taking photos with a 35mm lens at 1/60th of a second, that probably won't be the case if you used a 100mm one.
4. Your ISO Is Too High
ISO is a powerful tool for taking better pictures if you know how to use it right. It's easy to think that all you need to do to take good photos in the dark is raise your ISO and do the opposite if it gets too bright. That's true to an extent, but you need to be careful with it...
In general, you want to keep your ISO as low as realistically possible. The higher you raise it, the less detail your photos will have. It will look more grainy than blurry, but the details will be "blurred out" so to speak.
Most modern cameras have ISO settings higher than you'll ever possibly need. However, the maximum you should raise it to will depend on your device and the brand you use.
How to Avoid Your Photos From Being Blurry
So we've identified some of the reasons your pictures are blurry. Now, we're ready to start looking at the solutions you can turn to for taking sharper images. Here, we've listed the four most common ones.
1. Turn Off Auto Mode
When you get your first camera, it's tempting to stay in auto mode. It's not necessarily bad to shoot like this, and it can be useful for getting the hang of taking pictures—but you have no control over your ISO or shutter speed.
The learning curve will be a little steeper, to begin with, but it's worth switching to manual mode so you can figure out what does and doesn't work. Alternatively, aperture or shutter priority will still give you more control over each shot than auto mode will.
2. Use Internal Camera and Lens Stabilization
Many cameras and lenses will have a stabilization setting that you can use to take sharper images while pushing the boundaries a little. This will depend on your gear; if you use an entry-level DSLR, you might not have this choice.
Image stabilization is beneficial if you use a larger lens, which will be more difficult to hold and means that you'll have to raise your shutter speed. It's not the perfect solution but it is pretty useful nonetheless.
3. Invest in a Tripod
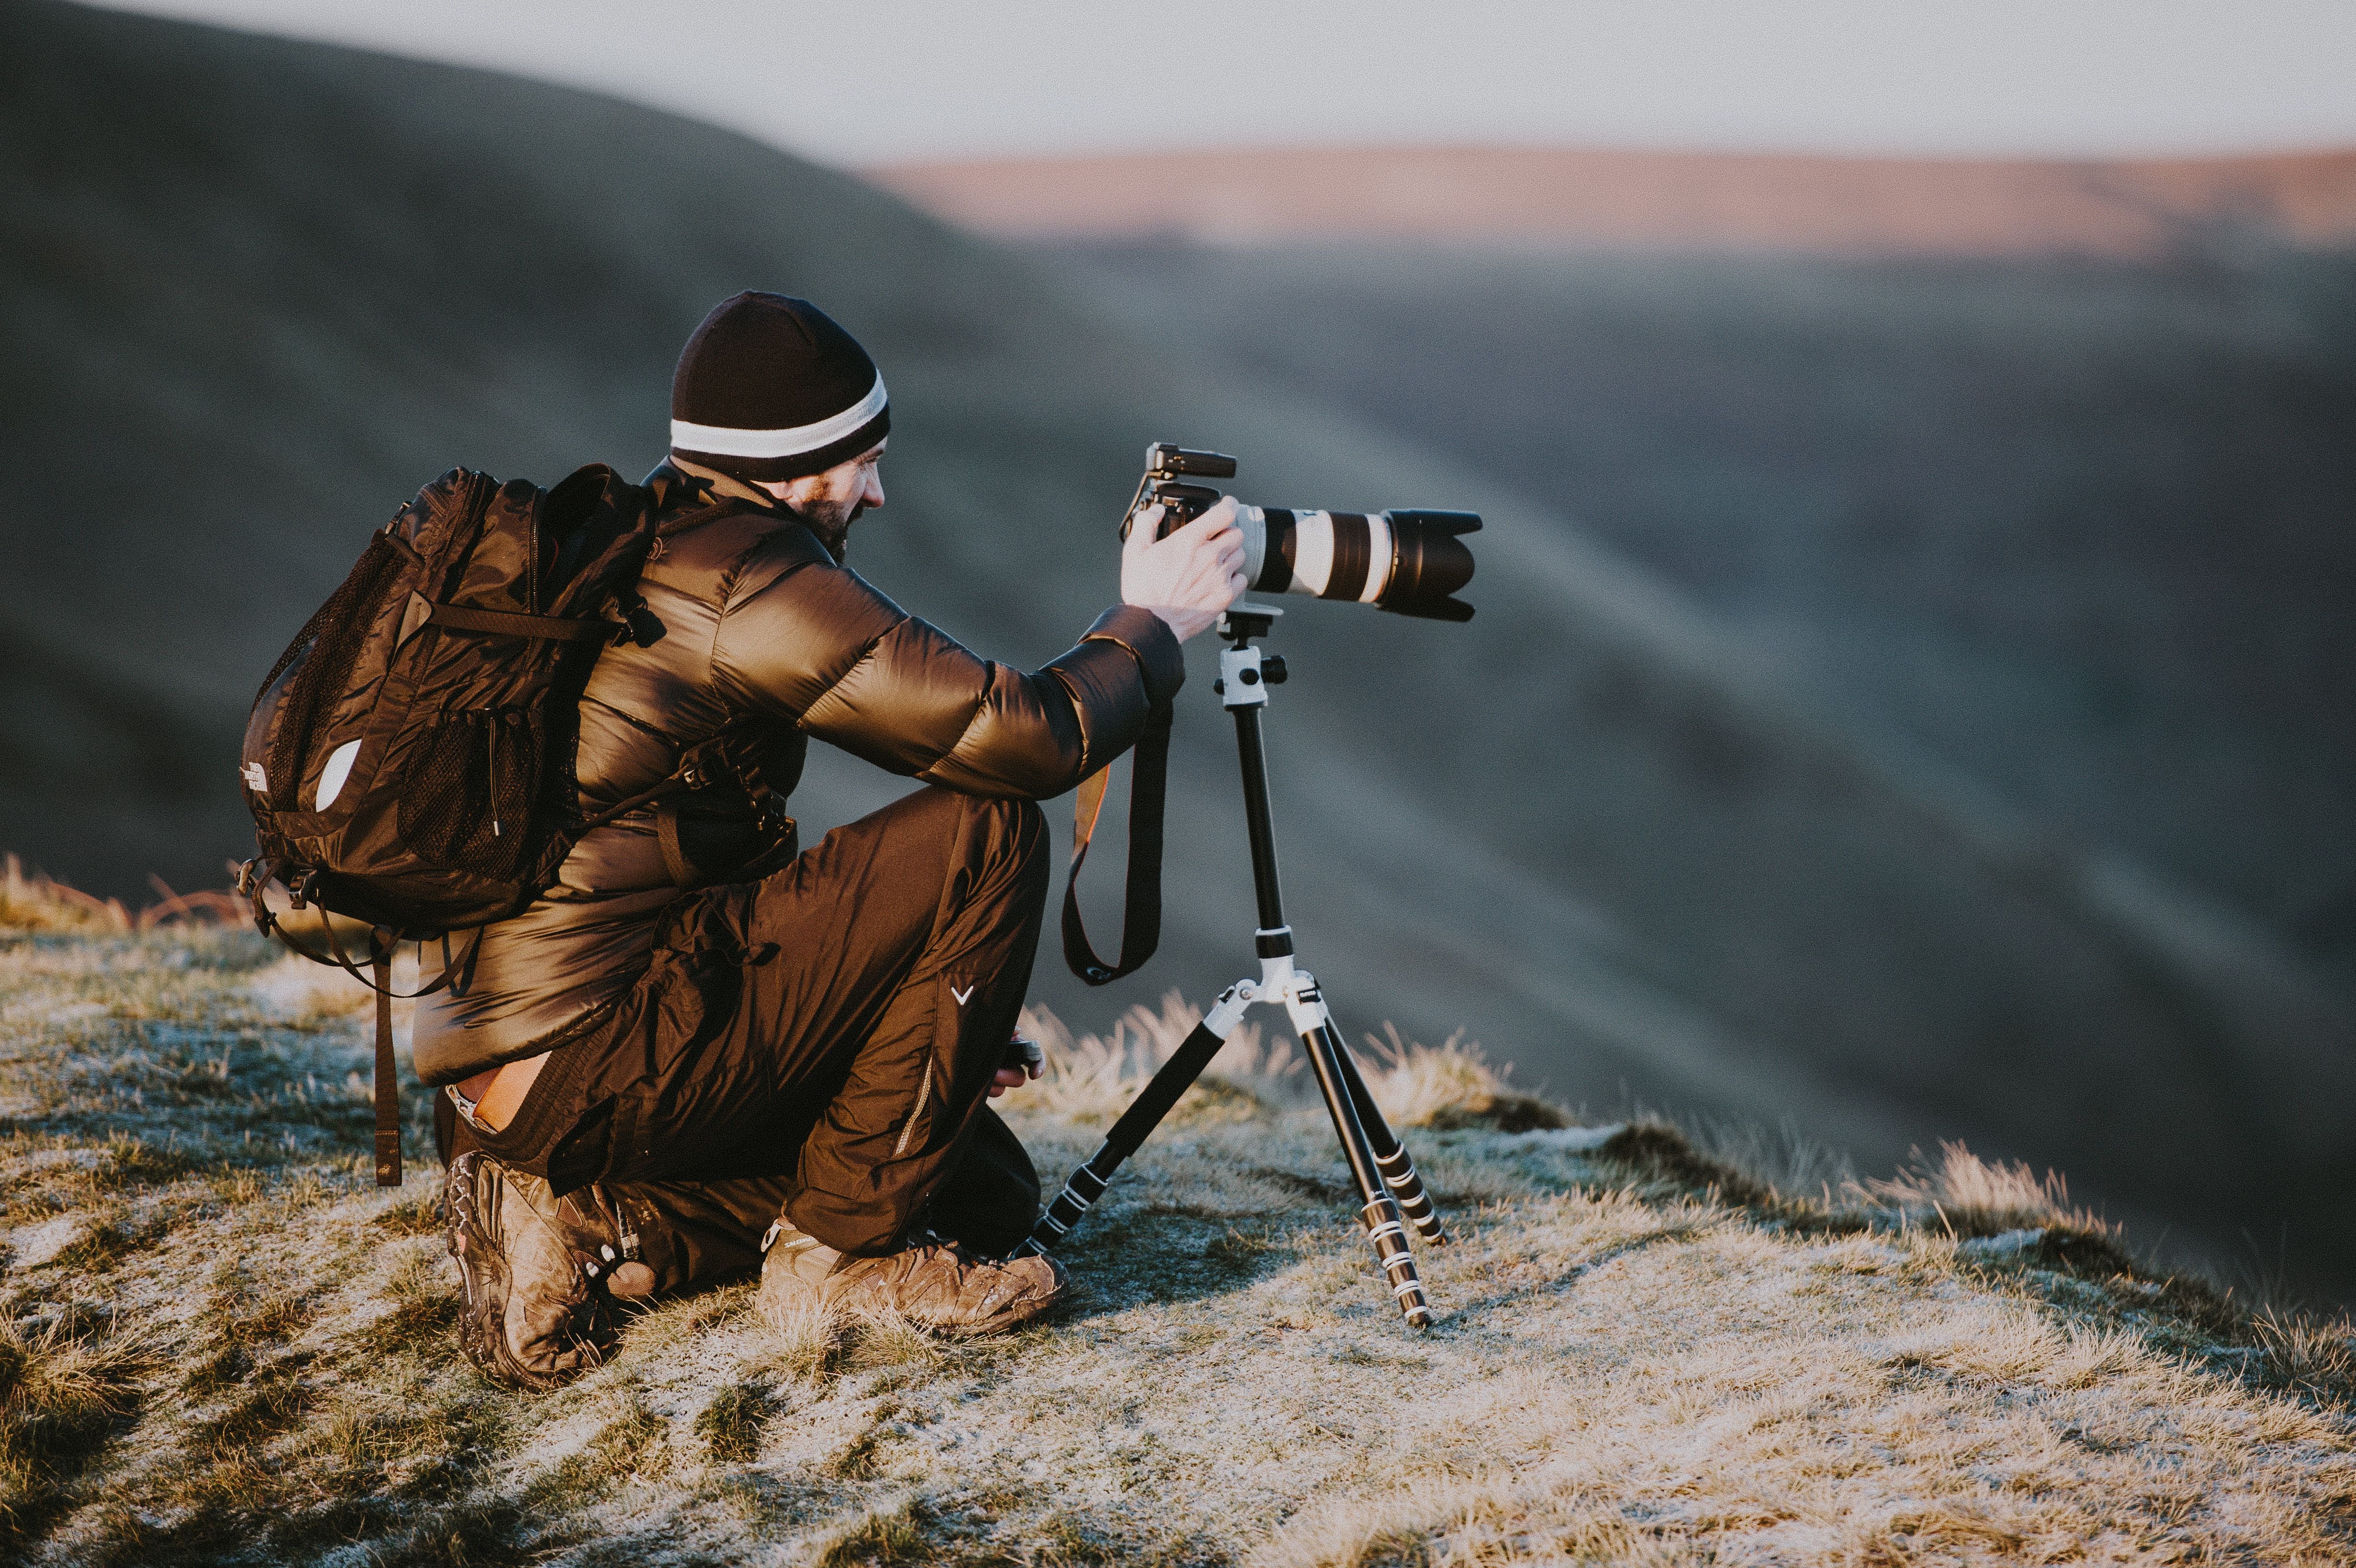
A tripod will provide stabilization for your camera that you can utilize regardless of where you are. They can be a nuisance to carry around, but these days, many are surprisingly portable and will fit in your carry-on baggage without issue.
When you buy a tripod, it's worth saving up for a good one that'll last a long time. The cheaper ones are usually poorly-built, meaning that you'll need to replace them regularly (and spend more in the long run than if you made the upfront investment).
4. Keep Yourself Steady
This one might go without saying, but we're going to remind you anyway...
Even if you shoot handheld, you can still find ways to stop yourself from moving too much. Start by bringing the camera as close to your body as possible; bring your arms in toward your chest and stand up straight.
You can also use external support to lean against, like a wall or tree trunk, to limit your movement.
Say Goodbye to Blur
Blurry images are one of the most annoying yet common problems for new photographers. Fortunately, fixing this issue is simple.
Having read this guide, you should have a good idea of why your photos don't look sharp. And once you've identified the issue, you can try these tips to get rid of the problem.


