Did you know that you can set BitLocker to automatically unlock some of the drives it is used on? This includes removable drives and fixed data drives, just as long as they don't have an OS installed on them.
Here's how you can set up the auto-unlock feature for BitLocker encrypted drives and save yourself some time.
Where Can You Use BitLocker's Auto-Unlock Feature?
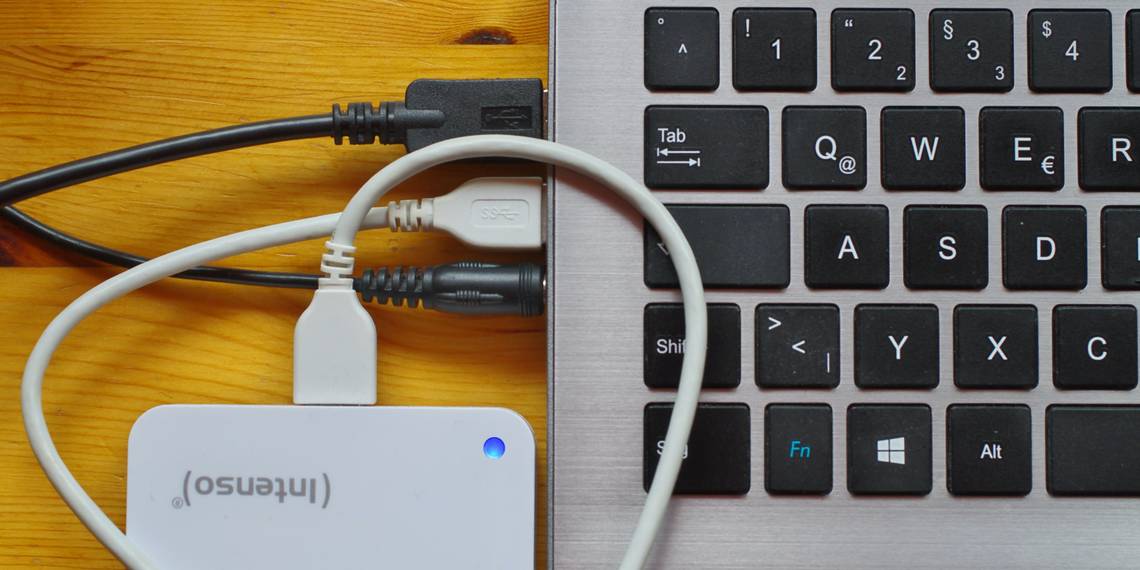
You can tell BitLocker to automatically unlock any drive connected to your PC when you sign in. This handy feature can also unlock a protected flash drive when it is plugged into your personal PC, which strikes a nice balance between security and convenience. Just as long as these drives don't have an operating system installed on them, you should be good to go.
Check out our guide to how BitLocker works to protect your files to learn more about this useful Windows tool.
How to Enable Auto-Unlock in the BitLocker Manager
Usually, when you need to tweak an option within BitLocker, you go through the BitLocker Manager. However, you can only enable BitLocker's auto-unlock via the Control Panel.
- In Windows Search, type control panel and then open the app.
- Click System and Security, and then click BitLocker Drive Encryption.
- Look for the drive you want to set auto-unlock for. If the drive is shown as locked, unlock it using the BitLocker password.
- Several options will be shown. Click Turn on auto-unlock.

The inserted drive will now automatically unlock whenever you are signed in to your Windows PC. To disable auto-unlock for the drive, repeat the process above, and click Turn off auto-unlock.
Using BitLocker isn't the only method you can use to protect your removable drives. Here are a few other ways to protect USB drives with a password.
How to Enable Auto-Unlock While Unlocking a Drive
You can also set auto-unlock for a drive while you are unlocking it. If you're always locking and unlocking your drive, this method should be the most convenient option to take.
- Insert the encrypted drive into your PC and double-click on it in My PC. This will activate the password prompt.
- Enter your BitLocker password for the drive and click More Options.
- Check the box next to Automatically unlock on this PC, and then click the Unlock button.

How to Enable or Disable Auto-Unlock With the Command Prompt
You can also enable or disable BitLocker auto-unlock from the Command Prompt. And while knowing how to do this isn't essential, learning how to input commands in Command Prompt is a useful skill.
- Make sure that the drive is plugged in and unlocked. You can't enable auto-unlock on a locked drive for security reasons.
- Type cmd into Windows Search and run Command Prompt as an administrator. You need to have administrator (elevated) privileges to make changes to BitLocker using this method.
- To enable auto-unlock, type: manage-bde -autounlock -enable H:. Replace H with the letter assigned to your removable or fixed data drive.
- To disable auto-unlock, type: manage-bde -autounlock -disable H:. Again, replace H with your own drive letter.

Both commands will result in a message telling you that auto-unlock is enabled/disabled.
The Command Prompt is a very useful tool. Our guide to some other essential Windows CMD commands will show you just how useful this tool can be.
Unlock BitLocker Encrypted Drives Automatically
Using BitLocker to encrypt your fixed and removable drives is a good security measure. But that doesn't mean it isn't annoying to have to enter your password to access them. With auto-unlock set up, you can maintain security, but with less frustration.