While setting up and running your own cryptocurrency node may sound complicated, the past few years of development have greatly simplified this process! In fact, you can get your own Bitcoin full node running within a matter of hours.
Even if you’ve never tinkered with cryptocurrencies, here’s why and how you can get a full node up and running quickly—with only a Raspberry Pi and a few accessories.
Why You Should Set up Your Own Bitcoin Node
Unlike cryptocurrency mining, running a node does not provide any material benefit to you. Instead, owning a node provides value to everyone else using the Bitcoin network.
Bitcoin is decentralized, which means no single participant is in charge of verifying new transactions and maintaining a log of old ones. By running a full node of your own, you participate in this democratization of the cryptocurrency and make it more robust, secure, and resilient to attacks.
If you hold any amount of Bitcoin, running a full node guarantees the highest degree of security. Since your machine stores a copy of the transaction ledger, you do not have to rely on a third-party entity to verify the ownership of your tokens.
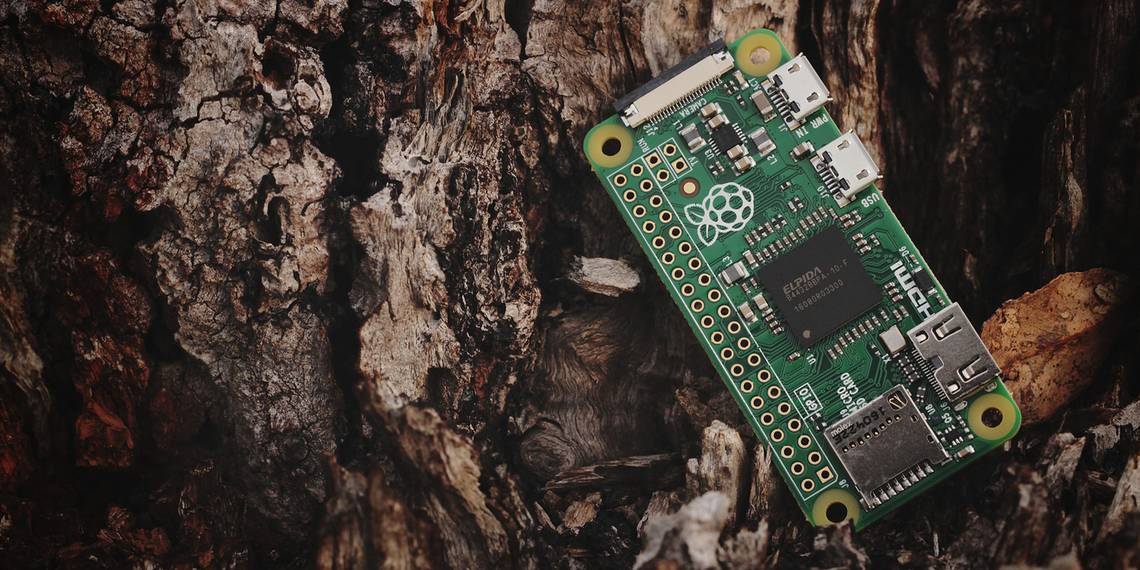
What You Need to Get Started / Gather the Hardware
As you intend to deploy our Bitcoin node within a home environment, the hardware needs to be relatively unobtrusive, inexpensive, and easily available. The Raspberry Pi—a tiny computer—ticks all of these boxes and is more than capable of running our Bitcoin node software.
For this project, you’ll need:
- A Raspberry Pi 4. The models with at least 4GB of RAM are recommended.
- A USB-C power supply, as recommended by the Raspberry Pi Foundation.
- 32GB or larger MicroSD card to boot the Operating System.
- An external USB 3.0 hard drive to store the Bitcoin blockchain. The capacity should equal or exceed 1TB.
- A spare keyboard, mouse, and monitor to initially configure the system.
- Optional: A case and heat sink for the Pi.
You should also download the following software:
Finally, you will need a decent internet connection—preferably with no upload or download limits. Since the Bitcoin network fulfills transactions round the clock, your system will constantly transmit and receive fresh data from other nodes around the world.
Flash and Configure Raspberry Pi OS
Unlike most consumer-facing computers, the Raspberry Pi does not ship with an operating system. In fact, even the storage needs to be installed separately—which is exactly where our microSD card comes in handy.
To install the Raspberry Pi OS, write the downloaded ISO file to your microSD card using balenaEtcher.
A few minutes later, your Pi should be fully booted with the monitor displaying the following "Welcome" message.

The configuration wizard will require some basic information—including your Wi-Fi settings, region, and time zone. The guide will also prompt you to update the pre-installed software. As the Pi is being used for a rather security-critical application, it is highly recommended that you do not skip this step.
And that’s it! You can now use the Pi like you would any other modern computer. To access the list of available applications, click on the raspberry icon to the top left corner of the screen.
Format and Mount the External USB Hard Drive
Before installing anything cryptocurrency-related on the Pi, ensure that the USB hard drive that you’ve connected to the Pi is formatted and mounted correctly. To keep things simple, use the free application GParted to complete both tasks.
Open the Raspberry app menu, then find the item Add / Remove Software.

In the window that opens up, simply search for the term ‘GParted’ and install the ‘GNOME partition editor’ result.

Once installed, open System Tools > GParted.

In GParted expand the drop down-menu in the top right corner of the program. Select your external hard drive here—it can be easily identified by its large capacity compared to the smaller microSD card.

Depending on the model of your hard drive, it will likely be pre-formatted. Simply right-click on this partition entry and click Delete to discard it.
Then, right-click again and create a new partition. In the options window, leave the settings unchanged. Ensure the File system is set to ext4 and click Add.

GParted now requires you to confirm the changes to the partition table. Click on the green tick and accept the warning to complete the formatting process.

Finally, ensure this drive is always mounted when your Pi boots up. Open a Terminal window—it’s the fourth icon in the top right corner of your screen.
Copy and paste the following command:
sudo lsblk -o UUID,NAME,FSTYPE,SIZE,MOUNTPOINT,LABEL

Find the newly created partition and make a note of its UUID.
Next, create a mount point for this drive:
sudo mkdir /mnt/bitcore
Finally, add a line to our fstab (filesystem table) file. This will automatically mount our partition on boot.
sudo nano /etc/fstab
At the end of the file, add the following text. Replace INSERT_UUID_HERE with the value you obtained a few commands earlier.
UUID=<strong>INSERT_UUID_HERE</strong> /mnt/bitcore ext4 defaults 1 1

Save the file and exit.
Install the Bitcoin Node Software
It’s finally time to install Bitcoin Core—the full node software that will connect you to the cryptocurrency’s network.
To download the program, enter the following command in a Terminal window:
wget https://bitcoin.org/bin/bitcoin-core-0.20.1/bitcoin-0.20.1-arm-linux-gnueabihf.tar.gz
Note: Before entering this command, visit the bitcoin.org website and check if a newer version of Bitcoin Core is available for download. If so, replace the link in the command with that of the latest version.
Next, extract and install Bitcoin Core:
tar xzf bitcoin-0.20.1-arm-linux-gnueabihf.tar.gz
sudo install -m 0755 -o root -g root -t /usr/local/bin bitcoin-0.20.1/bin/*
Finally, install any missing dependencies that weren’t included with the Raspberry Pi OS install with the following command:
sudo apt-get install qt4-dev-tools libprotobuf-dev protobuf-compiler libqrencode-dev -y
Before continuing, verify you have the correct version of Bitcoin Core installed on your machine.
bitcoind --version
If everything looks good, you’re ready to download the Bitcoin blockchain onto your Raspberry Pi!
Start the Bitcoin Core GUI from the terminal by entering:
/usr/local/bin/bitcoin-qt
You will now be prompted to select a custom data directory. Since the microSD card in your Pi is too small, enter the mount point of the external HDD. Enter /mnt/bitcore and click OK.
Bitcoin Core will now proceed to download the entire Bitcoin blockchain onto your local storage device. For convenience, you can disconnect all peripherals from the Raspberry Pi, except for the hard drive.

Depending on your internet speed, this may take several days or even a couple of weeks to complete. This synchronization step involves downloading all Bitcoin transactions since 2009. Once downloaded though, your node will be up to date and ready to contribute to the security and integrity of the global Bitcoin network.
Running a Bitcoin Node on Raspberry Pi
As mentioned previously, running a full node is among the safest ways to hold cryptocurrency. Once you’ve fully synchronized the blockchain, you can send and receive Bitcoin all by yourself—no third parties or intermediaries!
For those of you that would like to delve deeper into configuring Bitcoin Core, check out the official guide on Configuration Tuning here. Additionally, you may want to optimize your installation for speed, storage, or network efficiency.
Image Credit: Benjamin Nelan/Pixabay