Birds are popular subjects to photograph, next only to flowers. Are you bitten by the bird photography bug? Colorful and attractive, they are the epitome of beauty and grace. So it's no wonder you want to capture them with your camera.
Birds are beautiful subjects, but as you may be aware, they are not easy to photograph. Lucky for you, we have all the necessary information to get you started with this rewarding hobby.
1. Do Your Homework
The first requirement to become a successful bird photographer is patience. Some curiosity and willingness to learn are the next requirements.
Start learning about the birds near you. If you frequently spot a bird, try to find its name. You can search on Google with descriptive words and location. For example, you can use something like "small yellow bird with black feathers Toronto".
If you happen to take a picture of the bird on your phone, use the iNaturalist app to identify the bird. Once you learn its name, find out more about its habits. Again, Google is your best friend for this.
Also, note the type of birds you commonly see in different areas and seasons when you're out on a walk or hike. This way, you don't have to hunt for the birds—you will know precisely when and where you can spot them.
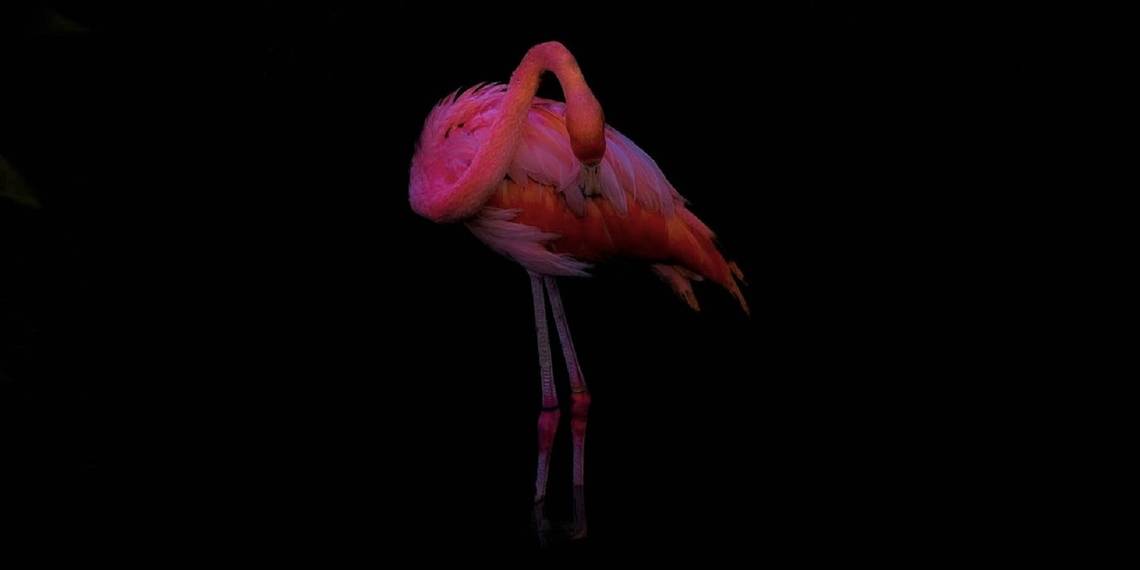
2. Shoot in Dawn and Dusk

Golden and blue hour are not only for landscape photography. Birds seem to prefer these times, so you have a greater chance of finding them during these hours. Also, the light is mellow during golden and blue hours—perfect for capturing these beauties.
Moreover, not many people are out early in the morning or late in the evening, so there is less chance that your subjects get spooked and take off.
3. Use the Gear You Have
It may be tempting to start with thousands of dollars worth of super-zoom lenses, but you don't need them to get started. Just use whatever you have. A used DSLR with a basic kit lens is an excellent setup, to begin with.
If you want more reach, try adding a teleconverter. It is an inexpensive accessory that goes between your camera and lens to magnify the scene. It essentially works like a magnifying glass. There is a downside to it, though. Your lens may not autofocus properly, and the image quality may not be the same. But, it is a great tool to practice without breaking the bank.
4. Start With Friendly Birds

If you're aiming to capture a critically endangered bird, you will be disappointed. You can certainly find such birds after you master your craft, but stick with the easy birds as a beginner.
Some good starter birds include ducks, swans, chickens, magpies, crows, and robins. They are relatively easy to find and are friendly to humans. Bird feeders and aviaries are also great for finding cooperative subjects.
Although you can spot these birds easily, don't take them for granted. Instead, try to spend some time observing them and capture their profiles from different angles and perspectives.
5. Practice Mindfulness
Mindfulness seems to be the solution for every problem on Earth, and it is true for bird photography too. You should learn to stay still if you don't want to scare your birds away. Not only that, you should shun outside distractions and remain focused while shooting birds. They are swift, and it only takes a fraction of a moment to lose the shot.
In short, you should still your mind and be present when you put your eyes on the viewfinder to capture a bird. What better way to learn this than with mindfulness meditation?
6. Utilize the Priority Modes

You may be a pro at shooting in manual mode, but trust our words: don't use it for bird photography. It is not the time to showcase your camera skills. You are working with a quick subject that is often unwilling to cooperate. Plus, the light changes rapidly during dawn and dusk. You don't want to miss the shots by fiddling with your camera.
Turn to shutter priority or aperture priority mode, and let the camera assist you. If you're trying to capture a flying bird, use shutter priority so that you can catch the movement. With stationary birds perched on a tree, try the aperture priority mode.
7. Turn On Burst Mode
Burst mode is the way to go when you have a fast-moving subject. Your camera will take pictures in succession when you press the shutter button. This way, you can capture the bird's movements quickly, and there is a good chance for you to get a couple of usable shots.
If you're unsure how to do it, you can turn your camera dial to sports mode (man running symbol) and take pictures. See our guide to all the modes on your camera.
8. Bump Up the ISO

With bird photography, you're working with lesser light than usual, and you likely need a high shutter speed. Plus, your subject is not interested in posing under an evenly lit softbox. So, your only option to get proper exposure is by using a high ISO.
Go ahead and increase your ISO. Your aim is to capture the beauty of the bird, not perfect the camera settings. You can edit the noise in post-production. See a brief history of ISO and how to pronounce it.
9. Shoot in RAW
Again, you're working with a fussy subject under inconsistent lighting. You will need all the flexibility to tinker with the photos later. So, shoot in RAW. Your camera will capture all the information.
Chose the wrong white balance? No problem, you can change it in your software without losing the details.
10. Edit Your Photos

A photo is not complete until you add some magic to it in post-production. You don't need paid ones—you can use any free photo editing software to bring your subject alive.
It is often challenging to capture birds perfectly on camera. You may have to crop the picture, adjust shadows and highlights, and enrich the colors to bring out their beauty.
11. Include the Narrative

If you're used to taking centered profile pictures of birds, it's time to change that. Try to tell the story behind the photo. A bird catching its prey or interacting with its chicks is much more powerful than a bird sitting on a tree.
Also, remember to step back and include some beautiful scenery around the bird. That tells a different story, and there will be additional visual elements to guide your viewer's eyes.
12. Don't Be Intimidated by Failure
Missed shots, out-of-focus photos, blurry images, and wrongly exposed pictures are all a part of a bird photographer's life. If failure scares you, you can't up your game much.
After a bad day in the field, just brush up, get up, and try next time. That is the only way you can advance in your skills. Of course, there will be many failures, but with practice, you can take fantastic bird photos one day.
Patience Is Key for Bird Photography
Bird photography is not only fun but also very rewarding. Spending time outdoors benefits your mind and body. Bird photography also helps you develop patience and help you learn more about nature and your camera.
Should we say more? Get started with bird photography today, and start enjoying all the benefits.