
Google Sheets is an ideal spreadsheet program if you want simplicity and quick results. Creating high-quality and accurate charts, graphs, or tables is quite easy in this productivity app from Google.
You can grow your Google Sheets user-level to pro by learning a few easy steps. These will also drive task delivery at a rapid and consistent pace. This article brings you the secret recipe that Google Sheets expert users implement to get things done!
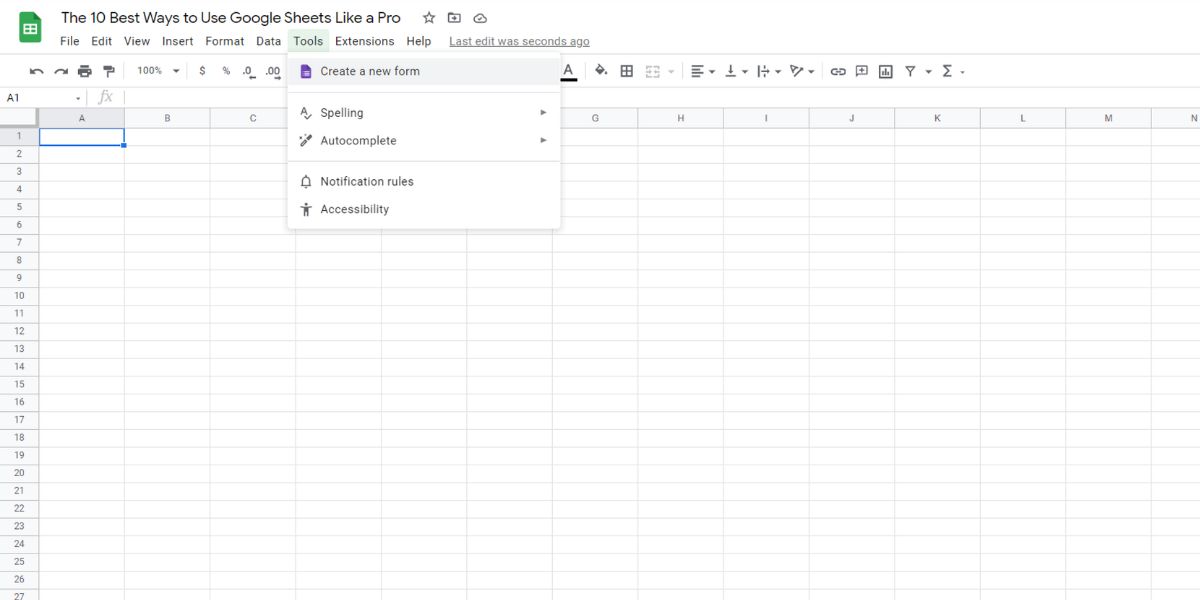
1. Gather Automatic Data Using Google Forms
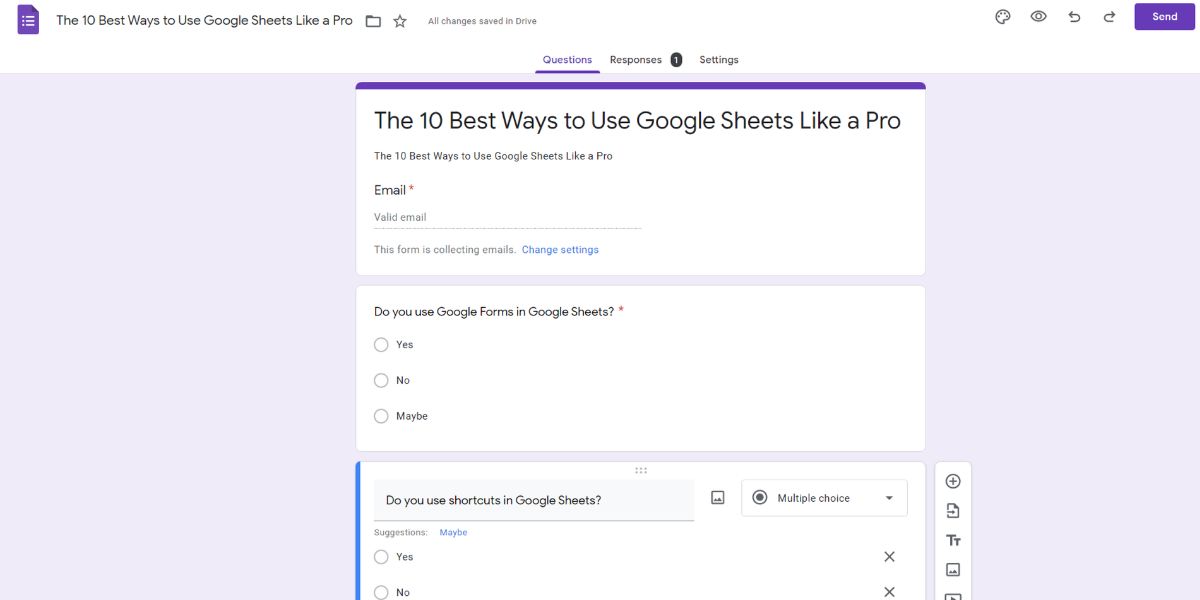
Google Forms is a powerful data-collection tool of Google Sheets. You may create a questionnaire or market survey with intuitive actions. You can always modify the number of questions, the answering format, and even who can interact with the form.
You can add a form to your worksheet by following these steps:
-
On the toolbar, click on Tools and then select Create a new form.
-
Click on the Add questions here banner to build the form.
-
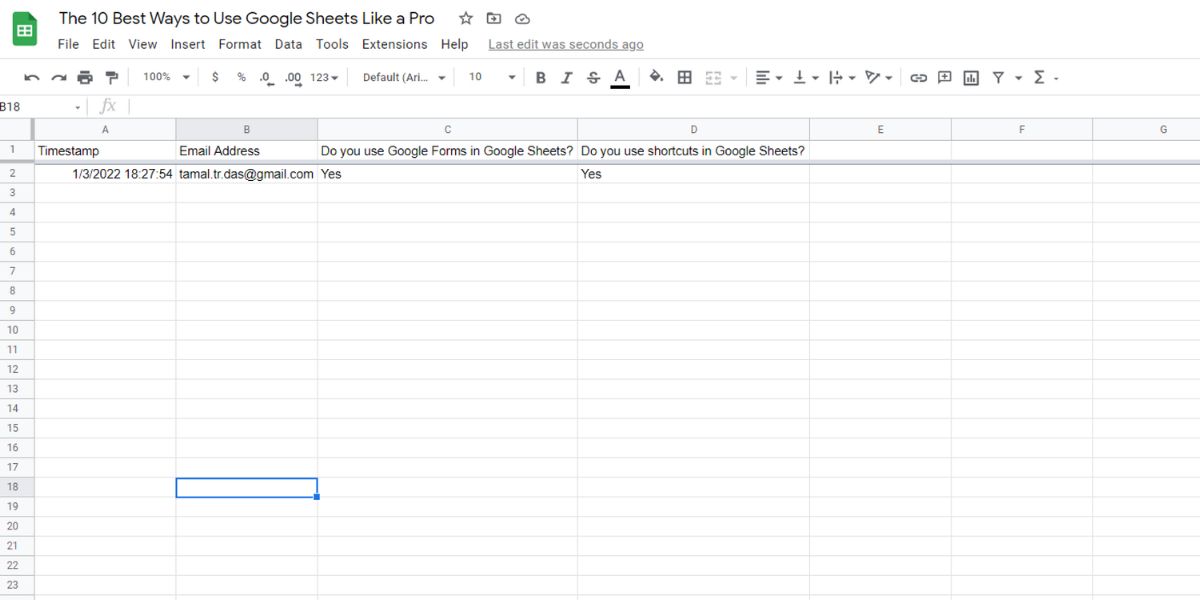
Form data will appear on the Form Responses 1 sheet. You can customize this name.
- From the Tools menu, click on the Manage form to access vital Google Forms actions on Google Sheets like Send form, Unlink form, and so on.


You can now create amazing Google Forms quickly on Google Sheets and collect vital data for your work without relying on someone else.
2. Minimize UI Interactions With Shortcuts

You can navigate faster on Google Sheets using shortcuts. Google pro users memorize many shortcuts to avoid the mouse. Press Ctrl + / to view a list of handy Google Sheets shortcuts on your screen.
You can create manual content tables, content links, website links, and redirect to another sheet using hyperlinks on Google Sheets. Try the following steps to create hyperlinks:
- Right-click on a cell and then select Insert link.
- You can paste a URL from a website into the search box.
- You may choose the automatic suggestions below the search box.
-
You can also click on Sheets and named ranges to link to any element of the existing worksheet.

3. Embed Sheets Data Into Docs or Slides
Import data to Docs or Slides quickly from Sheets. The hack saves time and presents you like a pro to the audience. Try out these steps to import/export data to Docs or Slides from Sheets:
- In the target Docs file, click on Insert and then select Chart.
- You’ll see an option From Sheets. Click on that.
- Select any sheets that have charts to see a preview.
-
Pick one and click on Import.
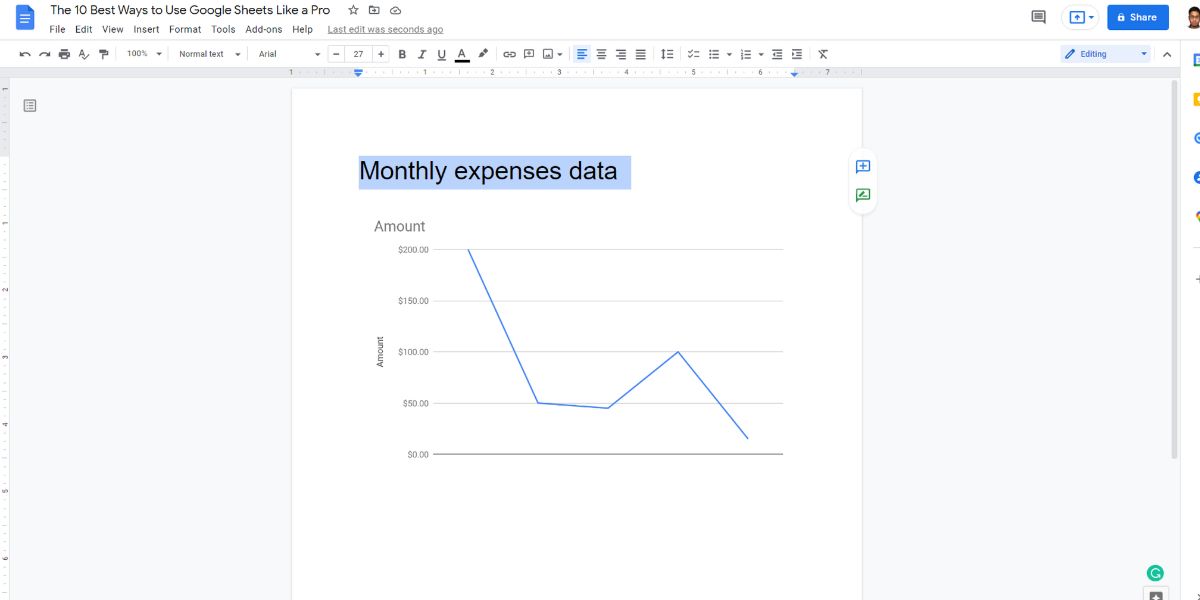
- Alternatively, copy the chart from Sheets and paste it onto the Docs file. This method works for tabular data as well.
- Select Link to spreadsheet for a live chart, or Paste unlinked for an offline chart.


On Google Slides, you can follow the same steps mentioned above to import data from Sheets.
4. Lock Cells for Collaborative Worksheets
If you waste time checking the integrity of the formulas, it’s time that you use the lock cells feature. It’s handy for collaborative sheets where specific cell ranges must stay unaltered.
To lock a cell range or sheets, follow these quick steps:
- Highlight a range of cells or a single cell.
- Click on Data in the toolbar and then select Protect sheets and ranges.
-
On the right-side panel, switch between Range or Sheet.
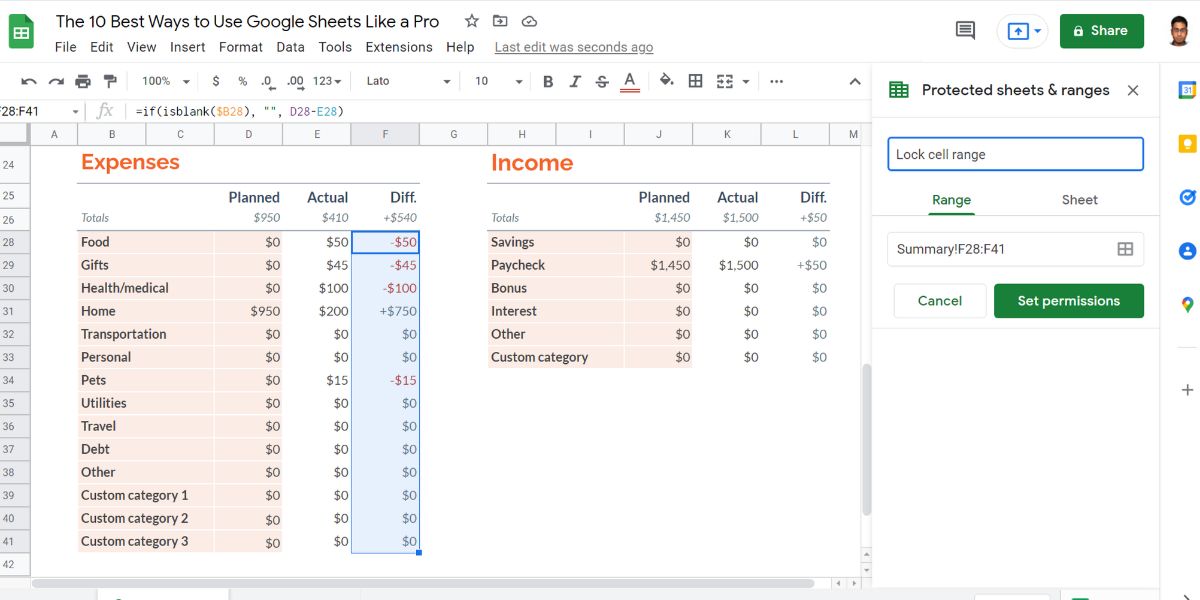
- Make your selection, and then click on Set permissions.
-
Modify the permission settings and click on Done.


Lock cells help you protect worksheet style guides, formulas, and data-entry rules.
5. Add Value to Your Data Through Images
Images are great elements that transform boring tabular data into lively reports. There are many ways to insert images into your worksheet.
There are also many reasons, like creating an IT devices inventory, referring to website content, or creating meaningful flowcharts. You can begin by following these instructions:
- From the toolbar, click on Insert and then select Image. You can choose between Insert image in cell or Insert image over cells. From the six sources that you see select any like URL, Photos, Google Drive, and so on.
- Use the image(“URL”) formula into import images to cells directly from websites.
- From the Insert toolbar, you can also select Drawing to create manual flowcharts and workflows. The drawing board has elements like lines, shapes, images, and text boxes.
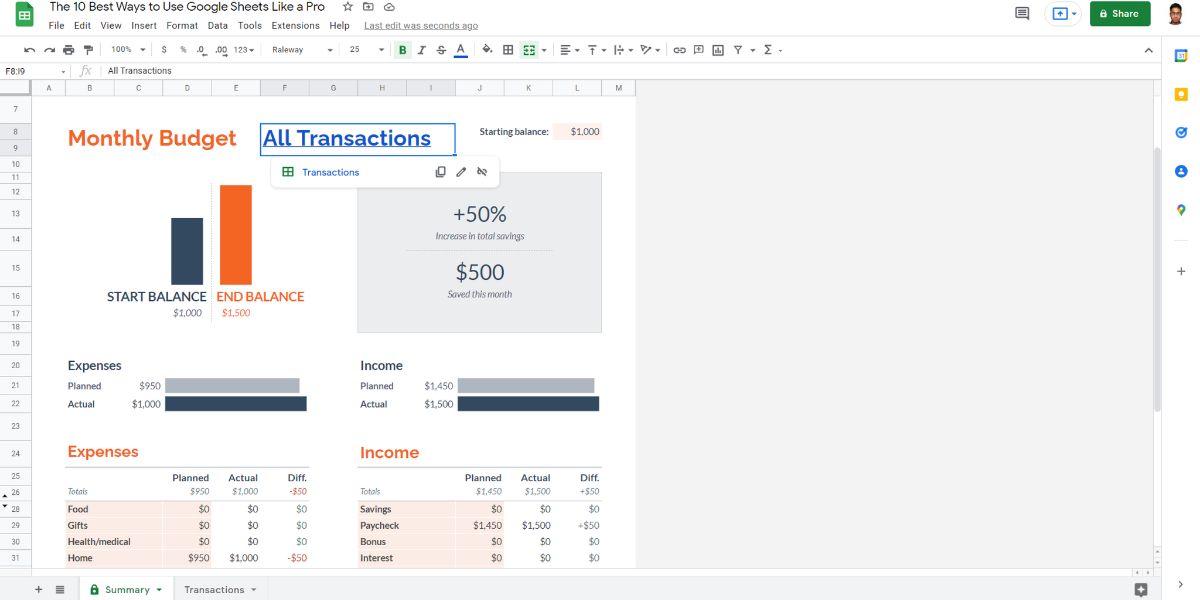
6. Templates for Data Management
Templates enable you to complete your tasks even faster. Google Sheets offer you handy templates that perfectly fit various real-life work scenarios. Also, these templates are free, unlike other spreadsheet apps that charge for templates.
You’ll find organized templates according to their functionalities like Personal, Work, and Project Management. If you need help with data handling, you can try templates such as To-do list, Google Finance Investment Tracker, Team roster, Weekly time sheet, expense report, etc.
You may easily access the above templates by following these steps:
-
From an open worksheet, click on File and hover the cursor over New.
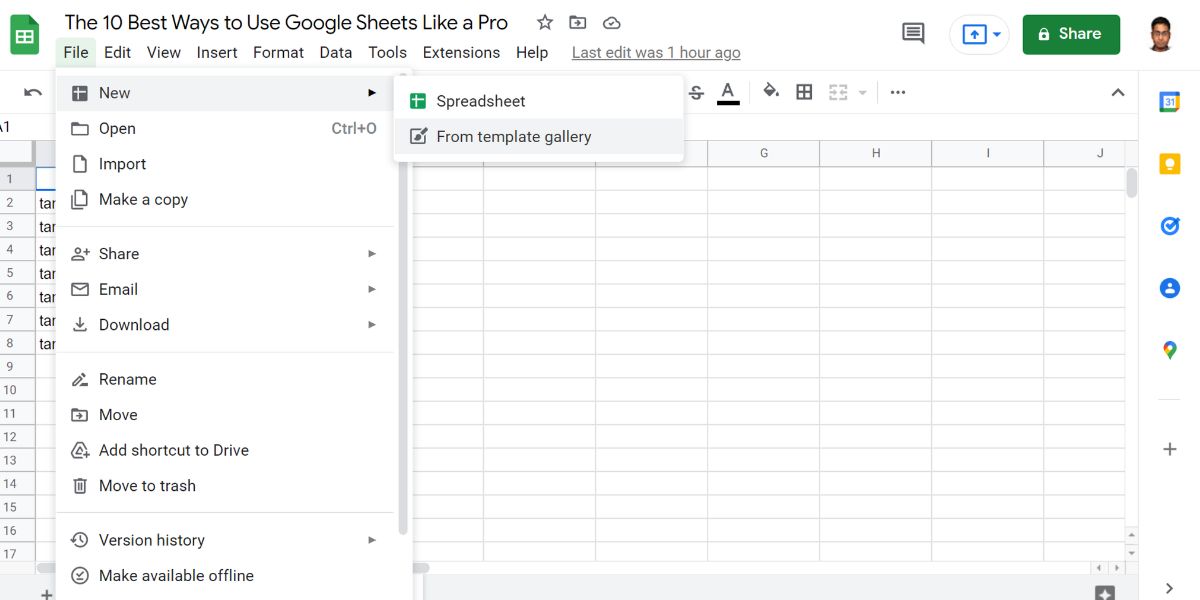
- You’ll see From template gallery. Click on that to access the template library.

7. Validate Data in Your Worksheet

Do you frequently pull incorrect email formats or URLs from your worksheet database of customers, clients, or newsletter subscribers? You can stop this by validating existing Sheets data using various formulas like ARRAYFORMULA(ISEMAIL(cell range)).
For example, the above formula validates a bunch of email addresses or URLs for the correct format. The formula can’t tell you if the email is active or not. But, you can avoid simple mistakes like missing the @ sign or domain names.
8. Automate Google Sheets Using Macros
You can use Macros to automate repeated steps on Sheets. These could be customizing cell color, filtering, sorting, creating a formula, adjusting font size, and so on. You’ll experience faster task completion with the tap of a few keyboard buttons.
Let’s consider that you need to source product details like rating, review volumes, price, etc., from online shopping sites. Then you filter them according to price or rating and forward the data to another team member for further work.
Source your product research data from shopping sites. Then, start recording a Macro by selecting the Record macro in Macros within the Extensions toolbar. Proceed with Relative references and perform the steps you usually do. Now, save the Macro and assign a shortcut to it.
For the next product, simply press the keyboard shortcut for this Macro to automatically analyze data after the data-entry step.
Become a Pro Google Sheets User Effortlessly
You can give the above steps a try the next time you need to create a monthly personal expense budget, an invoice, or a few graphs for your work. You’ll experience professional-level work with minimal effort.
There are more tricks that you can learn and implement in Google Sheets, like crazy formulas and data visualization.