If you’re familiar with TikTok, whether as a regular user or as a creator, you know that this app is bursting with creativity. Each video is funnier, more interesting, and more surprising than the other. This is thanks to the app’s imaginative users, who always come up with new ways to impress.
However, TikTok itself also plays a role with its endless features that can elevate any creation. It lets you create sleek videos, with no need for prior editing knowledge. In this article, we’ll help you learn all about the best TikTok filters and how to use them.
What Are TikTok Filters?
The filters on TikTok are similar to the ones you can find on Instagram. They change the color balance, lighting, contrast, and exposure of your video with a single click. They can help your video look more cinematic like it was shot a long time ago, or like it takes place in a dream—all depending on which one you choose.
Often, people confuse Filters with Effects on TikTok, so it’s important to note the difference. Filters only change the look and feel of a video, and are divided into four categories: Portrait, Landscape, Food, and Vibe. Under each category, there are multiple presets to choose from.
The effects are much more versatile, and can actually add things on top of your video (or behind it), alter the appearance of your face, make things run in slow motion, reverse your video, and more. Some of the most popular effects are Green Screen and various Beauty Effects.
In this article, we’ll focus solely on filters. But after you’re done, you may want to learn about the best TikTok effects to add to your videos as well.
How to Use TikTok Filters
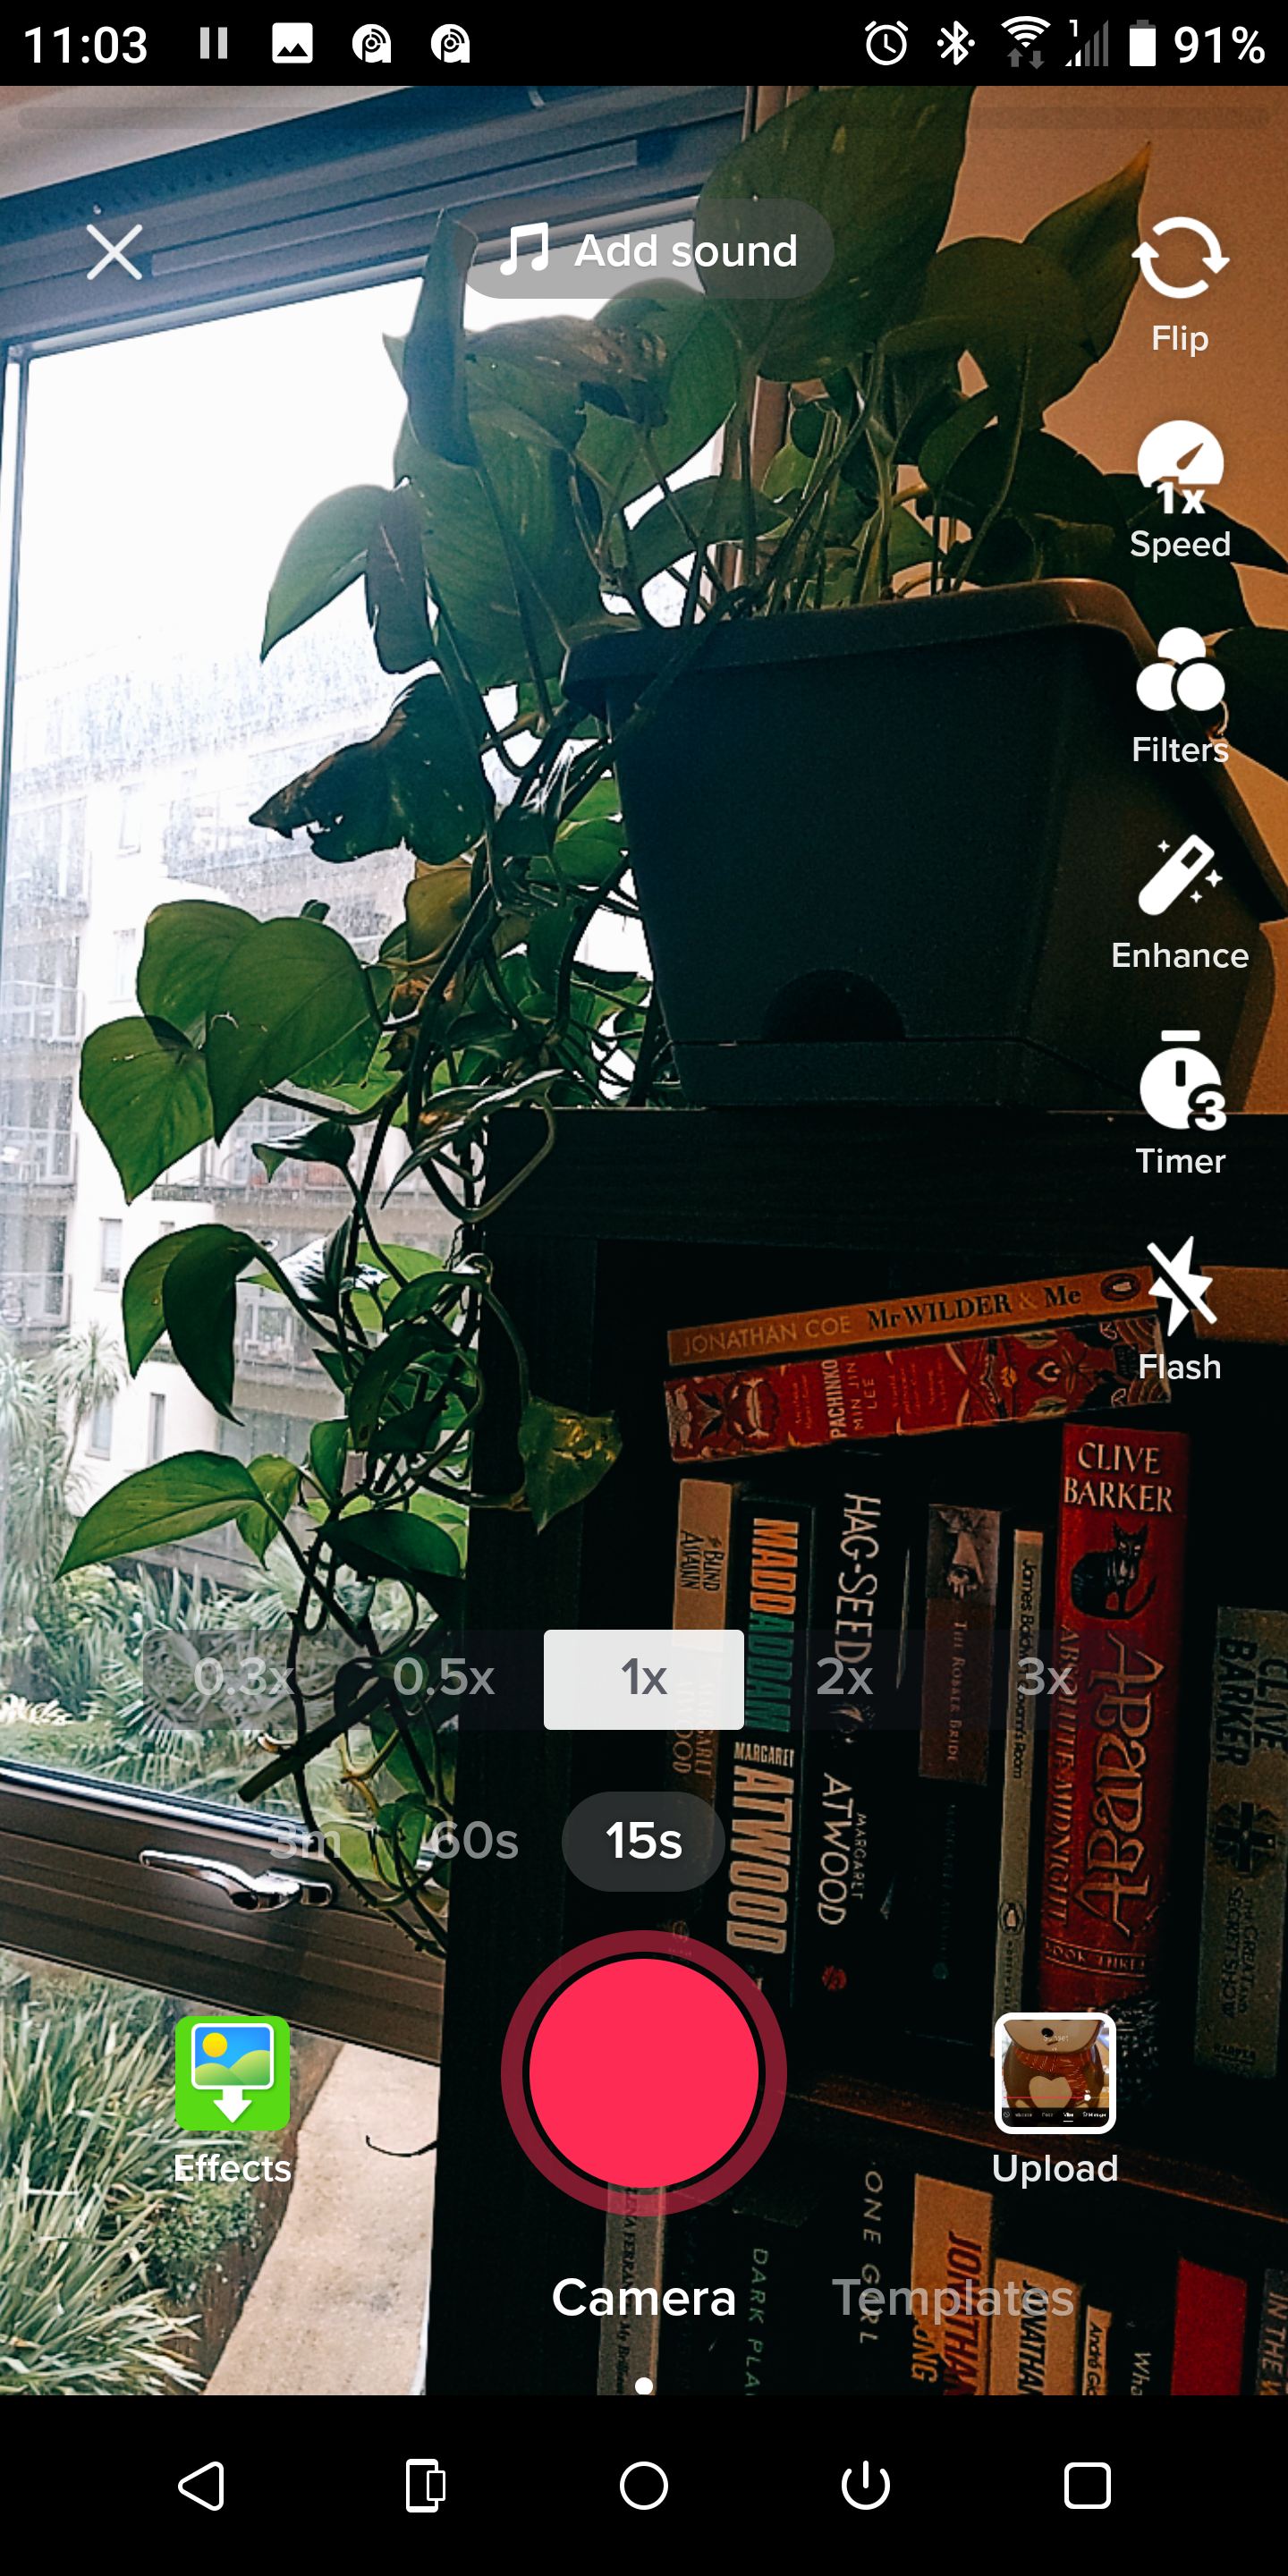
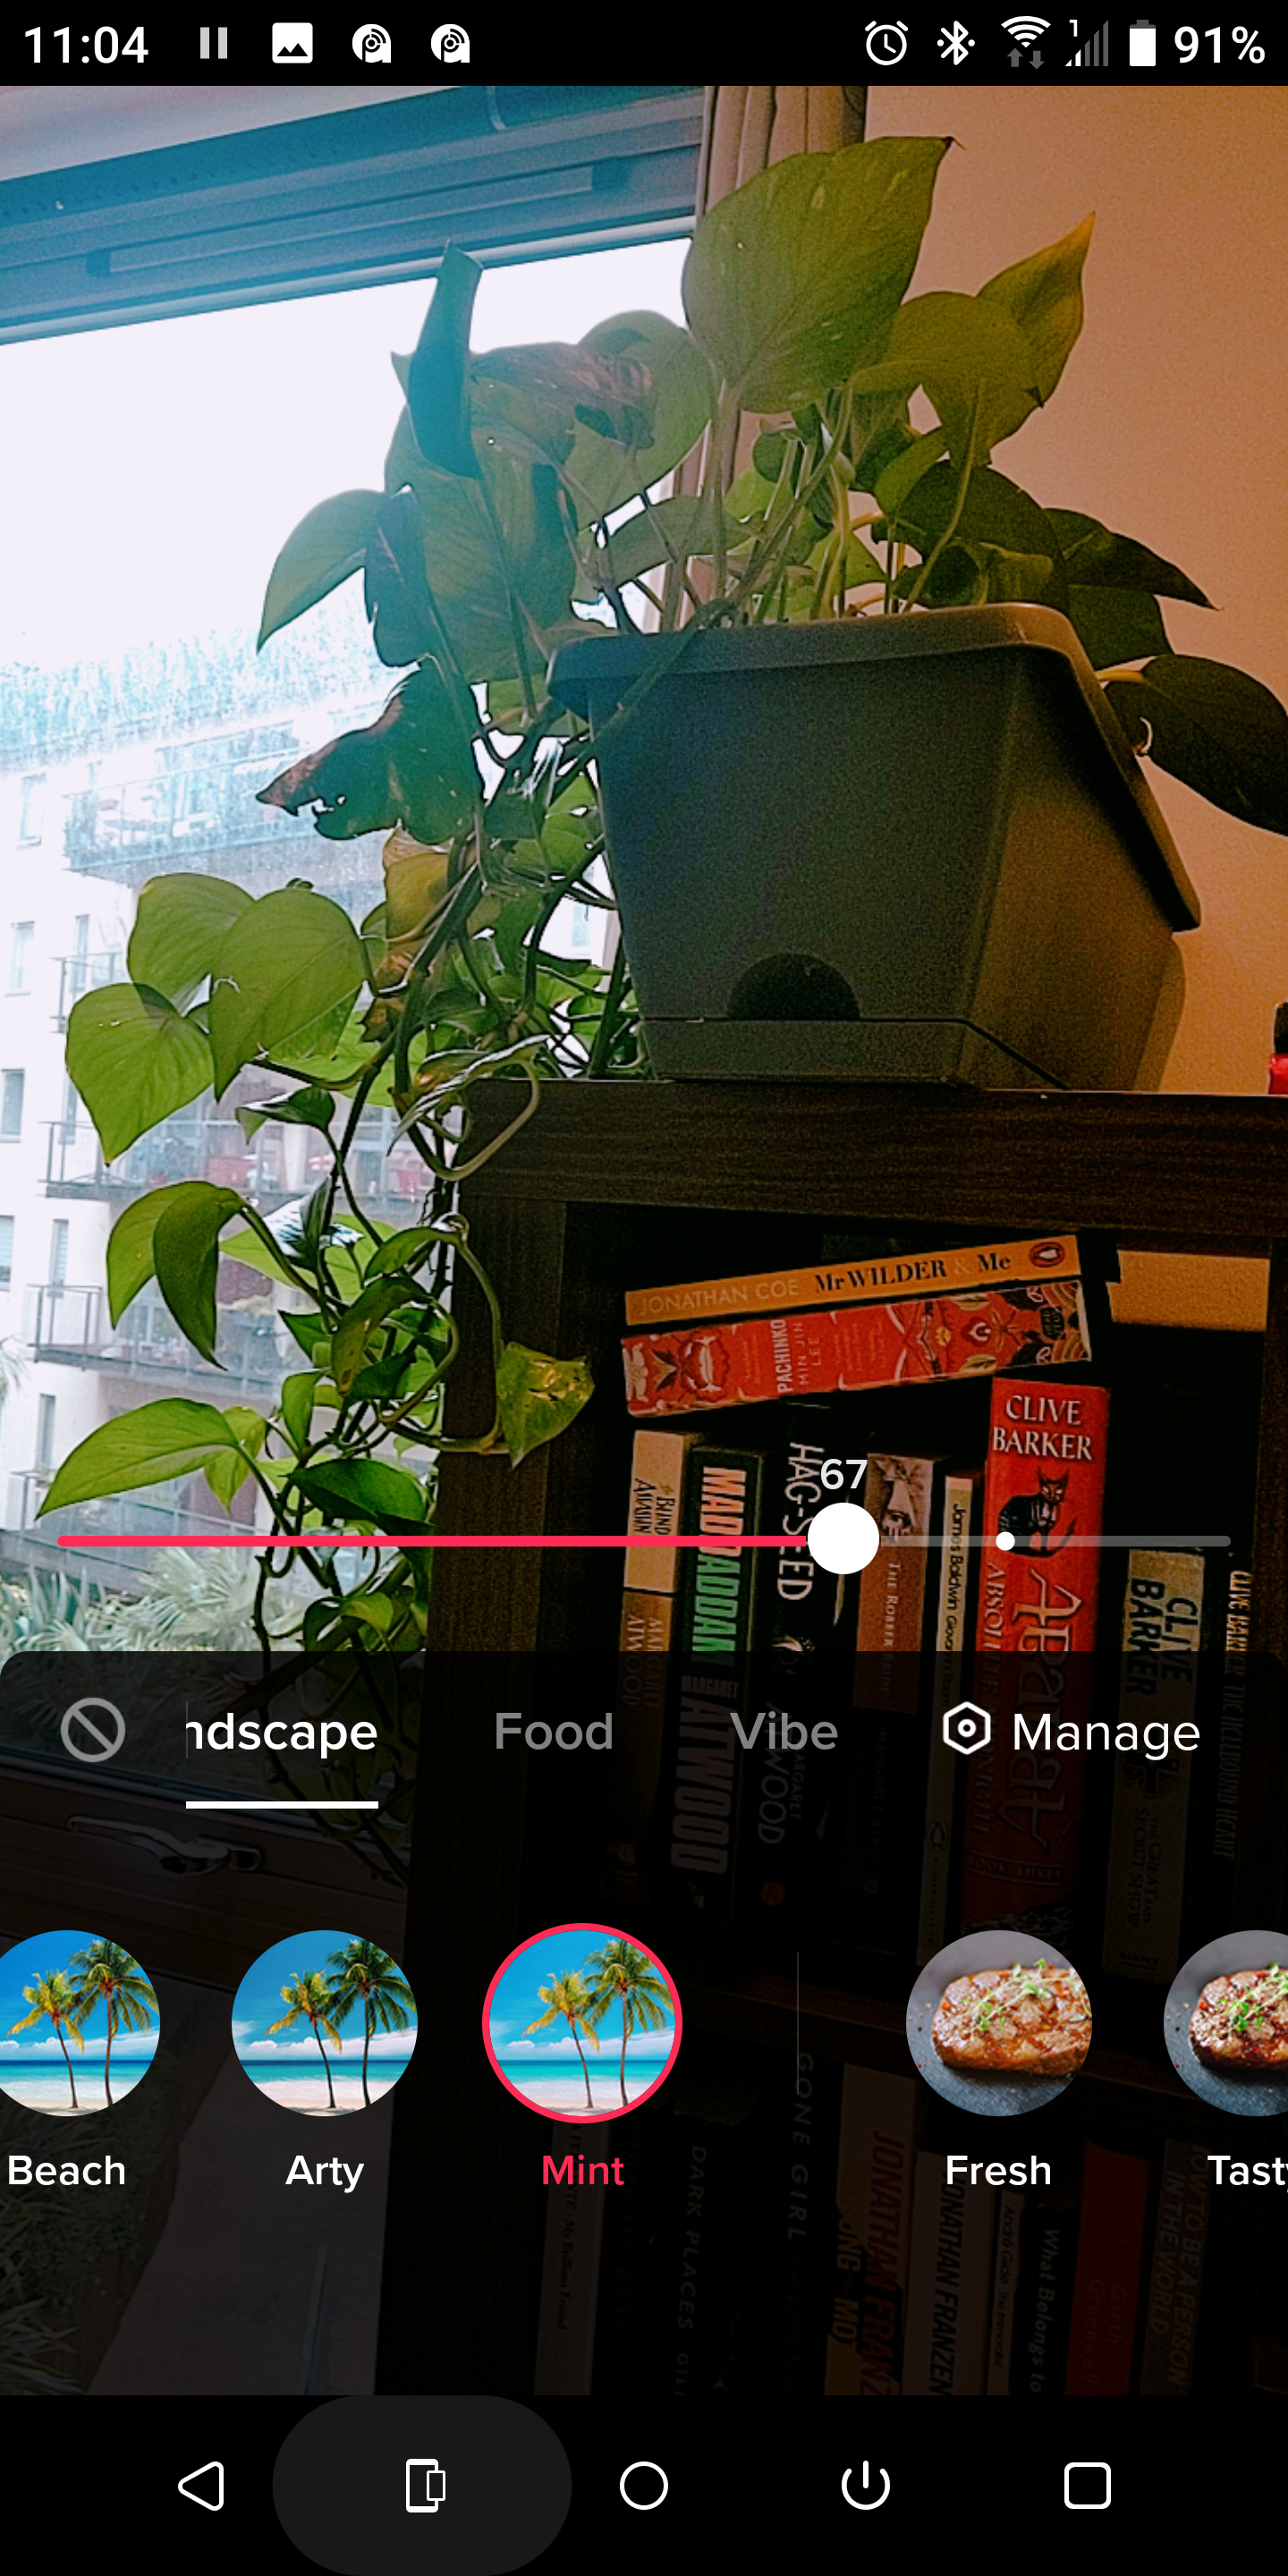
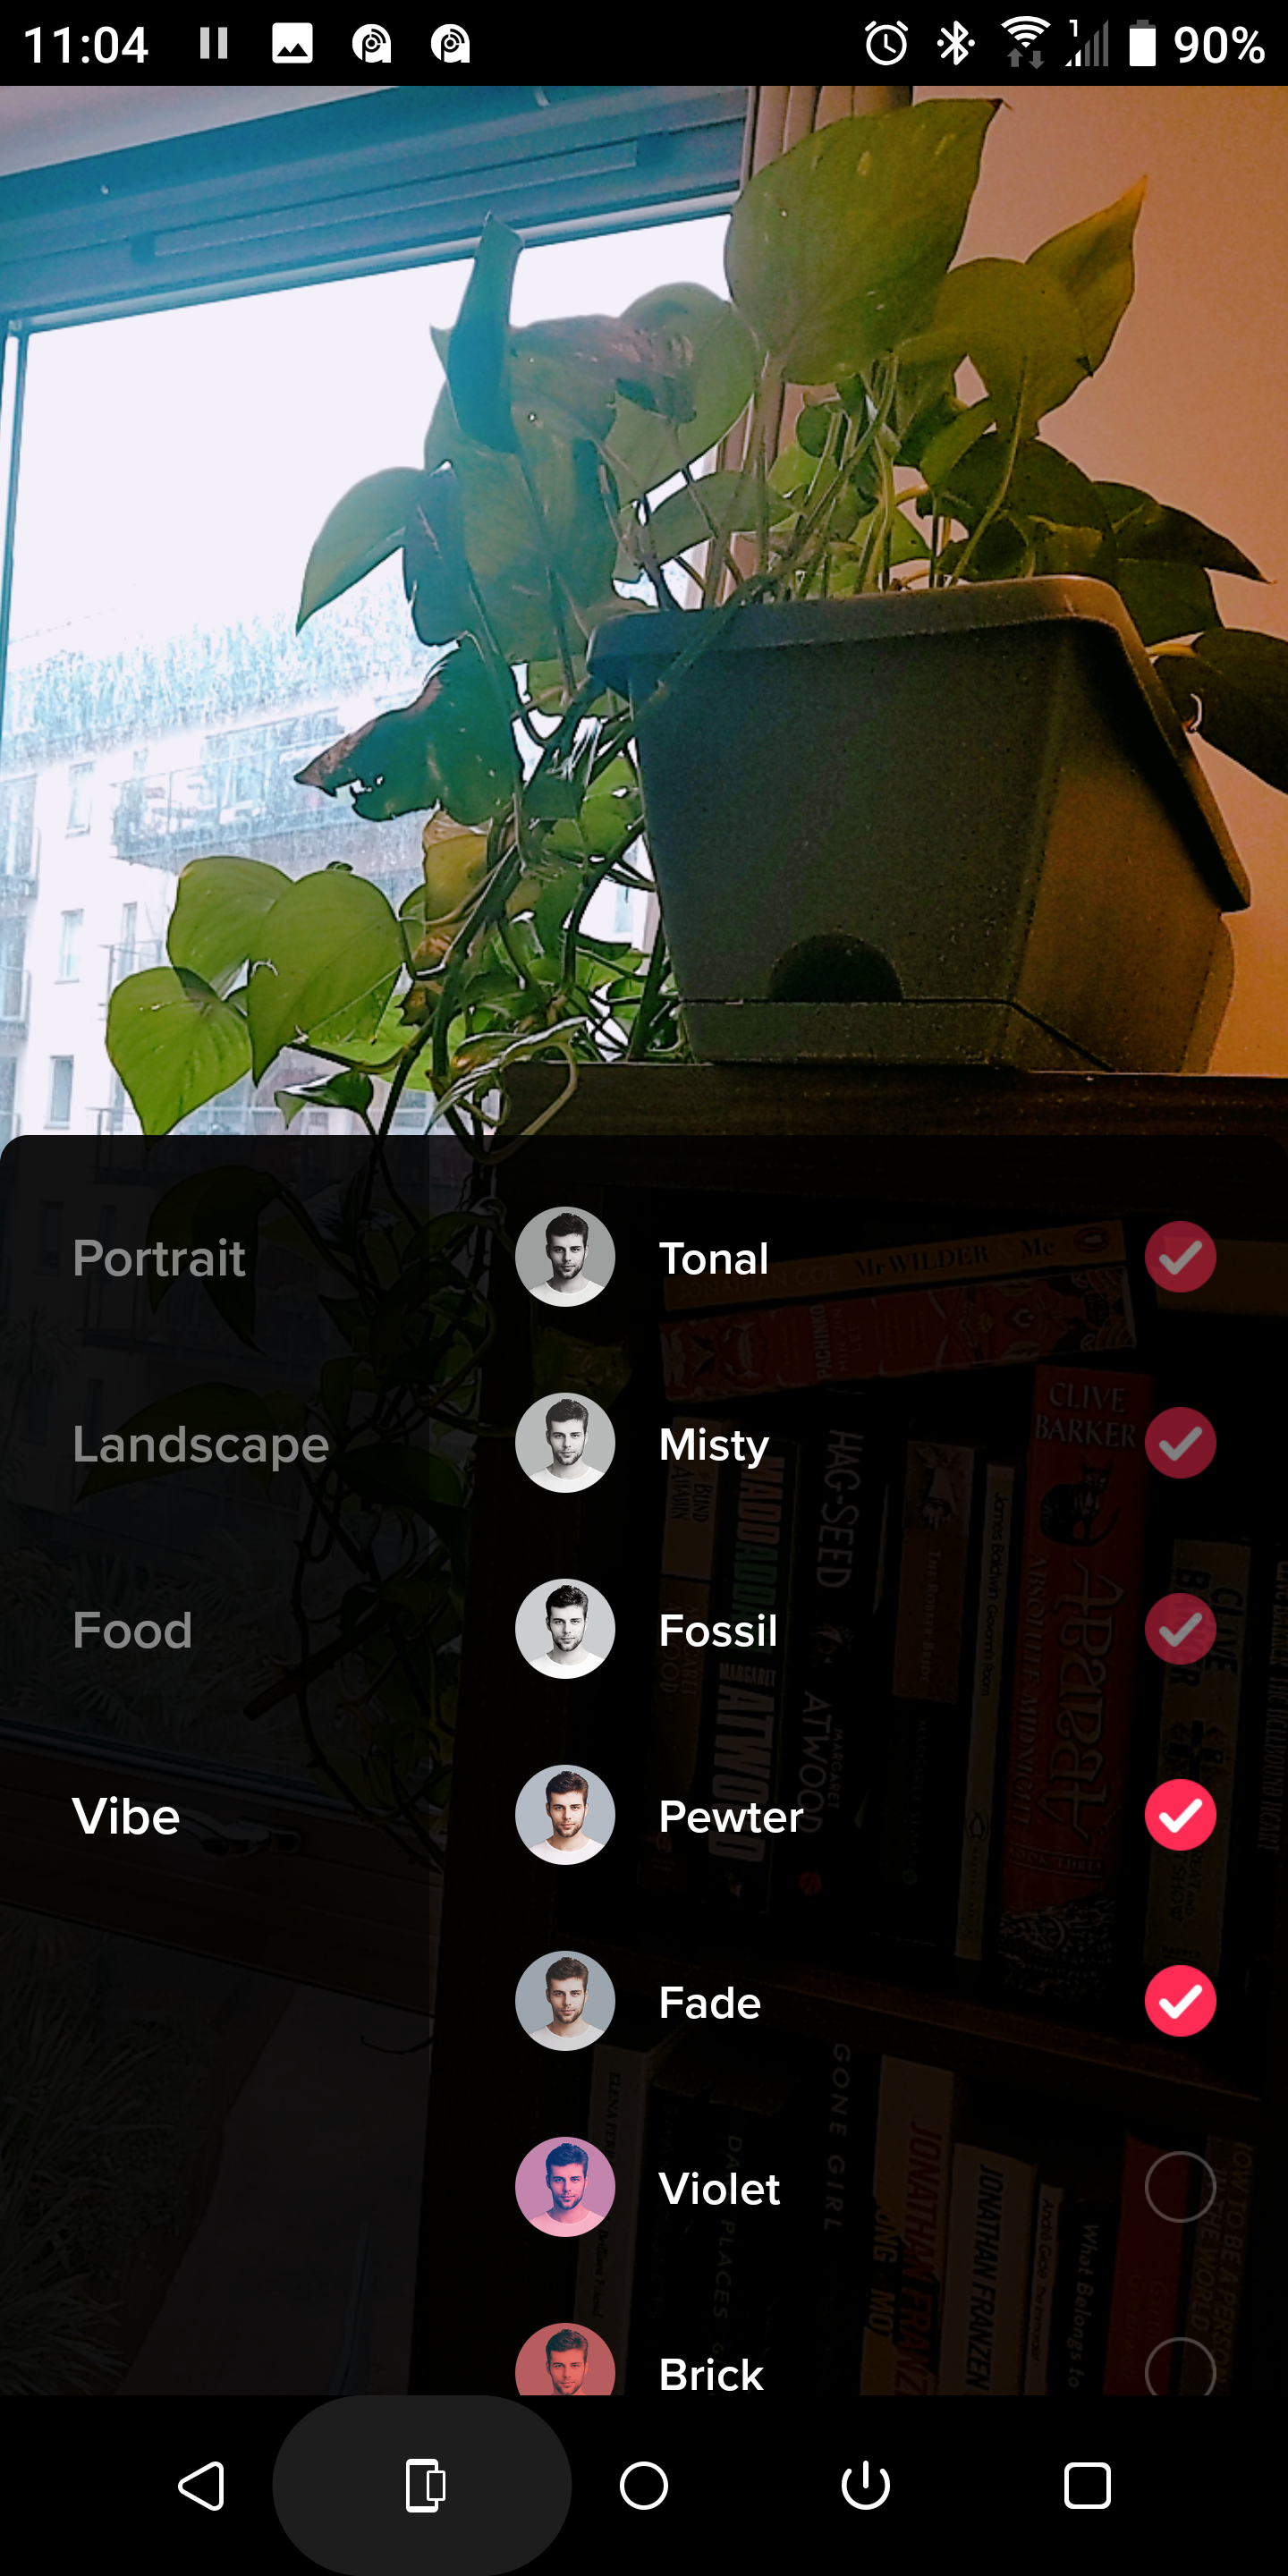
As TikTok is incredibly user-friendly, it’s quite easy to find and use the filters.
- From the app’s home screen, press the + at the bottom to start a new video.
- Before you hit record, tap the Filters icon on the right side of the screen (the one with the three circles).
- A pop-up will appear at the bottom of the screen, with the four categories we mentioned earlier. You can scroll to the right to browse.
- Once you tap on a filter, you can see how it looks on the video. You can also decide how dominant you want the filter to be, from 0 to 100, with the scroll bar above the pop-up.
- After you decide on a filter, simply hit the video screen to get rid of the pop-up, and start recording.
You can add filters after you finish recording in the app, so don’t worry if you forgot to add it at the beginning. You can also manage your filters. Scroll through the categories until you reach a Manage button. There, you can choose to remove filters that you don’t like from your menu or add ones that you can’t see there.
Let’s move on to the best filters you should know on TikTok.
1. Brew
You can find this filter under the Food category, however, don’t let that confuse you. Brew (formerly known as G6) actually looks amazing when you apply it to your face. In fact, at some point, there was a challenge involving this filter alongside a beauty effect and some direct sunlight. Legend has it that this combination makes you look TikTok famous, without using any makeup.
2. Caramel
Under the Portrait category, you can find a variety of settings, so it can be hard to decide which one to choose. Regardless, the first one on the list, Caramel, seems to be extremely popular, especially if you want to enhance your selfies.
It gives your face some warm tones, which makes you look sun-kissed. It also smooths the face and even makes you look years younger than your actual age.
3. Cozy
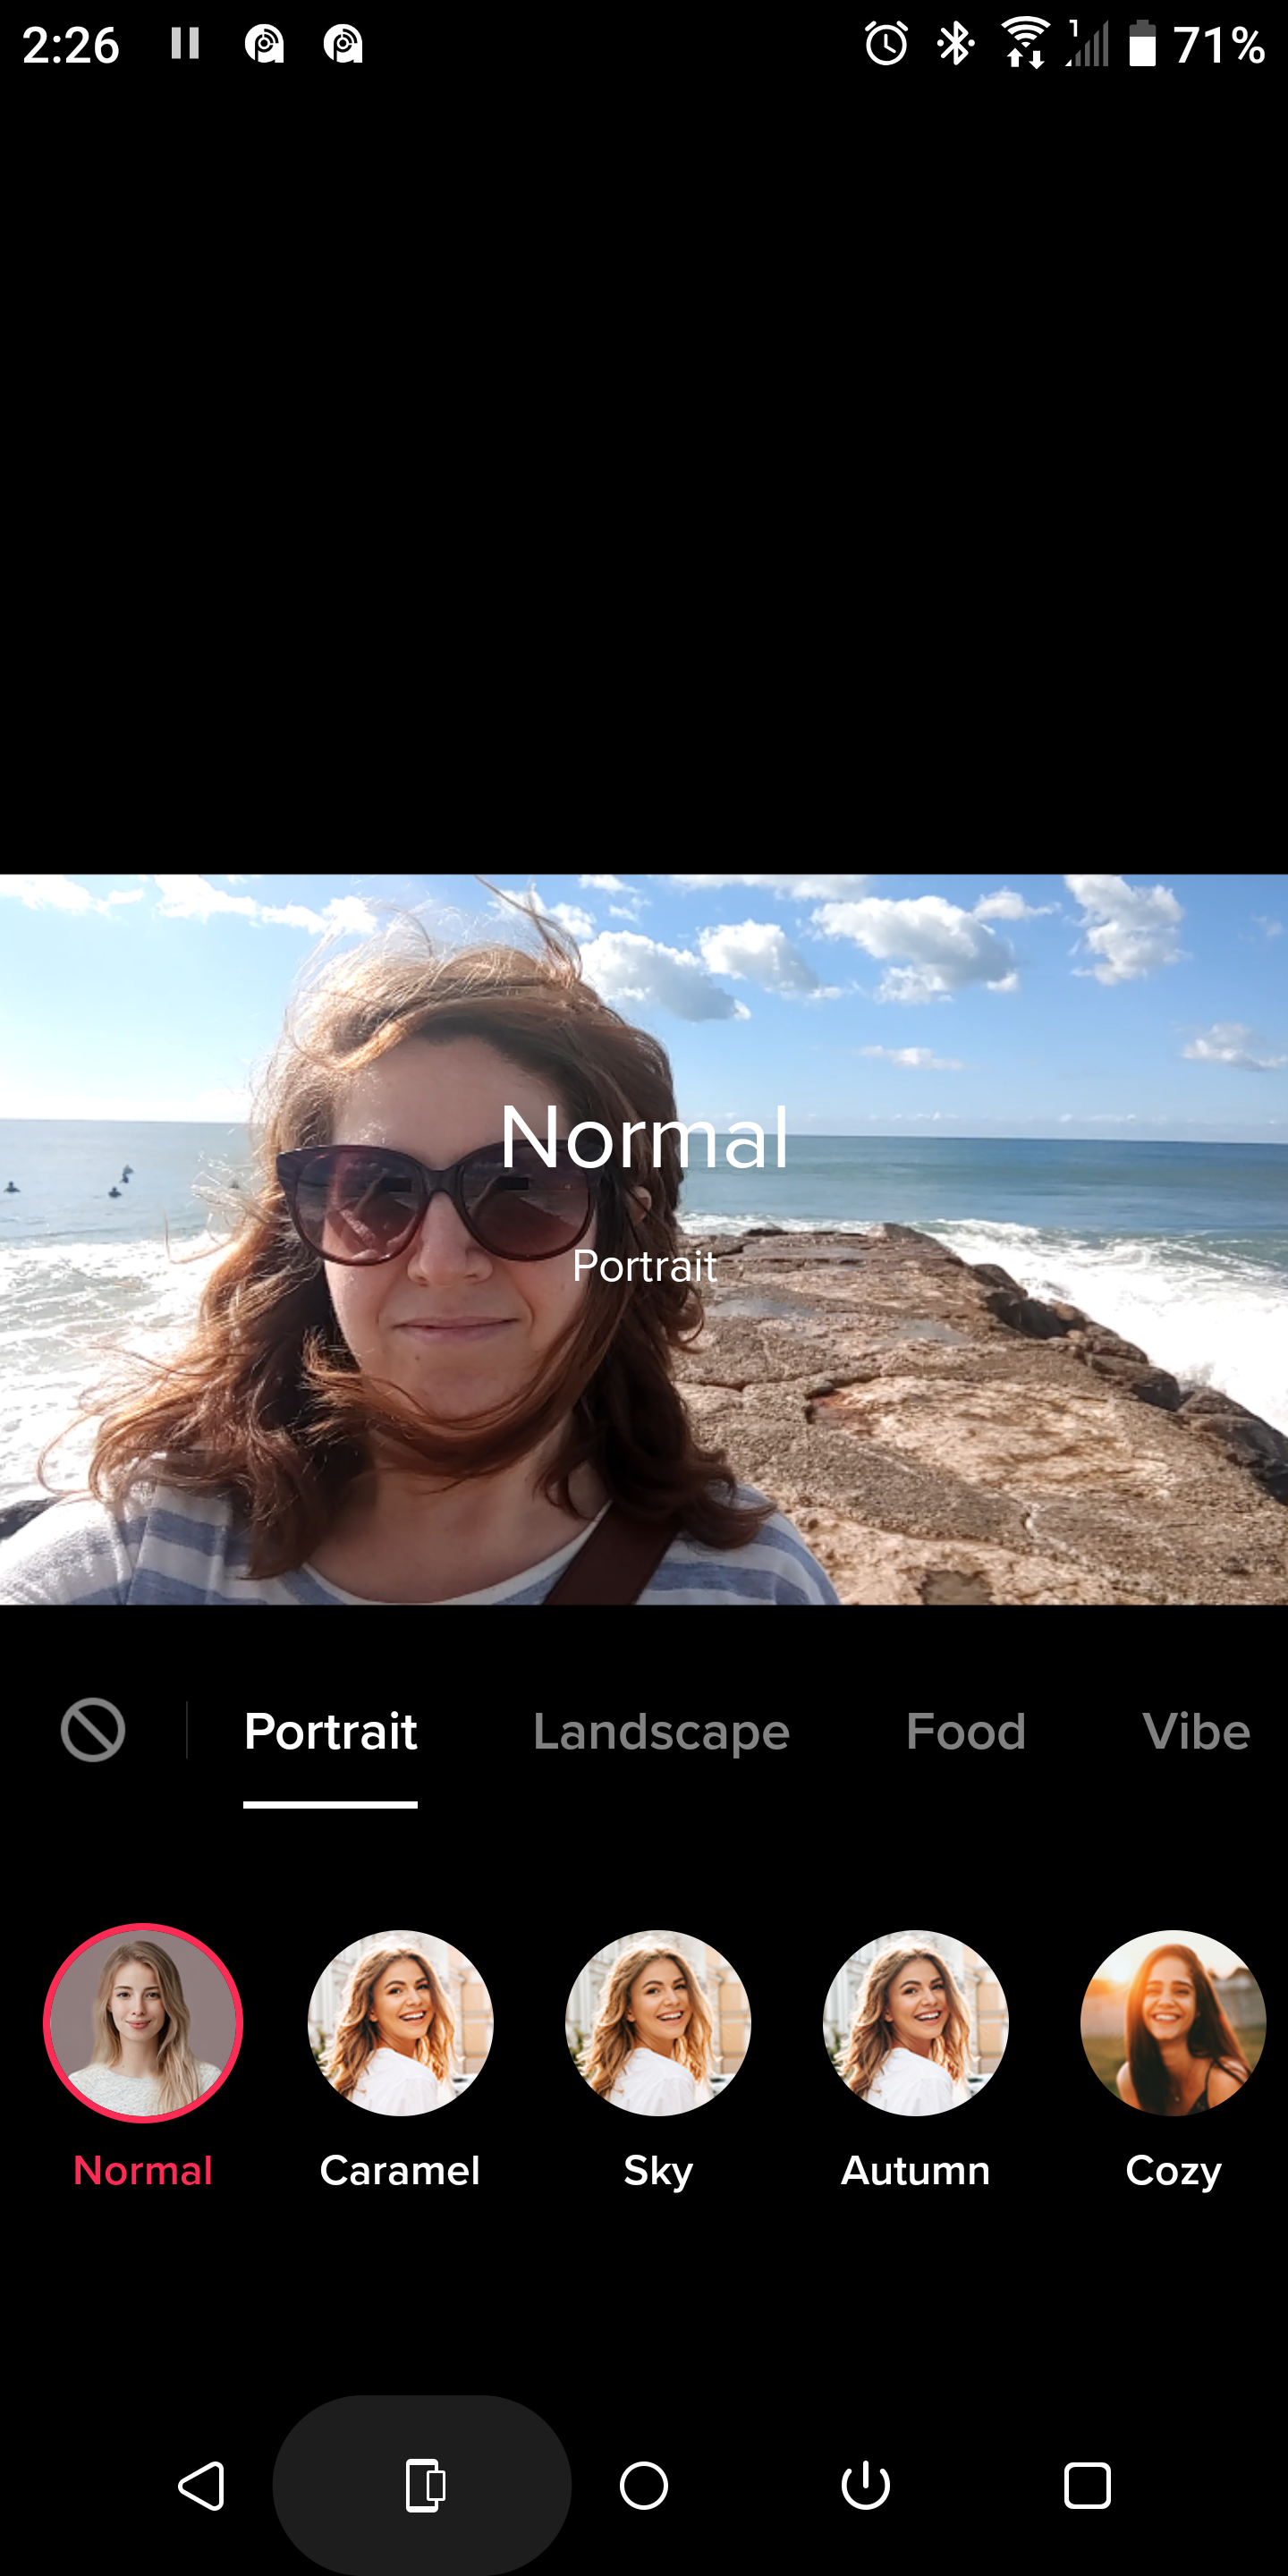
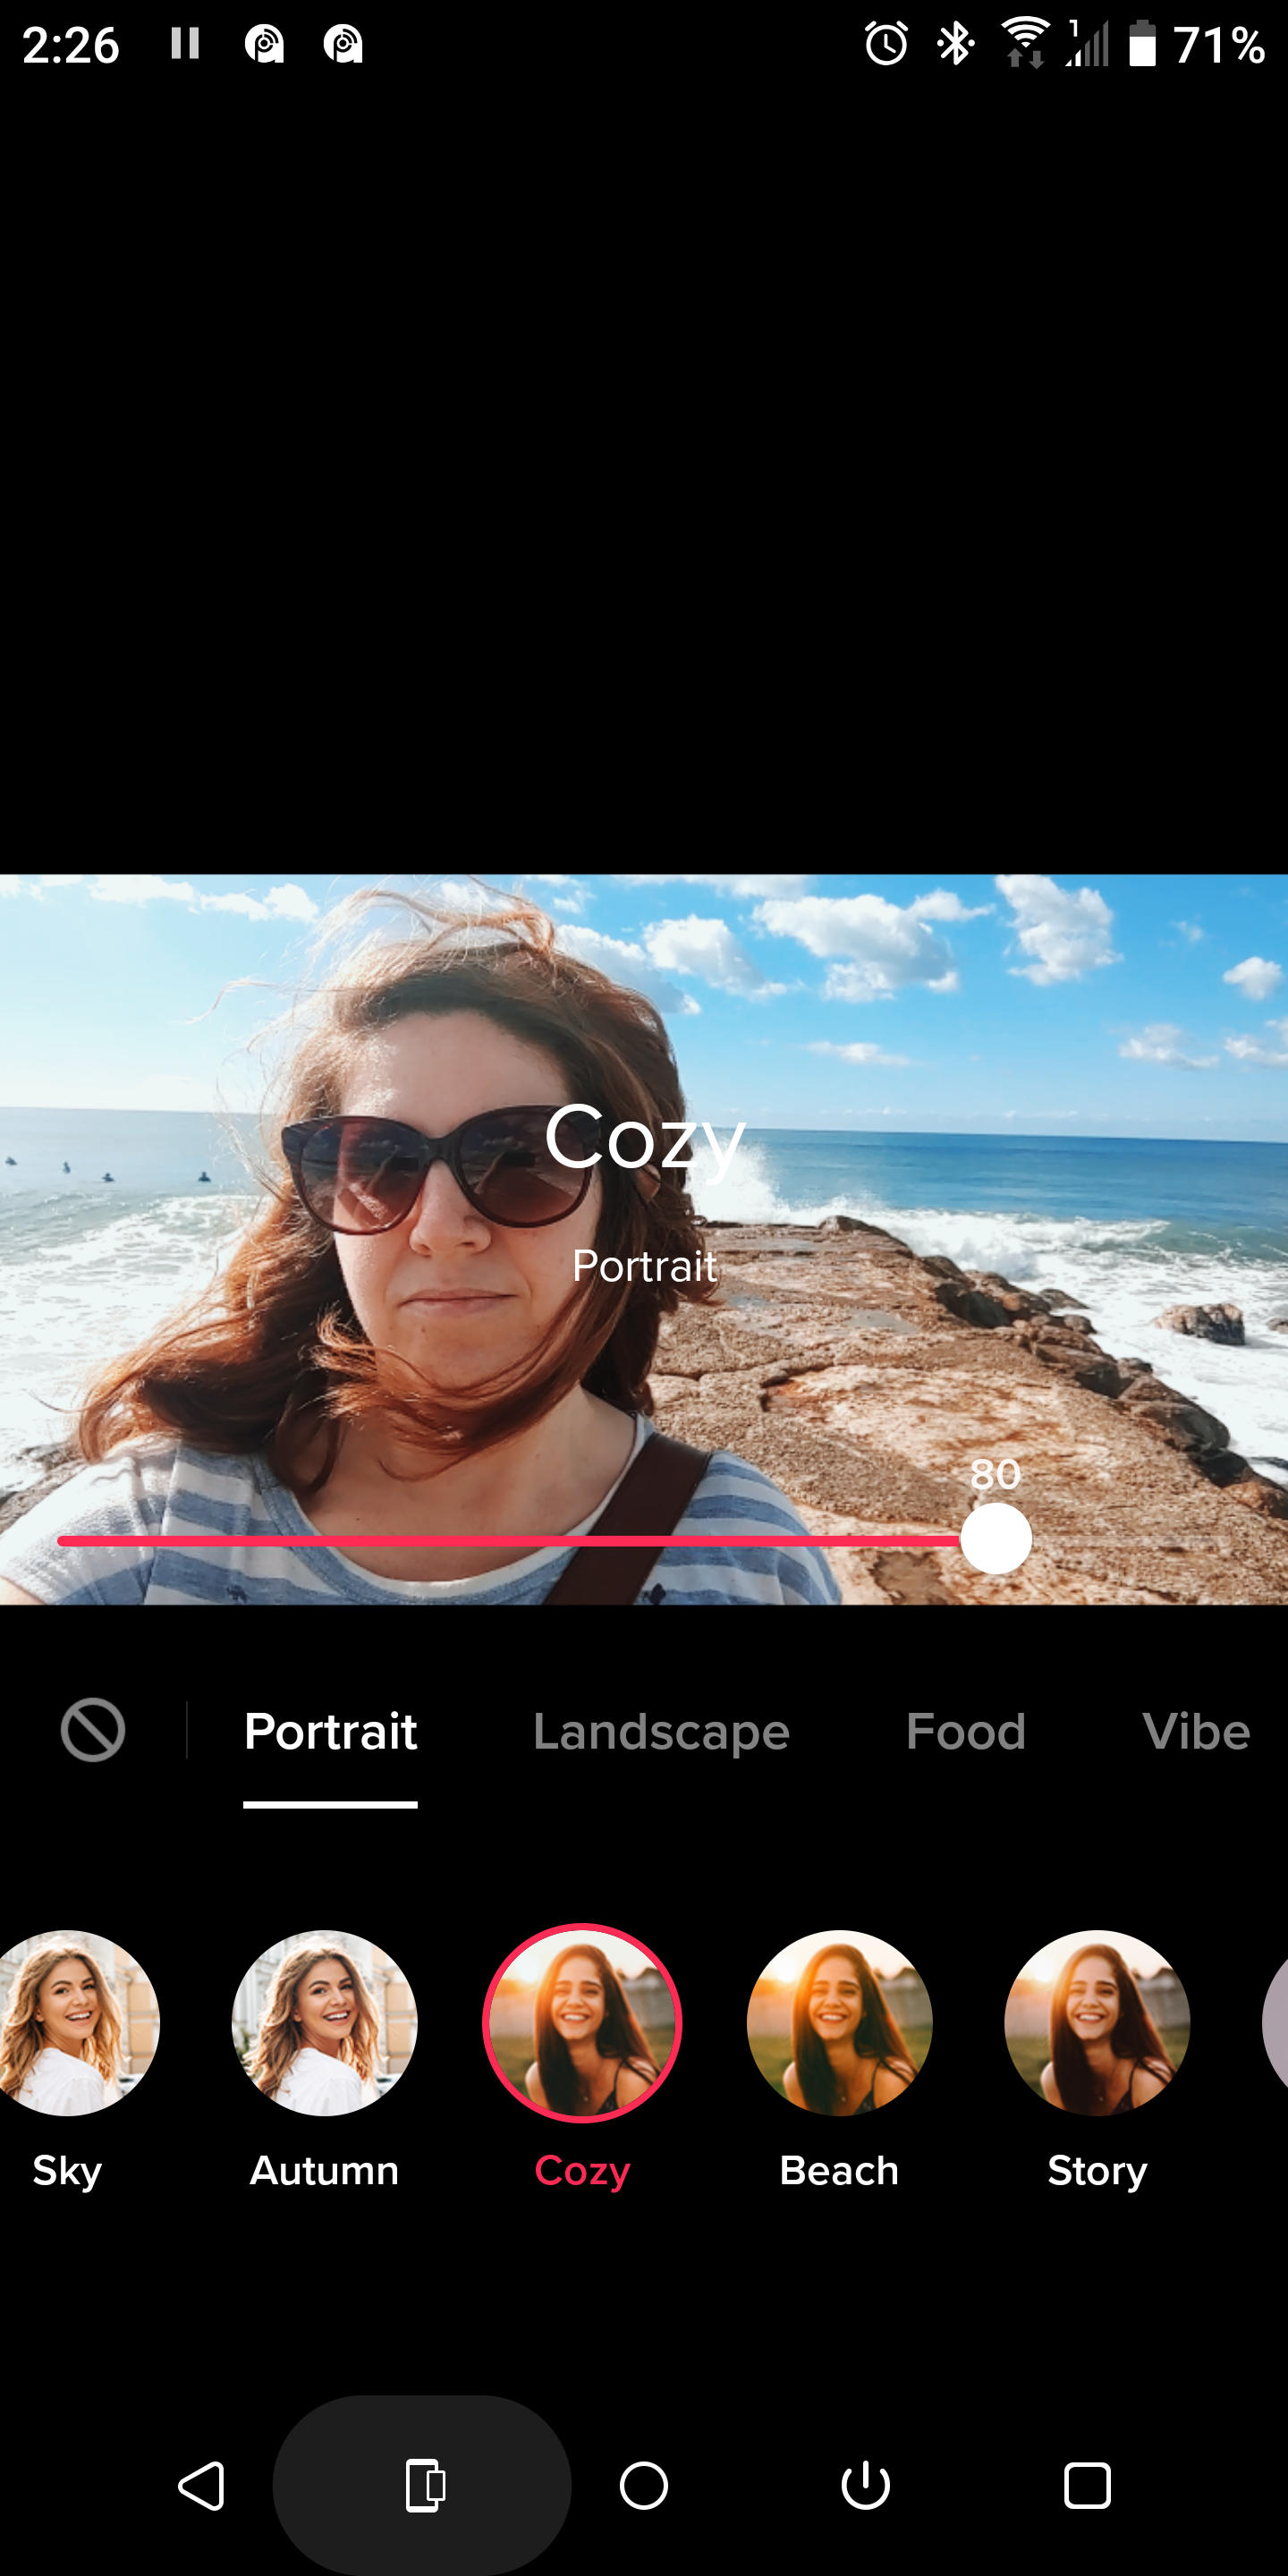
Continuing with the Portrait category, the Cozy filter is also widely used by creators. If your videos are too dark or dreary, this TikTok filter is the perfect choice to brighten them up.
Additionally, like the Caramel filter, Cozy provides warm colors, with an additional boost in contrast, which creates the illusion of Golden Hour. On top of that, it gives the video a gentle bluish hue, making it look more dreamy.
4. Fantasy
Fantasy, often referred to as V11, gives your video a reddish tint. It is one of TikTok’s Vibe settings, and it’s perfect if you want to add a lovely splash of color to your clip. This filter is also known to make brown eyes look lighter.
5. Tonal
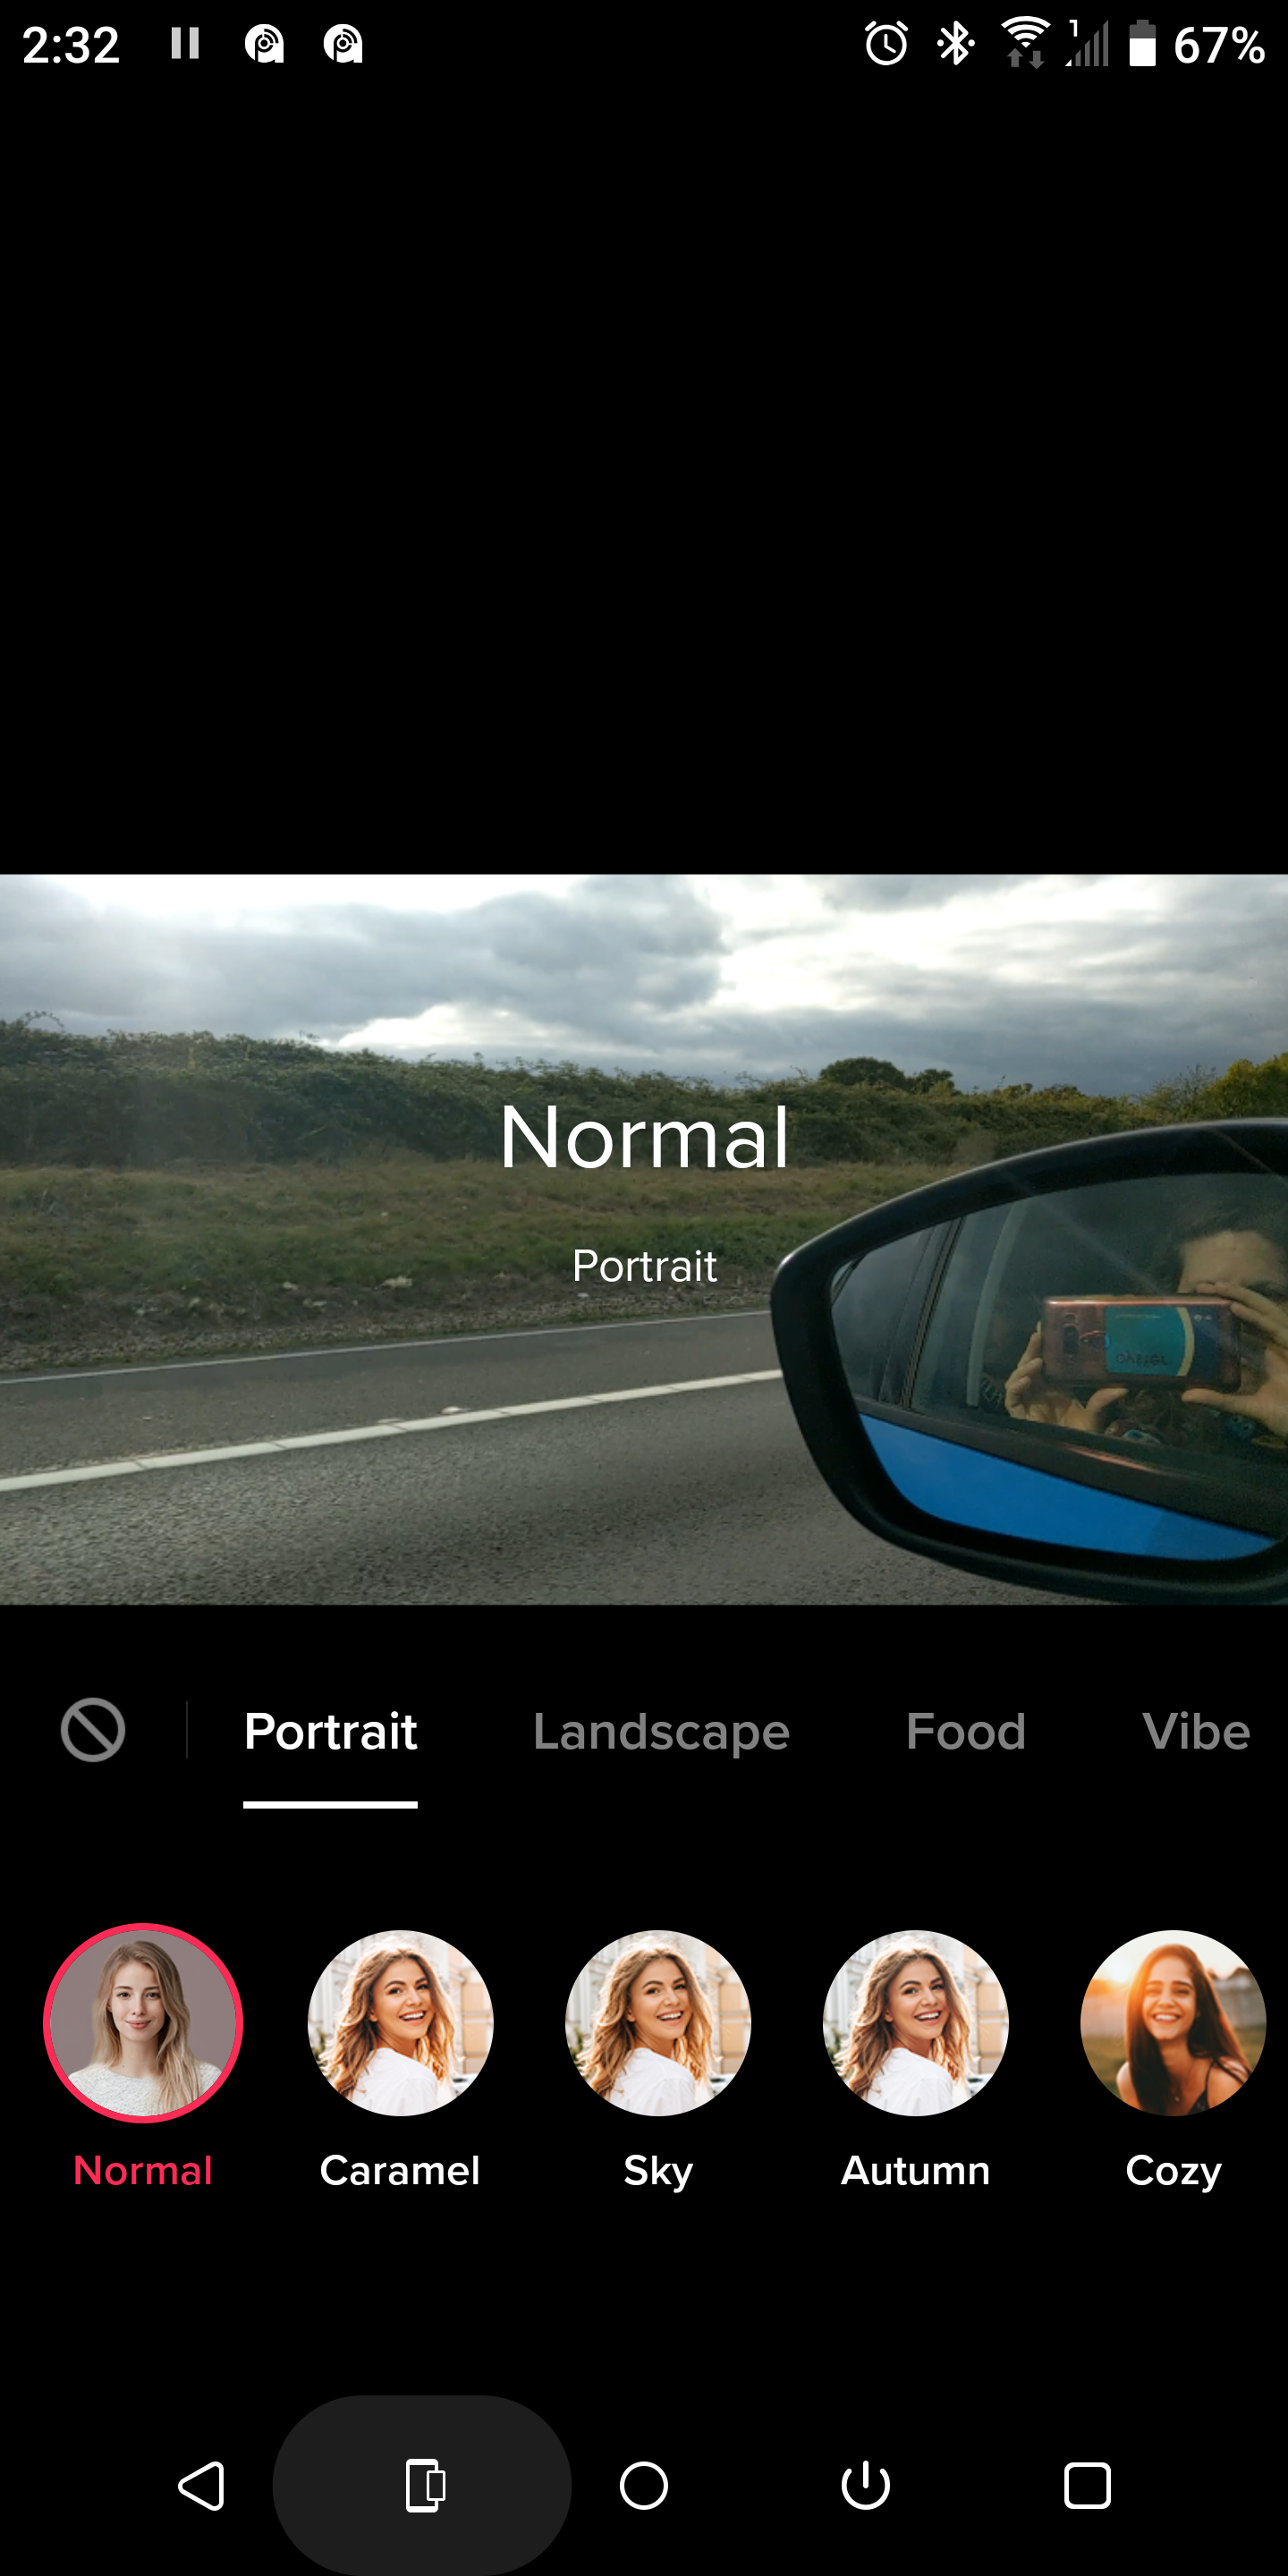
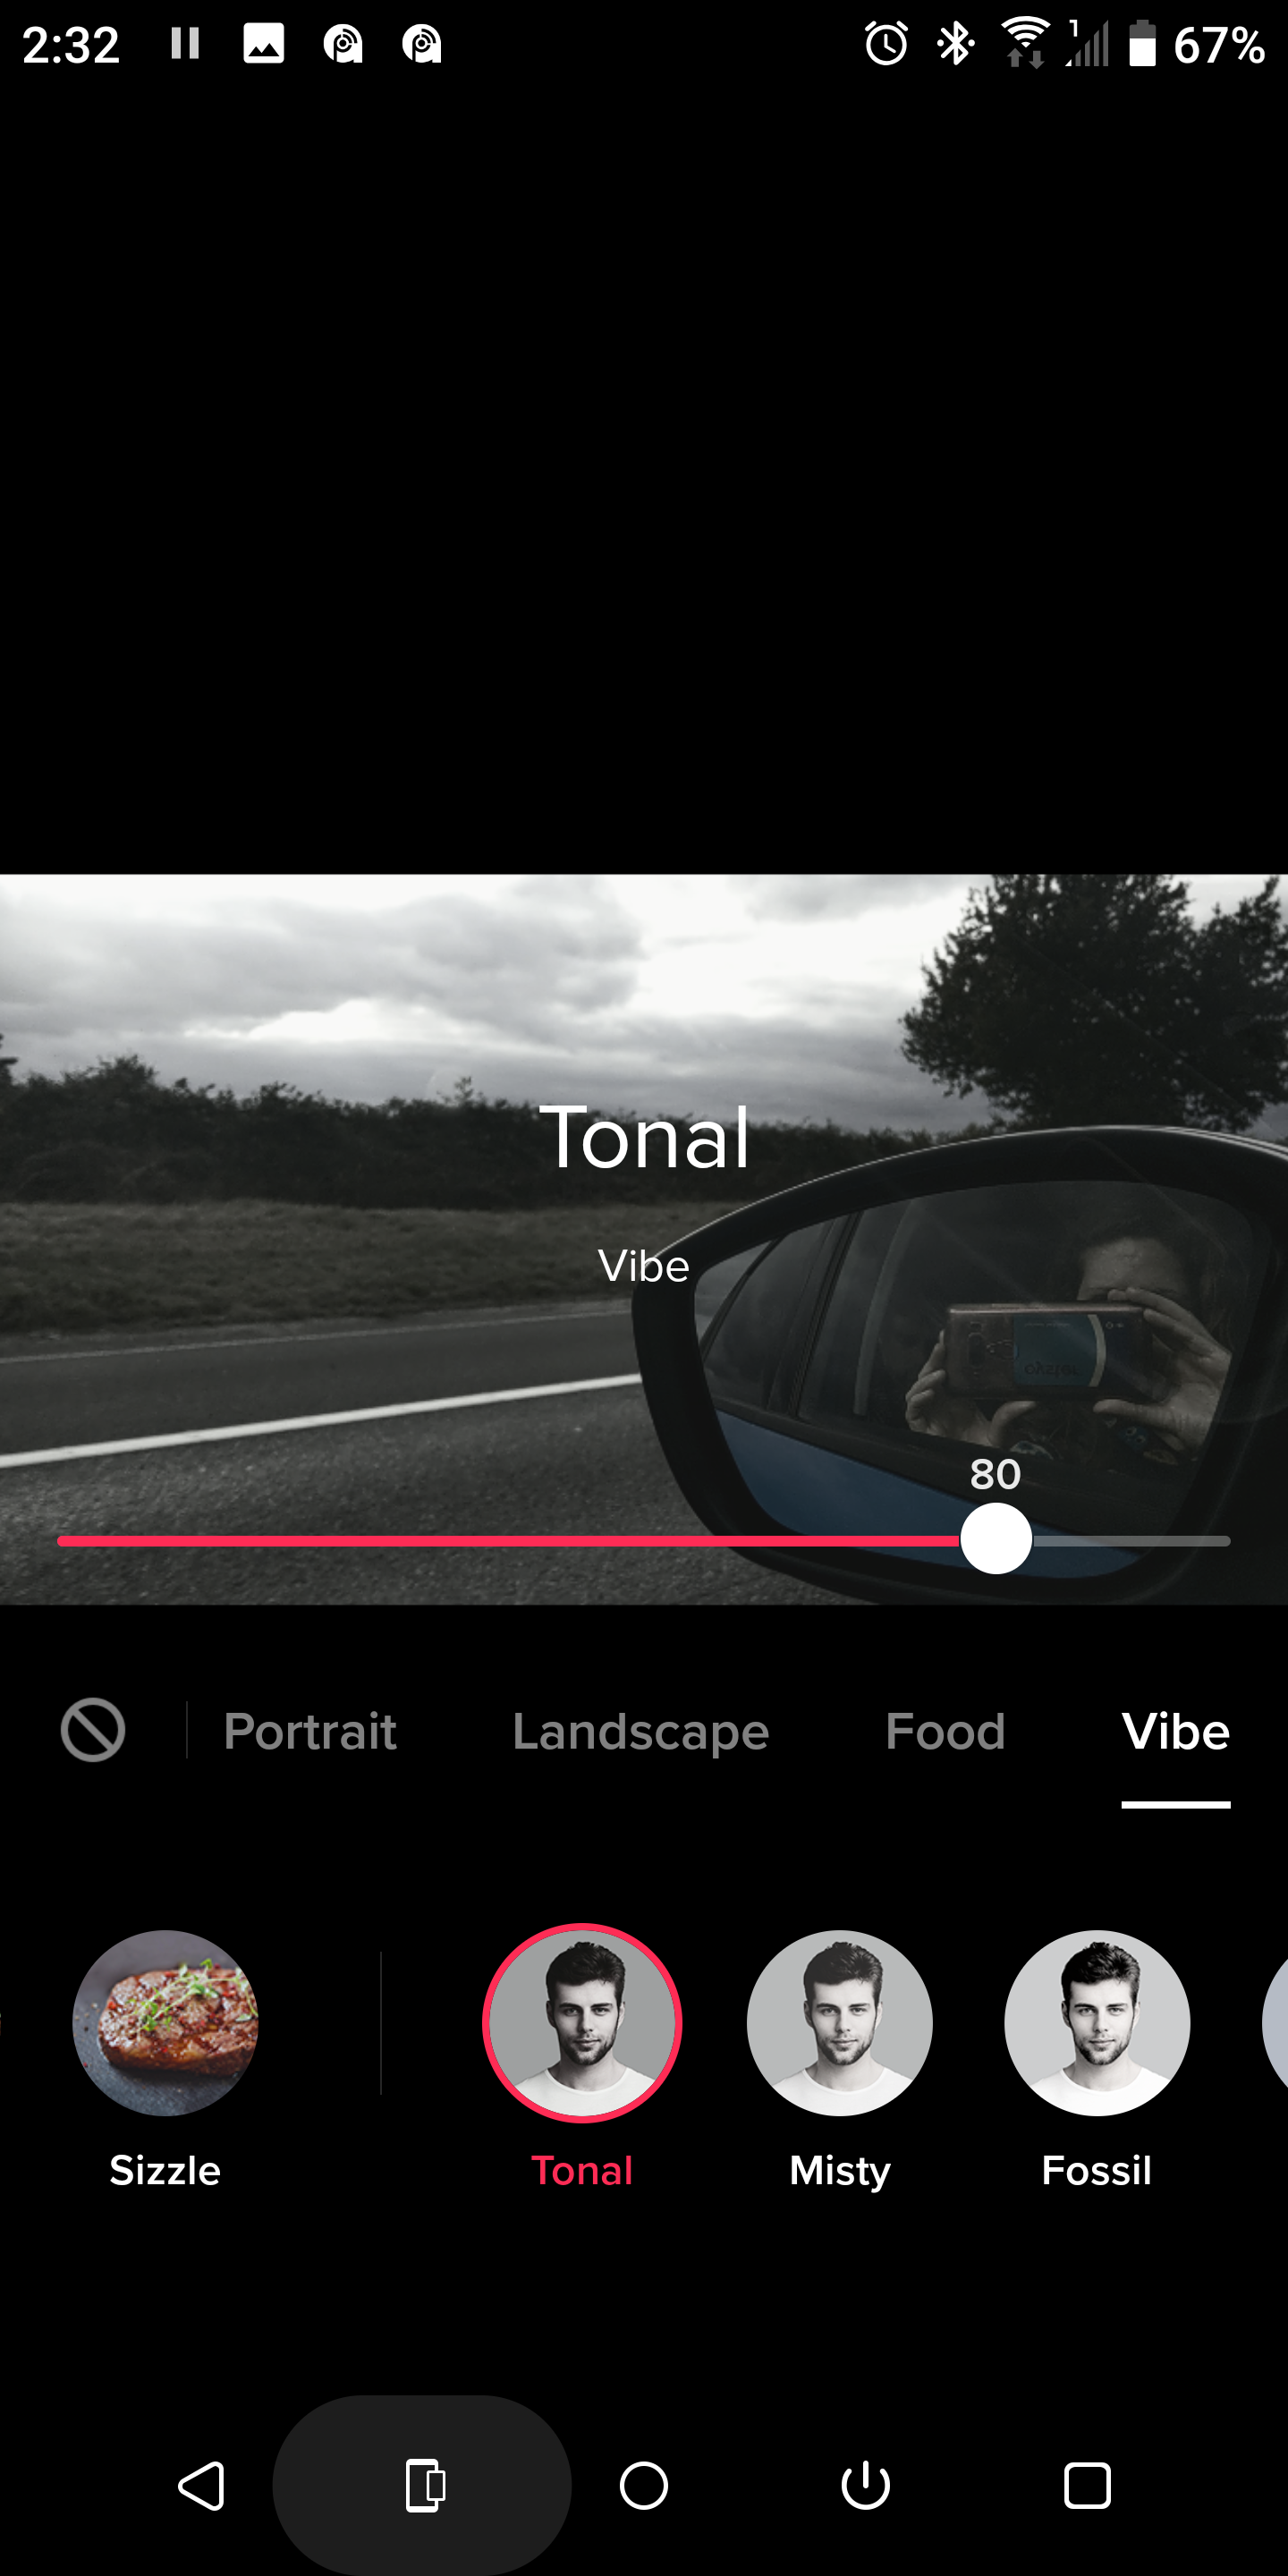
This filter is also a part of Vibe. In general, this category is all about transforming your videos into cinematic creations, and this one is no different. With Tonal, your clips will look like something straight out of the 1960s. Not only does it transform the film to black and white, but it also gives it a vintage, dark tone.
6. Forest
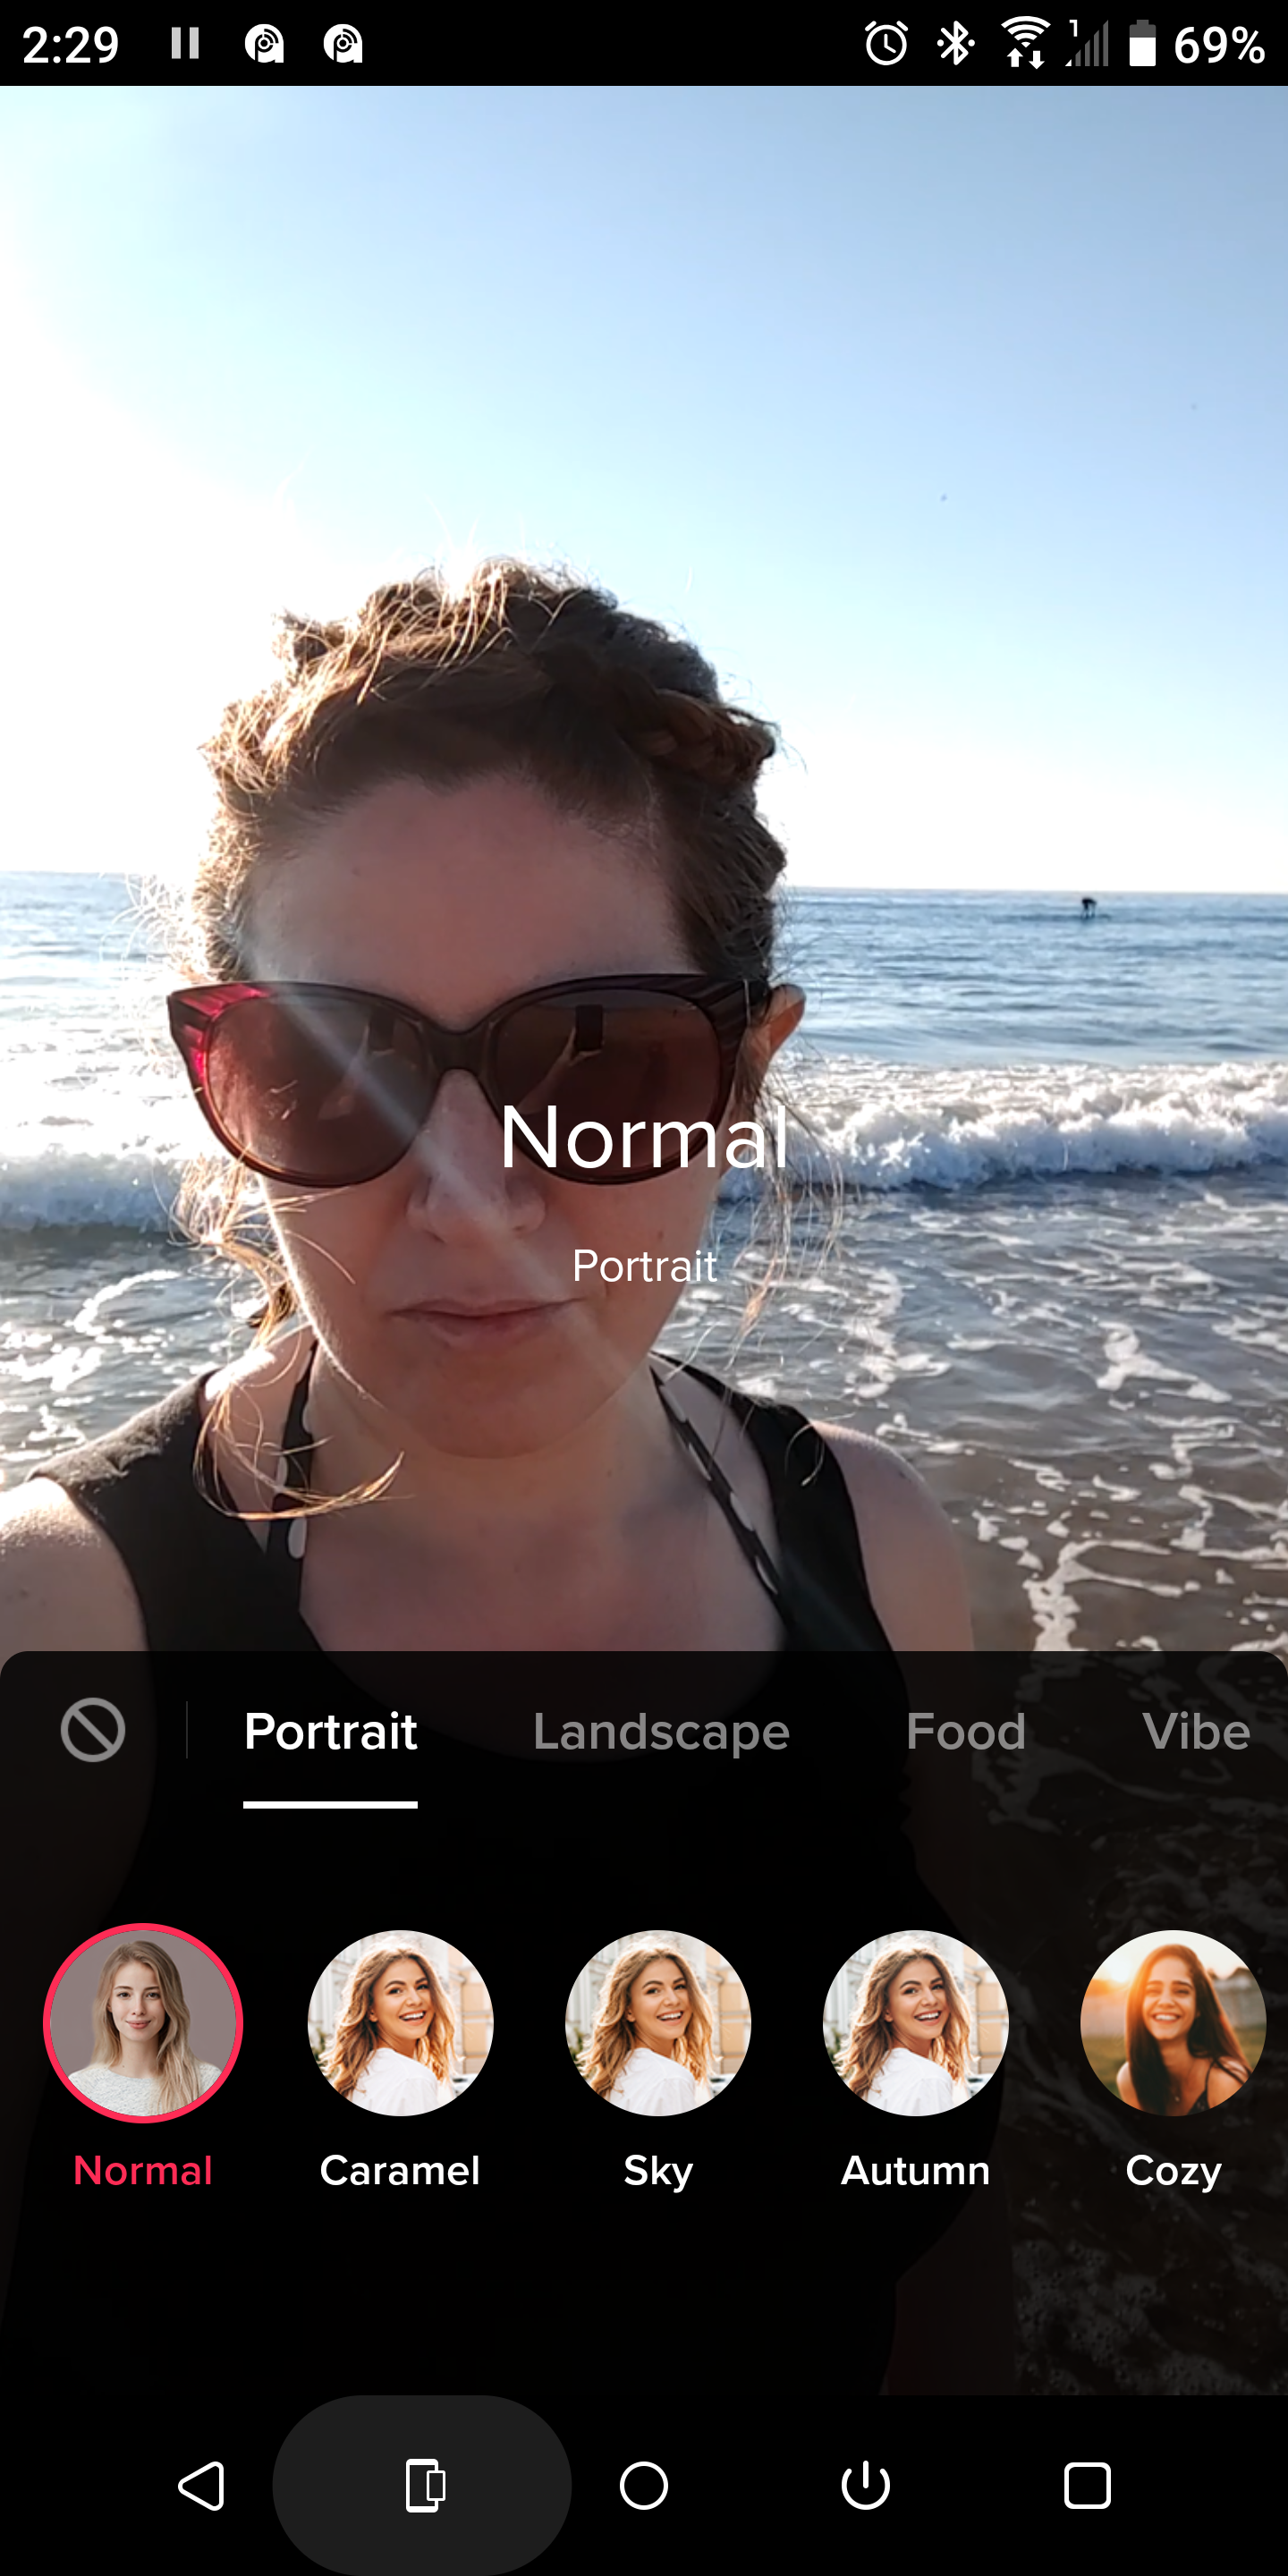
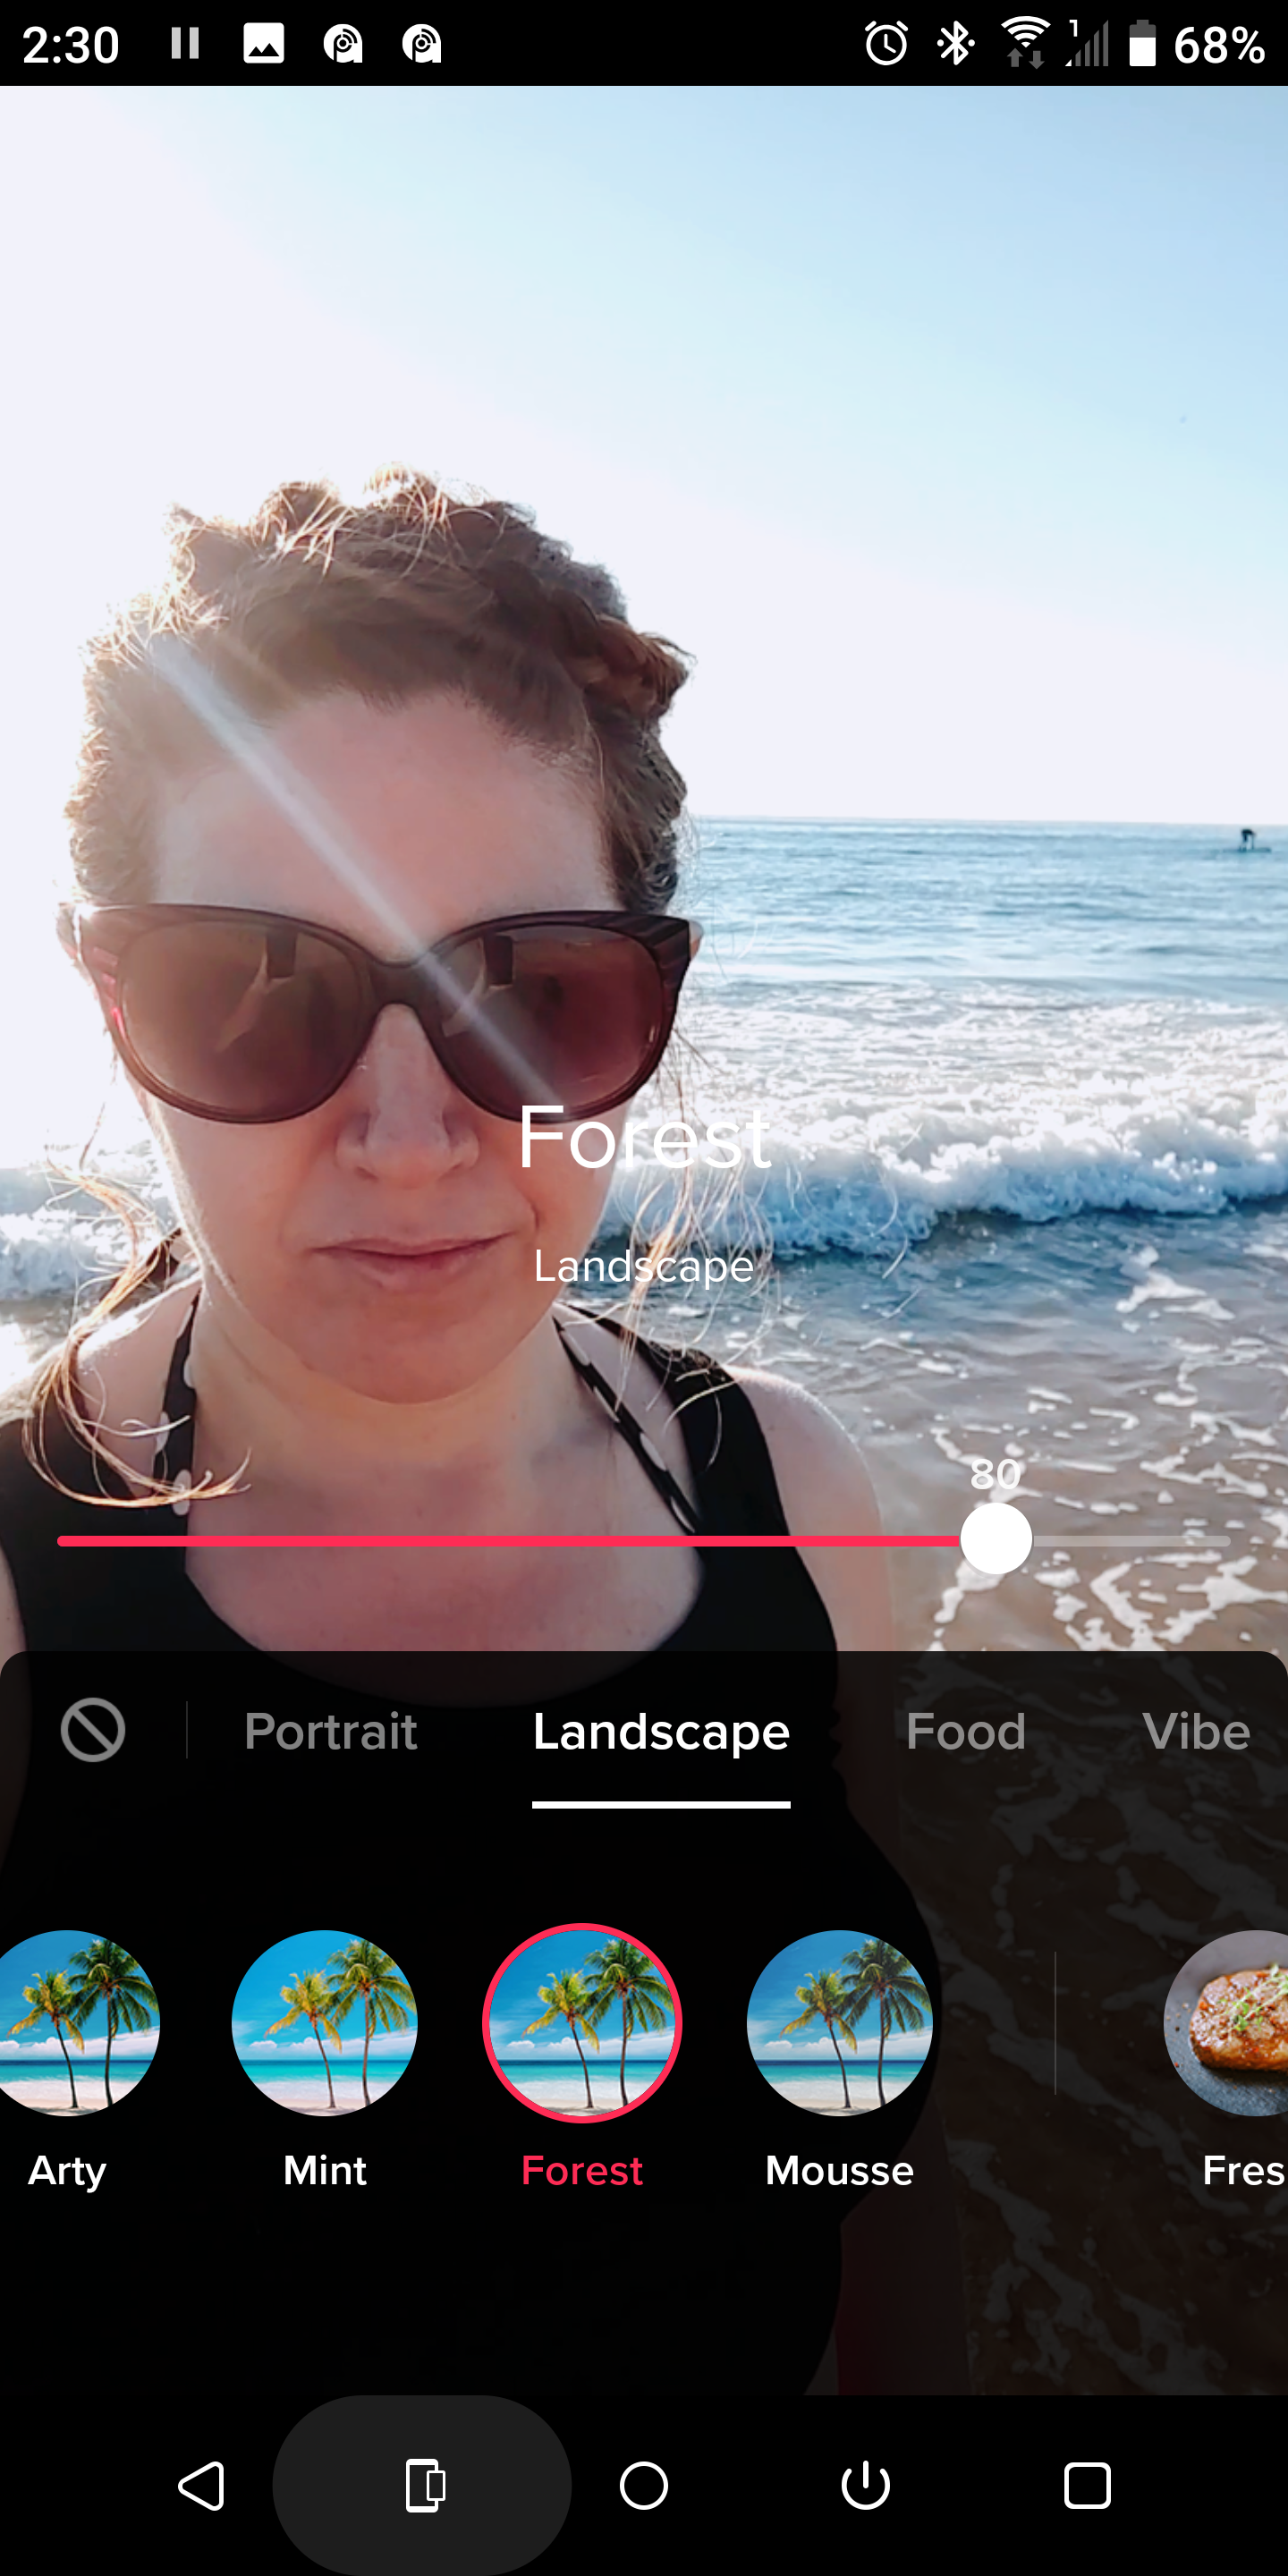
While this filter sits under the Landscape category, you may not be able to find it at first glance. If that is the case, you need to go into the Manage menu and check the box next to it to ensure you can use it.
Forest is a great filter if you have a nice background in your video that you want to highlight with warm colors.
7. Mousse
This one is also a bit hidden, and you will have to go into the same Manage menu and check it off under Landscape in order to use it. While its main goal is to transform your background, much like the Fantasy filter, creators mainly use it to make their dark eyes pop.
What Is Your Favorite TikTok Filter?
As you can probably already tell, TikTok has multiple presets for you to play around with. Each one highlights a different aspect of your video and creates a completely different experience.
After you mess with them for a while, you’ll get a sense of which ones work best for each situation, and you’ll come to discover your favorites. Until then, you can draw your inspiration from other creators.

