Even though some Linux desktop environments lack user experience and visual aesthetic appeal, it's not the case with KDE Plasma. On distros like Kubuntu and KDE Neon, KDE Plasma offers various options for the users to customize their desktop. You can tailor the look and feel of your computer to suit your tastes.
But what sets Plasma apart from all other desktops is its score of hidden features that add a whole new level of user experience within its environment.
Here are the top nine hidden features of KDE Plasma that you probably don't know about, but should explore.
1. Optional Menus
Plasma's menus are incredibly versatile, but it's not by default. Plasma displays both the Applications and Places menus, while the Tools menu is disabled by default. To experience the benefits of the entire menu, you must enable it on your Plasma desktop.
You can enable the Tools menu by opening the Configure Desktop Environment panel from the System Settings application. Click on Menu and select the checkbox next to Tools.
You can now toggle between the Applications and Places menus. If you don't use them, there's no reason to have them cluttering up your panel. To turn them off, simply open the Configure Desktop Environment panel and uncheck the boxes next to the menus you don't want to see.
2. Window Resizing
KDE Plasma's window resizing functionality is easy to overlook, but it's a huge time saver when you're in the thick of things.
Keep the Alt key pressed while dragging the window's border to resize a window on your desktop. This functionality is ideal when you want to resize the window to fit the space between the window's title bar and the edge of the desktop.
If you have more than one monitor and don't want the window to resize to the edge of one monitor but instead want it to span across all connected monitors, click the other monitor's name in the taskbar before resizing the window.
3. Zoom Feature to Assist Visually Challenged Users
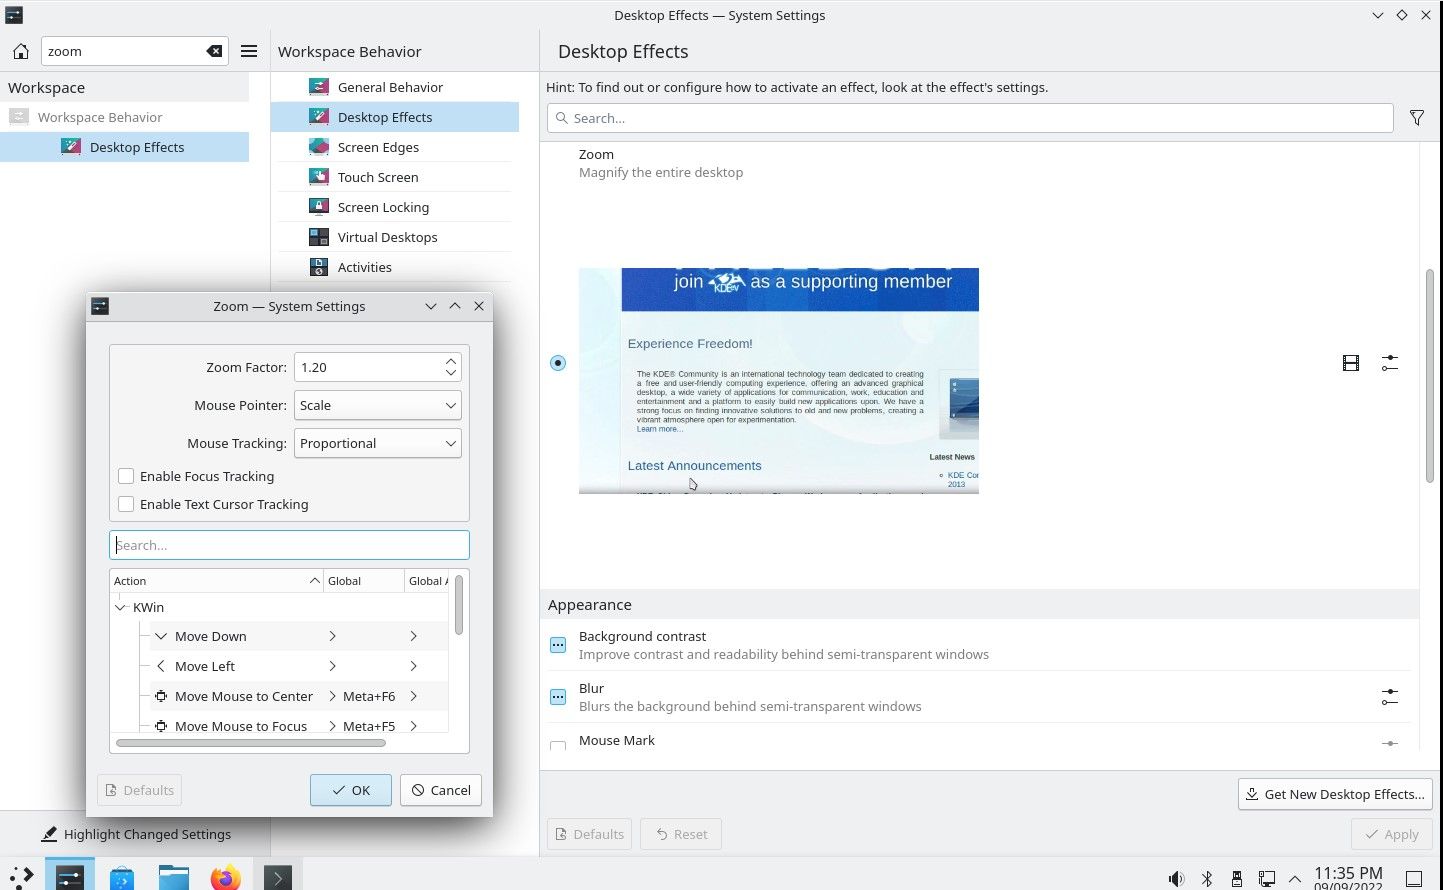
You can use the Zoom feature to change the text size on the KDE desktop. To change the zoom levels, head over to the System Settings and click the Accessibility and Zoom option. Then, change the zoom percentage to achieve the desired effect.
While almost all desktop environments offer similar features, there is always an ongoing battle between KDE and GNOME, as they fight it out for the top spot.
4. Window Tiling Shortcuts
Keeping track of where everything is is difficult, especially if you work with many windows simultaneously. Plasma has features that help you manage all your open windows, intending to make them more accessible.
If you want to tile windows and put them side by side, click and drag any window to the right edge of the screen. When you let go of the mouse button, the window snaps back to the edge of the screen, pushing the other windows to the left to make room for it.
You can push windows to the left edge of the screen to tile them vertically instead of horizontally. You can click and drag any window to the top edge of the screen and let go when the windows are the way you want them.
5. Accessibility Tools: Orca
The Orca screen reader is an excellent accessibility tool for visually challenged users. It lets your computer read out loud the contents of a window, including the time, date, weather, and much more.
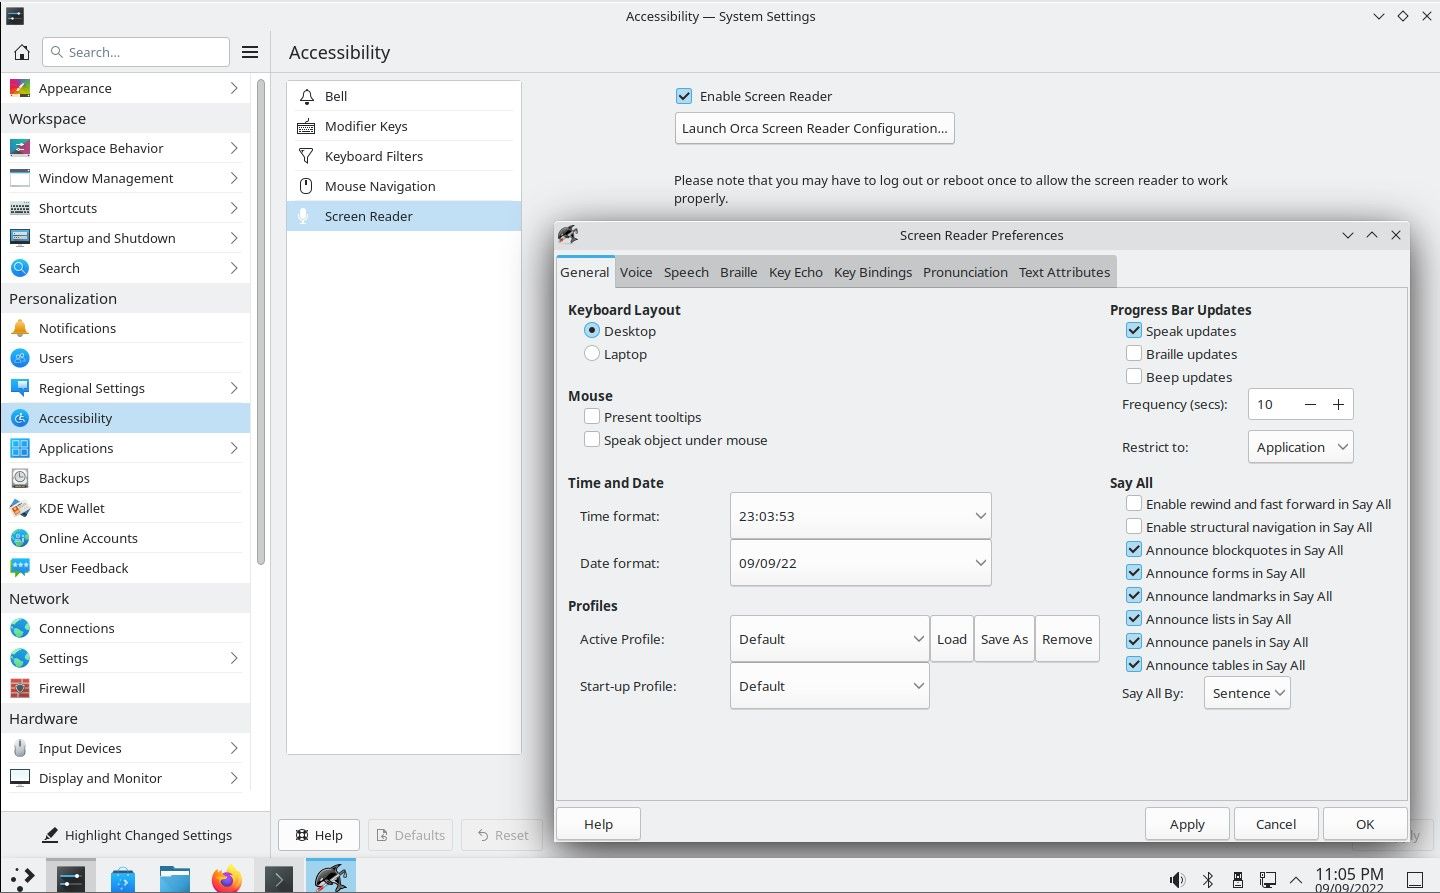
You can enable Orca by navigating to System Settings > Accessibility > Screen Reader. Check the box next to Enable Screen Reader and select the keyboard shortcut (you can use Control + Esc).
Feel free to customize Orca's settings to fit your needs. For example, you can select a different language, change the reading rate, or even have Orca read-aloud emails as they arrive in your inbox.
Orca is a powerful tool that can change the lives of many computer users. If you want, you can replace your current operating system with Accessible-Coconut, a Linux distro developed specifically for visually impaired users.
6. Workspaces and Virtual Desktops
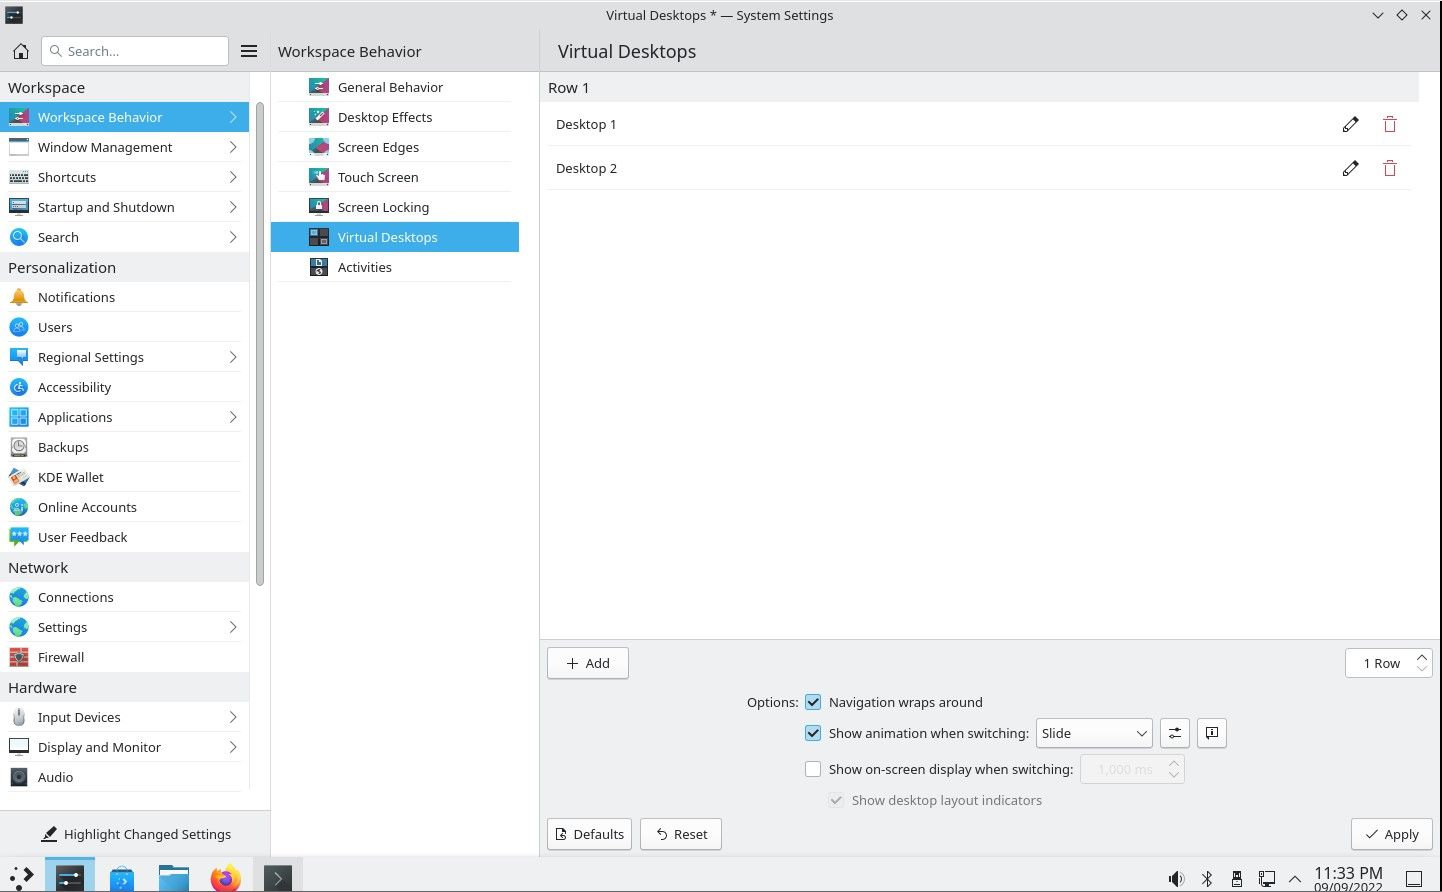
Plasma's virtual desktops feature lets you group windows into different workspaces. This feature is beneficial when you have a lot of windows open and don't want to lose track of where they're all located.
To switch between virtual desktops, click the desktop switcher in the screen's top-right corner. Clicking the desktop switch within the screen's top-right corner range again will send you back to the desktop you were on previously.
If you want to assign a window to a specific virtual desktop, click the window's title bar, then drag the window to the desktop's switcher. To move a window from one desktop to another, click the window title bar, drag it to the edge of the screen, and let go when the other desktop's switcher appears.
7. Toggle Between the Old and New System Settings Display
Plasma is updated regularly; in fact, mostly all inherent bugs are fixed on or before the release of the new updates. Such updates result in the launch of new features and an excellent visual aesthetic. However, at times, it's nice to go back to the old system settings display every so often.
To go back to the old system settings display, click the System Settings icon from the applications menu and select Displays.
Clicking the Displays icon will bring up the new system settings display, but if you want to go back to the old system settings display, click the dropdown menu next to the Displays icon and select Show the old system settings display.
Once you do this, you'll never be able to return to the new system settings display, so be sure you want to do this before clicking Ok.
8. Tabbed Windows on the Oxygen Desktop Theme
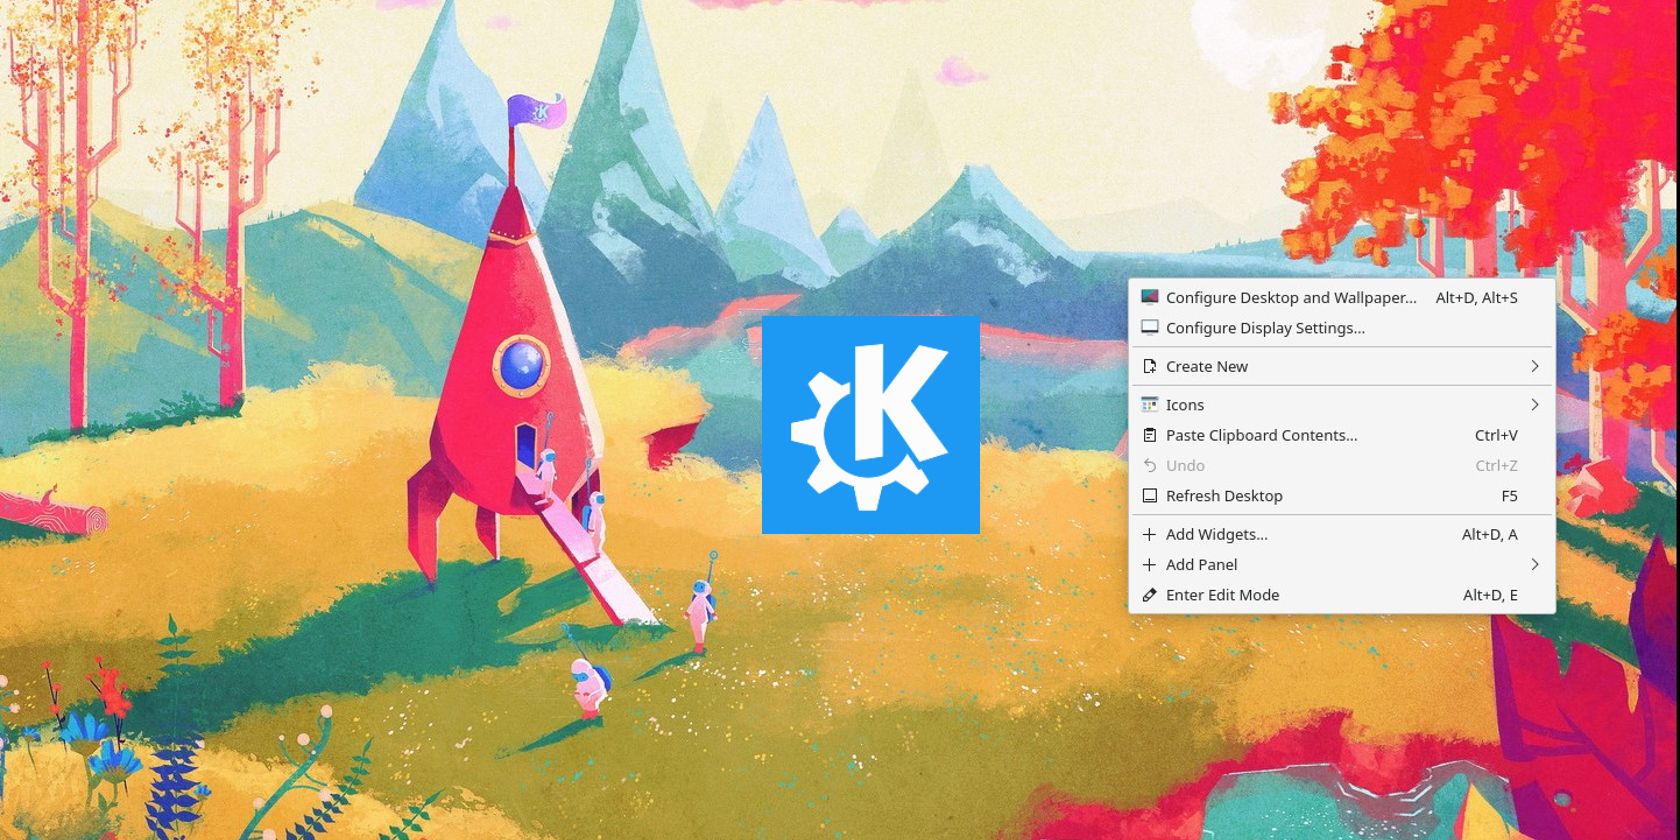
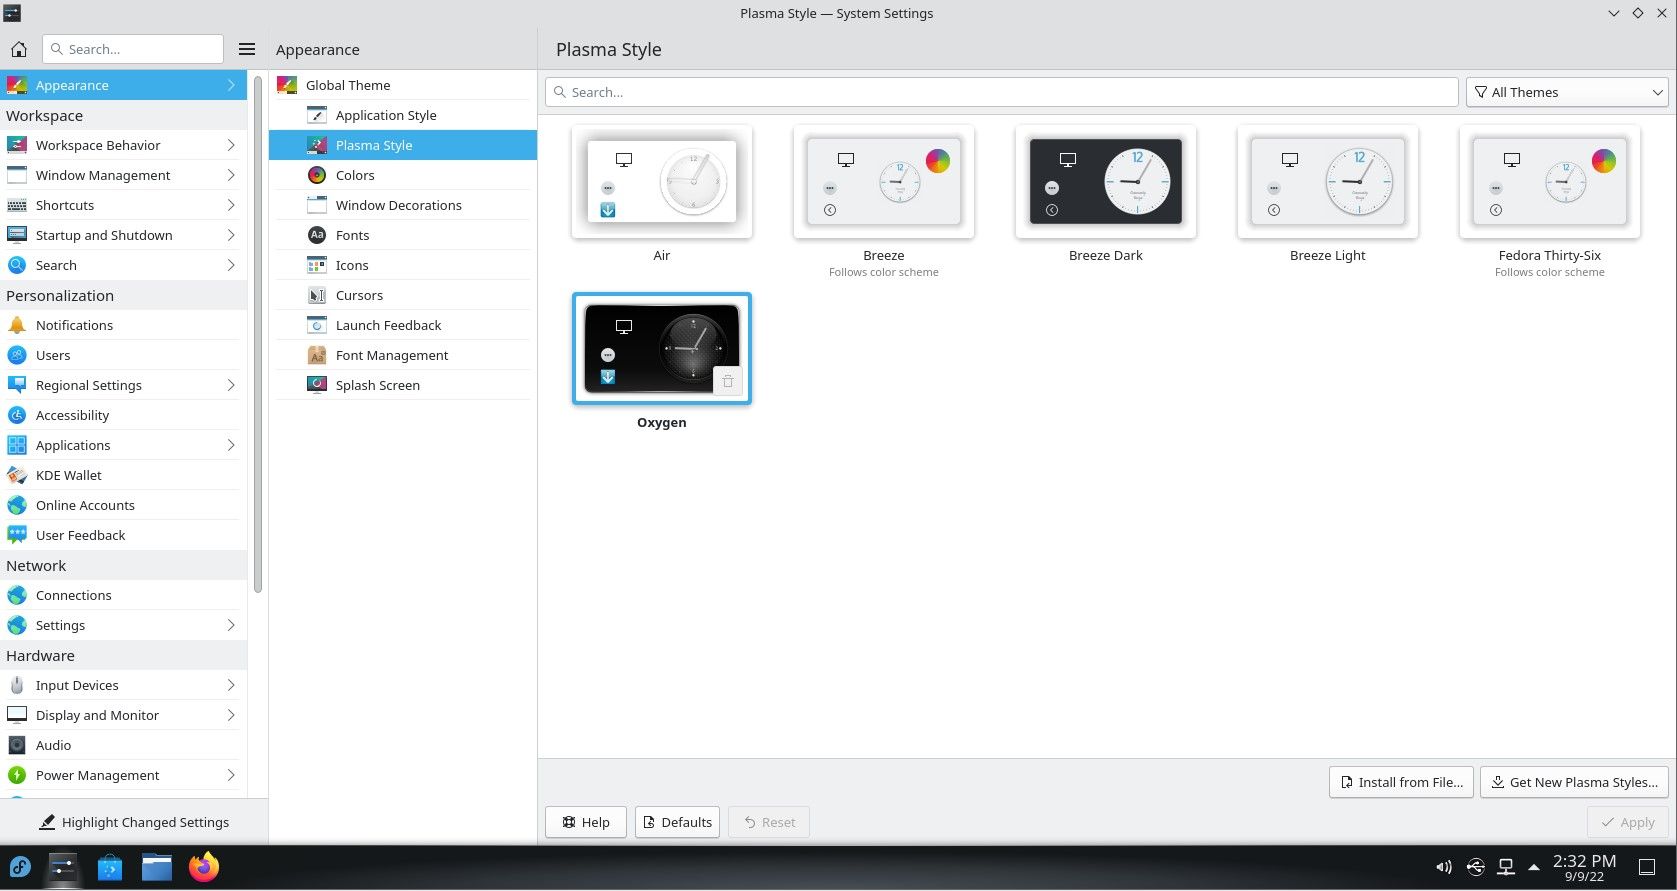
Oxygen is Plasma's default desktop theme. You can switch to a different theme with tabbed windows by right-clicking the desktop and then selecting Desktop Settings from the context menu.
To enable tabbed windows, click the dropdown menu next to the Desktop Theme icon and select the Oxygen (tabbed) option. Not every application supports tabbed windows, so some tabs may not work as expected.
9. Multiple Clipboards: Klipper
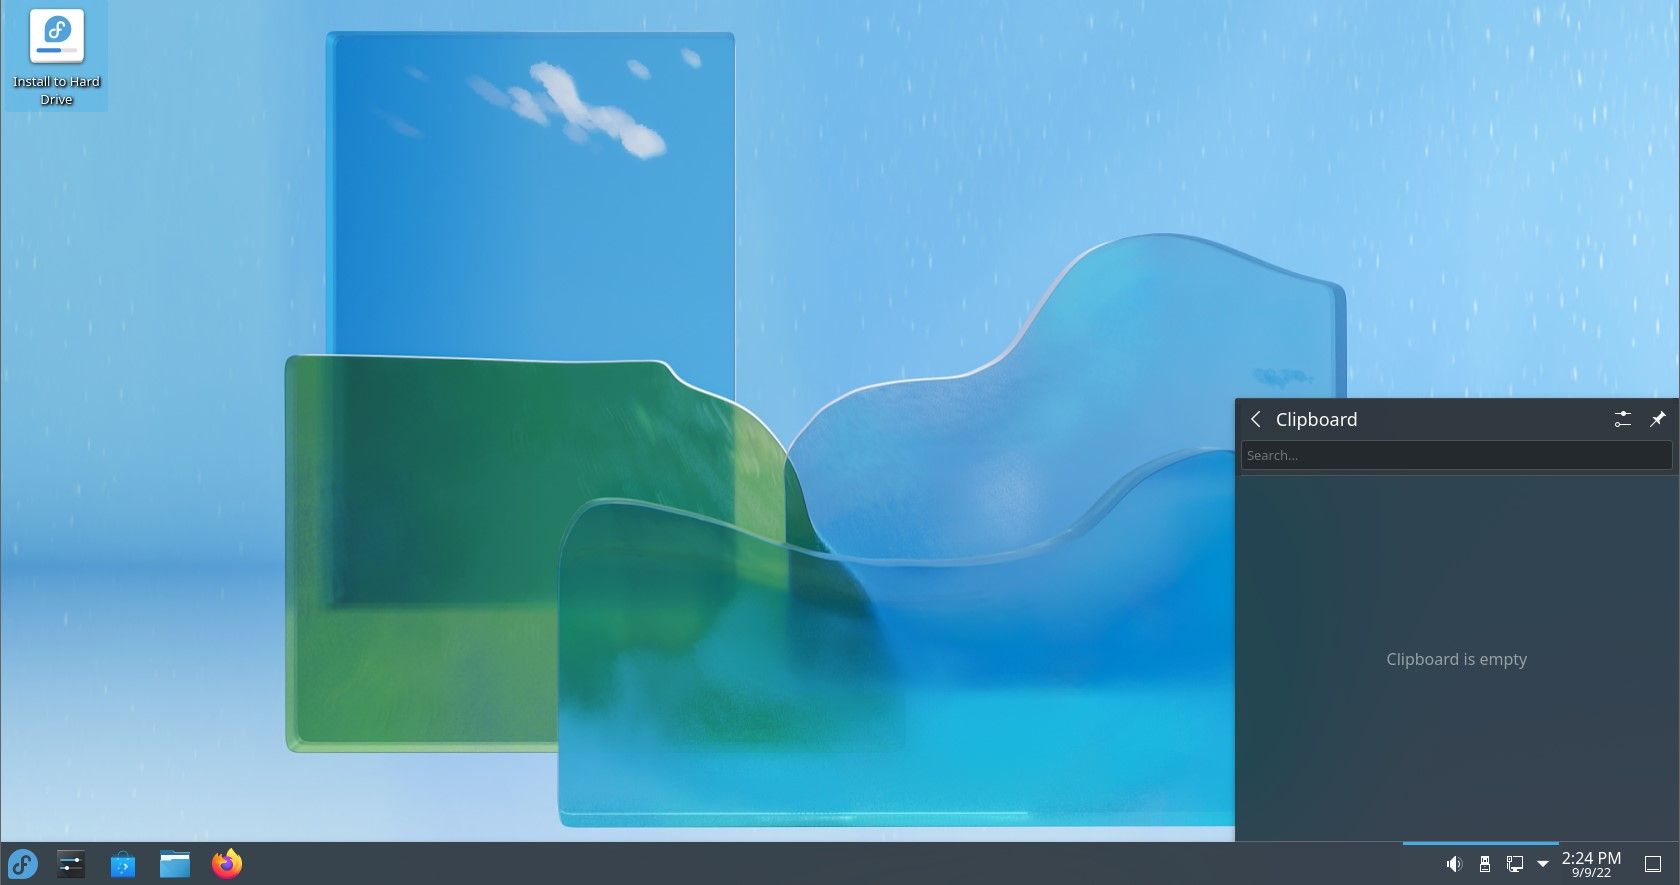
Klipper is a clipboard manager that’s built into Plasma. You can access it using the Ctrl + Shift + V keyboard shortcut to open the clipboard history.
Click on the Klipper system tray icon to open the clipboard manager, where you can search for past clipboard entries, add new ones, and remove entries as you see fit.
The clipboard manager integrates with various applications, so you can quickly copy and paste content between apps.
Unraveling the Hidden Features in KDE Plasma
There are a series of KDE-based distributions that continue to provide excellent features to the end-users. From varying applications to a multi-faceted set of themes and hidden settings, there is always something to look forward to.
There are plenty of KDE-based distributions available for people who want to try the different KDE flavors. You can download whichever one tickles your fancy and try installing it on your system or a virtual machine.

