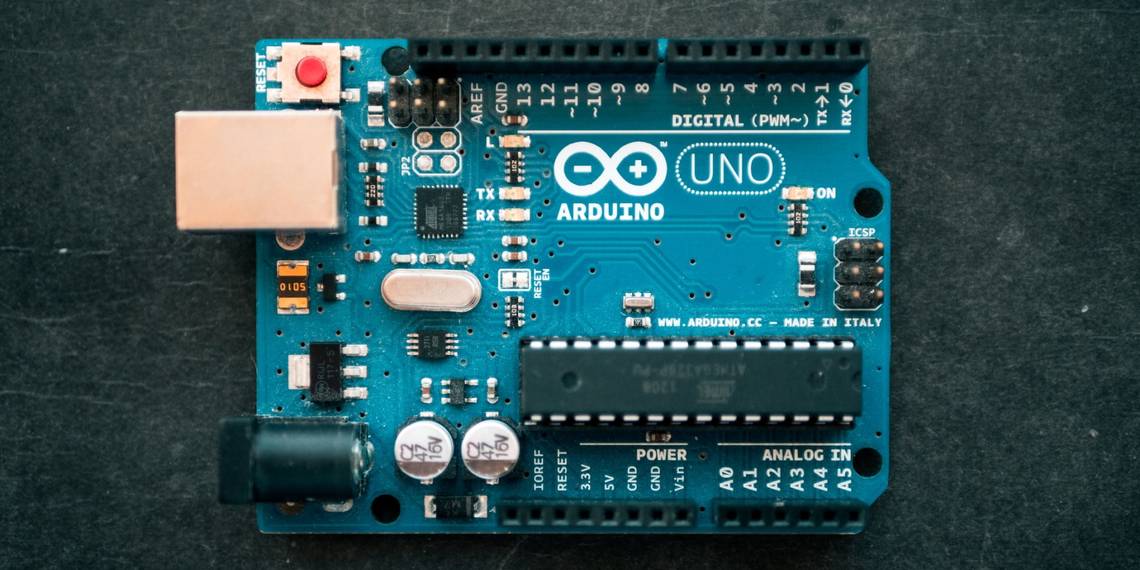
Arduino is a range of beginner-friendly development boards. You can find many components that are compatible with these boards, such as an FM radio module.
If you got yourself an Arduino board but you're unsure where to start, we're here to help. Below, we'll look at some noteworthy radio projects you can make with an Arduino!
1. Art Deco FM Radio Project Using Arduino

One of the best things about the Arduino is the wide community support available. You can find some great beginner projects to start with the Arduino, like this Art Deco FM radio! It was built using an Arduino Pro Mini. Other essential components required for this radio include an FTDI programmer, FM radio module, 3W speaker, PAM8403 amplifier module, rotary encoder, Nokia 5110 LCD, Wemos battery shield, and a 18650 battery.
The first step is to prototype the FM radio on a breadboard. Next, you'll need to 3D print some components after first modeling them in Fusion 360. Afterward, you'll need to solder all the components as per the schematic diagram. In the final steps, you'll set the required frequency in the program, and this particular frequency is saved to EEPROM memory.
2. Retro Arduino Radio

This retro-styled radio is run with an Arduino Uno. The walnut wooden enclosure houses a rotary encoder, amplifier, capacitors, 5v power supply, a seven-segment display, speaker, potentiometer, and power jack.
The Retro Arduino radio is initially built on a breadboard, and then the printed circuit board is created. Fusion 360 is used to model the faceplate along with the main body and structure of the radio, and then the remaining parts are 3D printed. Lastly, all the components are put together, and some final testing is done to ensure each part is in working condition.
3. FM Radio Receiver Arduino TEA5767

This is a simple FM radio receiver built using the TEA5767 FM radio module. The essential components include an Arduino Nano, FM radio module, Nokia 5110 LCD, 10K potentiometer, audio amplifier, 3W speaker, large breadboard, audio cable, jumper wires, FM transmitter, and power bank. This project relied on the FM radio module, the TEA5767 radio chip that uses the I2C interface. This entire FM radio receiver was built on a breadboard.
4. DIY Si4730 All-Band Radio

The DIY SI4730 is a simple Arduino-based world-band radio receiver. Based on the Arduino Nano R3, this specialized radio covers LW, SW, MW, and FM bands. It uses the I2C protocol, and the code was based on the Si4735-I2C-R4 library.
A PAM8403 class D mini digital amplifier board was used for cheap audio output. Other essential components include a Si4720 radio module, 16x2 LCD screen, rotary encoder with push button, development boards, 0.25W speaker, ferrite rod, and slide switch
5. MKR FOX 1200 Weather Monitor

The Arduino MKR Fox 1200 board is at the heart of this weather monitoring station, capable of measuring temperature, humidity, air pressure, and luminosity. It is also fully battery-powered, which makes it relatively portable.
Other essential components include a Bosch atmospheric pressure sensor, HTU21D humidity sensor, and a TSL 2561 digital luminosity light sensor. In addition, the following apps and online services also assist in making weather monitor devices: Arduino web editor, ThingSpeak API, and Sigfox.
This device is powered by two AA alkaline batteries and utilizes the services of two cloud services, namely Sigfox and Thingspeak, with a custom configuration.
6. RDA5807 Mini Stereo Radio

Next on the list, we have a mini stereo radio made with the Arduino Nano R3 and an RDA5807 mini stereo radio module. As far as essential components go, you'll find a Nokia 5110 LCD screen, tactile switch, resistors, PAM 8403 D-class amplifier module, speaker, and rechargeable lithium-ion battery.
The RDA5807M sports a fully integrated synthesizer, intermediate frequency selectivity, RDS/RBDS, and an MPX decoder. Furthermore, this mini stereo radio supports I2C control. Additionally, the maker provided code for better connectivity of the RDA 5807 radio module via 1MF coupling capacitors connected to the D-class amplifier board. This entire assembly is enclosed in a PVC plastic box.
7. Pi-Arduino Internet Radio

As its name suggests, this internet radio is based on the Raspberry Pi and Arduino. It features an LCD screen, with the entire code for its functioning written in Python—it uses the nanpy library to communicate with the Arduino board that controls the push buttons and the screen. This unit uses a simple Sainsmart LCD keypad shield for the Arduino.
8. Iron Man Walkie-Talkie (Two-Way Radio) for Texting w/LoRa

This Iron Man-inspired two-way radio or walkie-talkie has a green LED shining from the middle of its design. You can use it to send text messages!
On the device, you'll find a 4X4 keypad, RYLR 998 LoRa module, an Arduino Uno, and a Nokia 5110 display. There's also a power jack and an external battery. To create the PCB, the maker used KiCad, and the programming was done using the Arduino IDE.
9. RC Controller

This project demonstrated the process of making an RC controller that communicates using a 2.4 GHz radio signal. The essential components include the Arduino Nano R3, a joystick, nRF24Lo1 transceiver module, female and male jumper wires, machine screws, and a 9v battery.
A 3D printer is required to print certain components of the RC controller. The step after printing involves mounting the Arduino Nano and battery to the main body of the RC controller with screws. Note that the code uses various libraries such as SPI, Mirf, nRF24L01, and MirfHardwareSpiDriver.
10. Open Ocean Buddy Locator

With this ocean buddy locator, you can keep track of your buddy's location in the water without having to radio in and get their direction! So it comes in handy when the radio signals are sometimes unavailable underwater.
The key components for this device include the Sony Spresence camera board, nRF24 module, OLED module, SparkFun logic level converter, Arduino Nano R3, Adafruit NeoPixel Ring, Adafruit triple-axis accelerometer, magnetometer, boost converter, and lipo module.
While the Sony Spresense handles the GPS data, controls the nRF24L01 module, OLED display, and communicates between the devices, the Arduino is responsible for reading the magnetometer and controlling the NeoPixel Ring. The unit has a LiPo protection circuit with a 2.4V cut-off to ensure nothing catastrophic occurs when the battery's voltage falls too low.
Which Arduino Radio Project Will You Tackle?
If you're still reading this, chances are, you found something you like among these beginner-friendly radio projects. You can adapt some of the projects we discussed here by using a different Arduino or Raspberry Pi model. However, if you're new to this, we'd suggest starting with a simple radio project and working your way up from there.