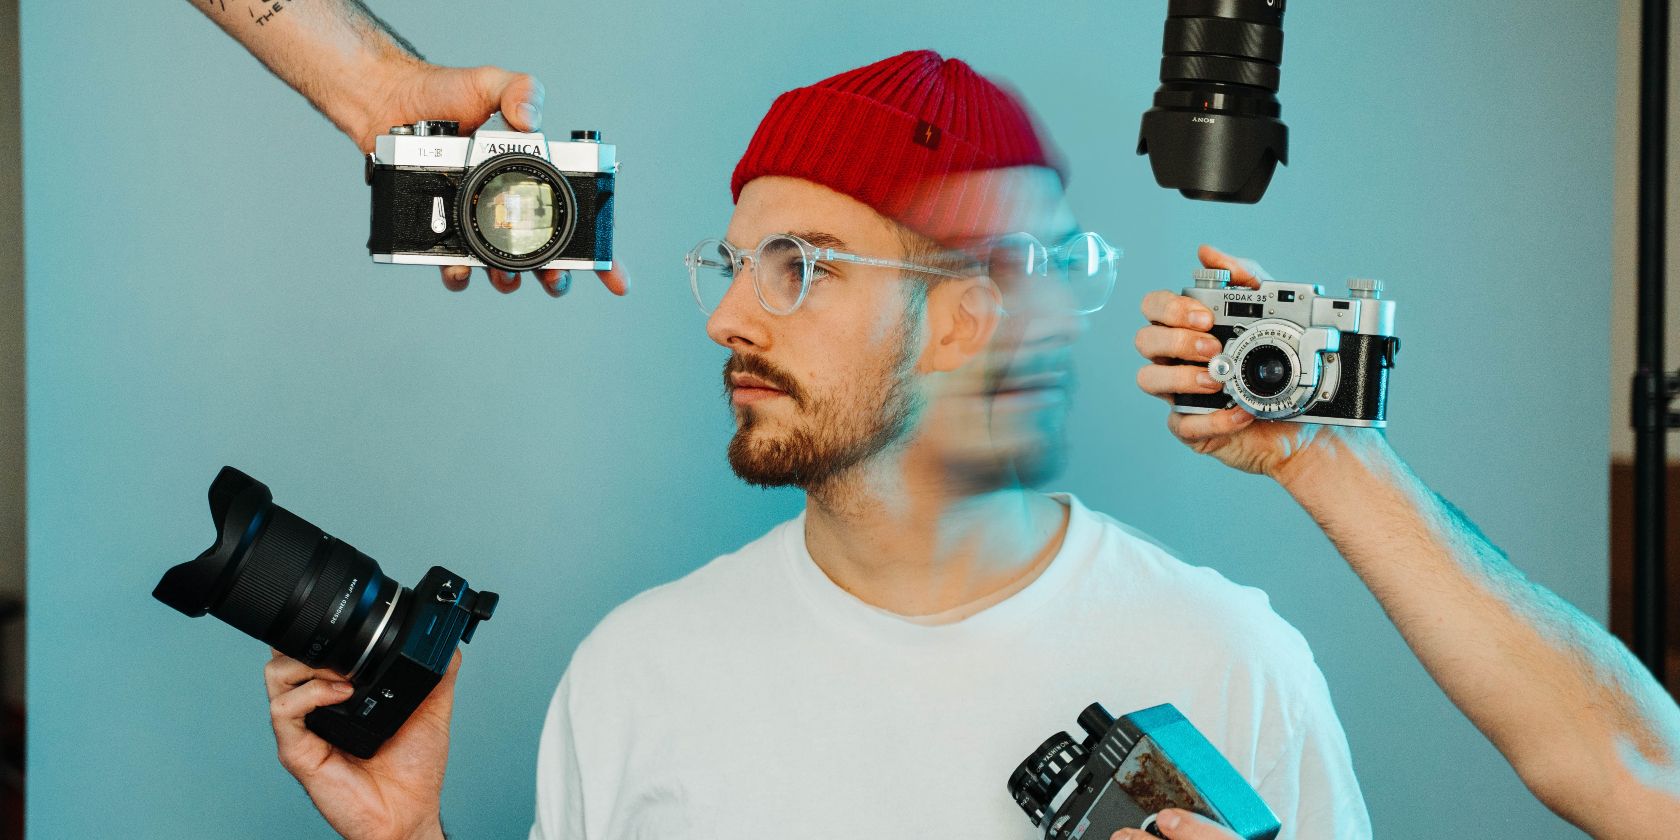
If you’ve only taken photos with a smartphone before, you initially find your first DSLR or mirrorless camera daunting to use. Modern cameras have plenty of valuable features to help you take better pictures, but learning all of them is sometimes tricky.
To help you reduce the learning curve, we’ve put together a list of the 10 most important settings to consider. You’ll find all of these on almost every camera.
1. Manual Mode
When you first get your camera, you’ll probably use auto mode for most of your images. But at some point, you will desire a little more creative freedom. When that happens, you should strongly consider turning to the manual mode camera setting.
Manual mode gives you control over your camera’s ISO, aperture, and shutter speed. You can take pictures in several different styles, including darkening your images for more of a moody look. On the flip side, you can also overexpose them to create a dreamy effect.
2. In-Camera Image Altering Settings
Everything is set to the factory default when you first buy a new camera, and you can easily capture images that look stunning with these settings. However, you might also find that you’re unknowingly limiting your opportunities. Luckily, most modern cameras let you tweak the look of your images when taking them.
You can tweak several settings in your camera, including contrast and sharpness. Most devices will also let you play with highlights and shadows. On top of that, you can decide to saturate or desaturate your images as you feel necessary.
3. Continuous and Single Shooting Modes
Mastering the different shooting modes on your camera is often quite challenging if you’re a beginner. And in some instances, you can easily go through an entire photography career without shooting in continuous mode. But in some cases, you will need to switch things up.
Almost every digital camera has continuous and single shooting modes. When you set things to single, your camera will only take one picture when you click the shutter. In continuous mode, however, you’ll take multiple images at once.
Continuous mode is handy when photographing fast-paced scenes, such as street photography and sporting events. It also gives you a little leeway if some of your pictures are blurry.
4. ISO
ISO forms part of the exposure triangle, and understanding how it impacts your pictures is crucial. As a rule of thumb, you want to keep the number as low as possible; the more you increase it, the more grain you’ll receive in your picture.
When you increase or decrease your ISO, you’ll have to alter your aperture and shutter speed to compensate. The number you set will depend on your scenario; you must raise it when photographing in low-light conditions.
5. Camera Profiles
When you take photos with a digital camera, you can choose whether you want your files to be in RAW or JPEG. Many photographers shoot in JPEG + RAW, giving them the best of both worlds. While RAW gives you more to work with in post-production, JPEGs are great for easy sharing.
Many camera manufacturers, such as Fujifilm, let you add profiles to your images in the camera. These effectively work as filters and will automatically apply to any JPEGs you shoot. You can do so during the post-production phase if you want to add them to RAW files.
6. Focus Modes
When photographing subjects with your camera, you’ll often use autofocus mode—especially if you’re a beginner. But sometimes, knowing how to use the other versions can help drastically.
Manual focus can work very well when you aren’t photographing a fast-paced scene. Examples include real estate photography and capturing products. On the flip side, you’ll want to use a focus mode that follows your main subject for sports and wildlife photography.
If you’re capturing portraits, check to see whether your camera has an autofocus mode that automatically tracks faces.
7. Shutter Priority
Manual mode is an excellent tool for helping you capture the results you want. However, in other circumstances, you might need to use other settings on your camera. If you’re photographing fast-moving subjects, shutter priority is an ideal alternative.
As you might have expected from the name, shutter priority puts the shutter speed first. Your camera will then automatically adjust the ISO and aperture. Many sports photographers use shutter priority mode, especially in faster events like soccer and racing.
8. The Lighting Meter
Many beginner photographers take a lot of time to understand individual settings on their cameras. But at the same time, they can often overlook the lighting meter—one of your device’s most crucial features.
The lighting meter tells you how under or overexposed your picture is and typically ranges from +3 to -3. The further above zero, the more overexposed your image. On the flip side, your picture becomes more and more underexposed when you go below zero.
To master the technicalities, keep the meter as close to zero as possible. However, you can bend the rules a little if you want a more unique effect.
9. Aperture
Aperture is one of the first camera settings you should learn. The feature determines how much or little of your image is in focus, and you’ll commonly hear it referred to as an F-stop.
The wider your aperture is, the lower the number on the F-stop; less of your picture will be in focus. If you want to achieve a “bokeh” effect or something similar, you’ll typically widen the aperture quite significantly.
On the flip side, a closed aperture will bring more of your picture into focus. If you’re photographing landscapes, you might want to opt for that end of the scale. The camera lens you choose will determine how much room you have to play with.
10. White Balance
Even if you get every other technicality right, your picture will still look a little strange if you don’t get the white balance correct. And while you can fix the issue in your editing software, doing so is sometimes a little annoying.
You’ll find plenty of ways to enhance your white balance when sifting through your camera options. For example, you can adjust the Kelvin meter—making your picture warmer or darker. Alternatively, you can enable auto white balance. Many photographers choose to control it by photographing something white and using that as the basis, too.
Get to Grips With the Basic Camera Settings
If you’re a beginner, you’ve got plenty of camera settings to learn—but understanding the basics doesn’t take too long. You’ll also find that some are more useful to you than others, and you will naturally learn those most important to you with practice and time.
With the proper camera settings, you basically minimize the work you need to do while editing your images in post-production. After all, time is money for professional photographers.

