Reinstalling or upgrading your Linux distribution? Use Aptik and take your existing application packages, data, and settings with you.
When you install or upgrade your Linux system, you not only need to configure your system from scratch again, you also have to install your favourite applications, repositories, and in-application settings and configurations.
So, we introduce a tool called Aptik, that can help you by back up your PPAs, installed software, application settings, and much more in just few clicks.
What Is Aptik?
Aptik is a tool that backs up and restores system settings, applications, and data to migrate them from one Linux installation to another. Aptik supports Debian, Ubuntu, Fedora, Arch, and their derivatives.
You need to keep the following things in mind before moving on towards the Aptik installation and features:
- Use Aptik for only fresh installations. It is not recommended to restore system settings on an existing system.
- Use Aptik to migrate between installations of the same distributions. For example, from Ubuntu 20.04 to 20.10. Using the Aptik restore option within different distributions will cause issues as the packages and repositories names vary in different distributions.
- Similarly, Aptik restores feature should be used between installations of the same architecture (from 32-bit to 32-bit or from 64-bit to 64-bit) as the package name and repositories will differ according to the architecture.
How to Install Aptik and Aptik GTK
To install the Aptik, add the Aptik PPA repository by running the following command in the terminal:
sudo apt-add-repository -y ppa:teejee2008/ppa
Now update your system and install Aptik and Aptik-GTK:
        sudo apt-get update
sudo apt-get install aptik
sudo apt-get install aptik-gtk
An Alternate Installation Method
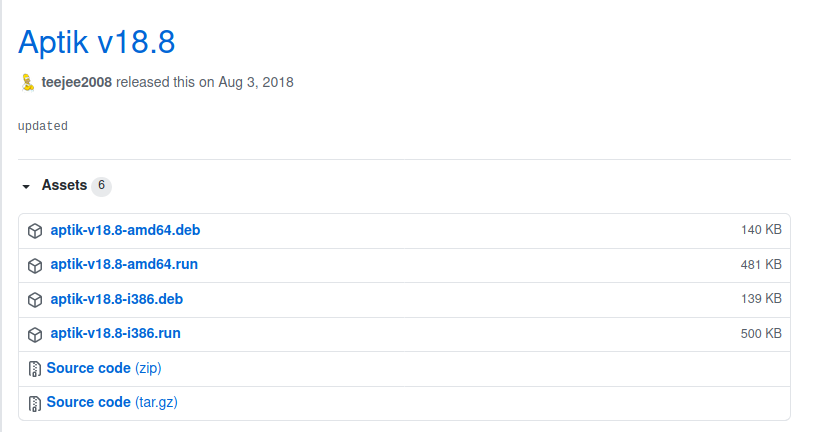
If you are having issues with adding the Aptik PPA repository, go to the Aptik GitHub release page and download the DEB file from Aptik's latest version.
Now open the terminal, navigate to the DEB file location and run the following command to install Aptik:
sudo apt -y install ./< file name>.deb
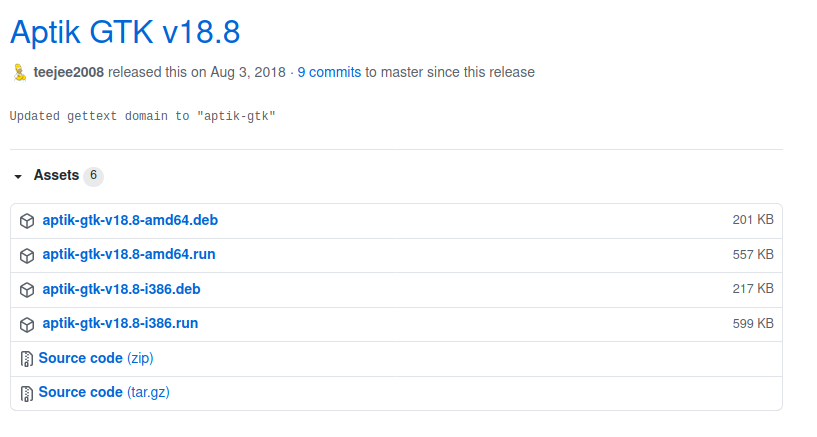
Similarly, download the Aptik GUI tool called Aptik-GTK from the Aptik-GTK GitHub release page and install its DEB file.
Open the terminal and run the command after inserting the file name.
sudo apt -y install ./< file name>.deb
Aptik Features
Aptik backs up and restores quite a few feature items.
Repos, Cache, and Packages
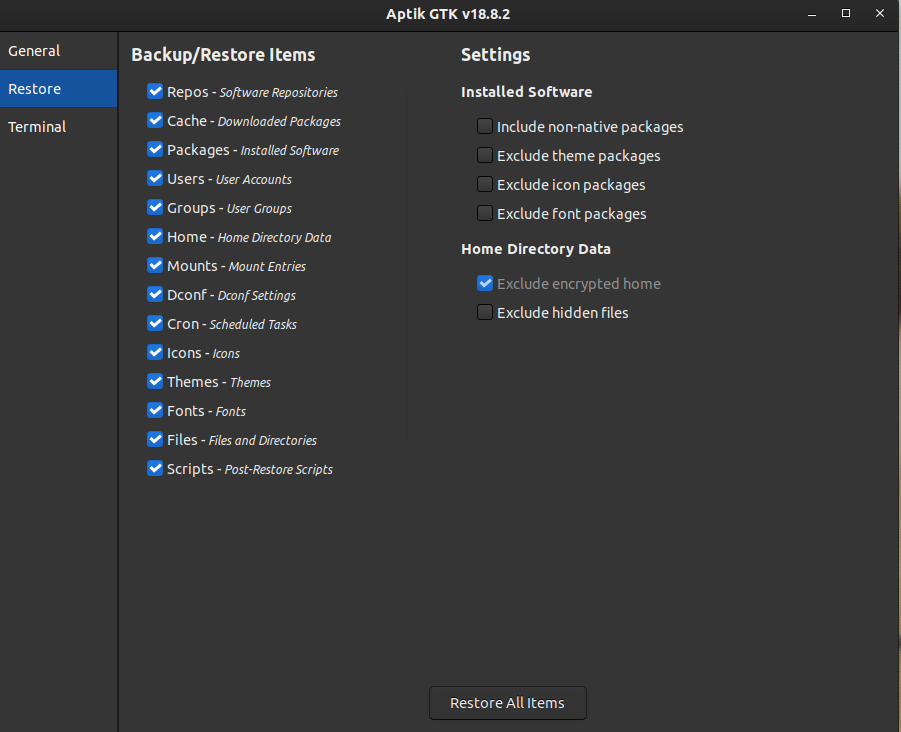
All these features help in migrating PPAs, packages, and repositories but their functions are not the same. For example, Repos will only backup/restore a list of extra software repositories that are added to the system.
The cache will backup and restore downloaded packages themselves from the package manager cache. This will save the time it takes to download packages while restoring. Likewise, Packages saves and reinstalls a list of software packages that were installed by the user.
Users and Groups
The User and Groups feature migrates the list of users, groups, and group memberships with account settings like password and directory path, etc.
Home
The Linux Home directory maintains user data and user-specific configuration files. Aptik's Home feature compresses and saves data from user home directories in the backup folder.
Mounts
This feature backs up and restores device mount settings in /etc/fstab and /etc/crypttab. /etc/fstab is a system configuration file that stores static information about the disk drive and defines mount options and points. /etc/crypttab is also a system configuration file that maintains a list of encrypted devices to be unlocked during system boot-up.
Cron
Scheduled tasks for every user are migrated through backing up and restoring their cron tasks.
Icons, Themes, and Fonts
All installation of icons, themes, and fonts libraries are placed in the /usr/share directory. Aptik will backup and restore these directories to preserve the icons, themes, and fonts.
Terminal
An internal Command Line Interface is provided within Aptik GTK for those who are more comfortable with using CLI.
Backup System Data With Aptik
Before new installation, you need to backup your system packages, settings, and data. This backup later will be used to migrate your system settings to the new system.
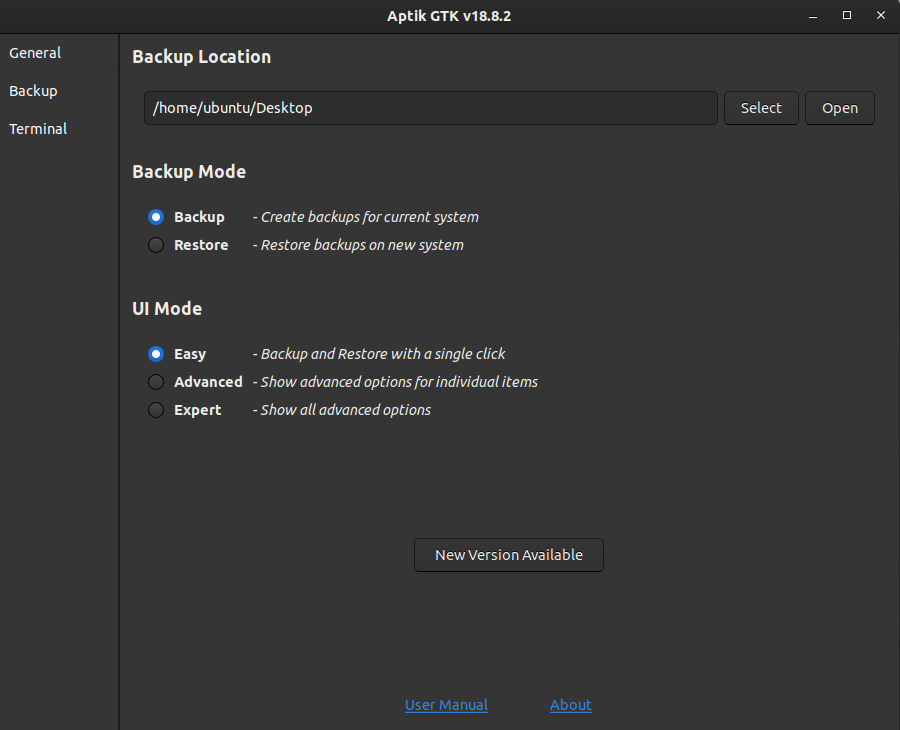
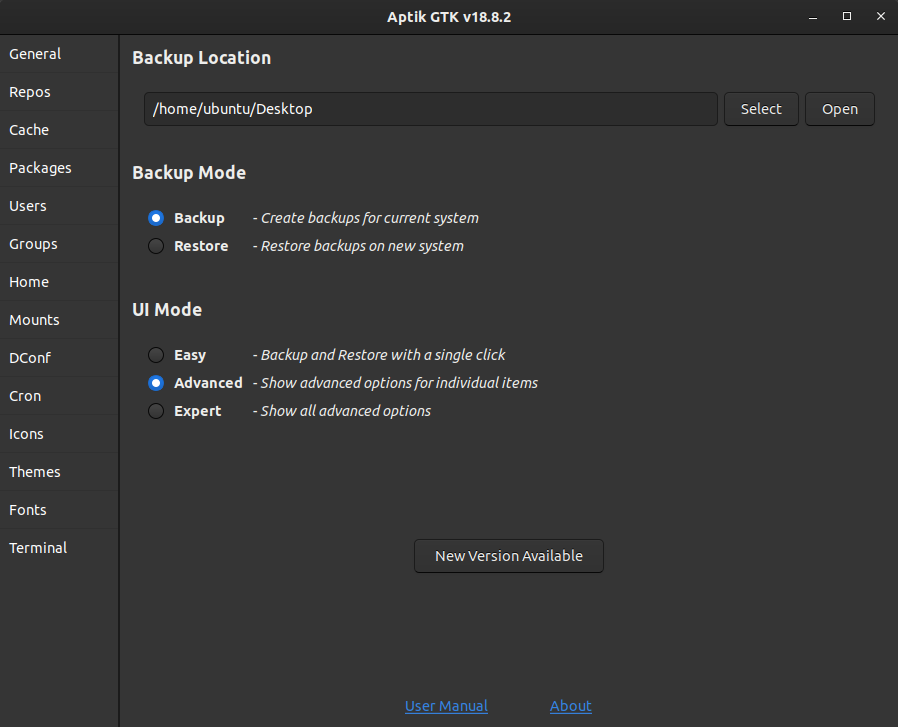
Launch Aptik GTK. Select Backup in the Backup Mode. Provide a path to the folder where you want your backup in the Backup Location.
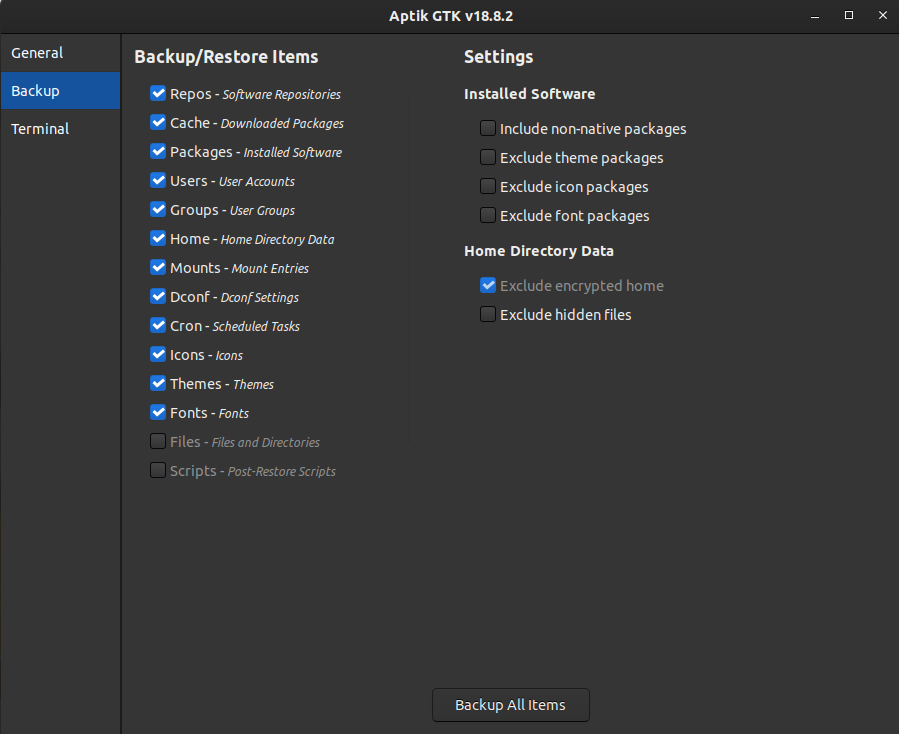
Now select Backup from the left panel. You will be presented with all the backup items and features we have discussed above. Check backup items to customize your backup or click on the Backup All Items button to backup all items.
Choose Advanced or Expert in the UI Mode to further customize your backup.
Restore System Data With Aptik
After fresh installation you can restore your system settings and data with Aptik. Launch Aptik GTK from your new system.
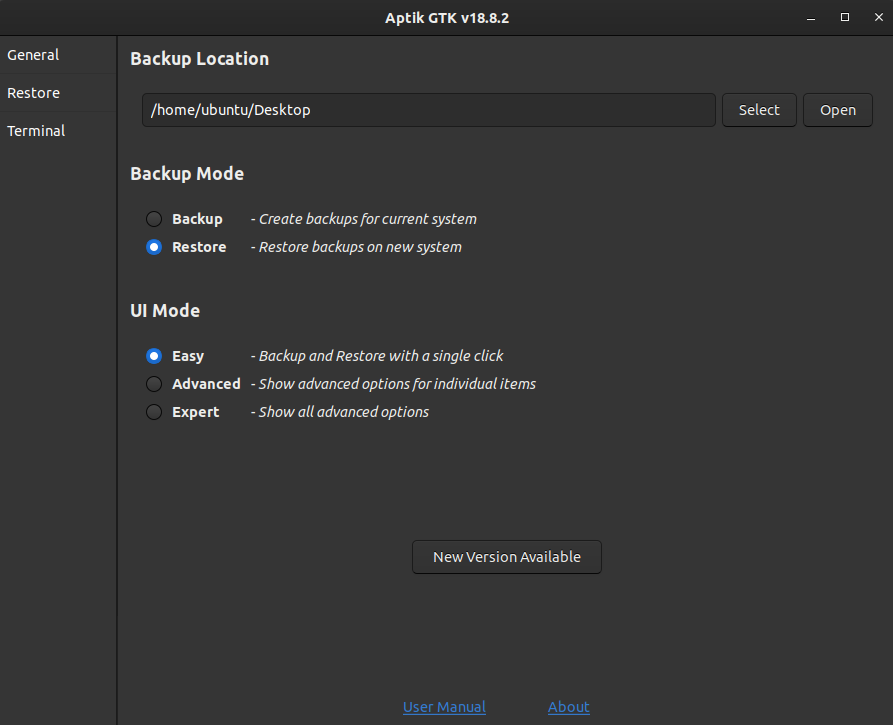
Provide a backup folder path in the Backup Location then Select Restore under Backup Mode.
Now select Restore from the left panel. You can pick and choose what to restore here or you can also decide to restore all items in one click through the Restore All Items button.
Once the restoration is complete, restart your system. On the restart, you will notice all the applications and user settings are the same as your previous installation.
Note that some PPAs and packages might be excluded by default in restore if the new installation comes with the same packages.
Aptik and Aptik GTK Uninstallation
Once you are done with the Aptik restoration, you can uninstall Aptik by running the following commands in the terminal.
        sudo apt-get remove aptik
sudo apt-get remove aptik-gtk
sudo apt-get autoremove
System Migration Made Simple With Aptik
With Aptik, you don't have to keep track of what applications, settings and configurations you need in a new system installation. Aptik can keep your system consistent throughout different installations and upgrades and reduce setup time after installation from hours to few minutes.


