Headers are a great place for introducing your Word document, and they're also easy to use. You just need to double-click the header and type, right? Easy as it is, just like anything else, this task can get rather monotonous and annoying if you have to add the same header for multiple documents in a row.
For that scenario, or perhaps other scenarios, VBA comes in handy. Using VBA, you can write a piece of code that automatically adds the text you want to your document's heading.
Automatically Adding Text to Document Heading With VBA in Word
VBA or Visual Basic for applications is an integrated form of Visual Basic used in Microsoft Office apps. VBA allows you to write codes to create macros, which in turn automates tasks that you otherwise would have to do manually. VBA even lets you create your own custom buttons and features for Microsoft Word.
In this article, we're going to create a macro and write a code for it, which will add custom text to the document's header. Headers are a useful section in Word documents, and you can get a lot out of headers in Microsoft Word.
As an example, we're going to create a code that adds the text Written and Published by MakeUseOf to the header. We're going to make this text bold, and align it to the center of the document.
1. Accessing the Developer Tab
The first step in creating Word macros is accessing the Developer tab from the ribbon. This tab is disabled by default, as macros are reserved for advanced users. Downloaded macros are an easy way for hackers to access and install malware on your system, so Microsoft has decided to block them by default.
With that being said, you'll have to enable the Developer tab from the Options. Of course, if you have used macros before, the Developer tab will already be available, so there's no need to do this all over again. If it's your first time working with macros and VBA in Office programs, it's a good idea to read our guide on how to start using macros in Word.

- In Microsoft Word, go to the File menu.
- Select Options. This will open the Word Options window.
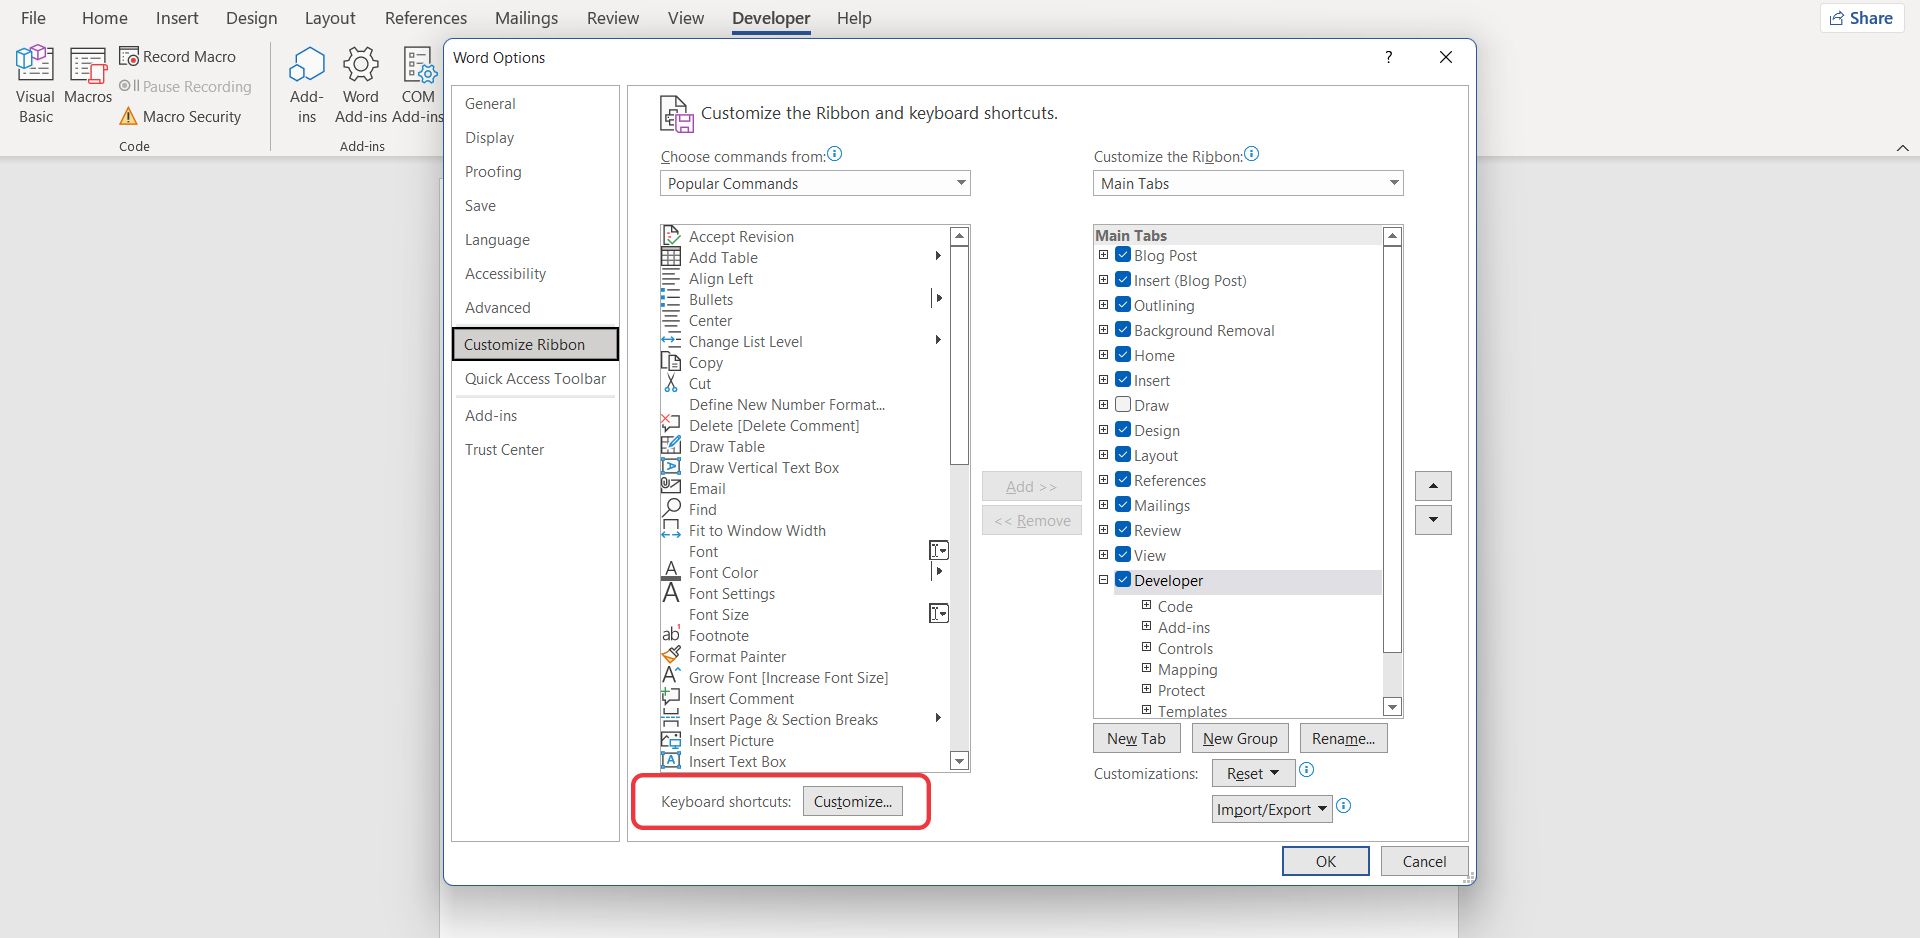
- In the Word Options window, select Customize Ribbon.
- On the right, under Main Tabs, scroll down and check Developer.
- Click OK.
Now you'll see the Developer tab in the ribbon, right between View and Help.
2. Creating the Macro
Now it's time to get your hands dirty with a macro and some code. Once you create a macro and write the code for it, you can assign a shortcut to it so that you don't have to go to the macro menu every time.
This way, you can further boost your productivity since you'll only press a key combination on your keyboard, and the magic will happen behind the scenes.

- Go to the Developer tab.
- Click on Macros from the Code section.
- Enter a name for your macro. We're going to name ours muoHeading.
- Click on Create.

Once you click Create, a new window will pop open containing two lines of code, and an information line. The Sub and End Sub lines mark the start and end of your macro's code. Insert the code below between the two lines:
        Dim headerRange As Range
Dim headerText As String

 Set headerRange = ActiveDocument.Sections.Item(1).Headers(wdHeaderFooterPrimary).Range

headerRange.Text = "Written and Published by MUO"
headerRange.Font.Bold = True
headerRange.ParagraphFormat.Alignment = wdAlignParagraphCenter
The Dim statement in this code declares the headerRange and headerText variables as a Range and a String respectively. Next, the Set statement sets the headerRange variable to the current active document's header.
The Set statement first accesses the current active document, then its sections, then the first item and the headers in it. Finally, it accesses the primary header in Word, and then sets it as a Range.
Once these two are declared, the headerRange text is set to the text we want. In the next line, the font is set to be bold, and then in the final line, the paragraph alignment is set to center. The parameters starting with “wd” indicate that the parameter is exclusive to Microsoft Word.
The Sub and End Sub codes are not included in this snippet above, as you're supposed to paste the code from the snippet between these two. Your final code should look like the image below:

3. Using the Macro
Once you've set up the code, you're ready to use the macro. There's no need to save it; anything that you type in the VBA workspace is instantly saved. Now it's time to set up a shortcut for the macro and see if it works!
- Go to the File menu.
- Select Options.
- Select Customize Ribbon.
-
Click on Customize next to Keyboard shortcuts at the bottom of the window. This will open the Customize Keyboard window.
- In the Customize Keyboard window, scroll down in the Categories list and select Macros.
- On the right menu, select your macro.
-
Click on the text box under, Press new shortcut key.
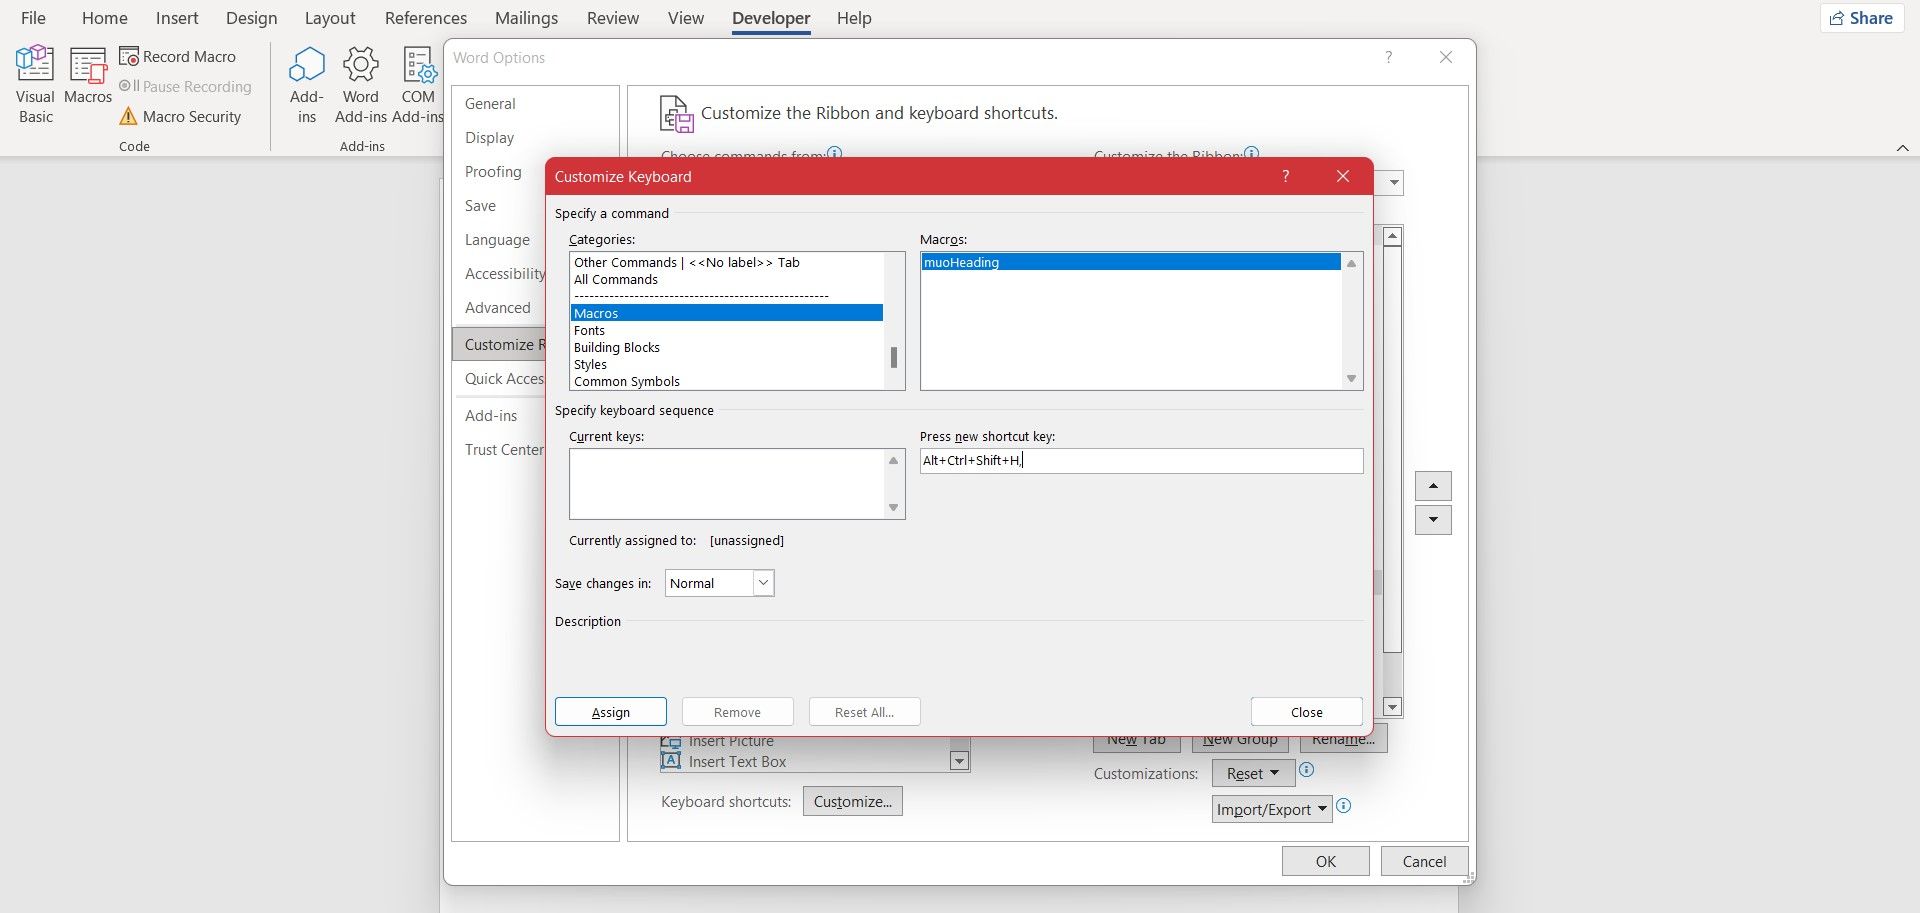
- Enter the key combination on your keyboard. It's a good idea to use Ctrl, Alt, and Shift at the same time. This way, the combination probably won't be already in use. We're going to use Alt + Ctrl + Shift + H.
- Click on Close and then click on OK.


Now it's time to see the magic at work. Press the key combination that you just assigned to your macro on your keyboard. Hopefully, you'll see the text in your header! Bold and centered! If things don't go as planned, trace your steps and check your code for mistakes.
Whenever you want to change the text that the code adds to your heading, you can just go to the macros menu and edit the macro. If you're curious about the default Word shortcuts, take a look at our Microsoft Word keyboard shortcuts cheat sheet.
Automate Your Workflow
It's true that adding text to a document's header in Word takes little effort, but little effort in big quantities can get monotonous, if not difficult. Anyway, if you can make it easier and less time-consuming, then why not do it?
VBA exists to serve such purposes. If you were wishing for a Word feature that would automatically add a custom text to any document's header, you don't need to wish anymore. With VBA, you can create any feature that you deem Word lacking. Adding text to a document's header is just a minuscule example of what you can accomplish with VBA in Word.
Now you know how to write code for this purpose and assign a shortcut to it. So all you need to do is press a key combination, sit back, and observe as Word does the boring job for you in milliseconds.