
Adaptive Brightness uses the sensors in your Android phone to detect changes in ambient light and adjust the brightness of your screen accordingly. However, sometimes, the auto-brightness stops working, forcing you to make manual brightness changes.
In this article, we take a look at a few troubleshooting steps to help you diagnose the problem and restore auto-brightness on Android to its working state.
1. Turn Off and On Adaptive Brightness
If you haven’t already, try turning off and on auto-brightness to fix this problem.
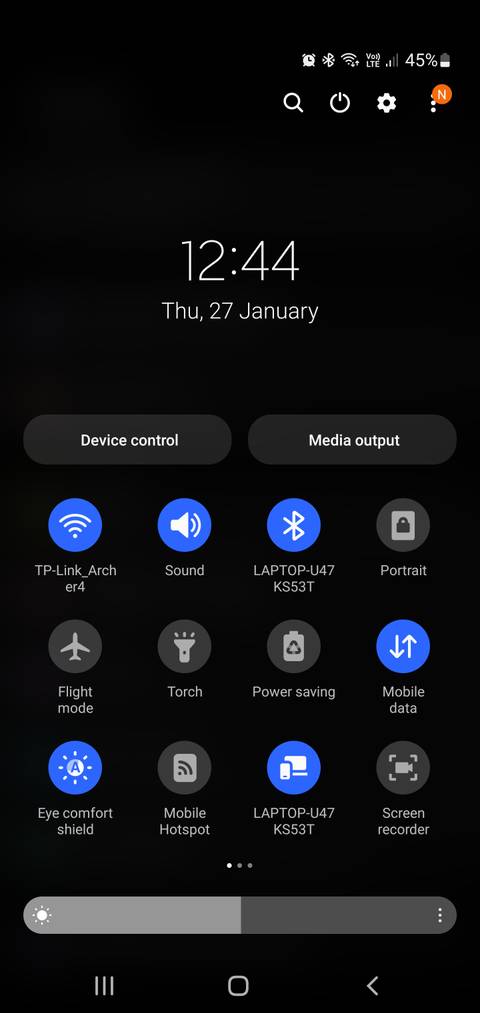
Every phone is different, but you can often enable or disable Adaptive Brightness from the Notifications panel. To do this on a Samsung phone, swipe down the notification panel and tap on the See more tab (down arrow icon). Then, toggle the switch to enable Adaptive Brightness.
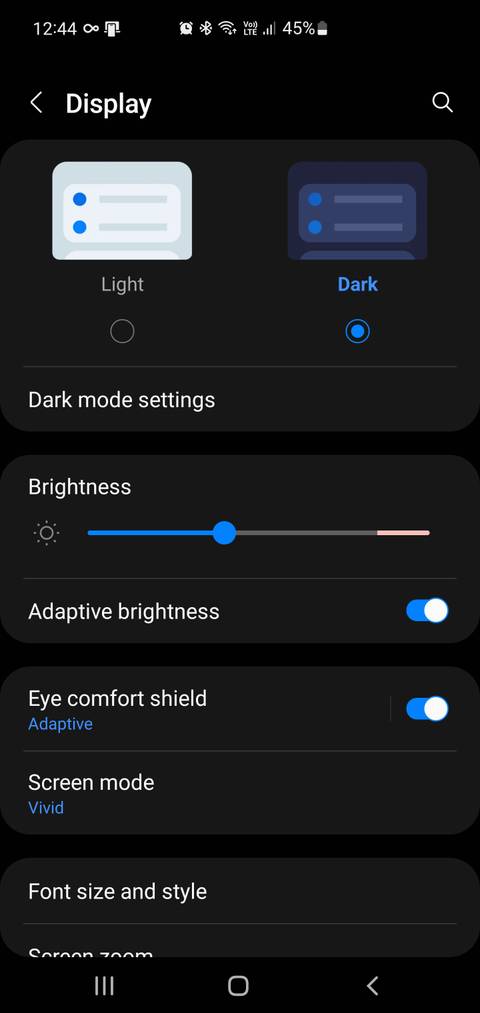
Alternatively, go to Settings > Display and set Adaptive brightness to On or Off.

2. Reset Adaptive Brightness to the Factory Default
Adaptive Brightness keeps track of your manual brightness adjustments and applies them automatically in similar lighting conditions. However, issues with your brightness preference data can cause the auto-brightness to malfunction.
An easy solution here is to reset Adaptive Brightness to its factory default settings. You can do this using Google’s Device Health Service app that comes pre-installed on most Android phones.
To reset Adaptive Brightness to factory default:
- Swipe down to access the Notifications panel and tap on the Settings icon. You can also access Settings from the app drawer.
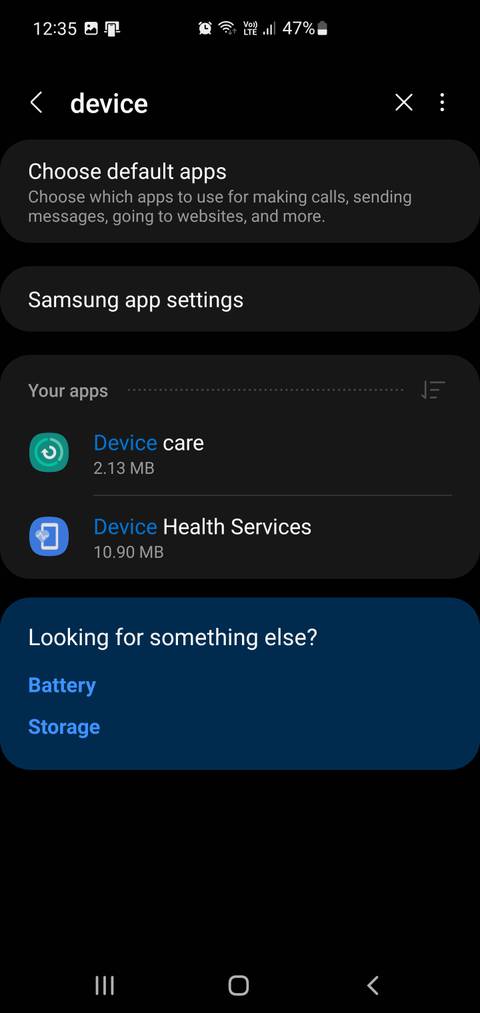
- In Settings, scroll down and tap on Apps or Applications and view all the installed apps.
- Next, scroll down and locate the Device Health Service app. You can also use the search function to locate the app.
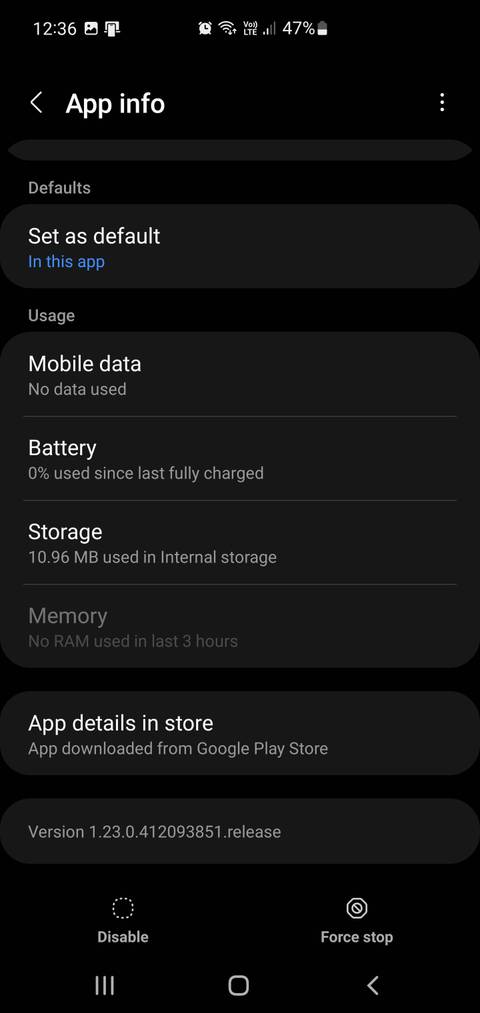
- In the Usage section, tap on the Storage option. On a Google Pixel device, tap on Storage & cache instead.
- Next, select Manage storage in the bottom left corner.
- Tap on the Reset adaptive brightness settings button and then confirm the action. This will reset your auto-brightness settings to their factory default.
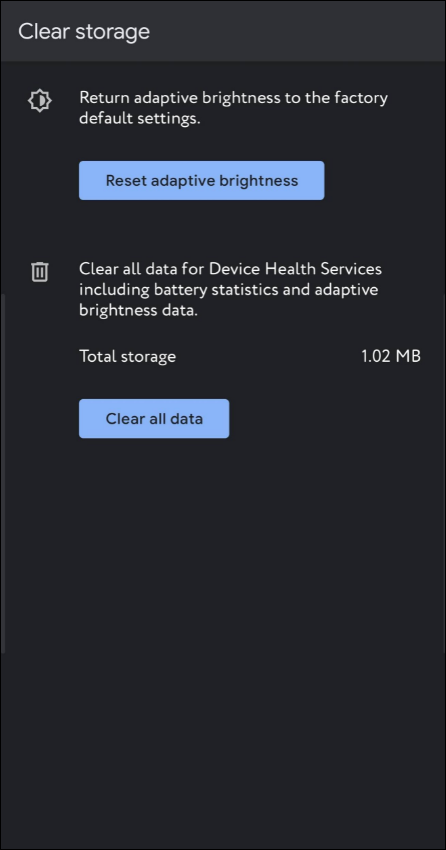
Once the reset is complete, you may see your display dim a little or more depending on your current brightness level. Now Adaptive Brightness should start working as normal and learn from your inputs on the go.
3. Install Pending Device Updates
If it is a prevalent issue, your smartphone manufacturer may release an update to fix the bug. Check if a new update is available for the device and install it to see if it helps fix the problem.
To update your Android device:
- Swipe down the Notifications panel and tap on Settings (the Gear icon).
- Scroll down and tap on Software update. On some phones, go to About phone.
- Tap on Check for updates or Download and install updates.
- Your phone will scan for available updates and prompt you to install any if available. Your phone will restart after the update is installed. After restart, check if the auto-brightness feature is working again.
4. Use a Third-Party Brightness App

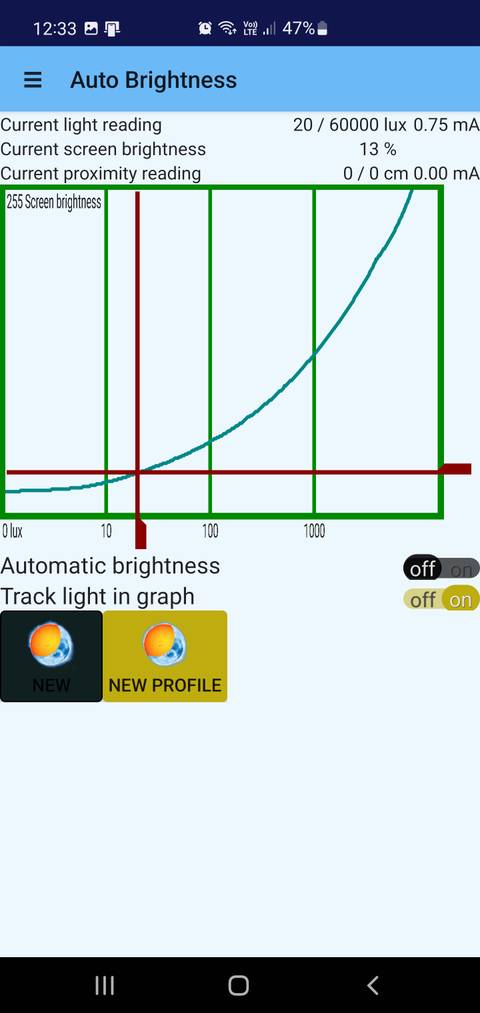
While you wait for a bug fix, consider using a third-party auto-brightness app such as Velis Auto Brightness. It replaces your phone’s default auto-brightness function and allows you to customize the brightness graph to fit your need.
Furthermore, Velis Auto Brightness allows you to create multiple user profiles, add apps to the exception list, and choose between different sensors such as the brightness sensor or proximity sensor to measure light levels.
Download: Velis Auto Brightness (Free, in-app purchases available)
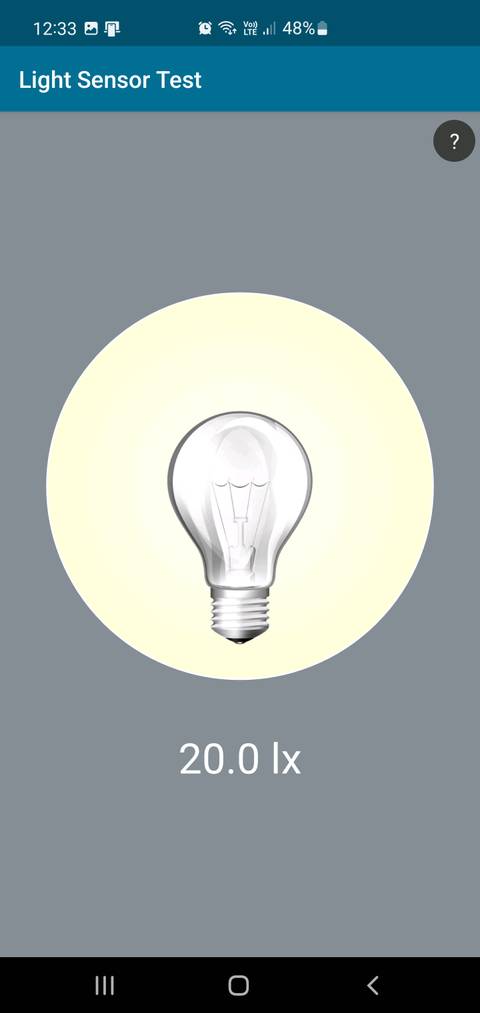
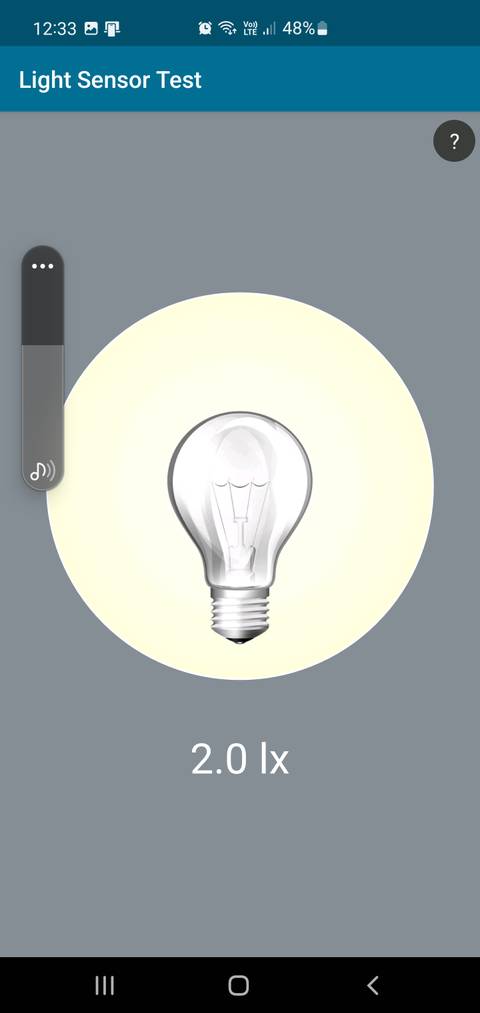
5. Perform a Sensor Test
A malfunctioning sensor can cause the auto-brightness feature to stop working. You can perform a routine test for the light sensor to detect hardware issues.
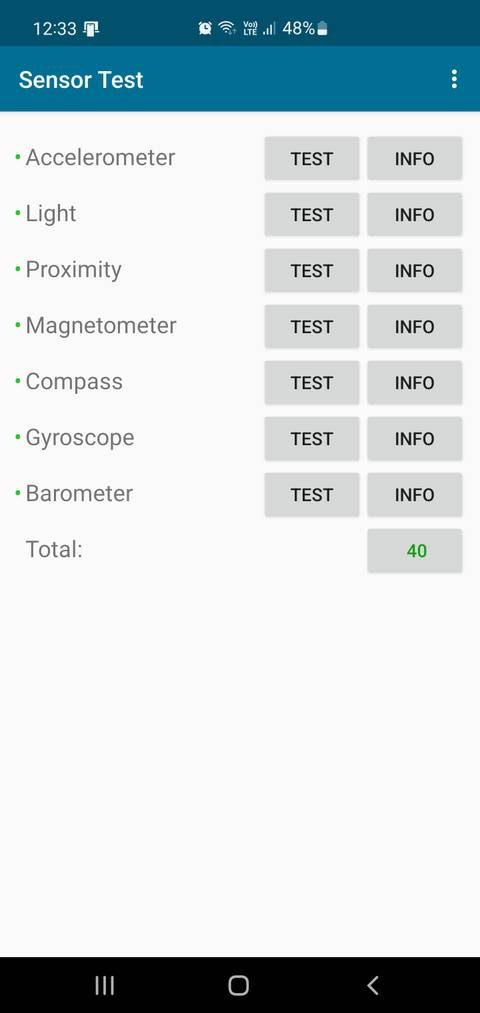
While some phones have a built-in option to test phone components, third-party apps such as Sensor Test work on all Android devices.
Download: Sensor Test (Free)
To test the light sensor on your Android phone:
- Install and launch the Sensor Test app and provide the necessary permissions. It will populate your screen with all the detected sensors.
- Tap the Test button for Light sensor.
- Now, move your palm closer to the light sensor. If the value decreases as your move closer to the light sensor, then your light sensor is working correctly.
- If the value stays constant, you may have a hardware issue that needs fixing.
Restore Adaptive Brightness in Android
Adaptive Brightness in Android can stop working for several reasons. To troubleshoot the problem, reset Adaptive Brightness settings in the Device Health Service app. If not, perform a routine sensor test to detect hardware issues.
If the sensors are working, try using third-party Android screen brightness apps as a workaround until a permanent fix is released.