We've all heard what audio clipping sounds like, some of us just might not understand what it is beyond an ugly, distorted sound. And not the cool, heavy metal guitar type of distortion; audio clipping is never intentional. It's the type of sound that makes people scrunch up their faces and put their fingers in their ears.
So why does this happen? And what can you do to prevent it? We're going to give you the 101 on audio clipping, as well as show you how to fix it in a DAW.
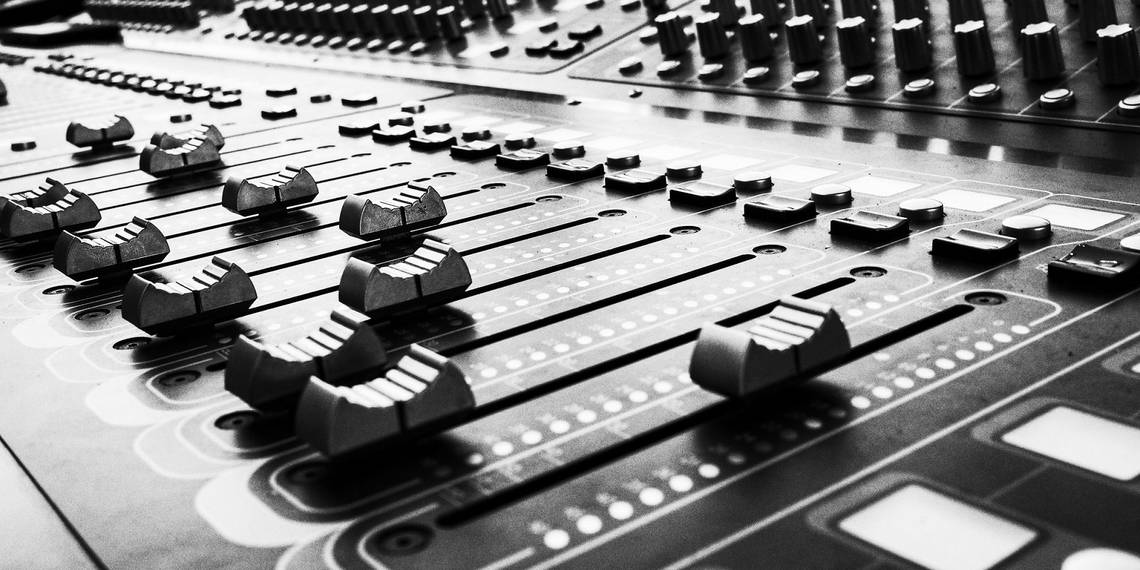
Don't fret, you don't need to be a sound engineer for this; if you have access to a device that can download any audio editing program, you'll be able to follow along with these methods.
What Is Audio Clipping?
Audio clipping is a waveform distortion. When an audio input or output is pushed beyond its maximum limit, it will go into what's known as "overdrive". An overdriven signal will force a speaker or amplifier to produce a higher output voltage than it's designed to; that's when we hear clipping.
You'll be able to "see" audio clipping on a DAW via the level meters. If it's in the green, you're good. Yellow means you're entering headroom. And red means it's starting to clip.
Let's quickly dive into the technicalities...
Headroom, simply put, is the amount of wiggle room you have before the audio clips. Digital audio has a maximum decibels full scale of zero (0 dBFS). For example, if a recording is at a peak level of -16dBFS, it's 16 decibels (dB) below full scale. That space between -16 and 0 is the headroom; the bigger the distance, the more headroom.
Not every audio editor will let you view the exact peak levels, especially the less advanced ones. But if you're only here to learn how to get rid of distortion and don't care about the engineering stuff, knowing the dBFS isn't vital. You'll still be able to gauge headroom and clipping by keeping an eye on the level meters, which is the only thing that matters.

When audio surpasses its headroom, the smooth rounded peaks of the sine wave get cut off and become a square wave with flat peaks (shown above). This is what results in those jarring hisses, clicks, and loss of detail, aka distortion.
Why Should You Care About Audio Clipping?
Audio clipping just sounds bad; it will make for a very unpleasant listening experience. If this happens to an audio file that you intend to make public or profit from, that's bad for your reputation. Not to mention, many people struggle with sensory overload, so clipping might be triggering for them.
Apart from sounding bad, audio clipping is also harmful to your listening equipment. Volume is directly linked to the voltage output, so when the signal goes into overdrive, it will heat up the physical components more than it's supposed to, potentially damaging them.
How to Fix Audio Clipping in Your DAW
As soon as the audio exceeds its headroom, it will clip. In order to maintain healthy, breathable headroom, you need to have reasonable levels for the audio files in your DAW. We're going to show you a few ways you can keep those levels in check.
For this, we're using Audacity because it's a free, open-source, cross-platform, and easy-to-navigate DAW. The principles remain the same globally, so feel free to use whichever program you'd like. You can even use a mobile audio editing app for Android or iOS.

Last thing before we dive in; ensure you know where the level meters are. It's usually one or more horizontal or vertical bars that spike up and down during playback—they're pretty obnoxious so it's hard to miss them. This is what you'll be monitoring while making adjustments. The goal is to keep the bar from going red and be cautious of the yellows.
1. Turn Down the Gain

Gain refers to the master/main volume control. Yes, it's that simple. This should be the first thing you do before considering more complicated editing techniques.
It will either be represented with a slider or a nob which is usually bigger compared to the other tools and controls, and they typically have plusses and minuses, or it will say "dB" or "Gain".
Once you've found it, hit the playback button, and start turning it down until no parts of the audio make the bar go red in the level meter.
2. Play With EQ

With most audio, there will be specific frequency ranges that dominate the mix. For example, if you're mixing a song that has loud mid-range frequencies (around 500 Hz to 2 kHz) dominating the track, that might be what causes the entire thing to clip.
So instead of turning down the master volume, you can single out those frequencies by opening the equalizer. If you don't have a trained ear, you can turn them down one by one, while keeping an eye on the level meter during playback, to see which ones are the culprits.
3. Add a Compressor

Ever watched a movie where the dialogue is annoyingly soft but then you get a jump scare when there's a car crash and rush to turn down the volume? Compressors exist to aid this dilemma.
They reduce the dynamic range of the audio, which is the range between the softest and loudest parts. This results in a cleaner sound and makes for an easier listening experience.
Compressors feature several controls that might be overwhelming if you don't have a more advanced understanding of audio mixing, so we're only going to focus on the threshold for now. But feel free to mess around with those controls and see how it affects the audio.
The threshold is the level at which the compression is "activated". By turning the threshold down, you reduce the likelihood of clipping. For example, if you set the threshold to -20dB, the signals above that level will be compressed. But don't turn it down too much, or the result will sound muffled.
Don't Let Distortion Ruin Your Tracks
The three methods we've covered here are the most common and simplistic fixes to audio clipping. Limiters are another option; they work similarly to compressors. And for more advanced mixing, it might be worth investing in a De-Clipper.
The next time your audio sounds distorted, you'll know why. Refer back to this article to fix it.