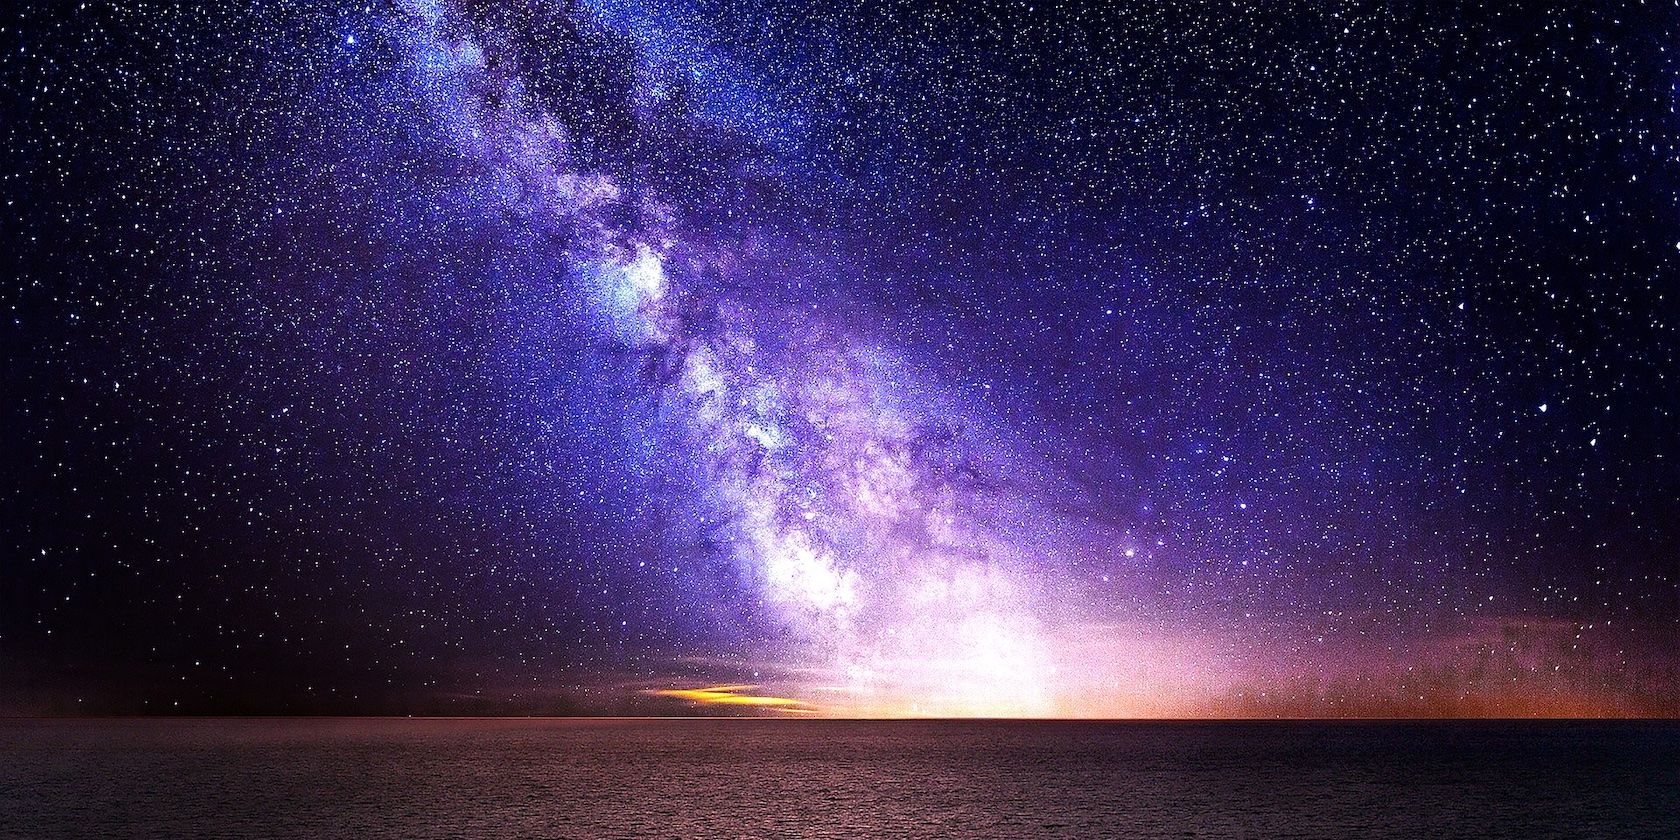
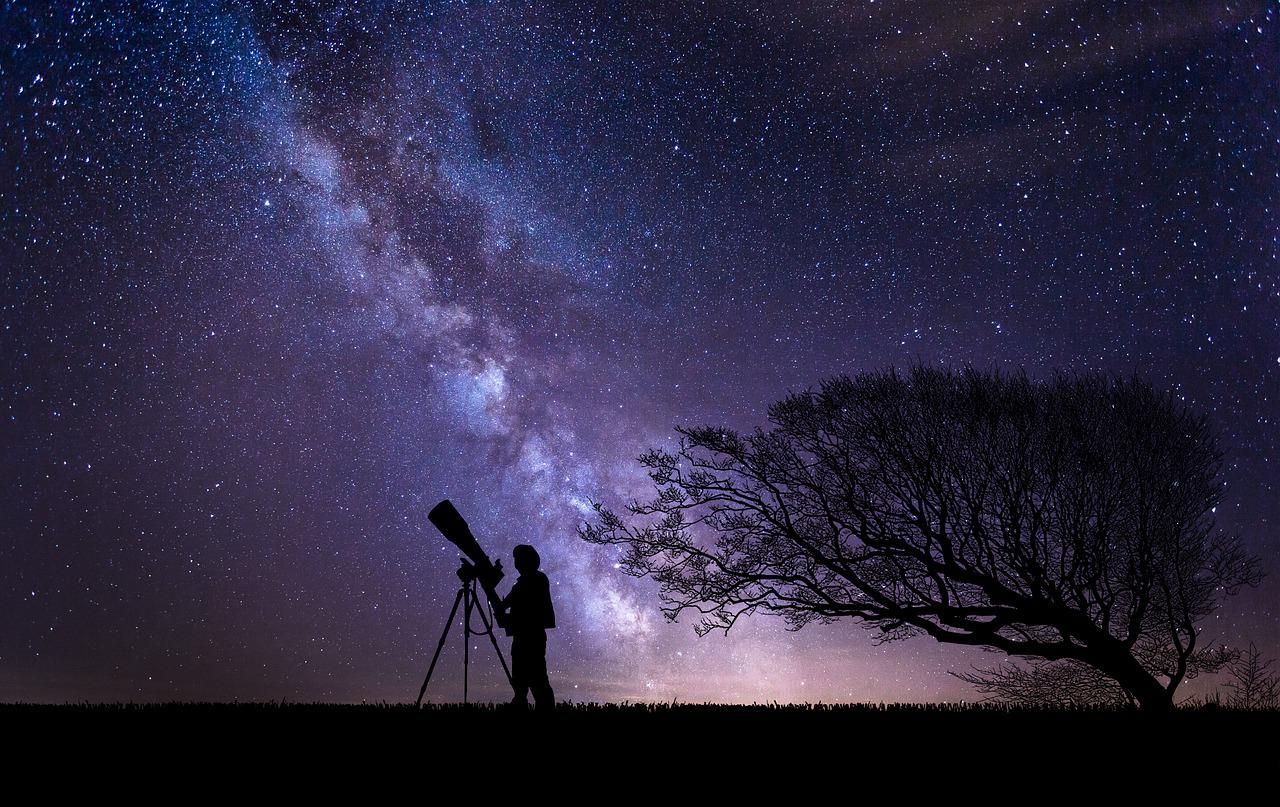
Taking breathtaking astrophotos is probably the dream of most photographers. But, it is easier said than done. Astrophotography is a specialized photography genre that requires special equipment, proper planning, and a whole lot of trial and error—not to mention the long nights!
It is not for the faint of heart, but the end result can be so rewarding.
So, are you up for it? If you're keen on becoming an astrophotographer, here is a list of things you may want to start adding to your camera bag.
1. Choose a Camera With High ISO Capability
With astrophotography, you will be working in the dark. If you don't have the latest DSLR or a mirrorless camera that can handle high-ISO, your images will be laden with noise.
Sure, you can edit the noise in post-production. But if you're using a camera that is a few years old, the noise can be too much to edit.
You don't need a professional camera, but any recent model with an adequate resolution can be perfect for your astrophotography projects. Here's our guide to getting started with basic astrophotography.
2. Opt for a Fast, Wide-Angle Lens
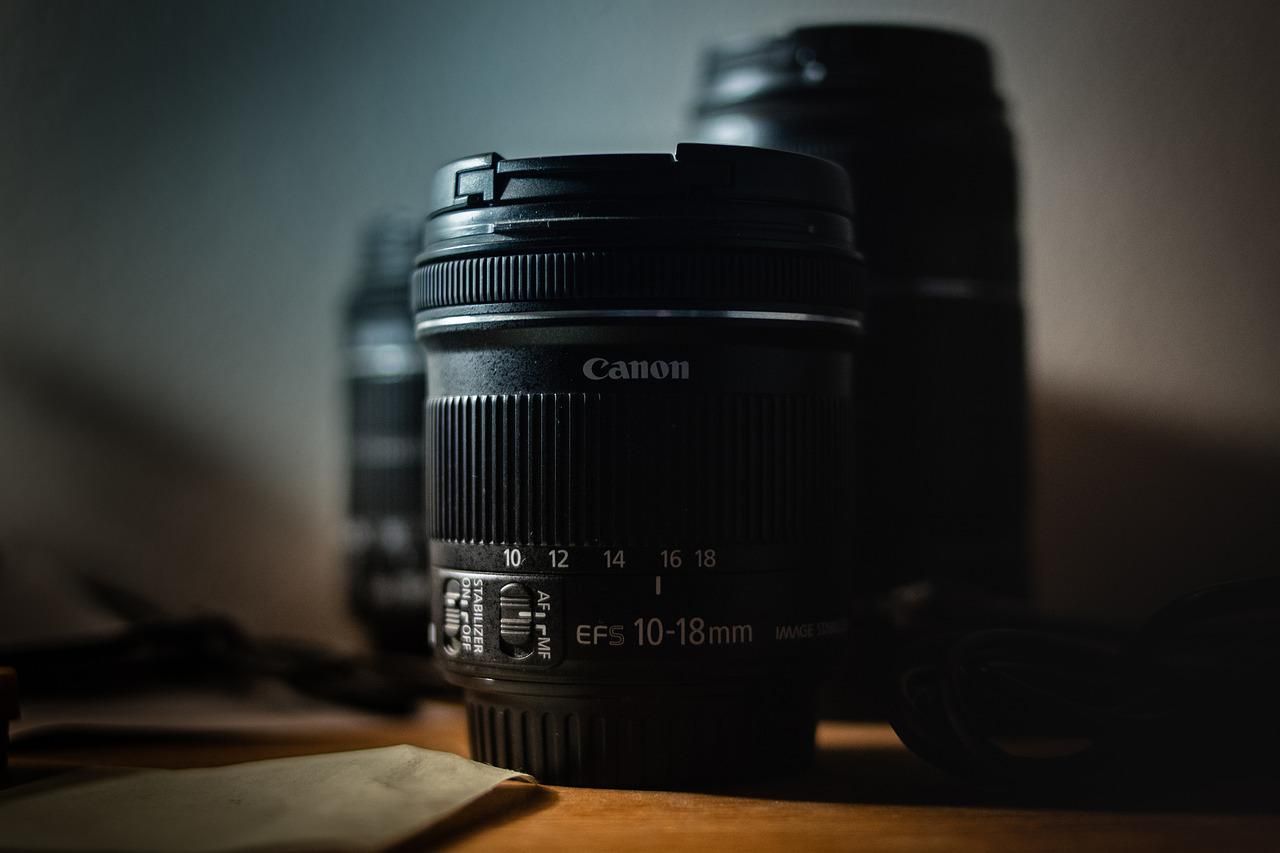
A wide-angle lens is preferred for any landscape photography, and even more so for astrophotography. You want some interesting elements in the foreground, along with the stars and galaxies.
Your best bet is to use a wide-angle lens to photograph the sweeping view of the night sky. Choose a lens with a focal length wider than 24mm.
Also, you want to invest in a fast lens with a wide aperture to let more light into your camera. Look for an aperture of f/2.8 or wider. Check out our roundup of the types of lenses every photographer needs here.
3. Keep Steady With a Tripod
When shooting astrophotos at night, a tripod is a must. You don't want inexpensive, brittle tripods. You have to look for a sturdy tripod from a reputed company. Here are our tips for finding the best tripod for your needs.
Often, you will be hiking in the dark to get to the dark sky spots to take night sky pictures. So, you want a solid yet lightweight tripod that works in most types of terrains.
Look for lightweight carbon fiber tripods, which can be expensive, but your back will thank you in the long run.
4. Spot the Objects in the Night Sky With Astronomy Software
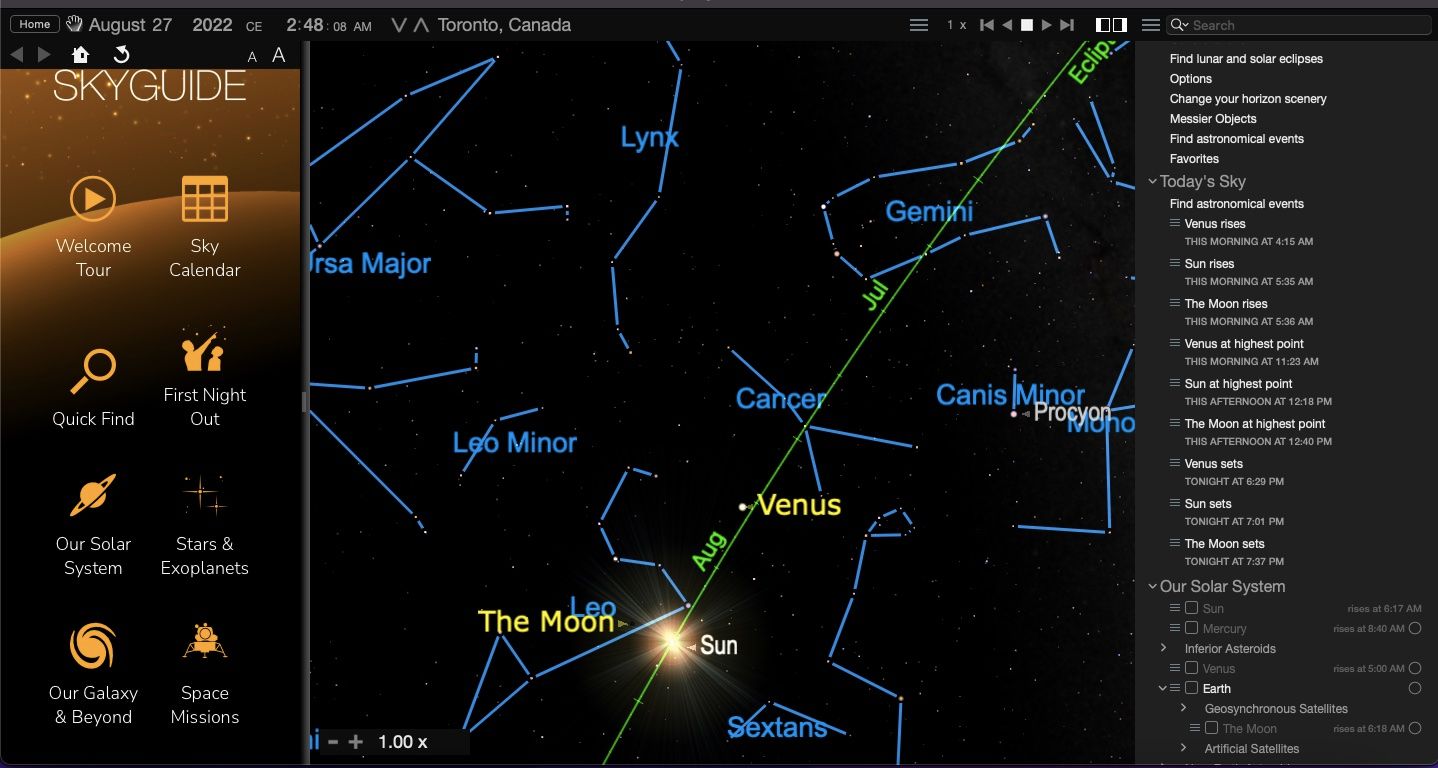
Yes, you can randomly shoot stars or star trails, but where is the fun in that? Take your astrophotos to the next level by downloading an astronomy app, and try shooting specific objects and galaxies.
If you have a super-zoom lens, you can take pictures of the moon, Jupiter, or Saturn and see the details on them. Good astronomy software can show you the exact locations of these objects.
You can use a manual star chart too, but having an app or software can be very handy, and you have one less thing to forget and leave at home.
5. Use a Cable Release to Avoid Shake
When you press the shutter button on your camera—no matter how gently you press it—your camera will shake. It is negligible when you're using a fast shutter speed, but with slower shutter speeds, it can lead to blurry photos. To avoid this, you will need a shutter release to remotely control your camera's shutter.
You can choose a wired or non-wired model. There are many inexpensive options from third-party manufacturers.
You can also use your camera's self-timer option, but a shutter release can be quick and convenient.
6. Follow the Stars With a Star Tracker
The earth is constantly rotating and this rotation is invisible to the naked eye. However, your camera will capture this movement as star trails. This is prominent when you choose a shutter speed in minutes.
You have two options if you want night sky photos with pinpoint stars. First, you can follow the NPF or 500 rule to calculate the correct shutter speed for your lens to avoid star trails. This method is not foolproof, though. Sometimes, you will find that you need to reduce the speed further for proper exposure.
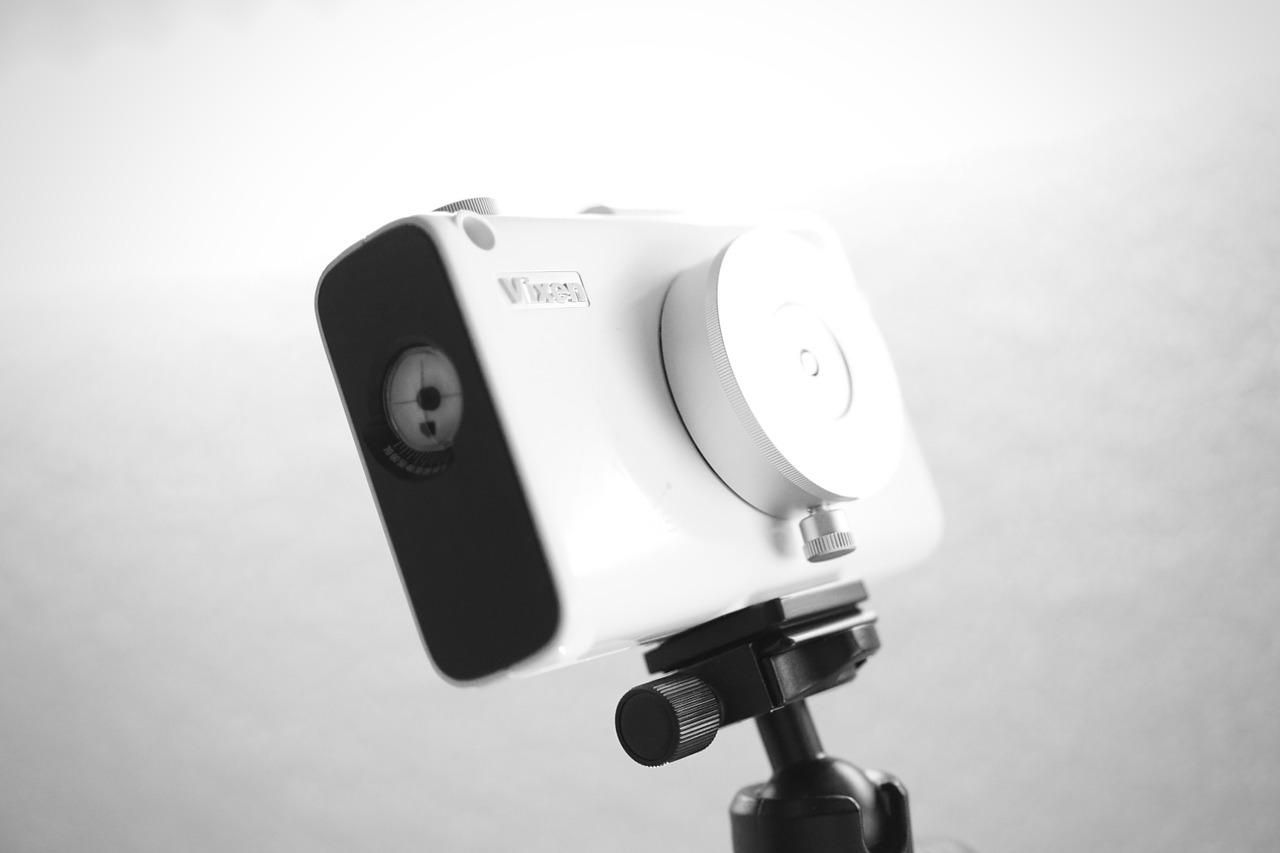
The other option is buying a star tracker. It is a device that can identify the stars your camera is pointing at and track the stars. A star tracker goes on your tripod and moves your camera according to the stars' movement.
Star trackers are not exactly cheap, but you can consider buying one if you're serious about astronomy and astrophotography.
7. Use a Light Pollution Filter
If you've tried your hands at astrophotography, you know the importance of finding a place with dark skies. Even if you're pretty far away from the city, avoiding light altogether is impossible in modern times.
A light pollution filter can help you avoid the glare and color cast by artificial lights. It can also enhance the contrast in your scene and bring out richer colors.
8. Connect Your Camera and Your Telescope
For serious astronomy buffs owning a telescope, astrophotography is pretty accessible. All you need is an adapter to connect your telescope to the camera. Instead of a lens, your camera can see through the telescope and take pictures.
It sounds simple, but there are many things to note here. First, you should have a particular type of mount on your telescope for this to work. A motorized equatorial mount is what you want on your telescope to connect with a camera successfully.
Then, you should find the right type of adapter that is compatible with your camera. There is a steep learning curve—expect to spend a considerable time researching for the proper setup.
9. Make Your Photos Shine With Post-Production Software
You already know the importance of photo editing, but astrophotography is complex, and so is the editing. You have to reduce the noise, adjust the clarity, correct the white balance, improve contrast, and many other things.
At times, you may also have to do complex stuff like focus stacking and panorama stitching. So, finding your preferred software and brushing up on your basics is a good idea.
Be Humbled by the Beauty of the Night Sky
The internet makes everything look so easy. But, for every star trail or Milky Way photo you see, there is a lot of hard work behind it.
Remember, difficult doesn't mean impossible. Start with the proper equipment, practice a lot, and never give up. You will soon see the stars shining in your photos too.

