Apple Notes makes scanning documents with your iPhone or iPad camera a breeze. Snap a photo of a receipt or document, and the built-in image processing evens out the lighting as if you used an actual scanner.
However, once these documents have been scanned into Apple Notes, getting them back out isn't as easy as you may imagine. Exporting the document as a PDF is simple enough, but if you're looking for the original image file, you may run into trouble. It can be done, but the way to export a scanned Notes document as an image file isn't obvious.
Exporting a Scanned Document From Apple Notes as a PDF
There are many powerful features in Apple Notes, but the ability to scan documents is one of the most useful features. If you're a newcomer to the app, make sure to read our beginner's guide to Apple Notes to learn how to do this.
Exporting a scanned document as a PDF has a few downsides. The main issue is that if the image you originally scanned isn't typical letter size, but something smaller like a receipt or business card, you'll have a letter-sized white background. This isn't ideal, but you can work around it.
Exporting a scanned image as a PDF on macOS is simple. All you need to do is Control-click on the image, then select Export as PDF at the bottom of the popup menu. Select a name and location to save the file, then click Save.

It's even easier to export a scanned image as a PDF on iPhone and iPad. Open the note with the document, then long-press on the document. In the popup menu, select Share, then scroll down and tap Save to Files. You can then choose where to save the PDF in the Files app on your device.
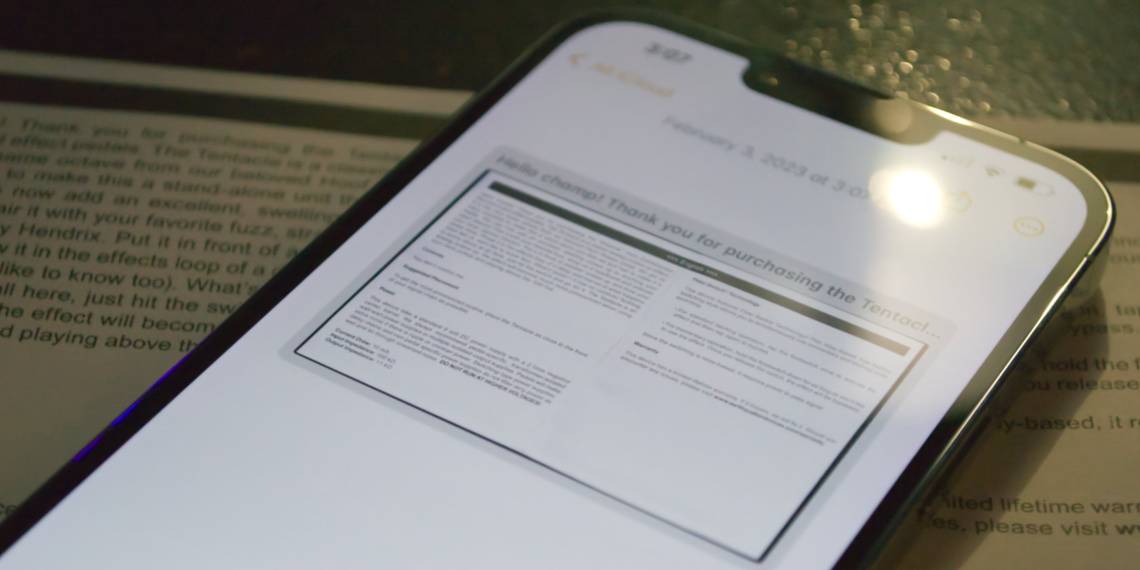
Exporting a Scanned Document From Apple Notes as an Image File
What if you need to export a scanned document as the original image file instead of a PDF? While it does exist within iCloud, you can't get to it using the Apple Notes app. Instead, you need to use the iCloud version of Apple Notes. You can do this on an iPhone, iPad, or Mac.
First, you'll want to make sure that you haven't stopped Apple Notes from syncing to iCloud. That can be useful for privacy, but it also prevents you from using this method to download scanned documents, since they never make it to iCloud in the first place.
Exporting on an iPhone or iPad
Launch Safari, or your preferred browser, then open the iCloud website and log in. You'll see a list of icons for various iCloud apps. Tap on the Notes app, then find the note with the document you want to download.
Once you've opened the note, tap on the document you want to download to open it in a popup window. Tap on the download icon (a cloud with a downward-facing arrow). You'll be prompted to either View or Download the image. To save the image to your Downloads folder, tap the Download button.
If you would rather save it to Photos, tap View, then long-press on the image and select Save to Photos.


Exporting on a Mac
Open Safari, or your preferred web browser, then head to the iCloud website and log in. Click on the Notes app in the list of available apps. Select the note with the document you want to export, then double-click on the document to show the large version.
Once you see the large version of the document you scanned, look in the upper-right corner of the popup image. Click the download icon, which looks like a cloud with a downward-facing arrow. Then click Allow on the popup if necessary. The file will save to your Downloads folder.
You Can Always Export the Entire Note
In many cases, you may never need to export a scanned document from Apple Notes in the first place. Assuming you do, the PDF export functionality is often all you'll need. Still, it would be nice to see Apple make it slightly easier to export the original image, considering it is still available in iCloud.
In the meantime, don't forget that you can export the contents of an entire note as a PDF from the file menu in macOS. You can export notes as PDF on other devices as well.