At times, when you attempt to launch an app or program, Windows may fail to open it and display the “the app didn’t start in the required time” error message. If you’re lucky, simply restarting your PC will fix the error. However, if that doesn’t work, it may require more extensive troubleshooting.
Below are some quick and easy fixes that will help fix the “the app didn’t start in the required time” error in no time.
1. Update the App
If the error in question only appears when you try to launch a particular app, the issue may be with the app itself. In that case, you can see if a newer version of the app is available on the Microsoft Store.
Open the Microsoft Store app, navigate to the Library tab, and then click the Get updates button in the top right corner. If an update is available for the problematic app, click the Update button to install it.

2. Repair or Reset the App
Another thing you can do to avoid this error is to repair the app using Windows' built-in app repair tool. This will allow Windows to scan the app for common issues and apply the necessary fixes. If you need help with this, check our guide on how to repair apps on Windows and follow the steps outlined there.
If repairing the app does not work, you may need to reset it. This is as effective as uninstalling and reinstalling it, as it erases all the app data and resets it to its default state. Check our guide on how to reset an app on Windows to fix the problematic app and see if that gets rid of the error.
3. Run the Windows Store Apps Troubleshooter
Both Windows 10 and 11 have several built-in troubleshooters that are useful for resolving common problems. In this case, running the Windows Store Apps troubleshooter can help. While it does not guarantee to resolve every app-related error in Windows, it’s a tool worth running nonetheless.
To run the Windows Store apps troubleshooter on Windows:
- Right-click on the Start icon and select Settings from the list.
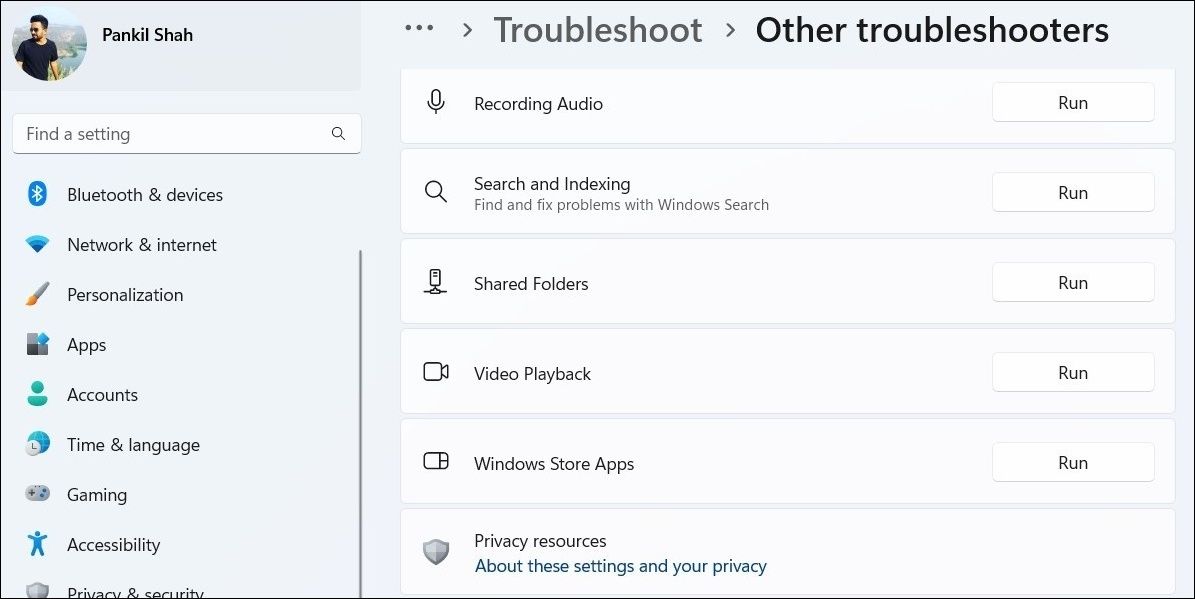
- In the System tab, navigate to Troubleshoot > Other troubleshooters.
-
Click the Run button next to Windows Store Apps.

After running the troubleshooter, try to launch your app again and see if the error still appears.
4. Enable Automatic Date and Time
Incorrect system date and time can also prevent apps from opening on Windows and result in the “the app didn’t start in the required time” error. To fix this, you need to enable the automatic date and time feature on Windows. Here are the steps for the same.
- Press Win + I to open the Settings app.
- Select the Time & language tab from the left sidebar.
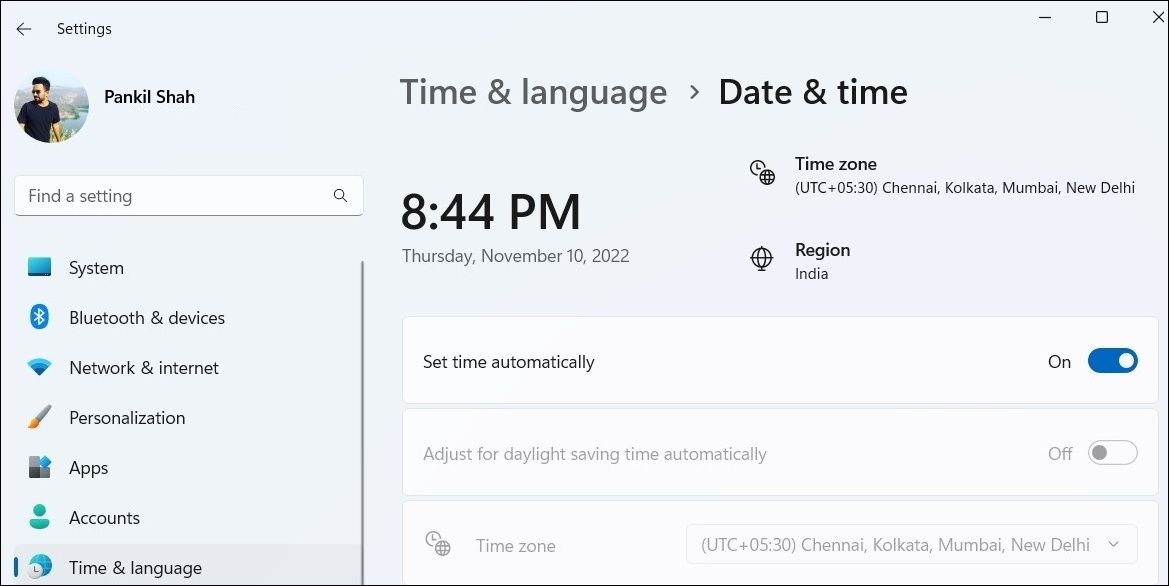
- Click on Date & time.
-
Enable the toggle next to Set time automatically.

5. Try Clean Boot Mode
There’s a chance that a third-party app or process running in the background is preventing your apps from opening. To check for this possibility, you can boot your PC in a clean boot state. For more information on this, check our guide on how to perform a clean boot on Windows and follow the steps outlined there.
If you don’t see any error while opening apps in the clean boot state, one of the background apps or programs may be to blame.
6. Install Windows Updates
Windows updates typically bring all sorts of bug fixes to your system. Hence, it’s always a good idea to install newer updates as soon as they arrive to keep your system running smoothly.
Press Win + I to open the Settings app and head over to the Windows Update tab. Click the Check for updates button in the top right corner.

Download and install any pending updates and check if the error still appears.
Get Your Apps Up and Running
Errors like “the app didn’t start in the required time” should not keep you from using your favorite apps and programs on Windows. We hope that one of the solutions listed above was helpful and the error is now resolved.