Anycubic Photon M3 Premium
The Anycubic M3 Premium serves as an excellent example of how to focus on both quality and functionality. While impressive details emerge from its 8K screen, it also serves to meet the concerns of many different users. Whether your focus is improving the safety, reliability, or speed of your prints, the M3 Premium takes strides to improve all these facets and more. There's some minor functionality elements that could be improved, but the M3 Premium is a wonderful option for 3D printing enthusiasts.
- 10.1" 8K monochrome screen
- Double air purifier system
- Anycubic LighTurbo 2.0 Light Source
- Brand : Anycubic
- XY Resolution: 7680 x 4320 px (8K)
- Build area: 219 mm (L) x 123 mm (W) x 250 mm (H) | ~8.6 (L) x 4.8 (W) x 9.8 (H) inches
- Light Source: Anycubic LighTurbo 2.0
- Layer Thickness: 0.01 ~ 0.15 mm
- Printer Size: 328 mm (L) x 350 mm (W) x 626 mm (H) | ~12.9 (L) x 13.8 (W) x 24.6 (H) inches
- Laser engraved build plate provides stronger adhesion
- 28.5μm XY resolution
- Large resin vat capacity supports both larger and more consecutive prints
- Double air purifiers further reduce resin odor
- Cooling system
- Slightly smaller touch screen than M3 Plus
- Some build plate bolts prove harder to clean
- Heavier
The Anycubic Photon M3 Premium offers an improved print resolution with two air purifiers to combat those pesky toxic resin odors. Still, there's much more to consider with a 3D printer beyond the headline resolution. As the premium entry in the Photon series, does the M3 Premium deliver elsewhere?
Anycubic Photon M3 Premium Design
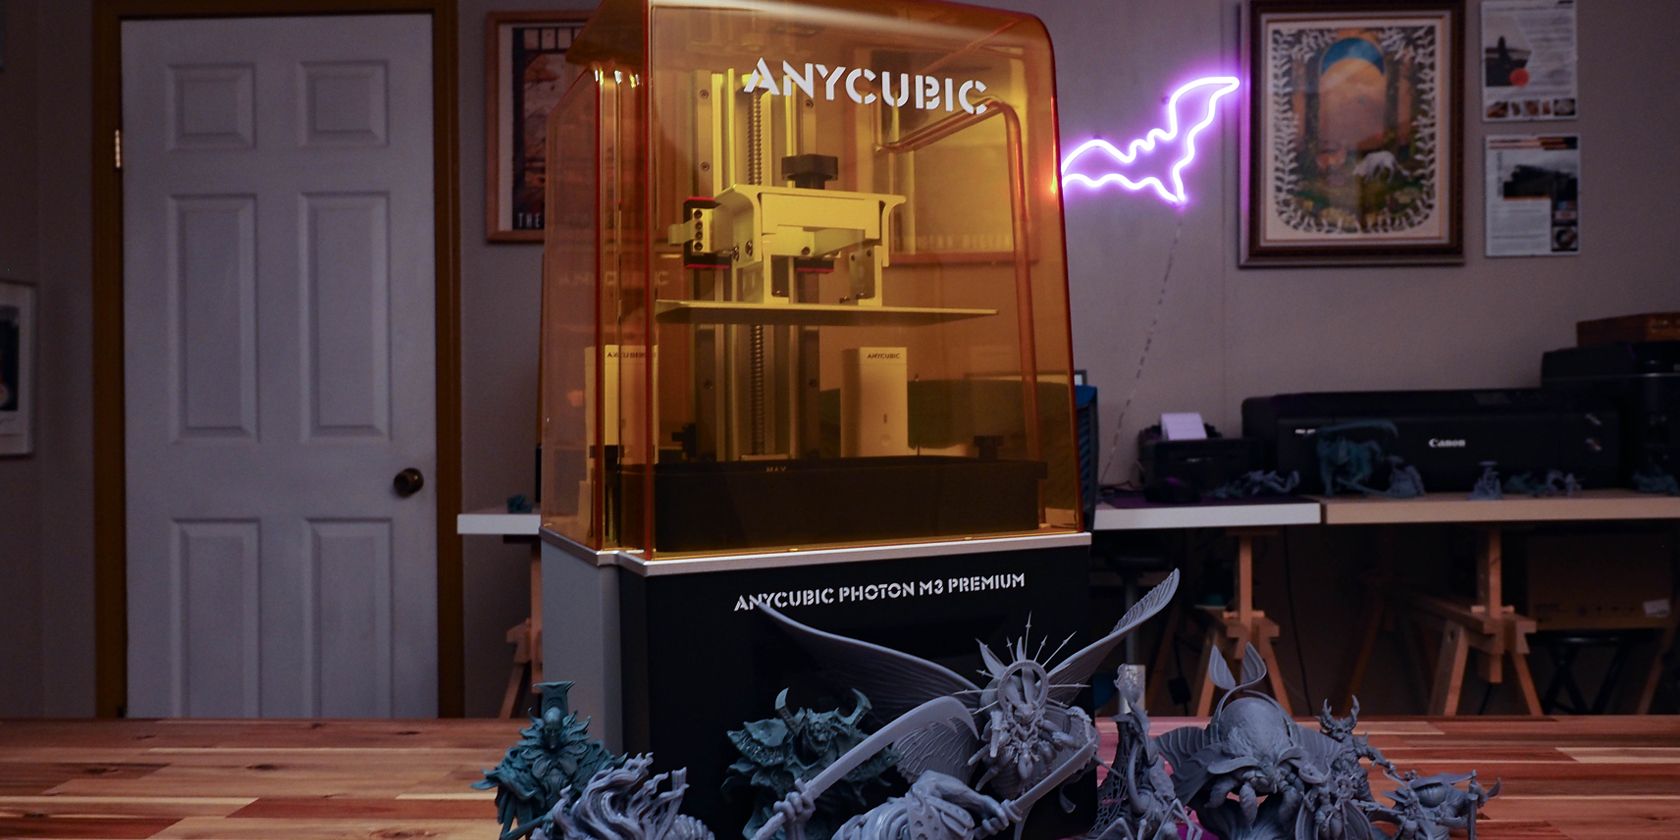
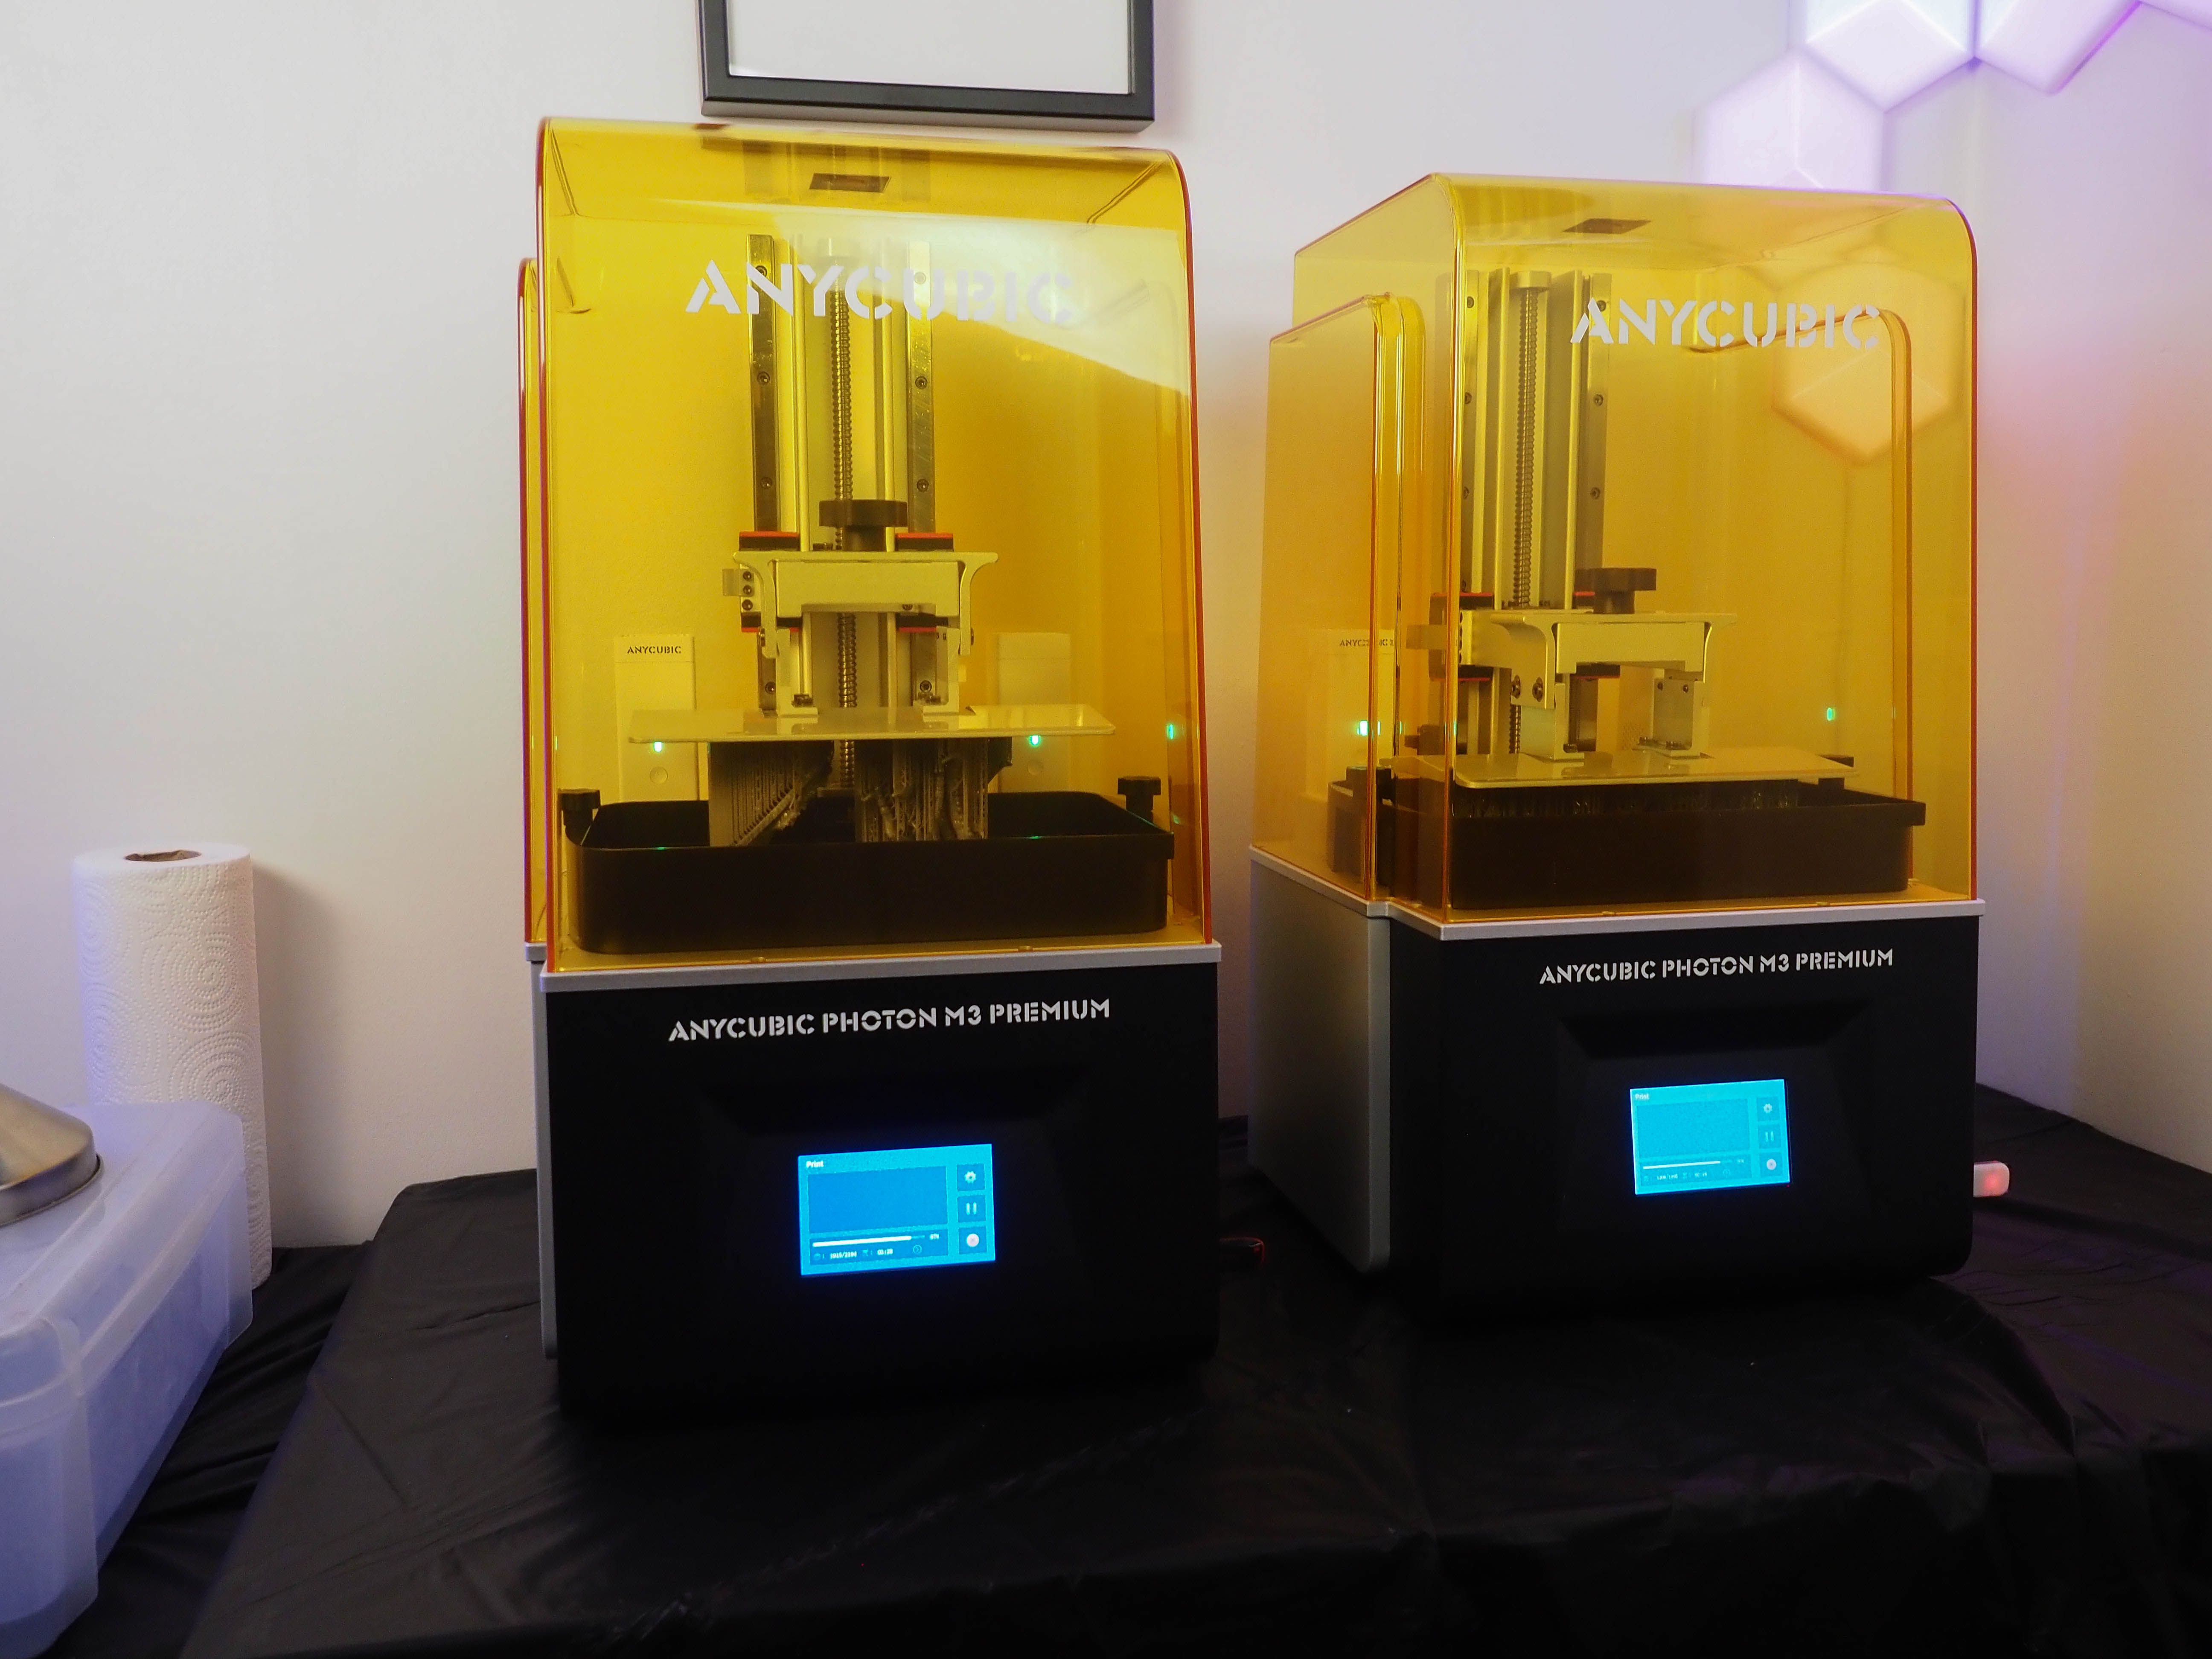
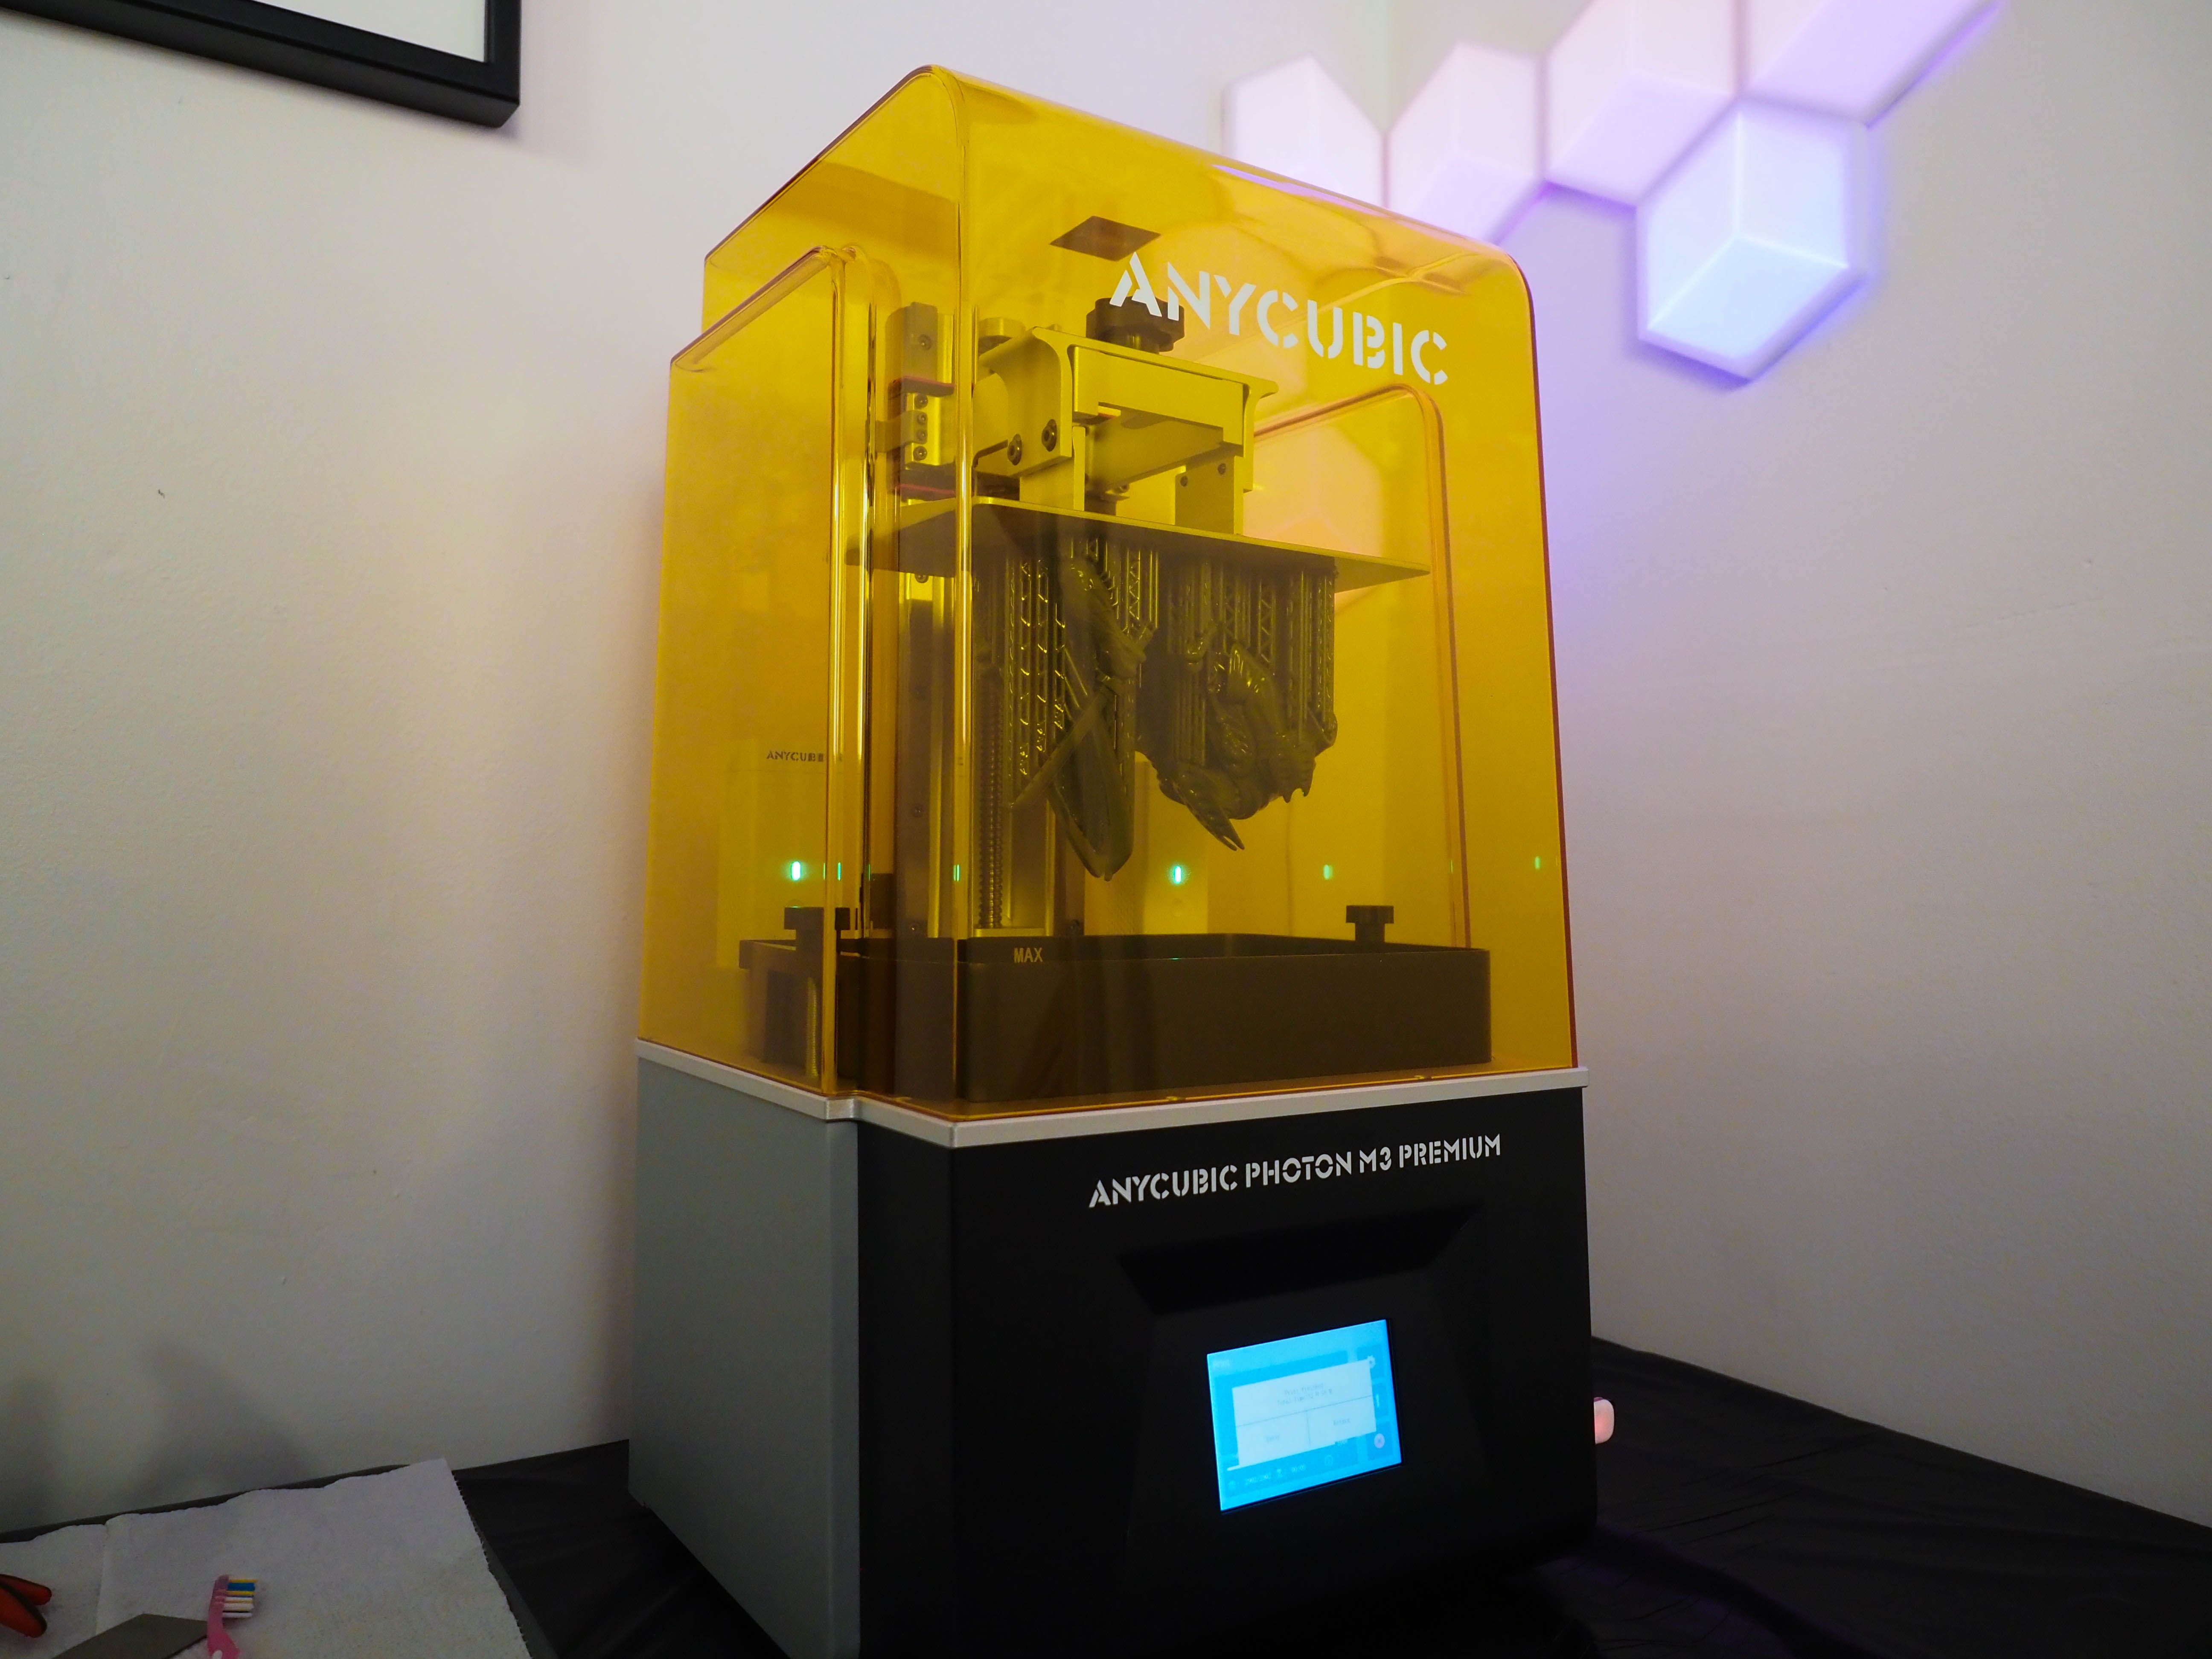
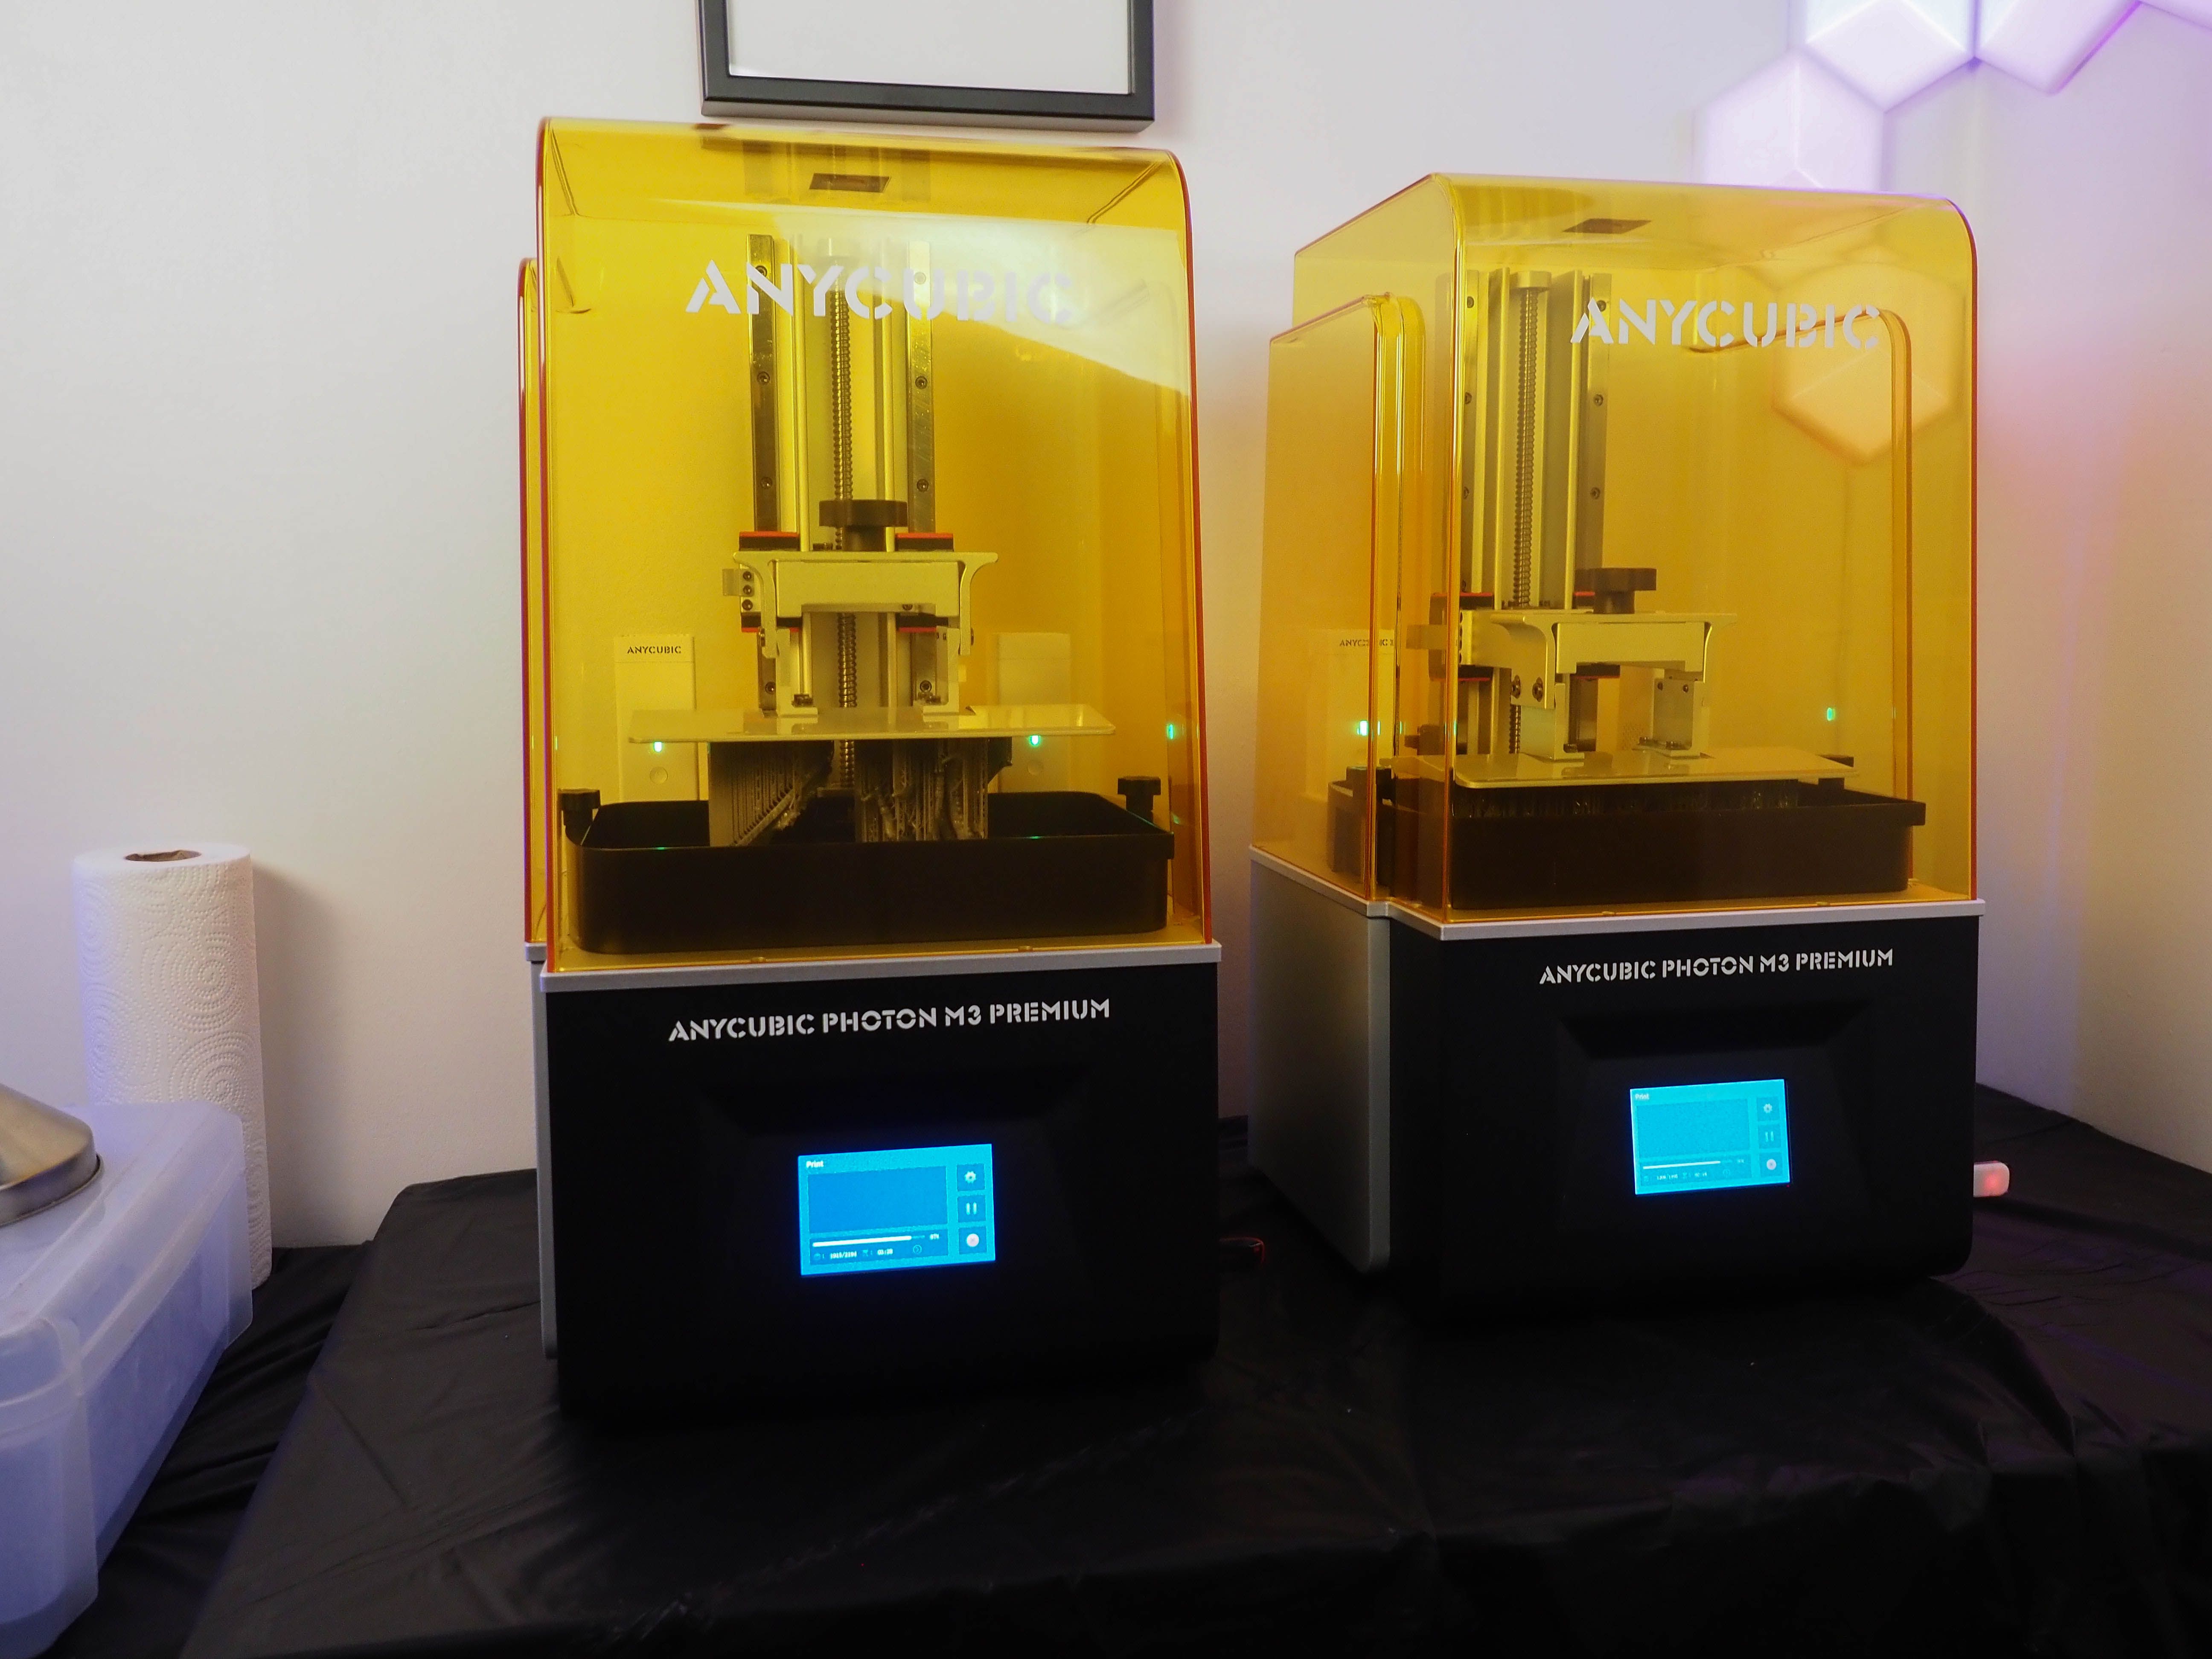
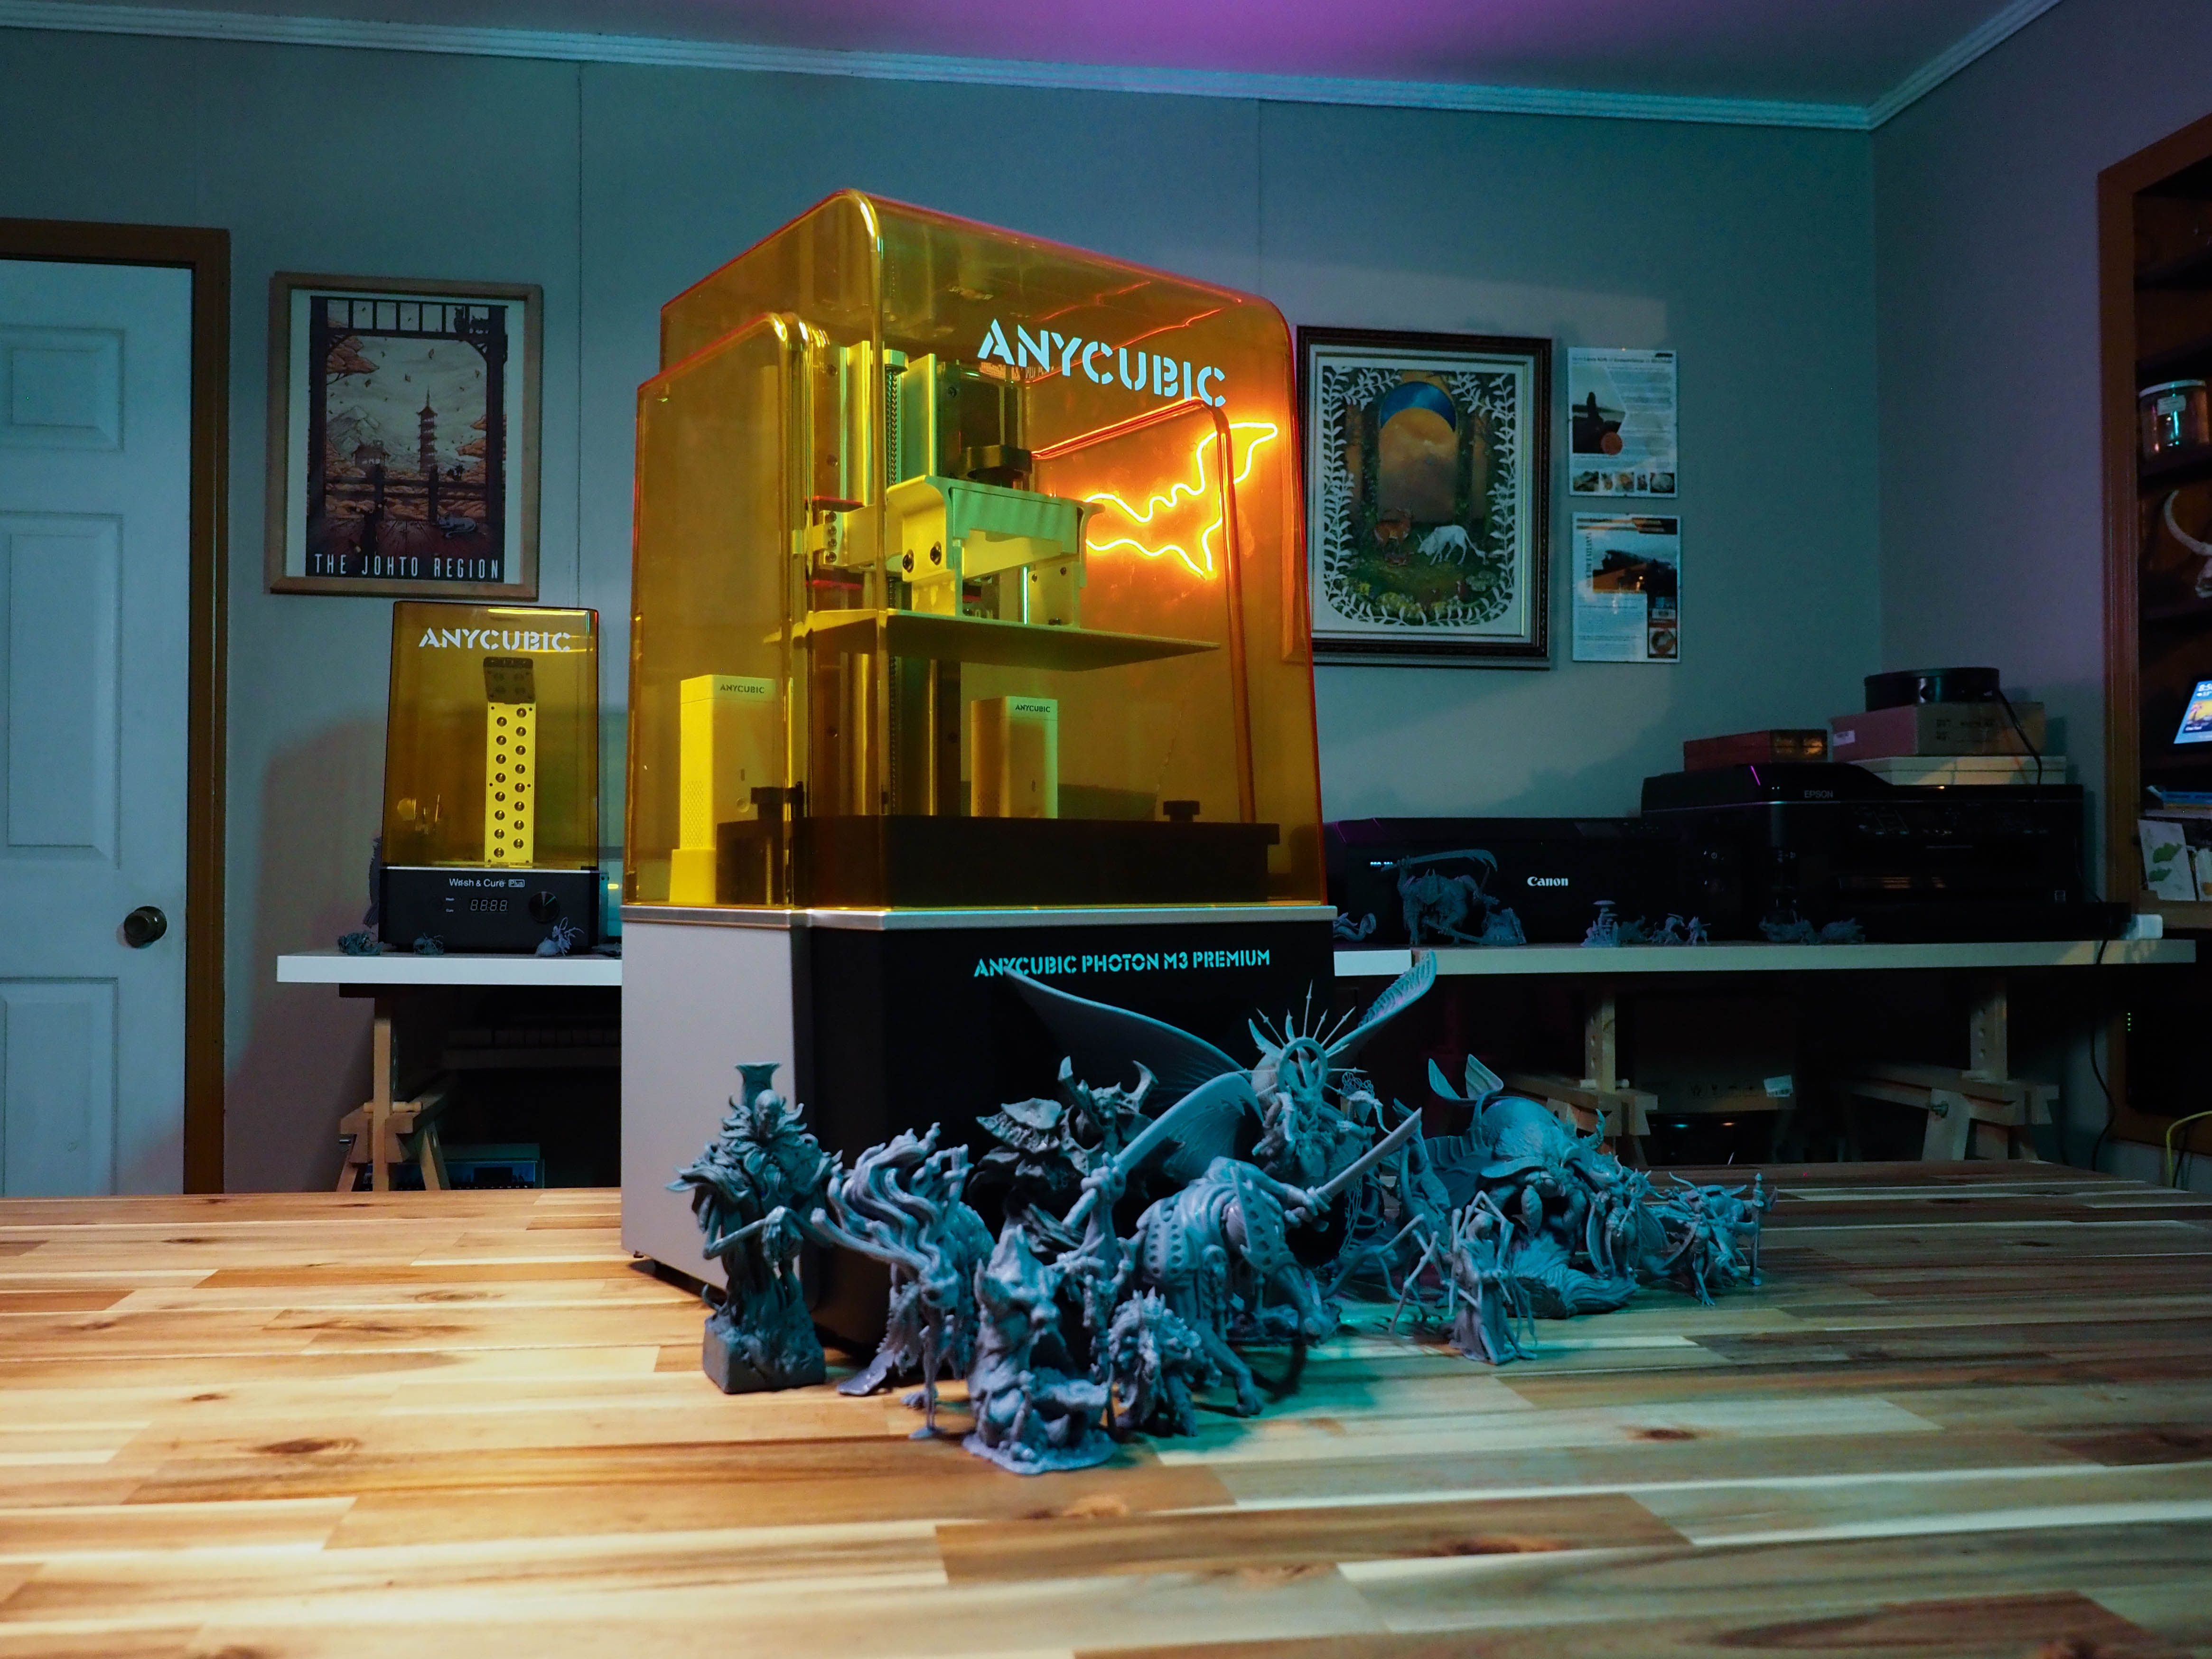
For those aware of Anycubic's Photon line-up, the Photon M3 Premium doesn't deviate from the familiar yellow cover. But this printer stands apart with its larger size. For those looking to take advantage of its larger build volume, you'll need to set aside space for its sizable body of around 12.9 (L) x 13.8 (W) x 24.6 (H) inches.
At the first removal from its shipping box, you'll notice there's some heft to it. This resin 3D printer weighs 19kg (just shy of 41 pounds). If you don't have a dedicated space set aside, you'll want to ensure the surface can support its weight, especially if it's not placed alone.
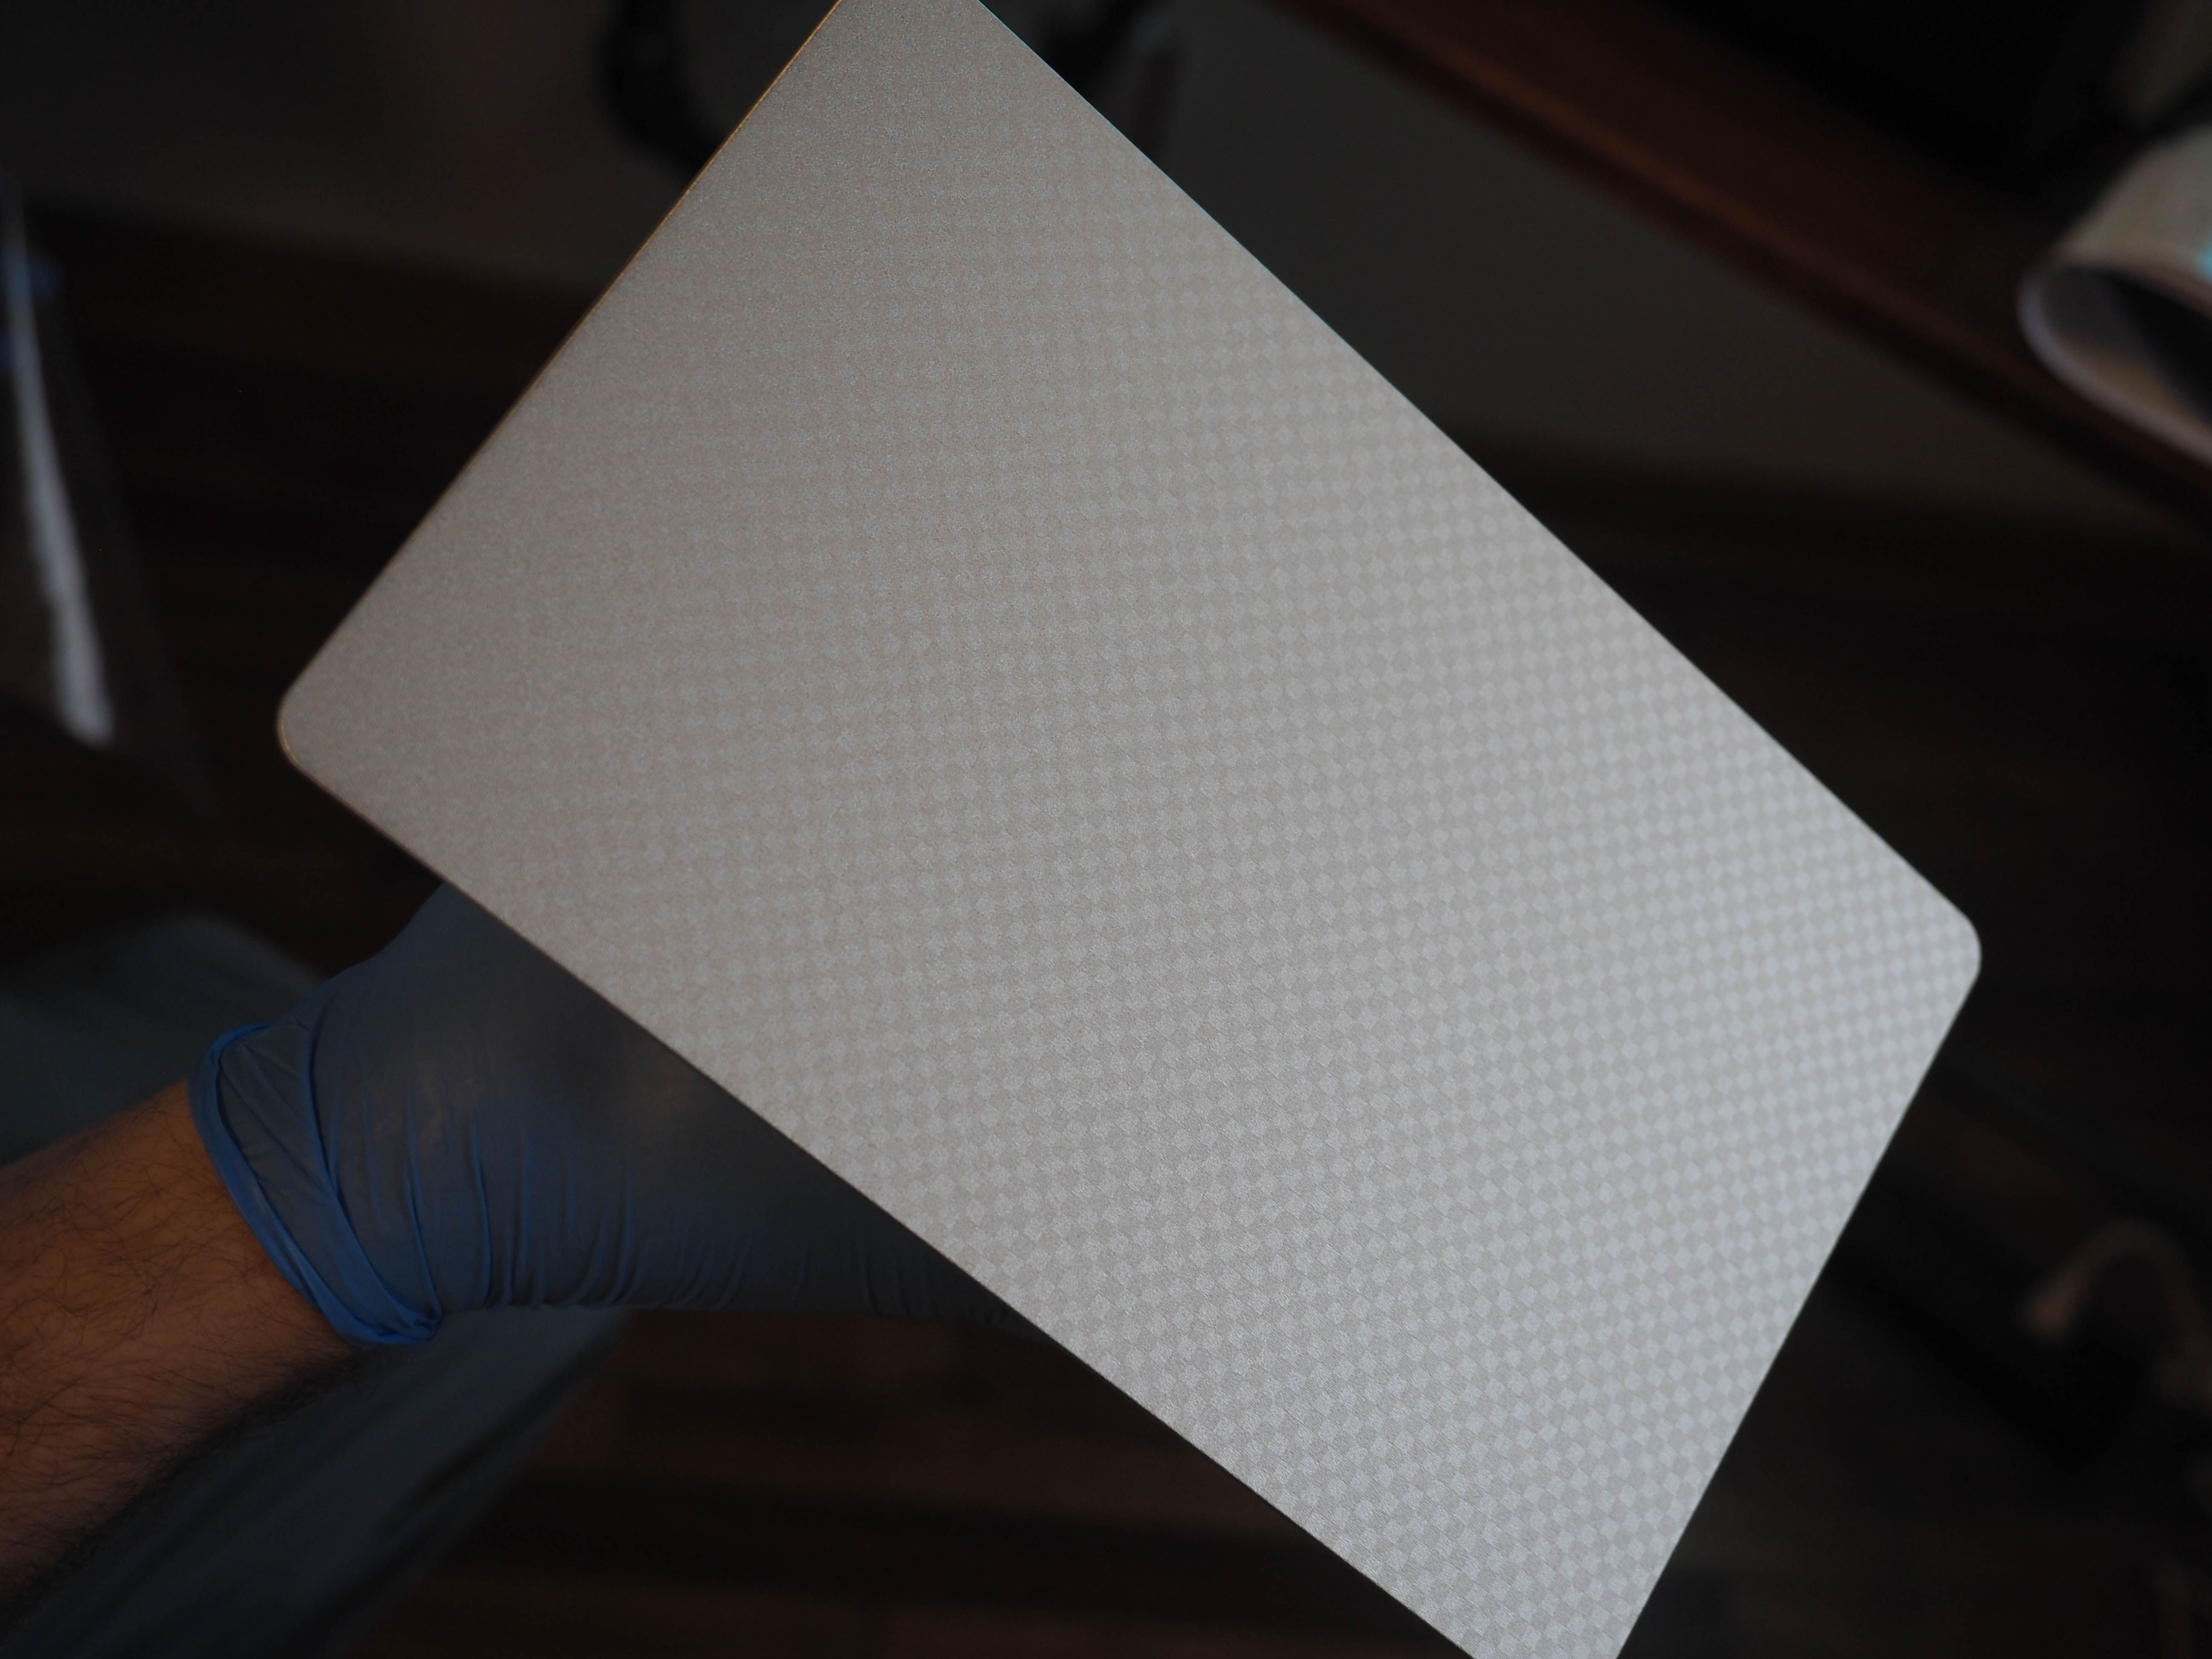
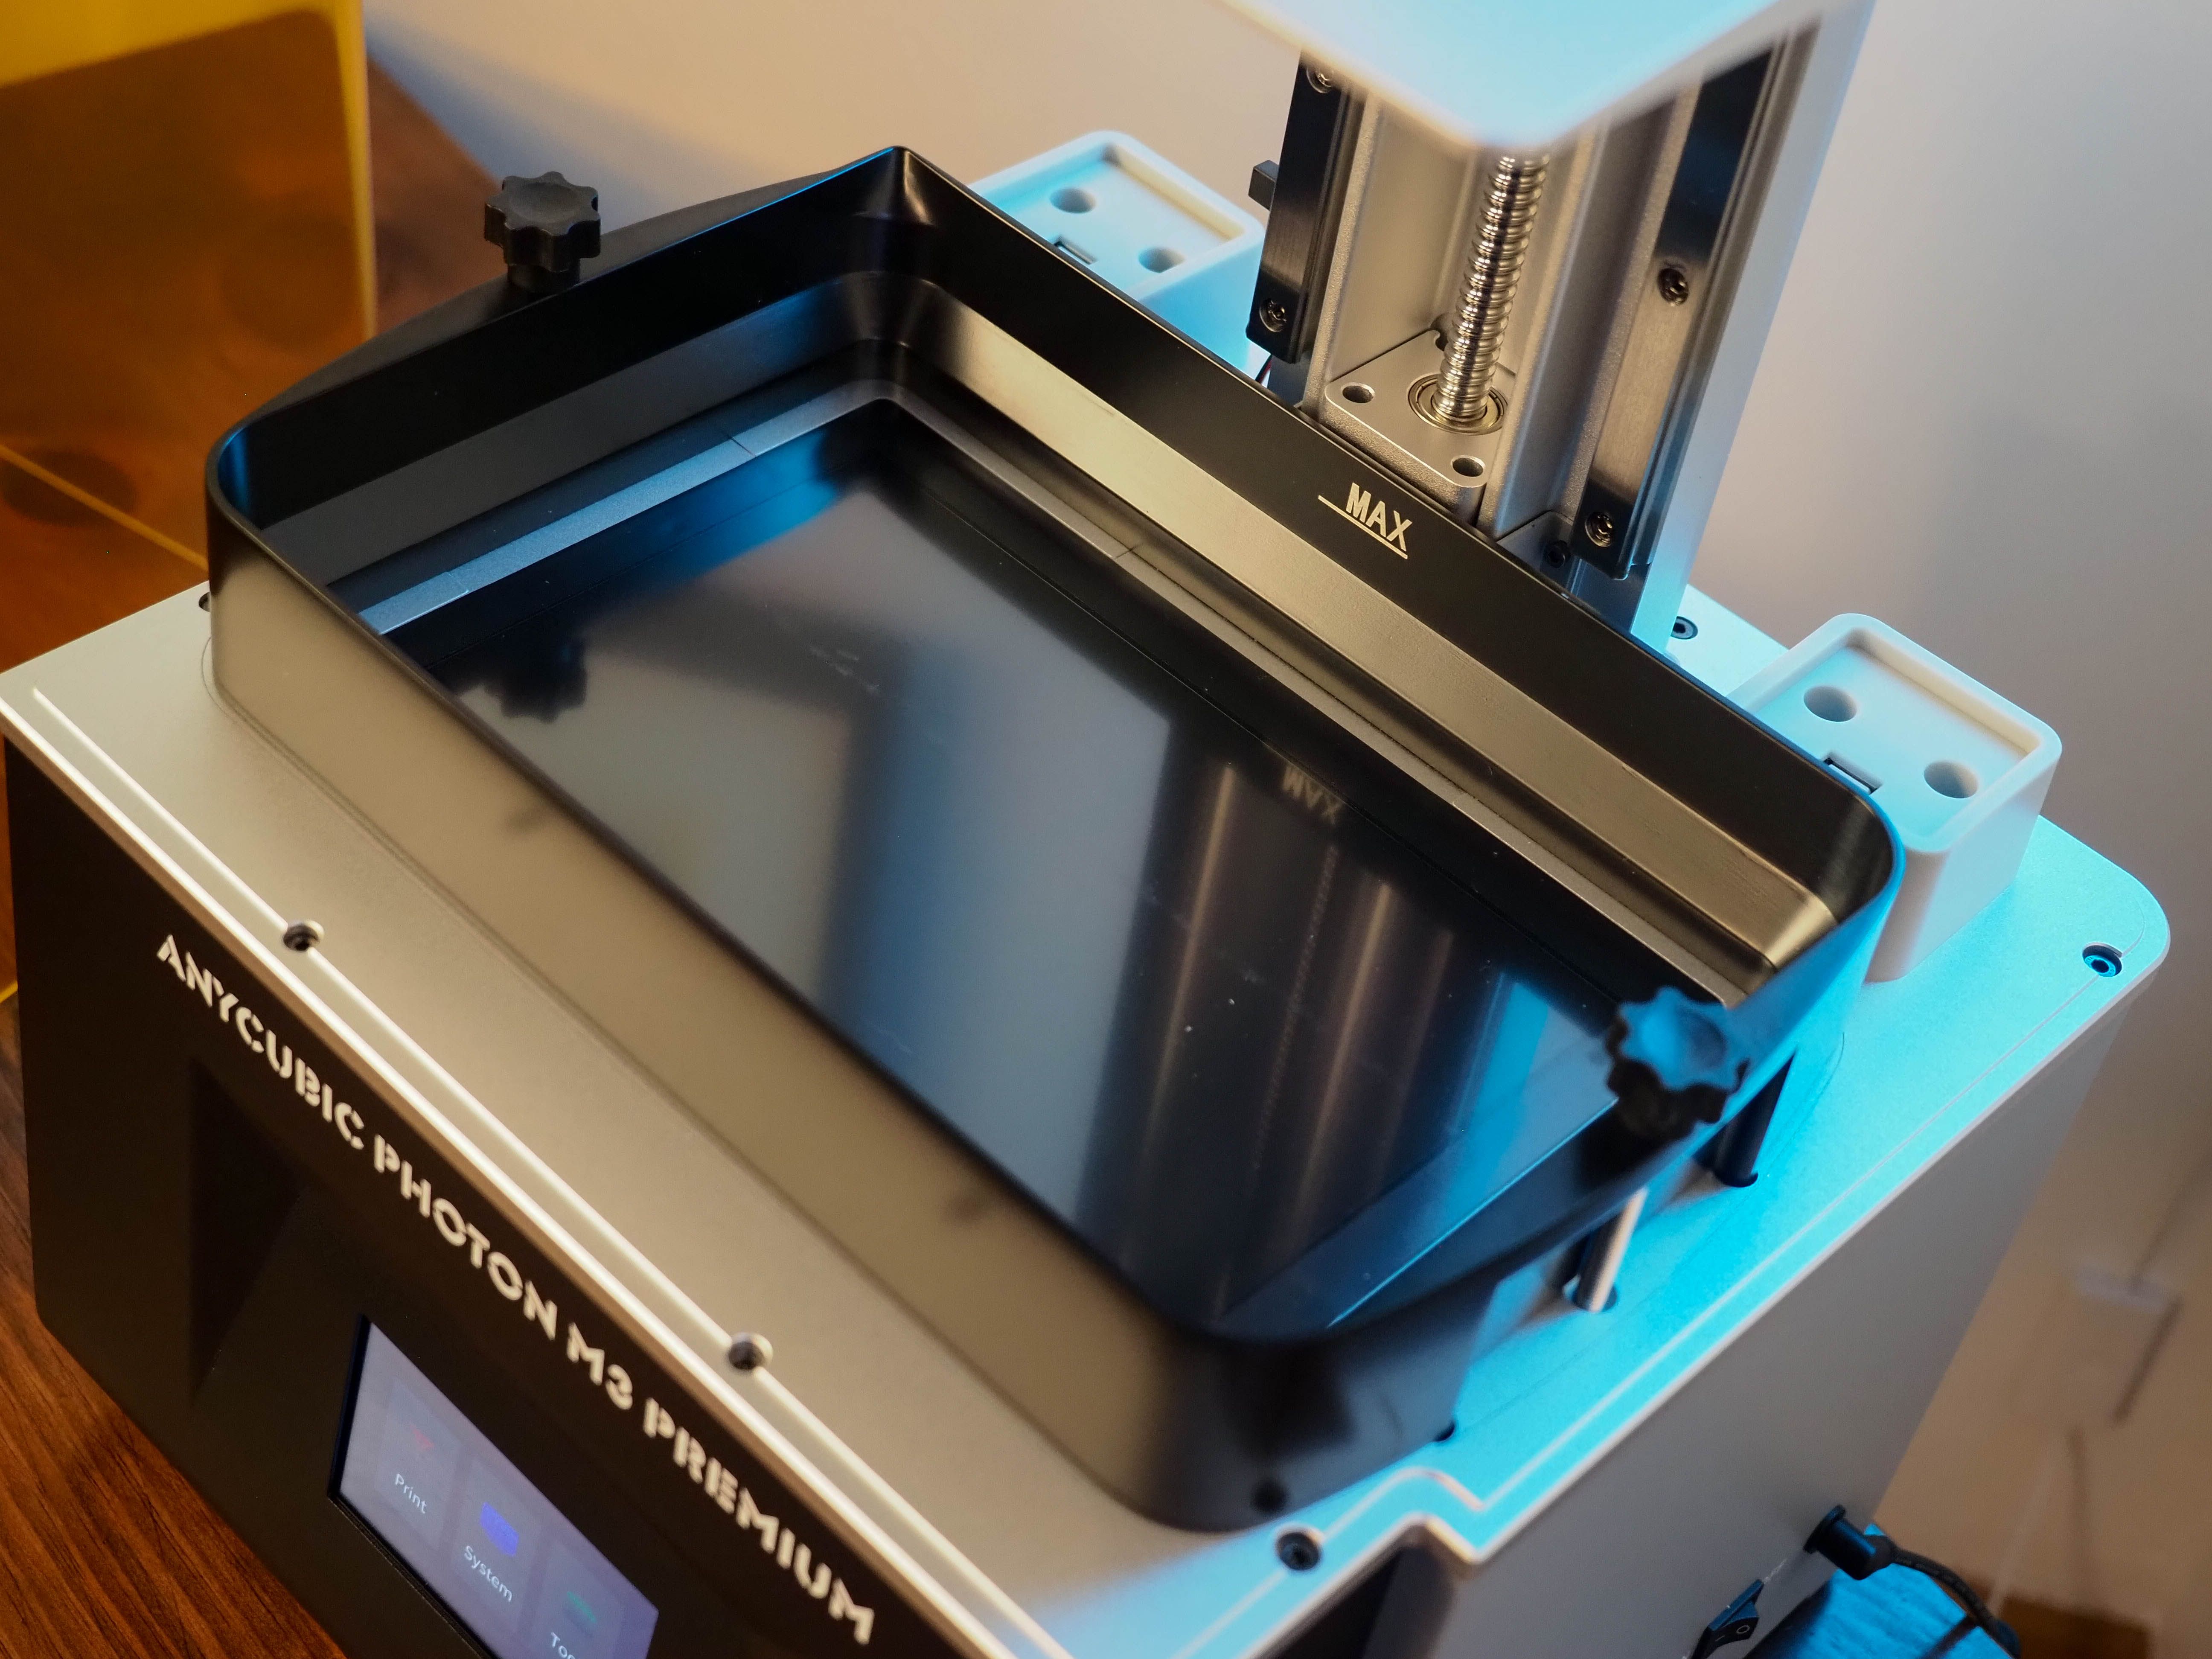
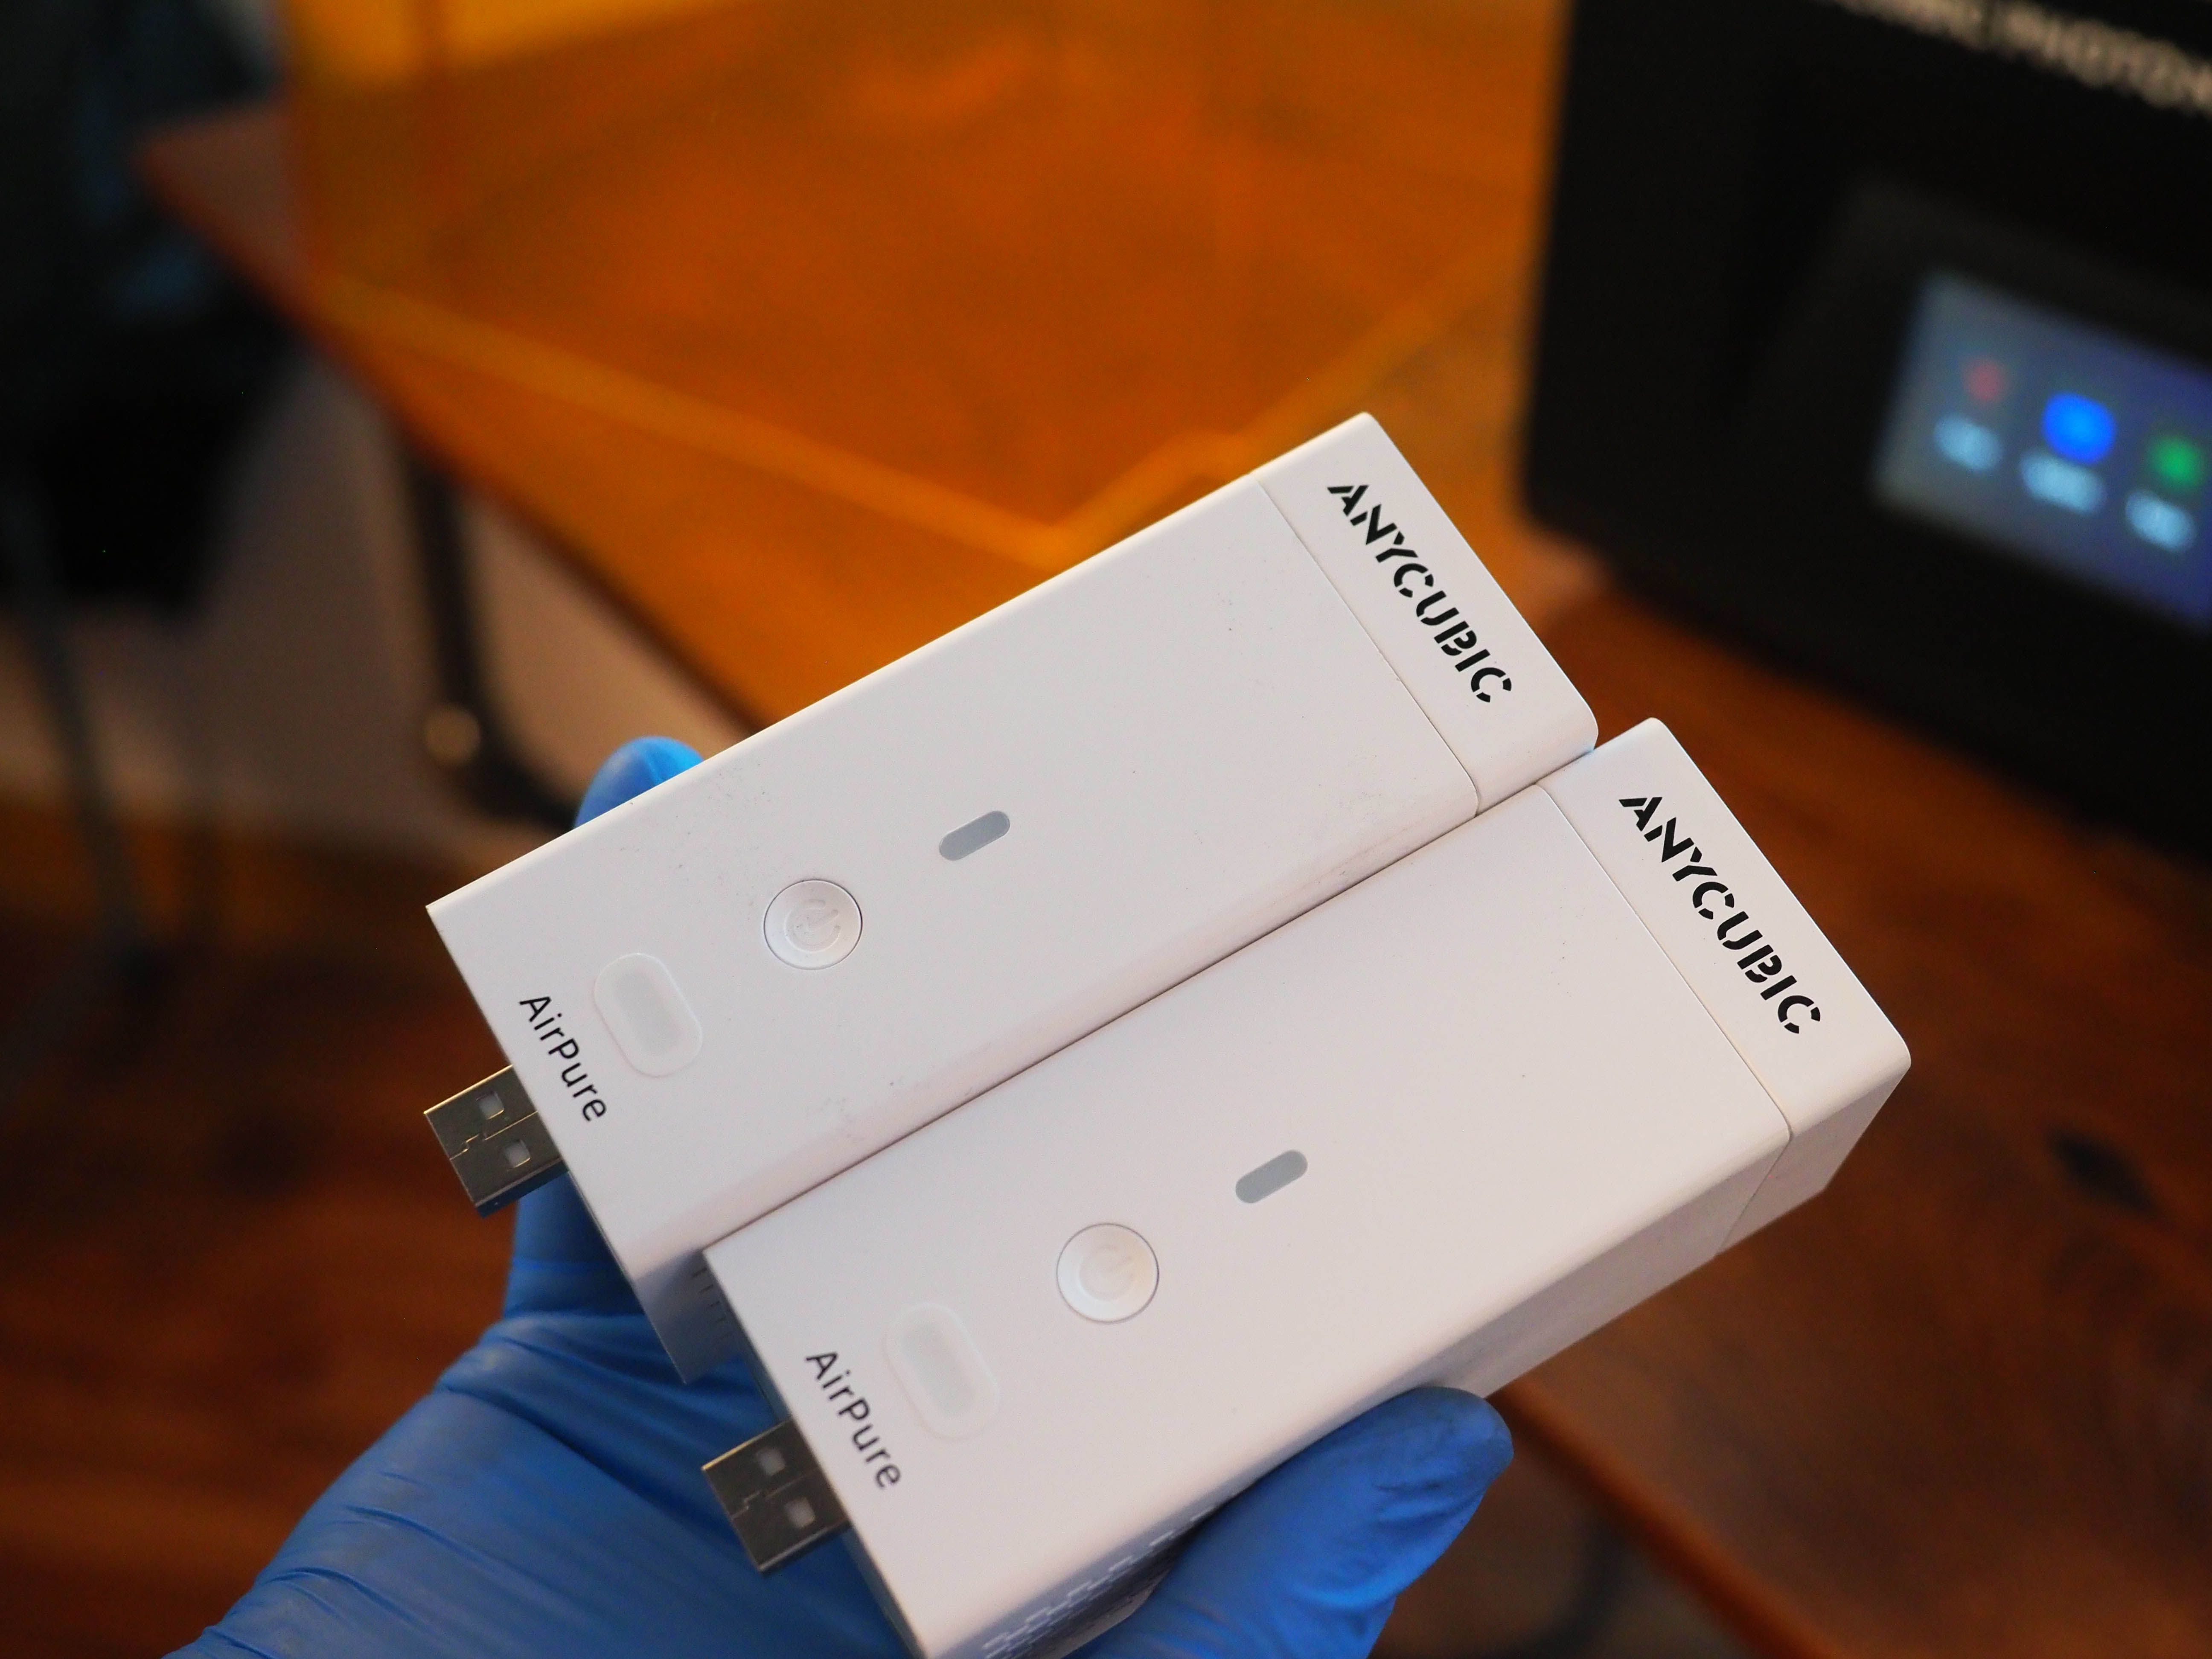
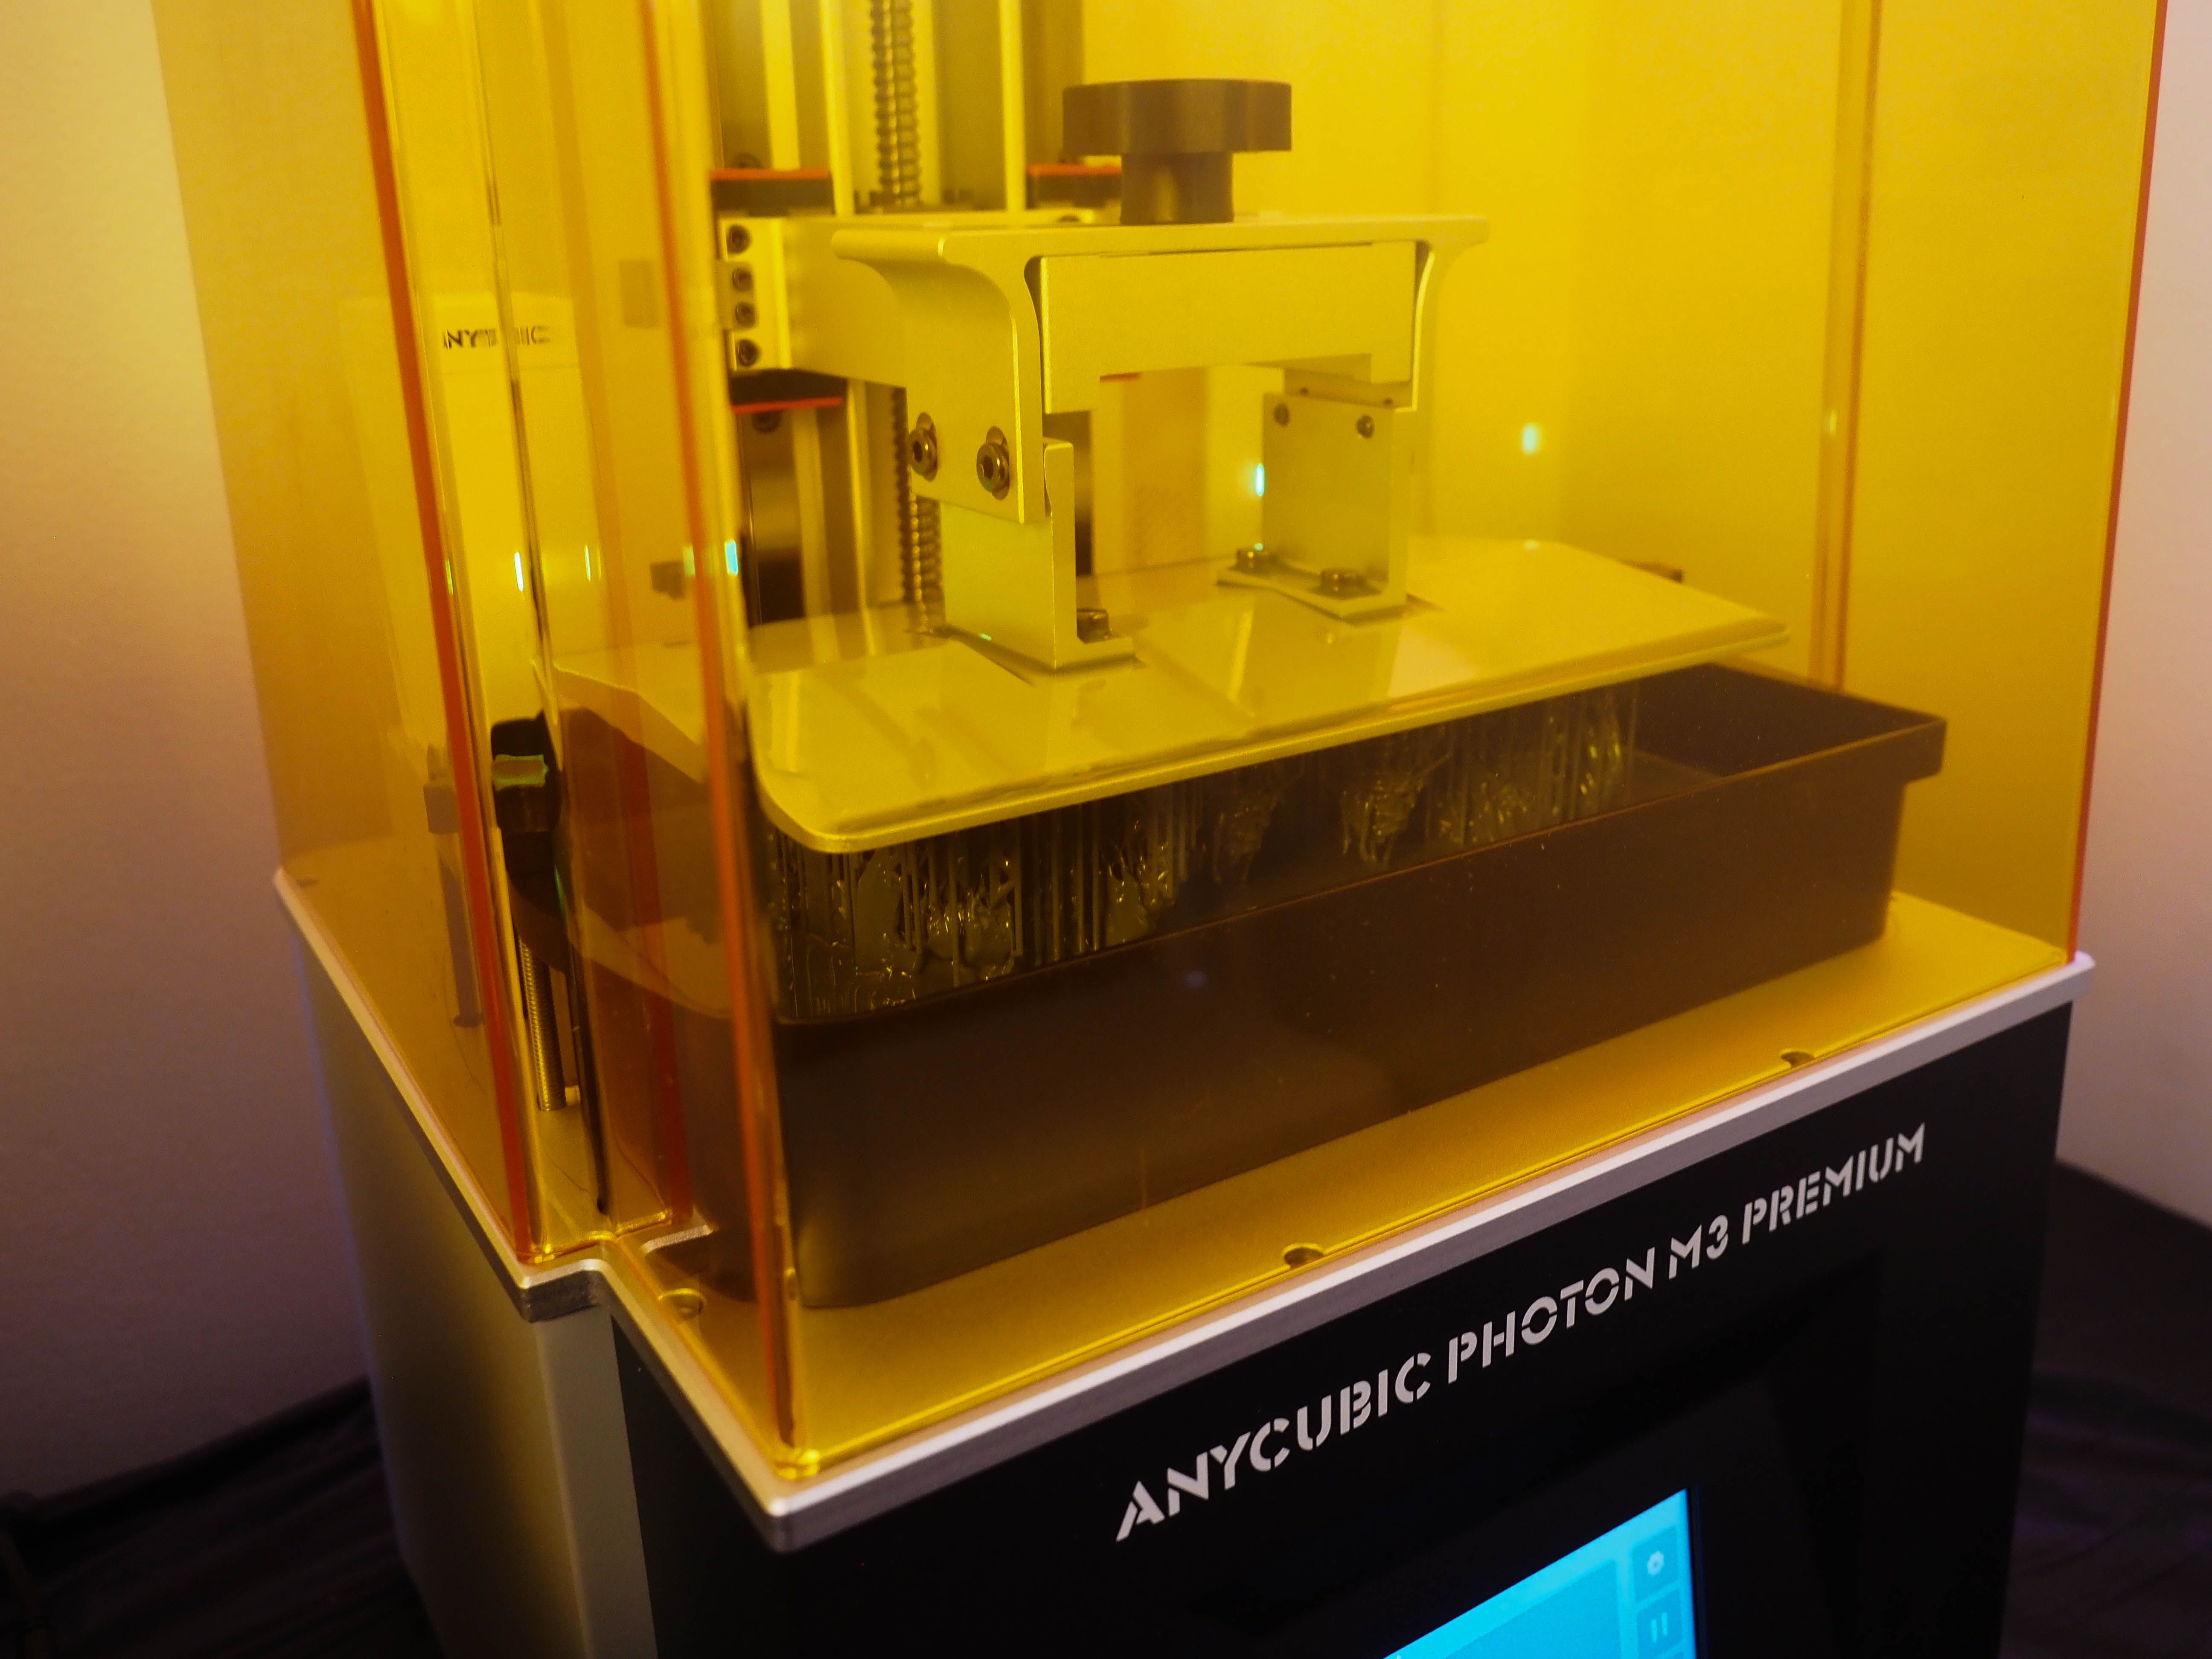
Other familiar design elements also play into how the M3 Premium operates. The laser-engraved checkered build-plate returns to provide improved adhesion and eliminate the need for any sanding. This comes alongside dual Anycubic AirPure units that can be installed directly into the printer.
To navigate through the printer's menus and set up your prints, the M3 Premium offers a 4.3-inch resistive touch screen. While smaller than the touch screen of the Photon M3 Plus, it's still responsive and usable even for larger-handed operators.
For USB connectivity, Anycubic has decided to place it on the right side. While still located toward the front, it's another thing to be mindful of with the printer's placement. The power switch and cord also stem from the same side, with a Wi-Fi antenna located on the very back of the printer.
On another note, if you aren’t using Anycubic’s included USB drive, you’ll need it appropriately formatted and ensure it doesn’t exceed 8 GB in size for smoother operation. Using a reliable brand like Sandisk can help with this, but if you do end up with any USB-related errors, this is a typical culprit.â¨â¨â¨
Anycubic Photon M3 Premium Technical Specifications
As a "Premium" product, you'll expect the specifications to match appropriately.
The M3 Premium feature a 10.1" 8K monochrome LCD screen with 28.5μm (microns) accuracy. So for those looking to squeeze an extra model in or fit that slightly larger piece, it’s a welcome size upgrade to the likes of the M3 Plus. As a trade-off, the potential print speed slightly suffers at around ≤ 95mm per hour.
â¨â¨Beyond these, the M3 Premium uses Anycubic’s LighTurbo 2.0 light source. This provides better light uniformity of over 90% to reduce the chance of light straying. So for those looking for sharper-looking prints, the improved light source helps here.
Setting Up the Anycubic Photon M3 Premium
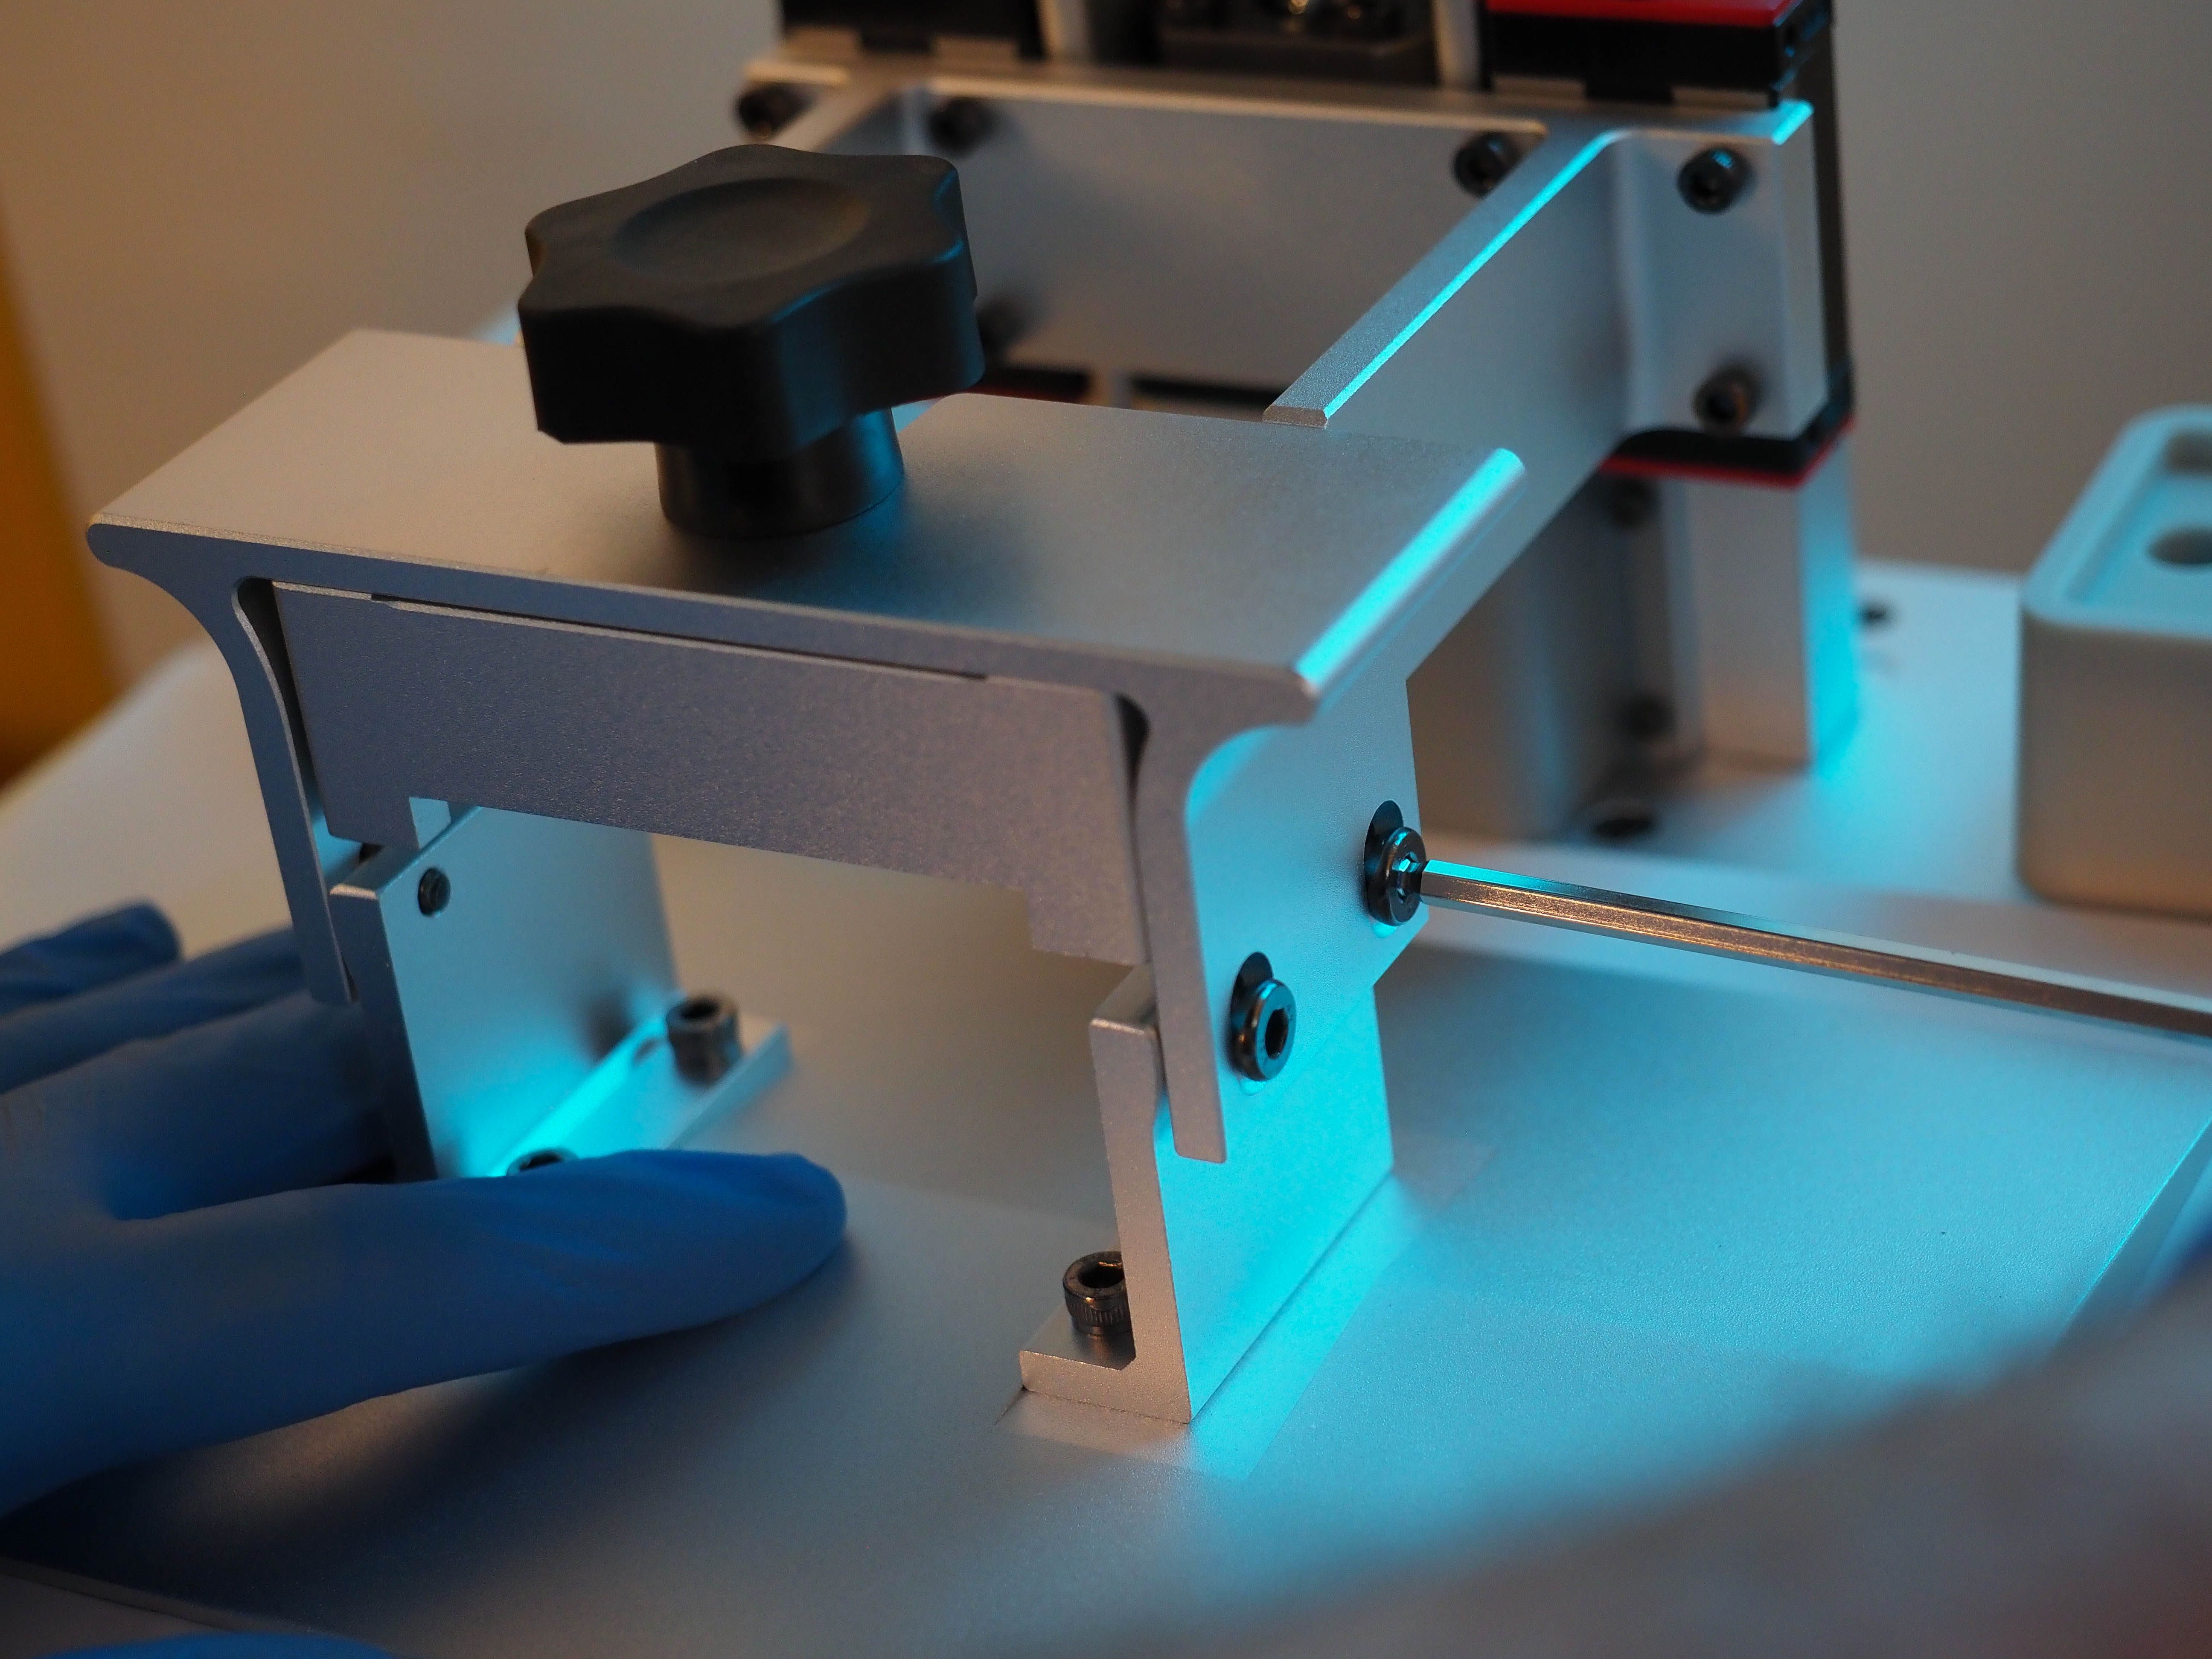
If you’re new to 3D printing, the initial set-up and leveling of the build plate can be a little bit of a learning area for some. But this process continues to become increasingly streamlined via build plate tweaks to allow for less incidental issues, plus the inclusion of pre-cut leveling paper. â¨â¨For the Premium M3 Plus, it's still much the same procedure as before, with the end result requiring a firm press on the build plate while tightening its four screws before setting the zero position.
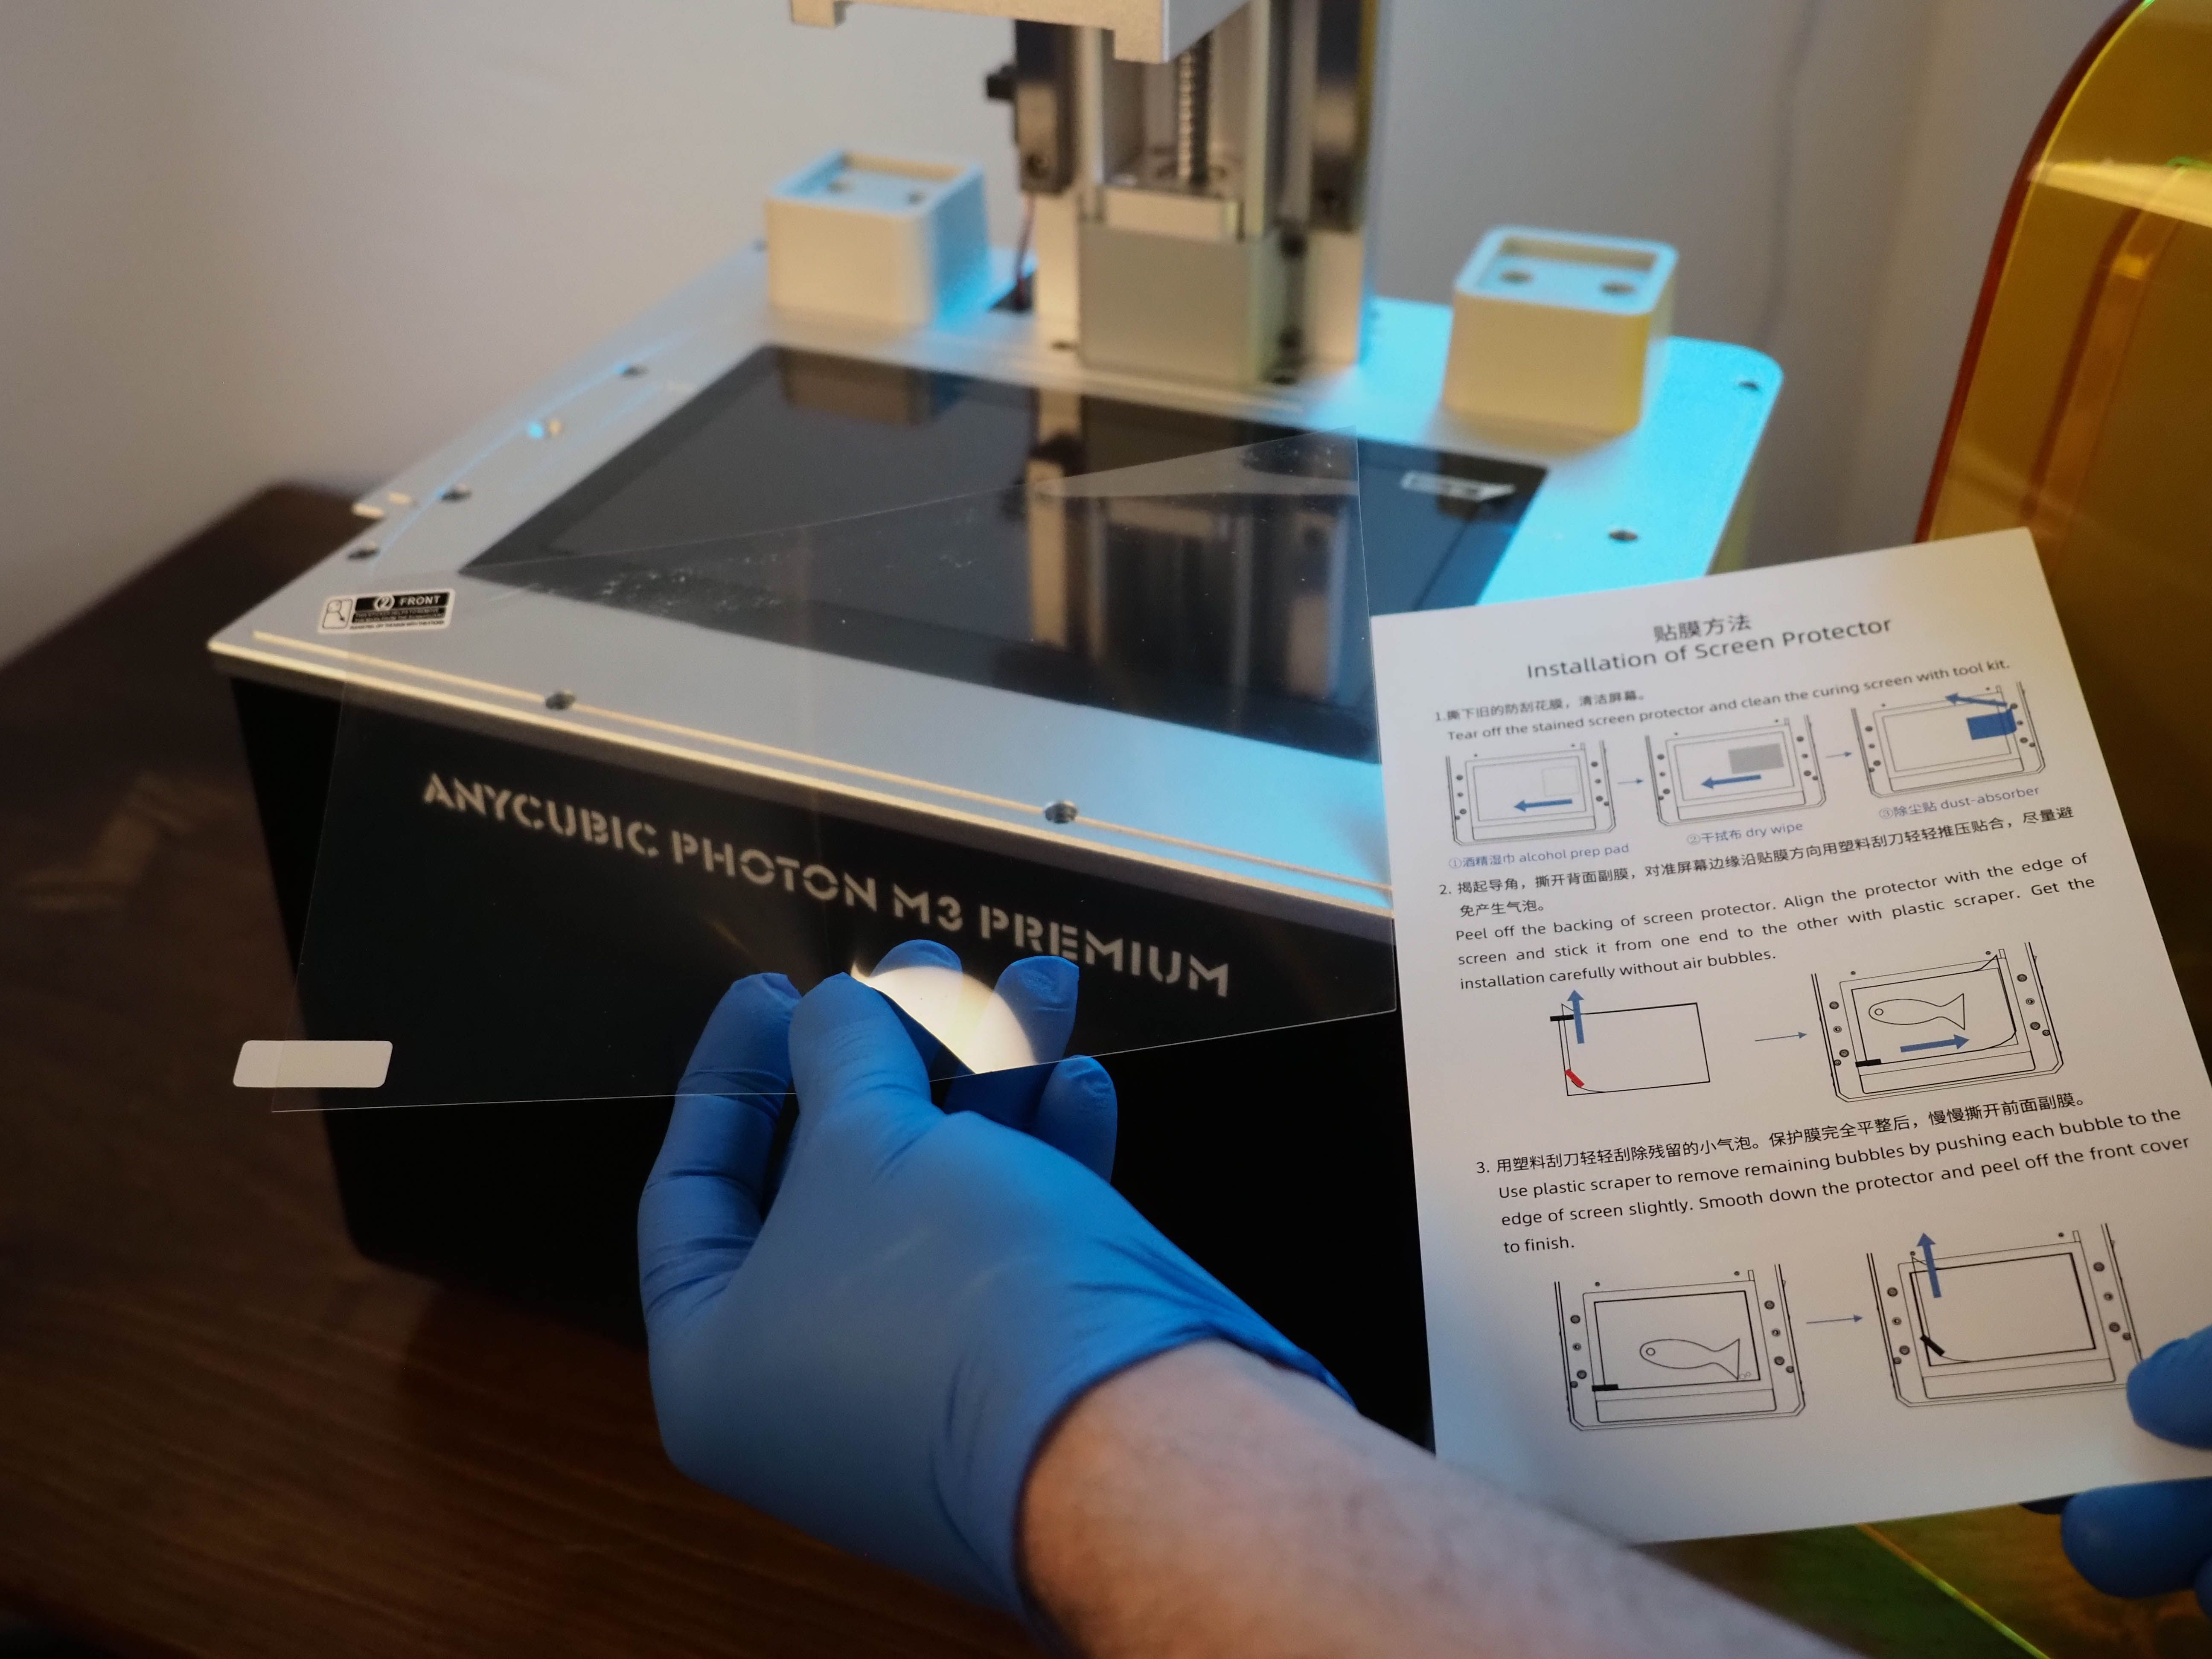
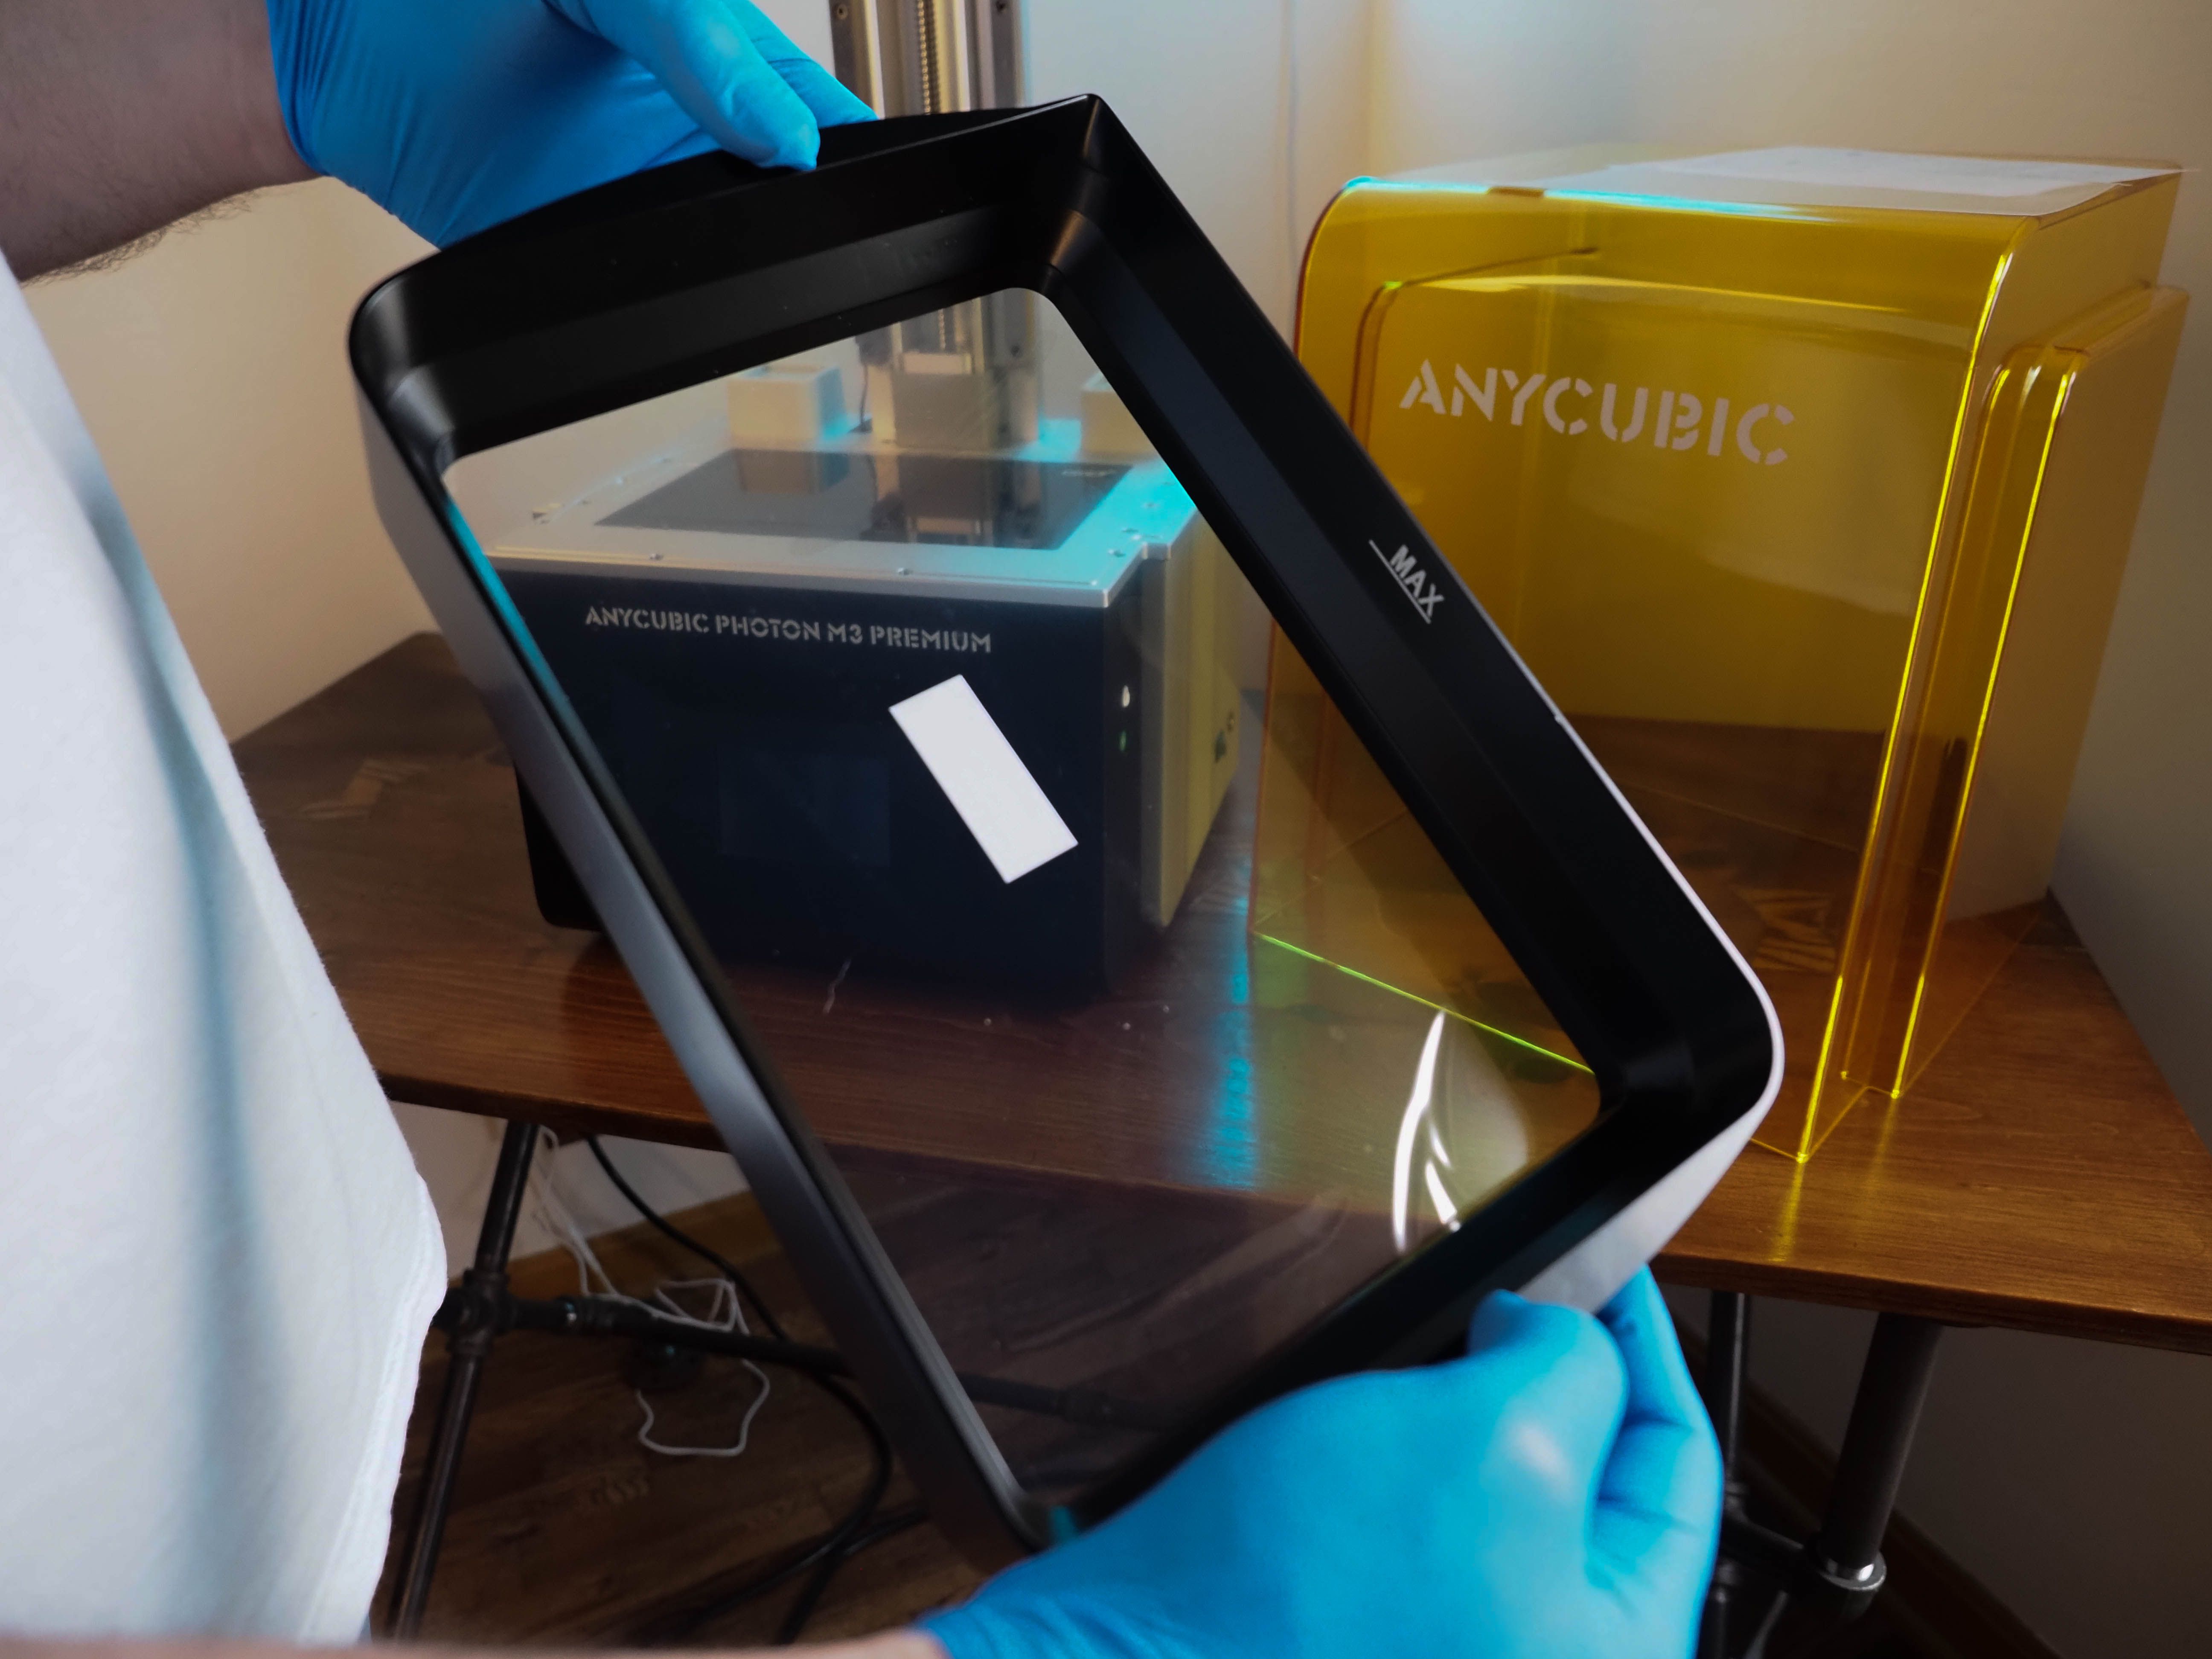
From here, it's a simple matter of securing the large-volume (1.35L) resin vat via its two knobs. A small screen protector kit is also included to prevent accidental resin spills on the screen. However, getting a perfect bubble-free finish can prove challenging.
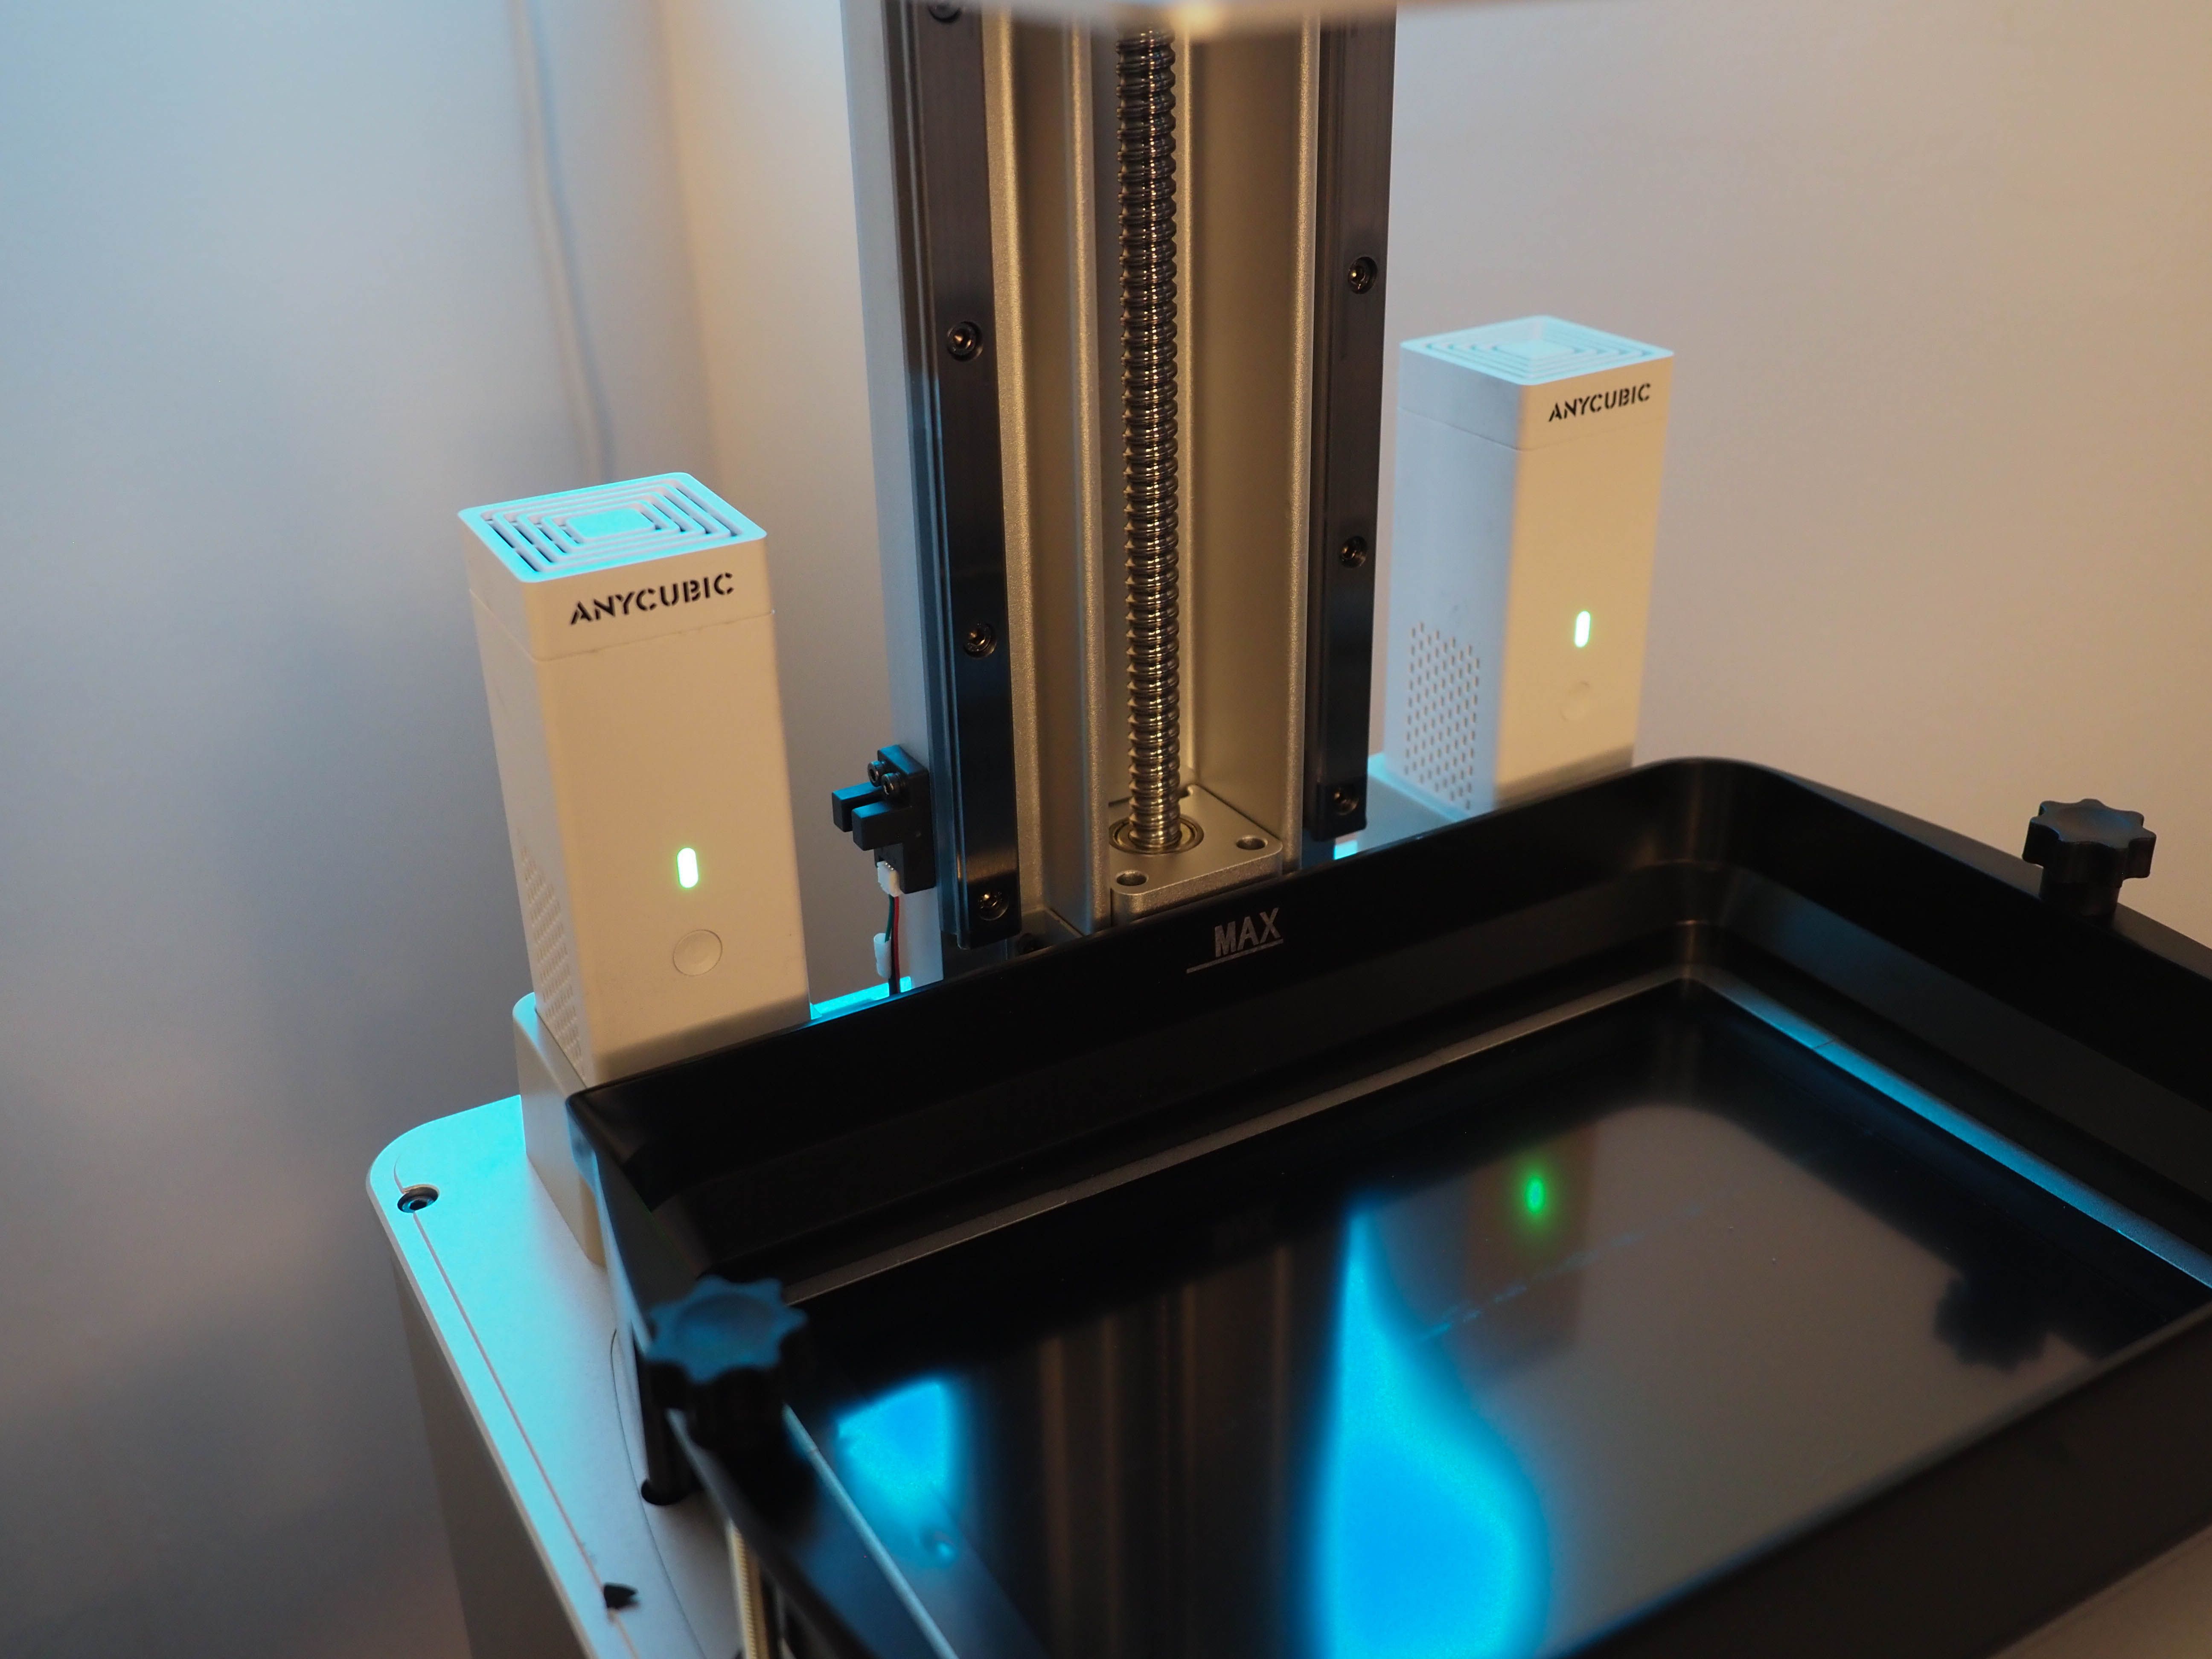
Unlike other parts of the M3 line-up, such as the automatic feeding systems, installing the two air purifier units is mostly a plug-and-play affair. Prior to installation, remove each purifier's top, which protects the carbon filter. Once powered on, you’ll see a distinctive LED light behind the anti-UV cover.
Improving Airflow with the M3 Premium
With 3D printers, the usefulness of any additional accessories depends on the printing procedures of their respective users. In a more generalized use case, Anycubic has opted to include two of its air purifiers with built-in USB plugs. With odor sensitivity and respiratory concerns being an ongoing contention point of 3D printing, this doesn't come as much of a surprise.
However, there's always a question of effectiveness when working with an air purifier and how much of an area is treated. In terms of operation, Anycubic notes that it can achieve around 80% odor removal within 10 minutes.
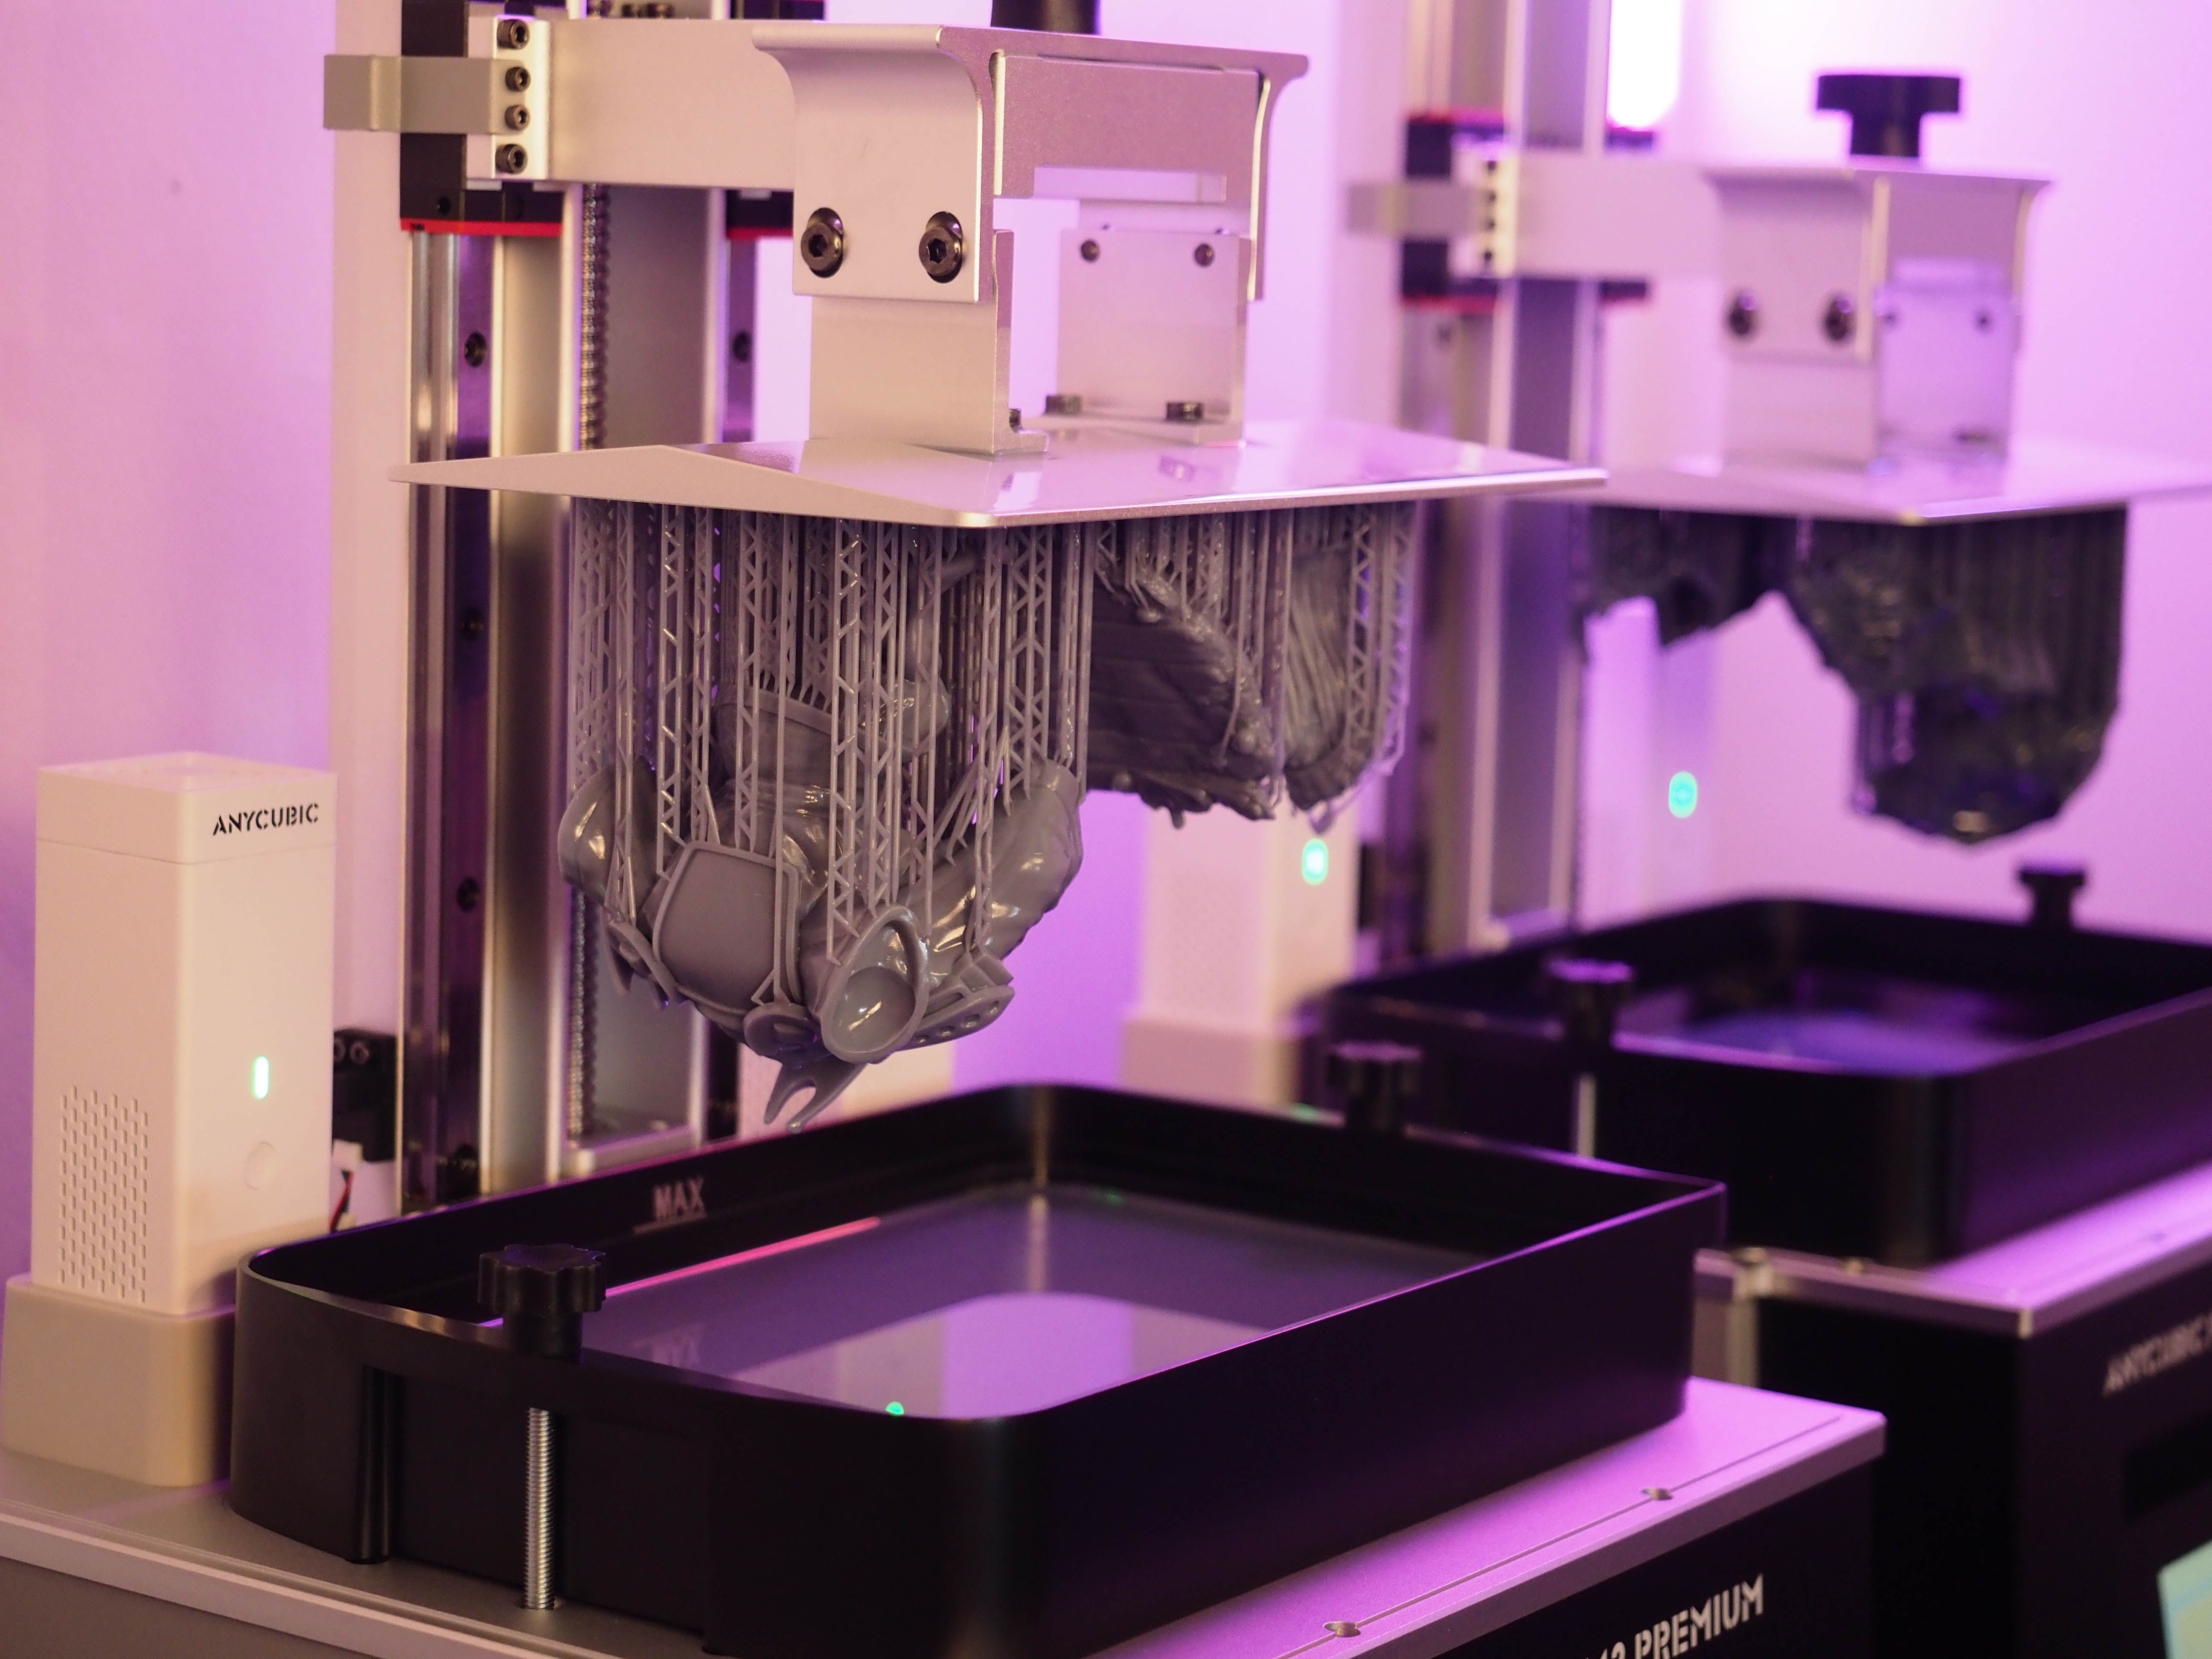
And rather than a gimmick, it holds quite true with no notable resin odor impacting a small room with two M3 Premium printers running at once. While this won't replace the use of a mask, it's an additional filtration option for those looking to reduce an unpleasant element of the printing process.
You'll still want to routinely change the activated carbon filters within Anycubic's recommended 3-6 month window. Both purifiers also run nearly inaudibly, so there's no additional noise during the printing process.
A recent firmware update solved my only real complaint with the system. Previously if you turned the M3 Premium printer on, its twin air purifiers wouldn’t also automatically turn on as well. With this change made, there's no need to remember to manually turn both on or enable them via the touch screen.
Printing on the M3 Premium
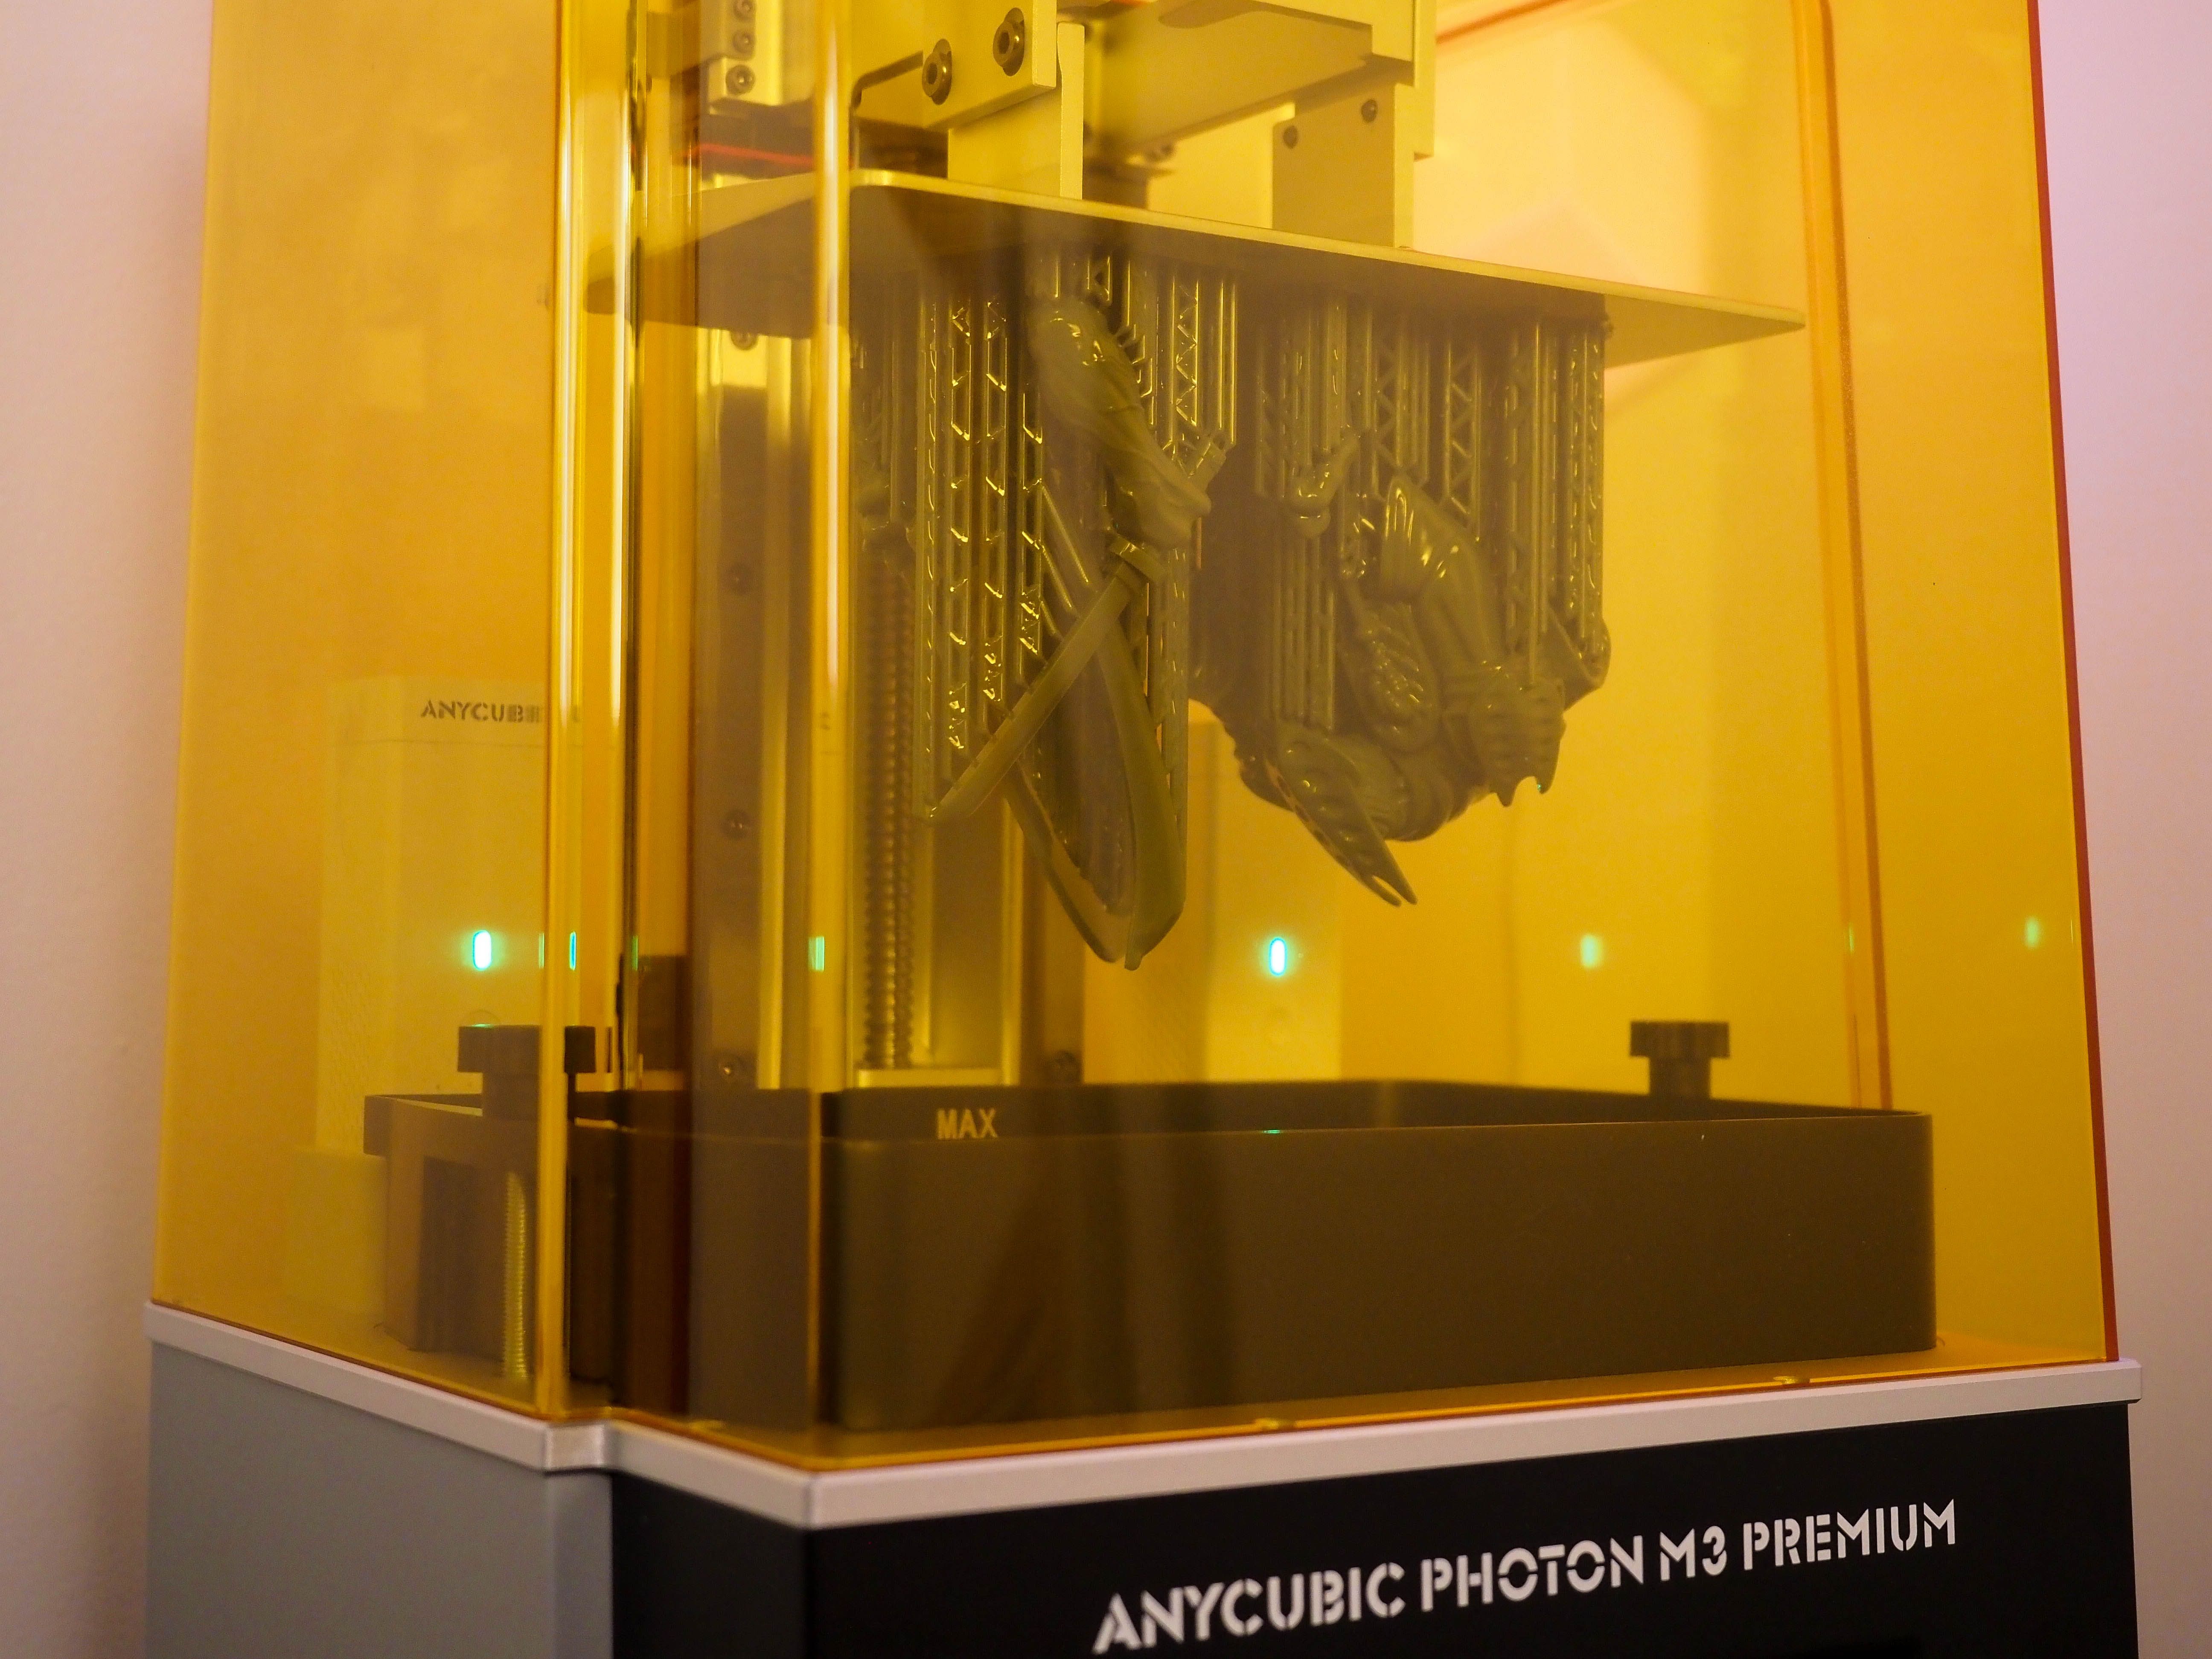
When it comes to actually printing with the M3 Premium, Anycubic has tried to improve print success while expanding options for its user.â¨â¨ To this end, I typically want to test a variety of designs among small and medium sizes to see how effectively a printer works. That usually means a mix of large and multipart pieces depending on the modeler.â¨â¨
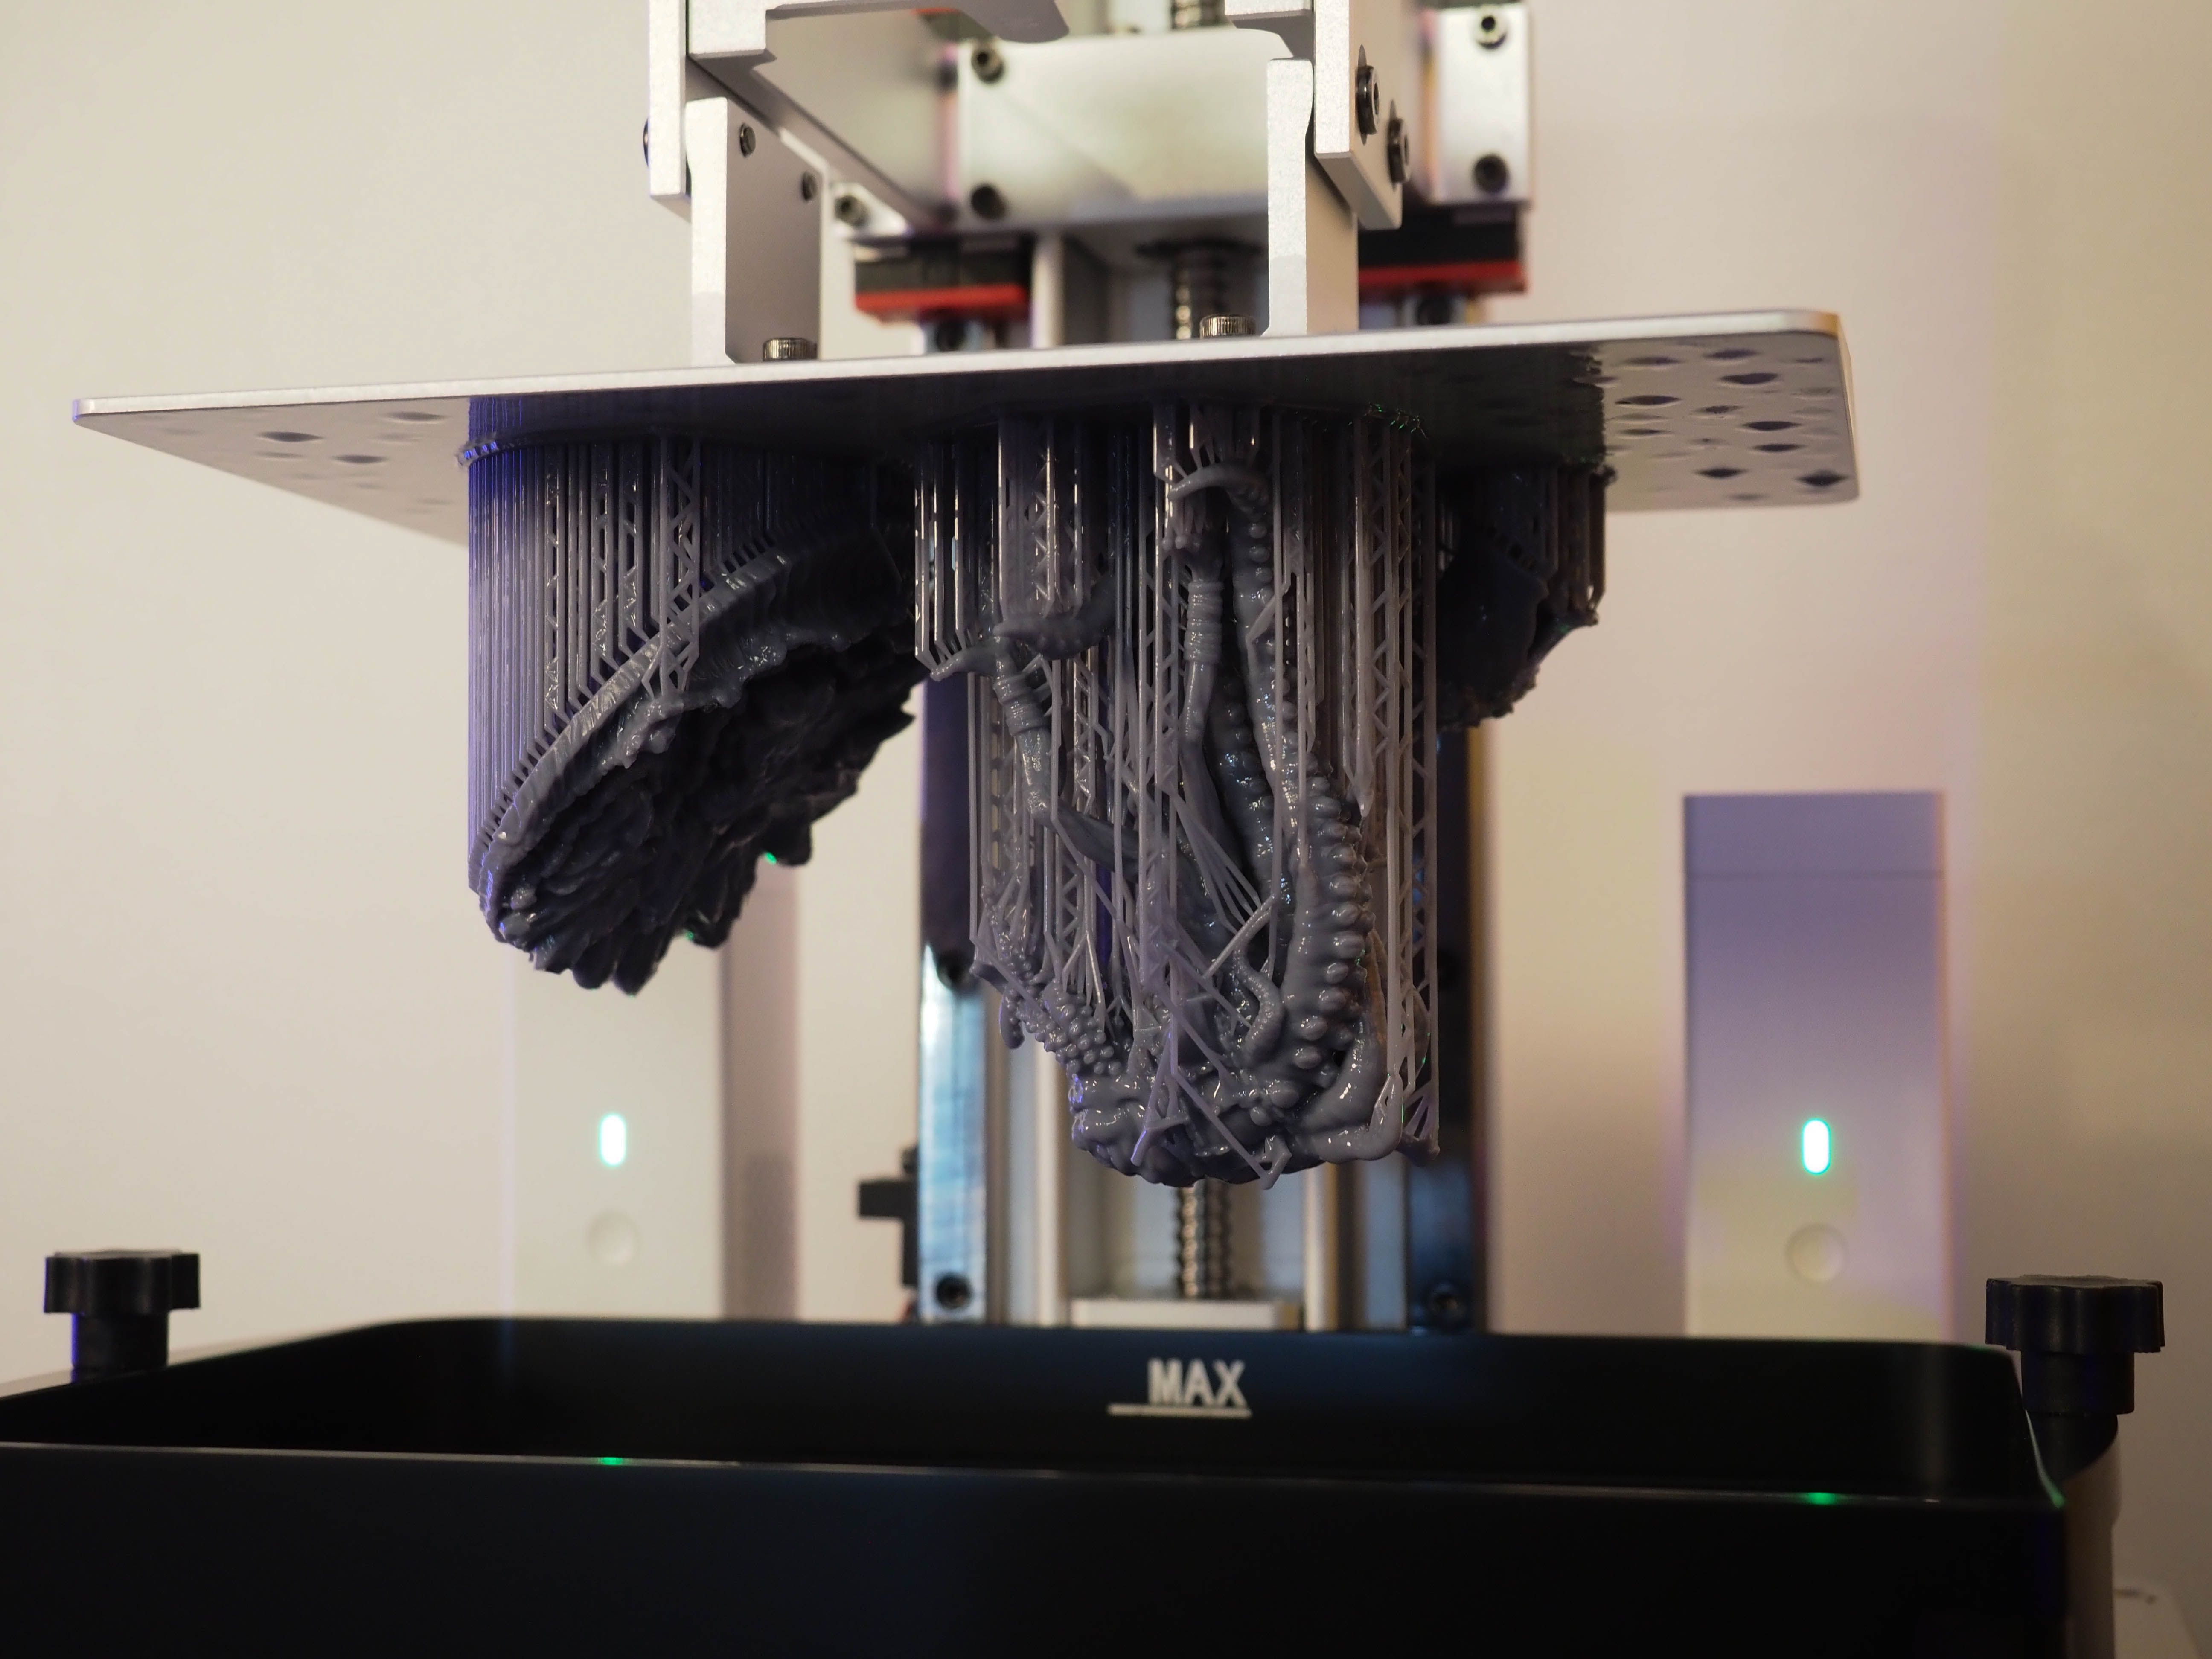
For the Premium M3 Plus, the larger build plate alongside the nFEP film provides a better scenario to test print success and failures. Print failures commonly result from layers sticking to the film, but thankfully, I didn't run into this during testing.
As always, you want to be careful of your model placement and pay attention to the physics of the printing process. However, for those worried about getting successful prints, it's a much simpler affair on the M3 Premium with the right settings. The newer nFEP is more durable resulting in an extended lifespan compared to other printers.
The 1.35-liter resin vat of the M3 Premium also boasts a 60% improved capacity. Another common concern with resin printing is running out of enough resin mid-print, so the option to host more than enough can reduce the burden of tighter resin management. Even at visibly low levels, there's often enough to finish quite a few prints—especially when working with miniatures.
In addition to printing from an appropriate USB drive, Anycubic also intends for mobile printing via the Anycubic app. Unfortunately, at the time of testing with the appropriate firmware update, connectivity issues still occurred. As a result, I couldn't test the wireless printing feature.
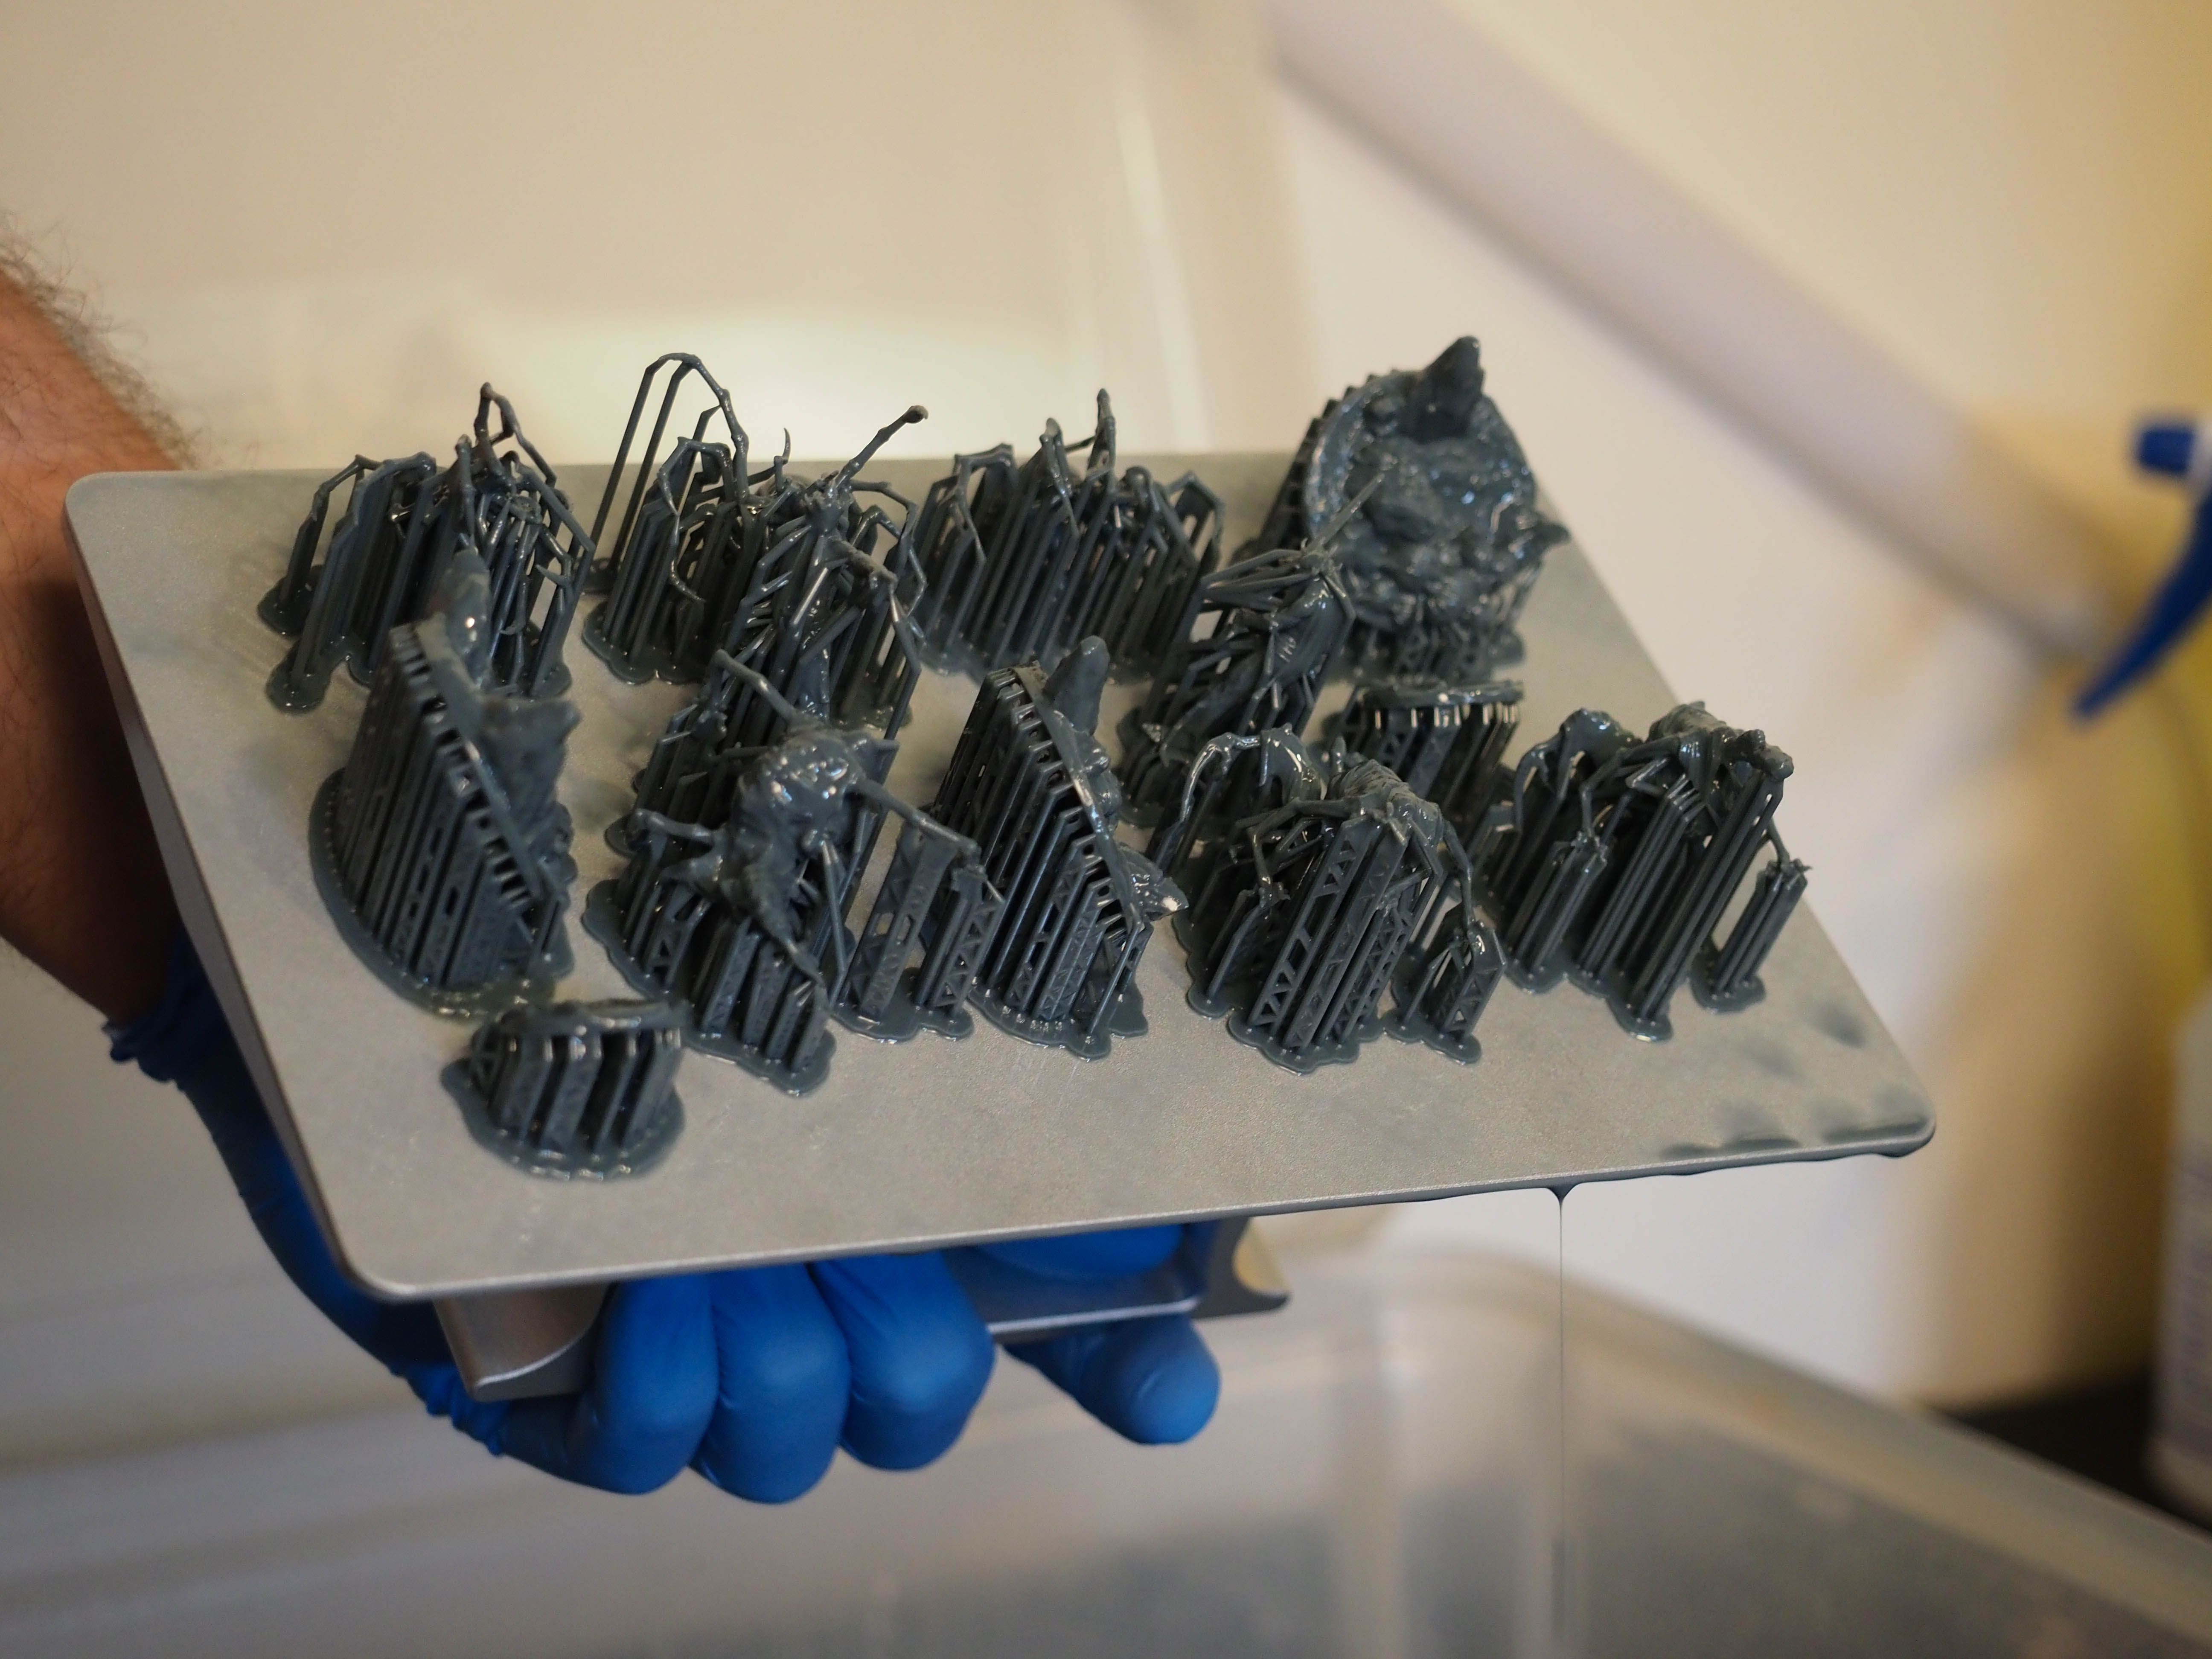
As for cleaning and maintenance for the printing process, the only annoyance was that the build plate's upward-facing bolts were magnets for resin build-up. For those that do multiple prints back-to-back, this doesn't change your operating process much. However, if you're more of an occasional printer, the additional focus on cleaning may prove inconvenient.
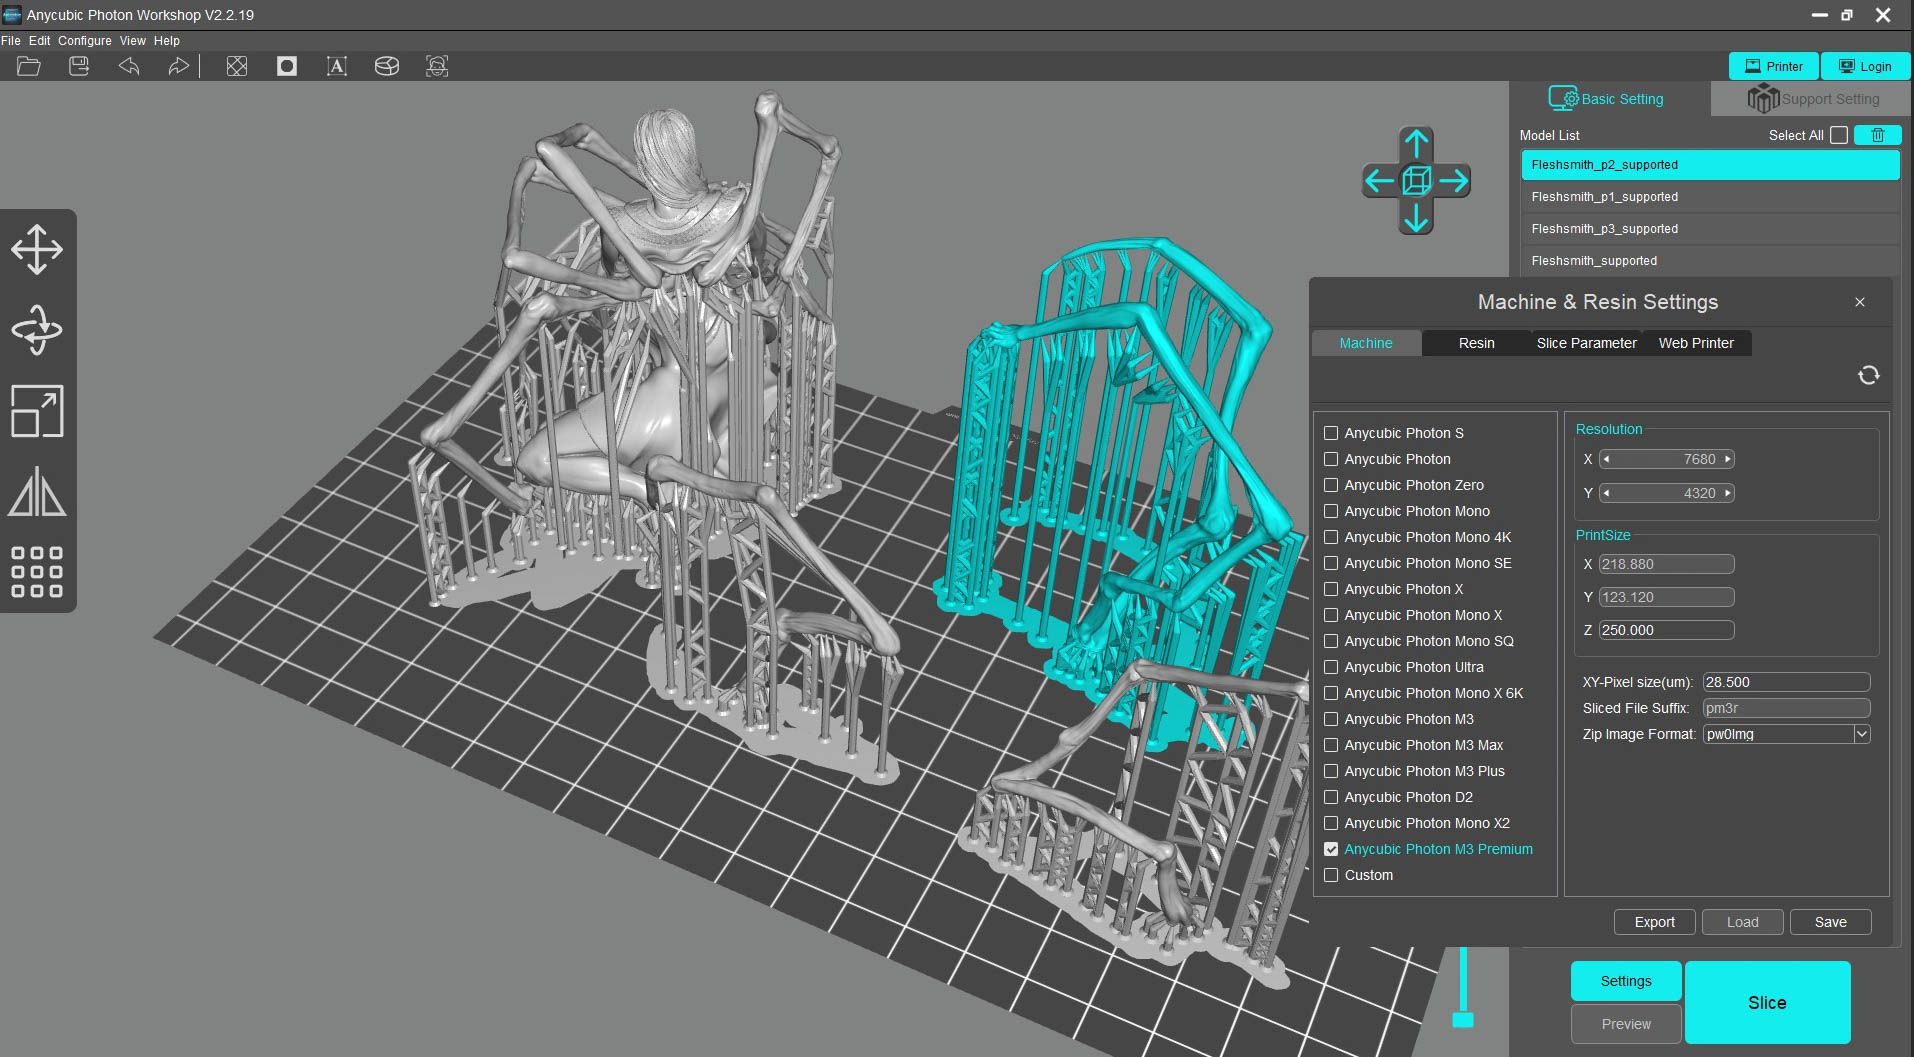
When preparing files to print, the M3 Premium uses Photon Workshop. While it's a more basic and slightly sluggish slicer, it's intended purely to slice your print files. In most cases, you'll want to make changes in more focused software like Lychee for more extensive options, such as adding your own supports.
However, if you're already using mostly pre-supported models, you'll only need to tweak your print settings and work on placement within Photon Workshop.
8K Quality Prints With the Photon M3 Premium
To test print results and quality, I worked foremost with Anycubic’s ABS-like Resin Pro, while also trying Phrozen's 8K resin as a comparison metric. Anycubic's ABS-like resin also brings the added advantage of allowing a bit more bend to the models and resistance to falls. This provided more flexibility when working with delicate model pieces, especially during the support removal.
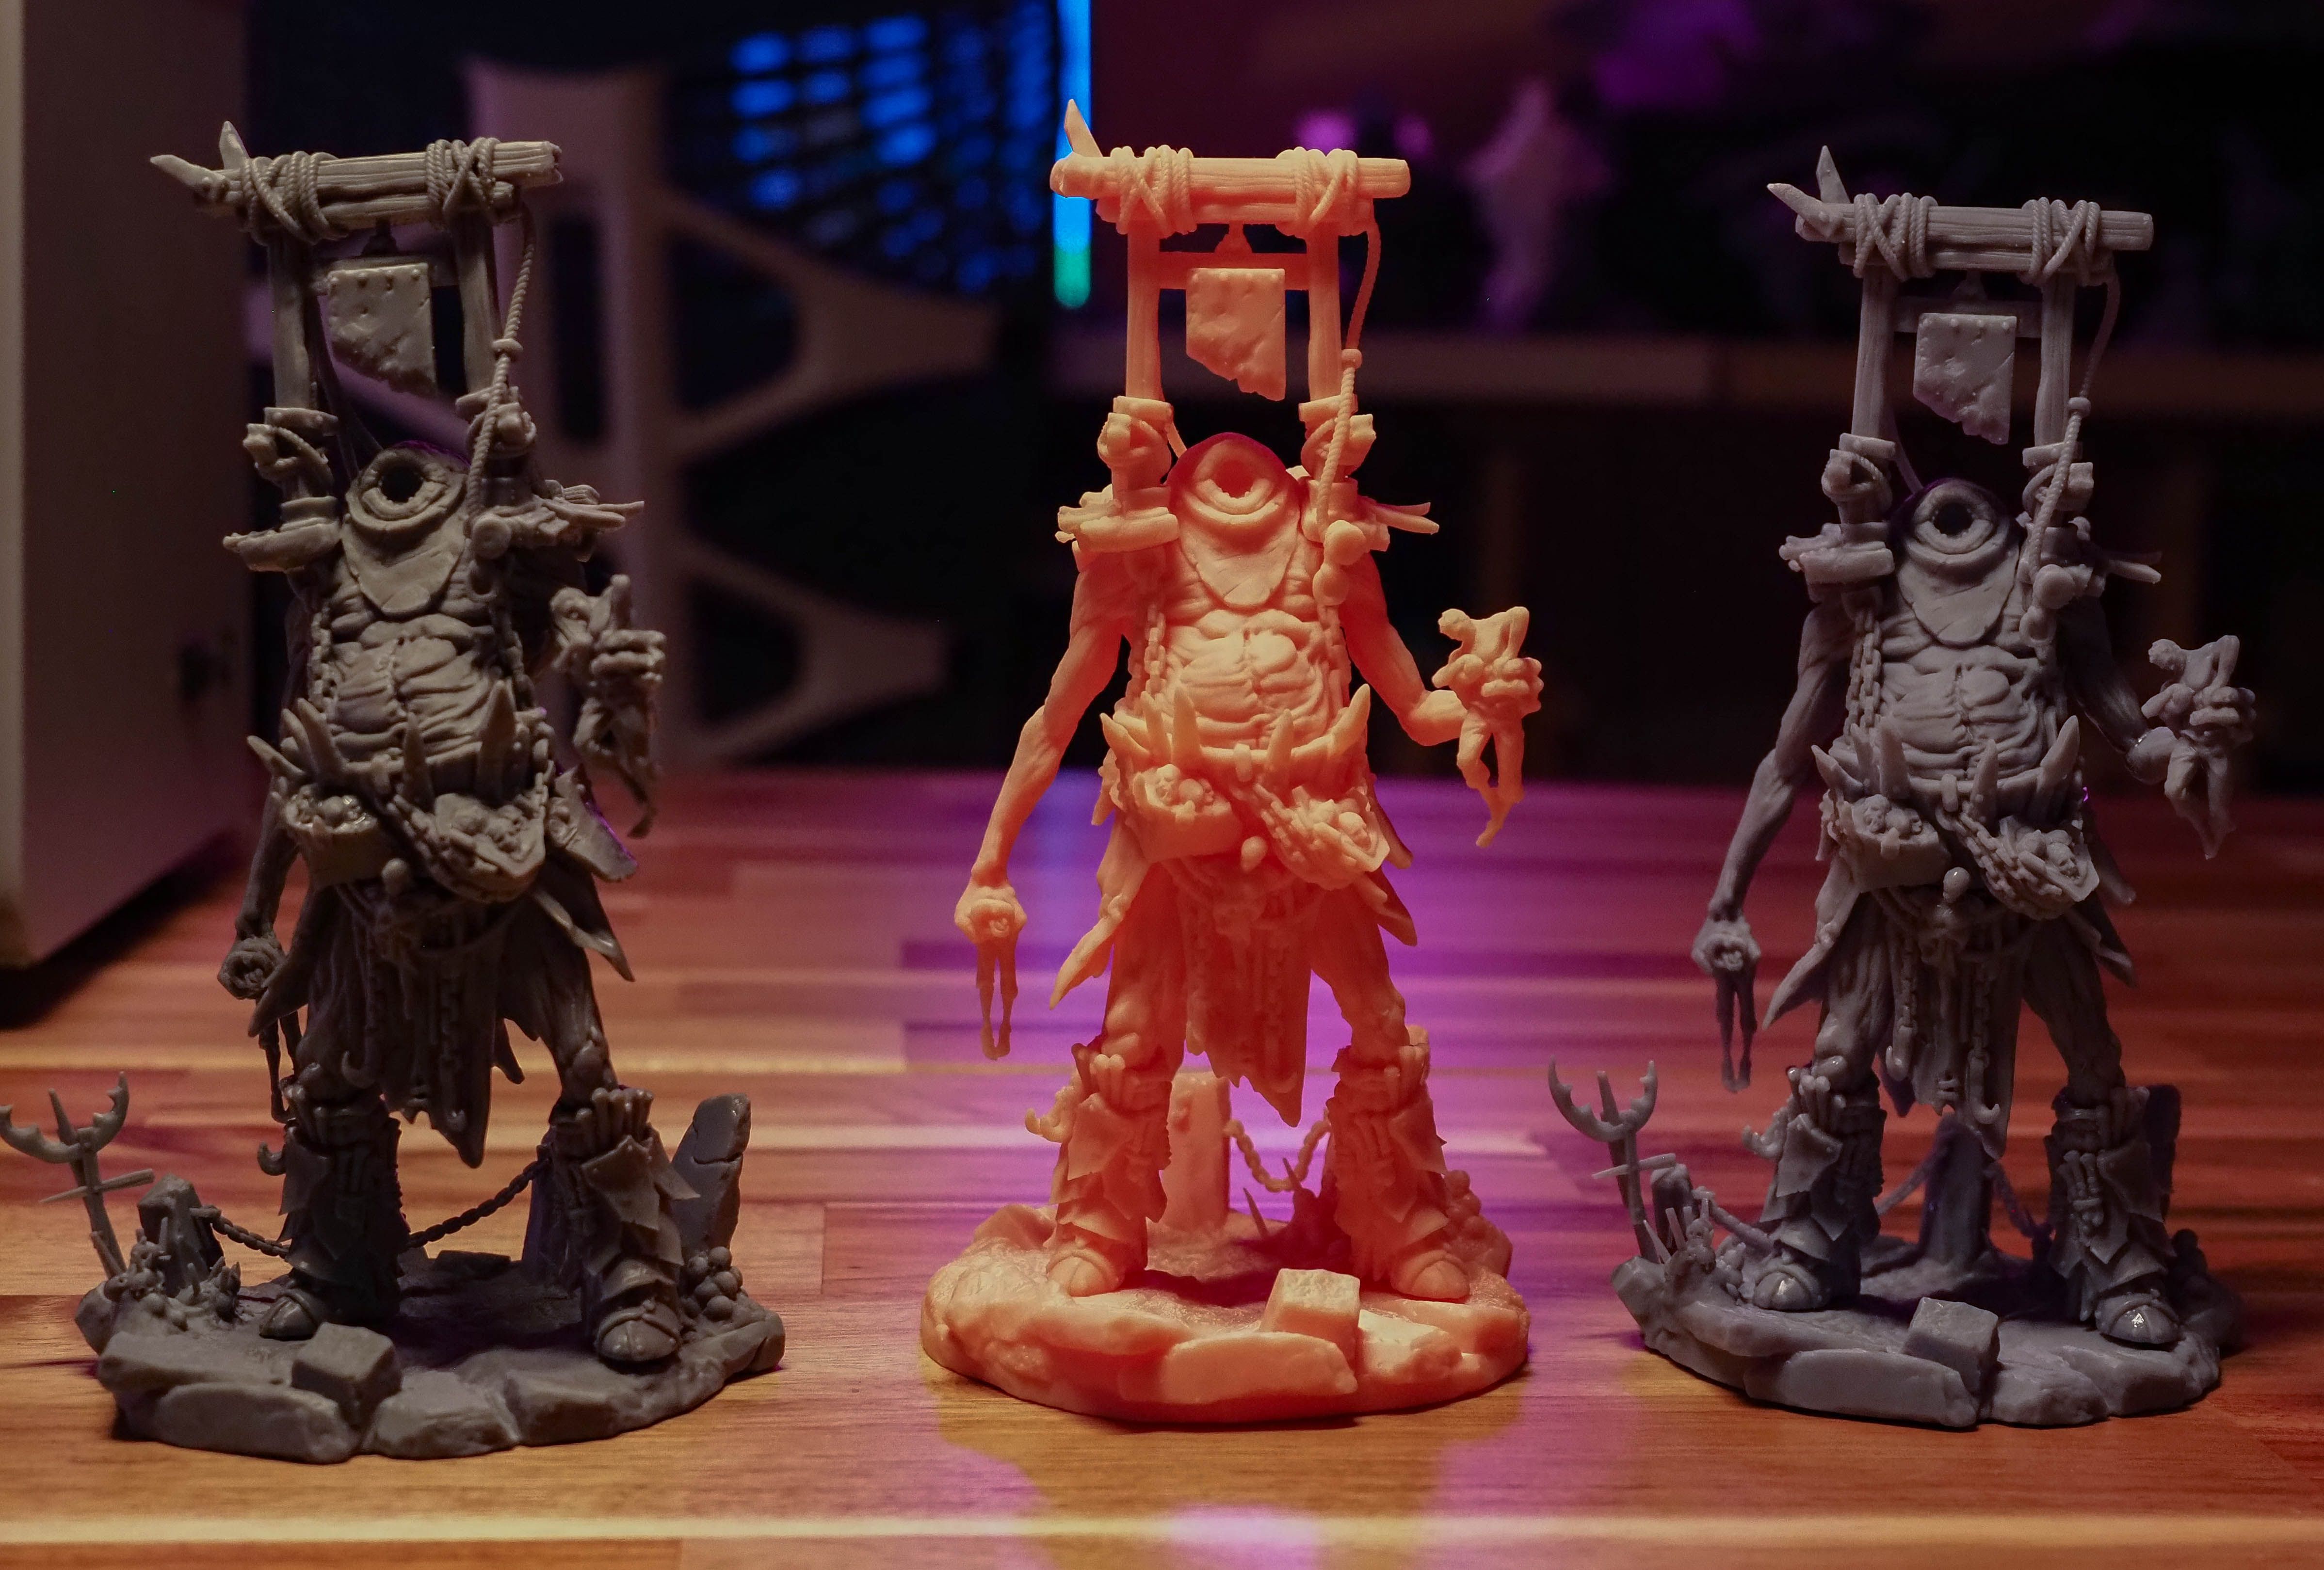
As a secondary metric, I reprinted familiar models to look for discernable quality differences. I experimented with both a model that I've printed in 4K and 6K resolution previously, as well as one that had only been printed at 6K before. In both of these cases, there were small upgrades discernable among the overall increased sharpness of the models.
However, this may not be a good enough reason to upgrade your machine, especially when the detail isn't always obvious to an untrained eye. But if you’re a practicing 3D modeler or looking for the absolute best quality results before painting, it's a trade-off to weigh.
Should You Buy the Anycubic Photon M3 Premium?
If you’ve liked what Anycubic has done with its previous Photon printers, you’ll likely find much to like about the M3 Premium. But the resolution upgrade of the M3 Premium might not be worth it for all. If, however, you want the most accurate representation of your 3D models while capitalizing on its large print volume, the M3 Premium is certainly enticing.
The printing process is reliable, albeit slower, while printing at more conservative settings. There are very few criticisms that I can offer, and it does what it sets out to. â¨â¨Mostly, you’ll need to think if the M3 Premium's overall size and print volume suit your needs and whether those air purifiers bring added value for you. However, if you're willing to capitalize on its strengths and need to work with a variety of prints, the M3 premium offers excellent value.

