Do you have trouble using the microphones on your AirPods? The dirt inside the microphone holes, incorrectly configured settings, and minor bugs can stop the earbuds from working correctly.
Other factors may cause microphones to malfunction. People won't hear you clearly when AirPods don't pick up sounds correctly, as your voice could sound muffled on calls. People might also complain about crackling, popping, or rattling sounds and the audio breaking up.
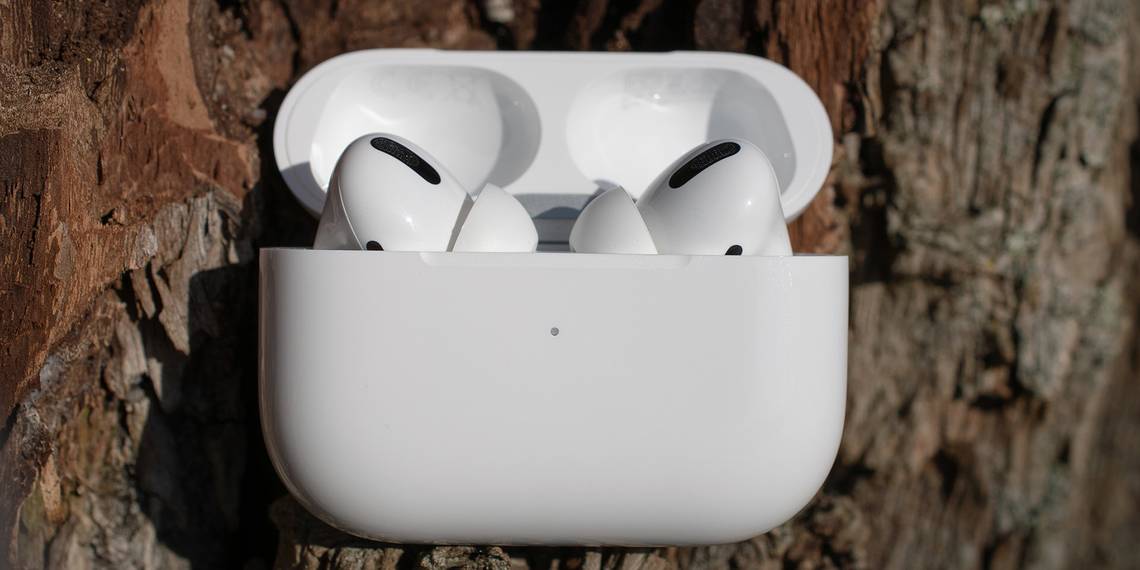
If one or both microphones on your AirPods exhibit issues or aren't working, our troubleshooting tips below should help you fix common microphone issues with your wireless earbuds.
1. Reconnect the AirPods With Your iPhone

Establishing a fresh new connection with your iPhone can resolve most AirPods problems, especially if they worked fine just a moment ago. All you have to do is put both earbuds in their charging case (or the Smart Case if you have the AirPods Max) and take them out again.
It's also a good idea to check your AirPods battery level because audio performance can drop if the battery charge is below ten percent. Be sure to charge your AirPods for at least 30 minutes before trying again. Preventing AirPods from automatically switching between devices is another troubleshooting step to isolate microphone issues to a specific device.
2. Clean the Microphone Mesh

If you've used your AirPods for several months, the microphone holes may have accumulated lots of grime. That can make your voice sound muffled during phone calls.
We've already outlined the best ways to clean your AirPods safely. As a rule of thumb, you'll want to spray a cotton swab with rubbing alcohol without getting it too wet. Then, dab away on the microphone mesh on the bottom of the AirPods to loosen any gunk.
Then, gently pry out any particles with a toothpick or tweezers. When doing this, take extra care not to damage the mesh grill covering the microphones.
3. Turn Off Noise Cancelation


Any good noise cancelation relies upon clear microphone audio—some folks turn off this feature as one of the ways to improve AirPods' sound quality.
While wearing the earbuds, open the Control Center and long-press the Volume slider until the additional controls appear. Then, tap the Noise Control icon in the lower-left corner and set it to Off
4. Check Your AirPods for Water Damage

The AirPods are water and sweat resistant but not waterproof or sweatproof. You should never submerge your AirPods, swim with them, wear them in a sauna or steam room, or bring them into the shower. That's because if liquid gets into your earbuds, you'll probably hear subdued or no audio.
Should your AirPods get wet, wipe them down with a soft, dry, and lint-free cloth. According to Apple's support document, you should never use heat or compressed air to dry your AirPods.
5. Check Your Active Microphone Settings
If only a single microphone on your AirPods works, this could be down to your settings. Check the active microphone setting for your AirPods to determine whether it's configured to use both mics.


With the AirPods connected to your iPhone, open the Settings app and select your AirPods. Choose the Microphone option in the AirPods settings screen, then choose Automatically Switch AirPods. This will ensure that your AirPods dynamically pick the most suitable microphone for audio reception.
You can also try selecting the other settings to use only one AirPod microphone. Selecting either the left or right microphone will prevent automatic microphone switching while you're speaking. Doing so could also help isolate the issue to a single AirPod.
6. Update the AirPods Firmware


Outdated firmware can throw off microphones. With your AirPods connected, open the Settings app and select your AirPods. On the AirPods settings screen, scroll down and tap Version to see the firmware details for your AirPods and the carrying case.
Compare these numbers to the latest firmware versions in a support document on Apple's website to verify that the software powering your AirPods isn't outdated.
Apple doesn't provide an option to update the AirPods manually. Instead, your earbuds will automatically update as long they're resting in their charging case next to the paired iPhone, assuming it's connected to the internet. If new AirPods firmware is available, your earbuds should update within minutes.
7. Restart Your iPhone

Restarting your iPhone and any connected devices may resolve random connectivity issues that could prevent the device from accurately detecting the input audio from your AirPods.
On Face ID devices, hold down the Side button and either Volume button together for a couple of seconds. If your iPhone has a physical Home button, hold the Side button until the shutdown screen appears. Then, slide the Power icon to the right to power down the device. Wait 30 seconds before holding down the Side button again to boot your iPhone back up.
8. Update Your iPhone


Software bugs related to iOS could be another reason causing issues with the AirPods' microphones. So, ensure your iPhone has the latest iOS version installed by venturing into Settings > General > Software Update. If an update is available, install it and see if that makes a difference.
9. Reset and Pair Your AirPods Again

Resetting your earbuds is another troubleshooting step you can try if one or both of the microphones on your AirPods aren't working. Put both your AirPods in their charging case, then press and hold the Status button on the back (or both the Noise Control button and the Digital Crown on the AirPods Max) until the LED status indicator on the front turns amber.


That's it; you've finished resetting your AirPods! Now open the lid (or take your AirPods Max out of the Smart Case) and hold the charging case next to your iPhone. You should get a pop-up on your iPhone showing nearby AirPods—hit the Connect button and then Continue to finish reconnecting the earbuds.
10. Reset Your iPhone's Network Settings


Corrupt iPhone network settings can also cause microphone-related problems with your AirPods. Try resetting them by venturing into Settings > General > Transfer or Reset iPhone > Reset > Reset Network Settings. You'll need to type in your passcode to confirm the action.
Please note that resetting your network settings will instantly disconnect you from your current network, as well as remove previously used Wi-Fi networks and VPN settings, set your device name to "iPhone," and remove any manually trusted certificates.
11. Repair Your AirPods or Get a Replacement
If none of the fixes above worked, your AirPods are probably defective. If you habitually drop your AirPods, chances are you damaged the microphones in the process. So, contact Apple Support or book an appointment at the nearest Apple store for AirPods repairs or a replacement.
Use Your AirPods Without Microphone Problems
When the AirPods microphones don't work correctly, people will complain that your voice sounds muffled or crackling on calls. Hopefully, the fixes above helped you sort out the problems you were facing with the microphones on your AirPods.
While the AirPods are one of Apple's best products, they aren't worry-free. And in case of hardware issues, most of these troubleshooting steps won't be helpful, as you'll need expert assistance from a qualified technician to fix your AirPods.