
Microsoft PowerPoint is one of the most popular tools for creating presentations and slide shows. While PowerPoint dominates the presentation software category, you may not know its most valuable features yet.
Let's look at the most notable Microsoft PowerPoint features that you might not be using but definitely should.
1. Co-Authoring
As its name suggests, co-authoring allows you and your colleagues to work on a PowerPoint presentation collectively. It comes in handy when you're part of a team and want to collaborate on a PowerPoint presentation. Here are the detailed steps to use co-authoring in PowerPoint:
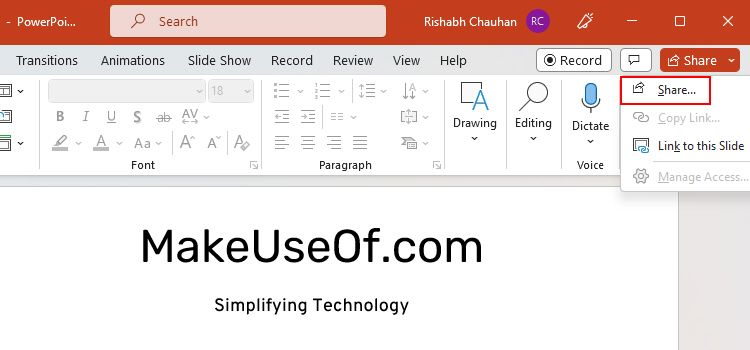
- Click the Share button in the top right corner of Microsoft PowerPoint.
-
Click Share… and then select your OneDrive account. If you don't prefer using your OneDrive account, you can choose a different method as well.
- If you have your team member's email, enter that in the Send Link box.
- Once you are ready to share, click the Send button.

That's all you need to do. The next time someone joins the presentation, you'll see their changes in real time.
Microsoft offers you endless opportunities to customize the PPT sharing settings. You can click the pencil icon and then Sharing settings to access them.
2. PowerPoint Designer
The PowerPoint's AI-driven feature, called PowerPoint Designer, helps you transform your PPT's appearance. When you add a new slide or change the content of an existing slide, the Designer analyzes the content. It then starts suggesting design ideas that match the content of your PPT.
If you often lack design inspirations, you should learn to use PowerPoint's Designer feature for help. Follow these steps to get started with PowerPoint Designer:
- Create a new slide in PowerPoint.
-
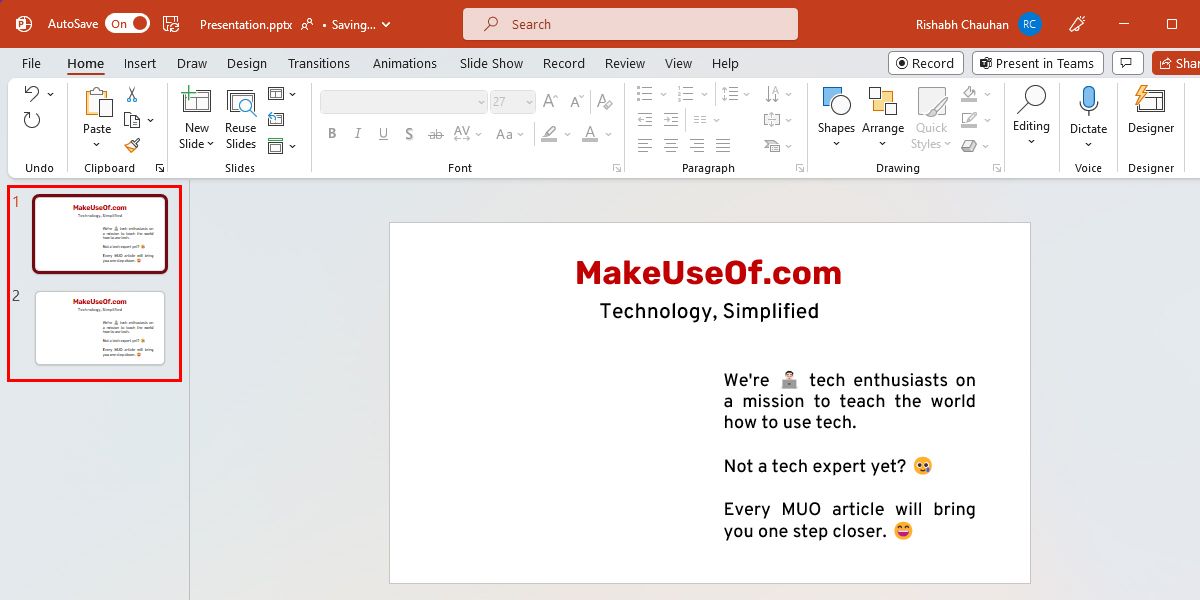
Add some content to it, then click the Home tab's Designer button. This will launch a sticky sidebar where you will see many design ideas (themes) for your PPT.

- You can click on any design ideas that will apply to your current slide.

Want to see the real magic? Create some more slides and add enough content to them. Open the Designer sidebar again to see some related designs (applicable to all of your slides).
3. PowerPoint Add-Ins
You may not know that PowerPoint allows you to install third-party add-ins in one click. There are many different PowerPoint add-ins to transform your presentations completely. Once you know which add-ins to install, you can follow these steps to install them:
- On your presentation screen, go to the Insert tab.
-
Click on the Get Add-ins option.
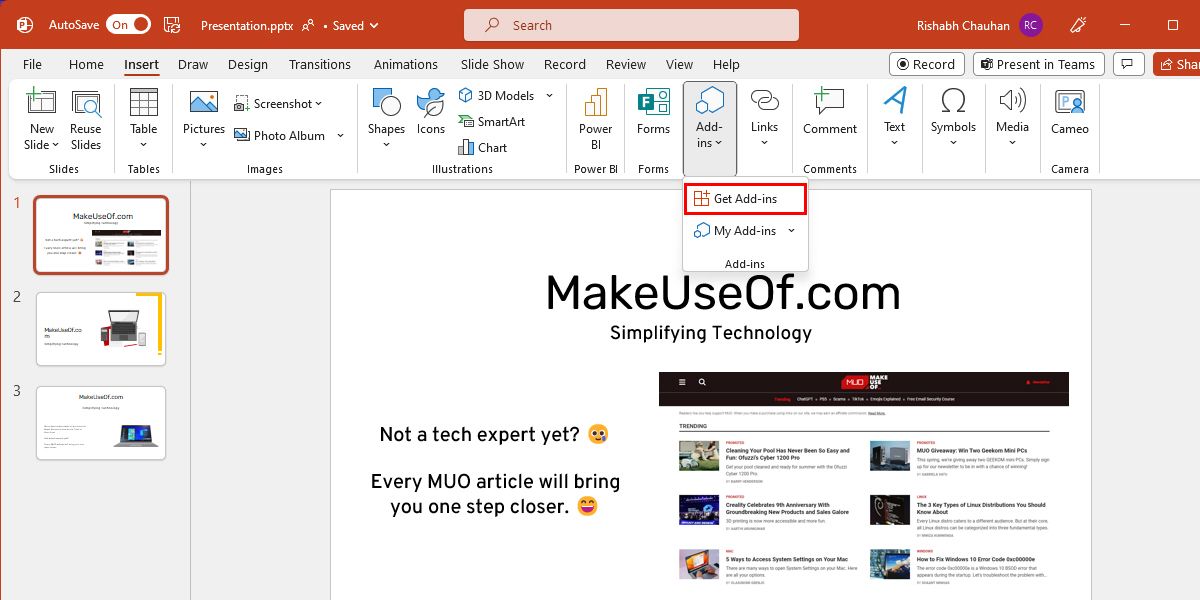
- This will open the Office Add-ins window. You can search for and install your favorite add-ons for PowerPoint.

4. Presenter Coach
If enhancing your presentation skills is your goal, then Presenter Coach is the perfect option for you. It provides you with real-time feedback on your presentation skills.
It first analyzes all the words you speak. Then, by using artificial intelligence, it suggests how you can improve further. Here is how you can enable Presenter Coach in Microsoft PowerPoint:
-
Under the Slide Show tab, click the Rehearse with Coach option. This will open your current slide in a full-screen view with a small suggestion box at the bottom right.
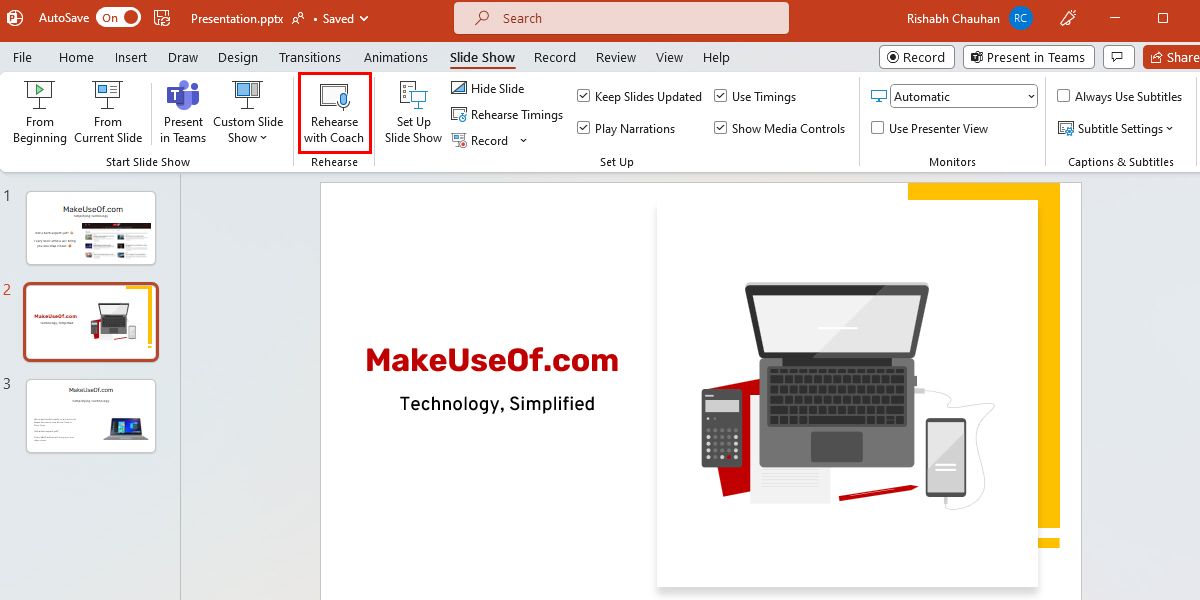
- Click Start Rehearsing to start the AI coach. Now you can start presenting, and the Presenter Coach will provide feedback on your pacing, tone, and language.
- If you want to stop, you can click the mute icon and resume the session by clicking it again.

But how can you view the feedback or results of the Presenter Coach? To view your results, you have to exit the slide first. A popup will appear then, reflecting your rehearsal report and summary of your performance. If you're a beginner, you must read our guide on using Presenter Coach for help.
5. 3D Models
Everything in 3D looks much better than in 2D, right? This is why you can make your presentations much better than others by using 3D models.
Microsoft PowerPoint has a vast collection of 3D models in various categories. The major categories for 3D models include animals, emojis, avatars, shapes, electronics, and gadgets.
To start, click the Insert tab at the top and select the 3D Models option. You can open any category you want and then click on any 3D model you wish to insert into your slide. Once you are ready, click the Insert button.

The best thing that sets this feature apart is that you can even import your self-made 3D models. Once you insert a 3D model into your slide, you can adjust its position, size, and rotation. You can also use 3D models to showcase products, visualize concepts, or add a creative element to your PPT.
6. Morph Transition
By adding Morph transitions, you can animate different aspects of your slides. You can animate different objects, slides, and even texts as you like.
We will demonstrate the use of Morph transitions with the help of the 3D models discussed above.
To use a Morph transition, follow these steps:
-
Create two slides and fill in some content as per your wish.
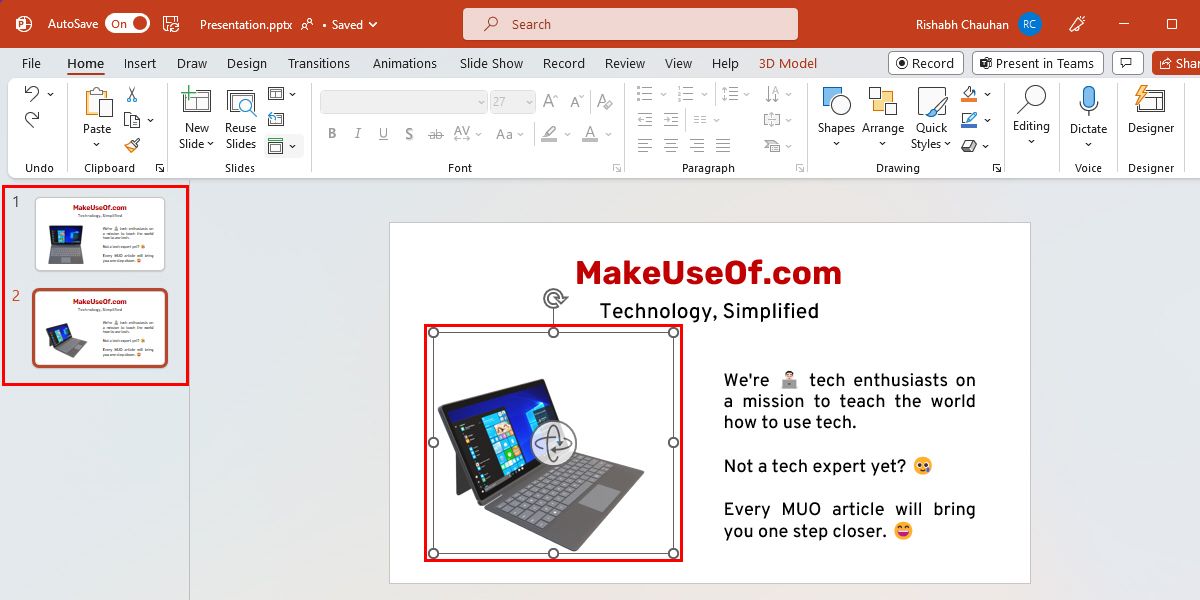
- Insert any 3D model in your first slide. We are going to use a laptop model for this tutorial.
- You have to duplicate the object you selected in the first slide, or you can re-insert the same in the next slide.
-
Next, rotate or move the duplicate object as you want. You can also adjust the position or size of the object.
-
Go to the Transitions tab and select Morph as your transition type.
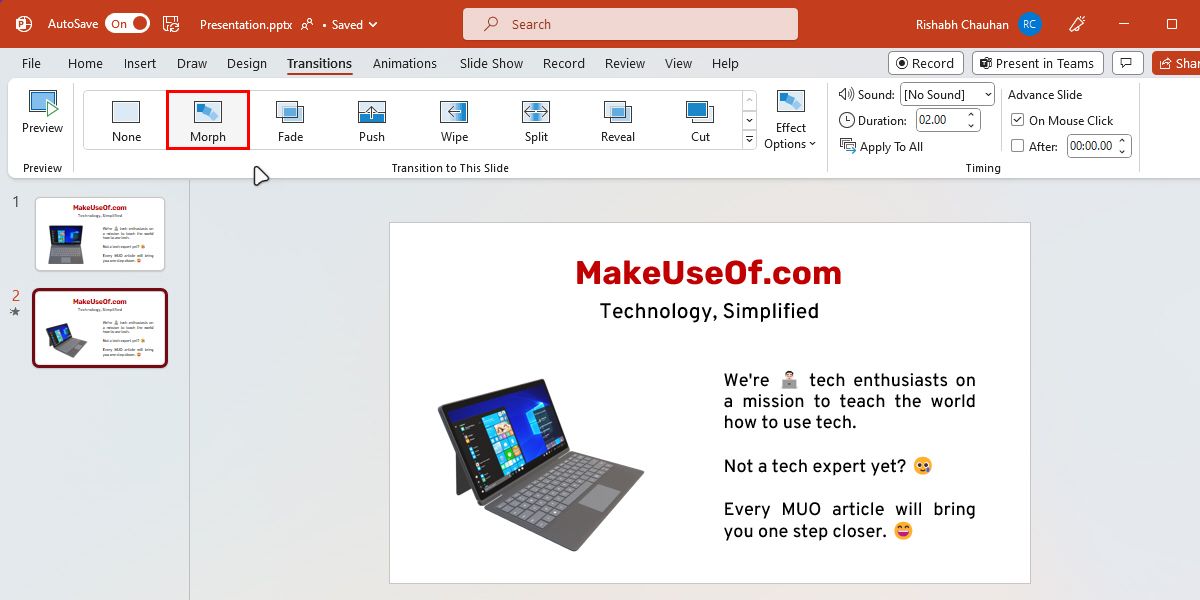
- Run or present your slides to experience a smooth transition between the two slides.


That's it. You will see that your object will transition between two positions.
If you're finding it difficult, there are many websites for animated PowerPoint slides to make your work much easier. You can download a pre-designed template and start customizing it.
7. Remove the Photo Background
From PowerPoint 2016 onwards, you can remove photo backgrounds with one click in PowerPoint. You don't need to go to another website or install a third-party application to do this simple task.
To start with it, insert any image into your slide and then click Remove Background from the Format tab. PowerPoint will then detect the background and remove it.

If you want more control, you can adjust the selection by clicking on the parts of the image you want to keep or remove. So now that you know the steps, you can create custom images that blend with your presentation's design.
8. Insert Object
By inserting Office files, such as Word or Excel, your slides can get the benefits of both applications. You can add charts, tables, or even Word documents without the headache of copy-pasting. The below steps will guide you on inserting an object in PowerPoint:
- Go to the Insert tab, and under the Text group, click on Object.
-
The subsequent popup will ask you to select from two options: Create New or Create from File. If you want to create a new file, click OK to embed it.
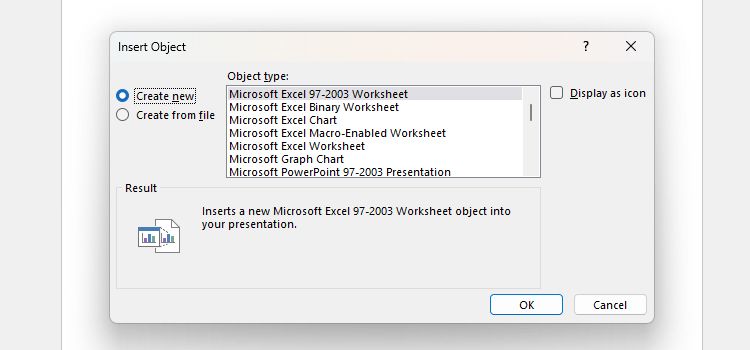
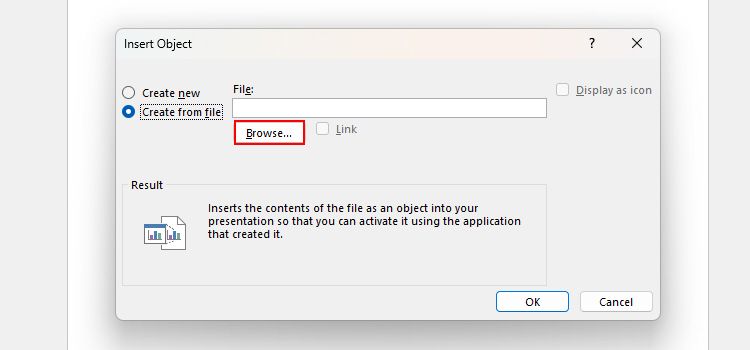
- But, if you're looking to insert a saved file, click Create from File.
- Select the required object you want to insert under Object type. It may be an Excel file, chart, or anything else.
-
Click the Browse button and select the file you want to import into your slides.


Once inserted, you can customize the object's appearance and position on the slide. If you want to edit the object's content, double-click on it to open and edit it in its native application.
9. Slide Master
While preparing a presentation, sometimes the flow or consistency breaks for any reason. For example, you may use a bigger font on the first slide and a different font for the rest.
Whatever the situation is, it makes your presentation look unstructured. In such cases, Slide Master comes into play. Slide Master is a helpful feature that helps you master your slides' "consistency" element. It lets you set the same font, heading size, design, and much more for all your slides.
Follow these steps to enable and start using Slide Master:
- Go to the View tab and click on Slide Master.
-
You can then customize your presentation's layout, fonts, colors, and other design elements.
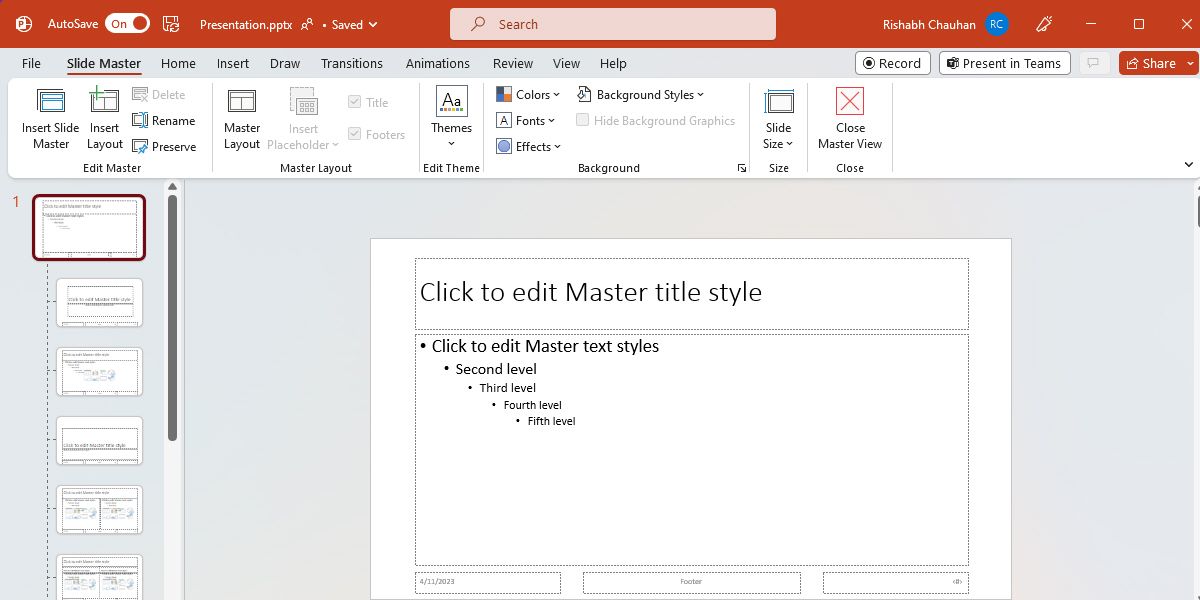
- Once you've made your changes, click the Close Master View button. This will apply the defined template to all the slides in your presentation.

The best thing about using it is that you don't need to open every slide and waste your precious time tweaking them. You can create a template using Slide Master that includes font choices, color schemes, and other elements. Then, let the Slide Master handle your presentations.
Take Your Presentations to the Next Level
No one likes a plain presentation nowadays. So, you should be one step ahead and add creativity and modern looks to your slides. While the Designer will help you with designs, transitions, and 3D models, they will help you with other visual aspects.