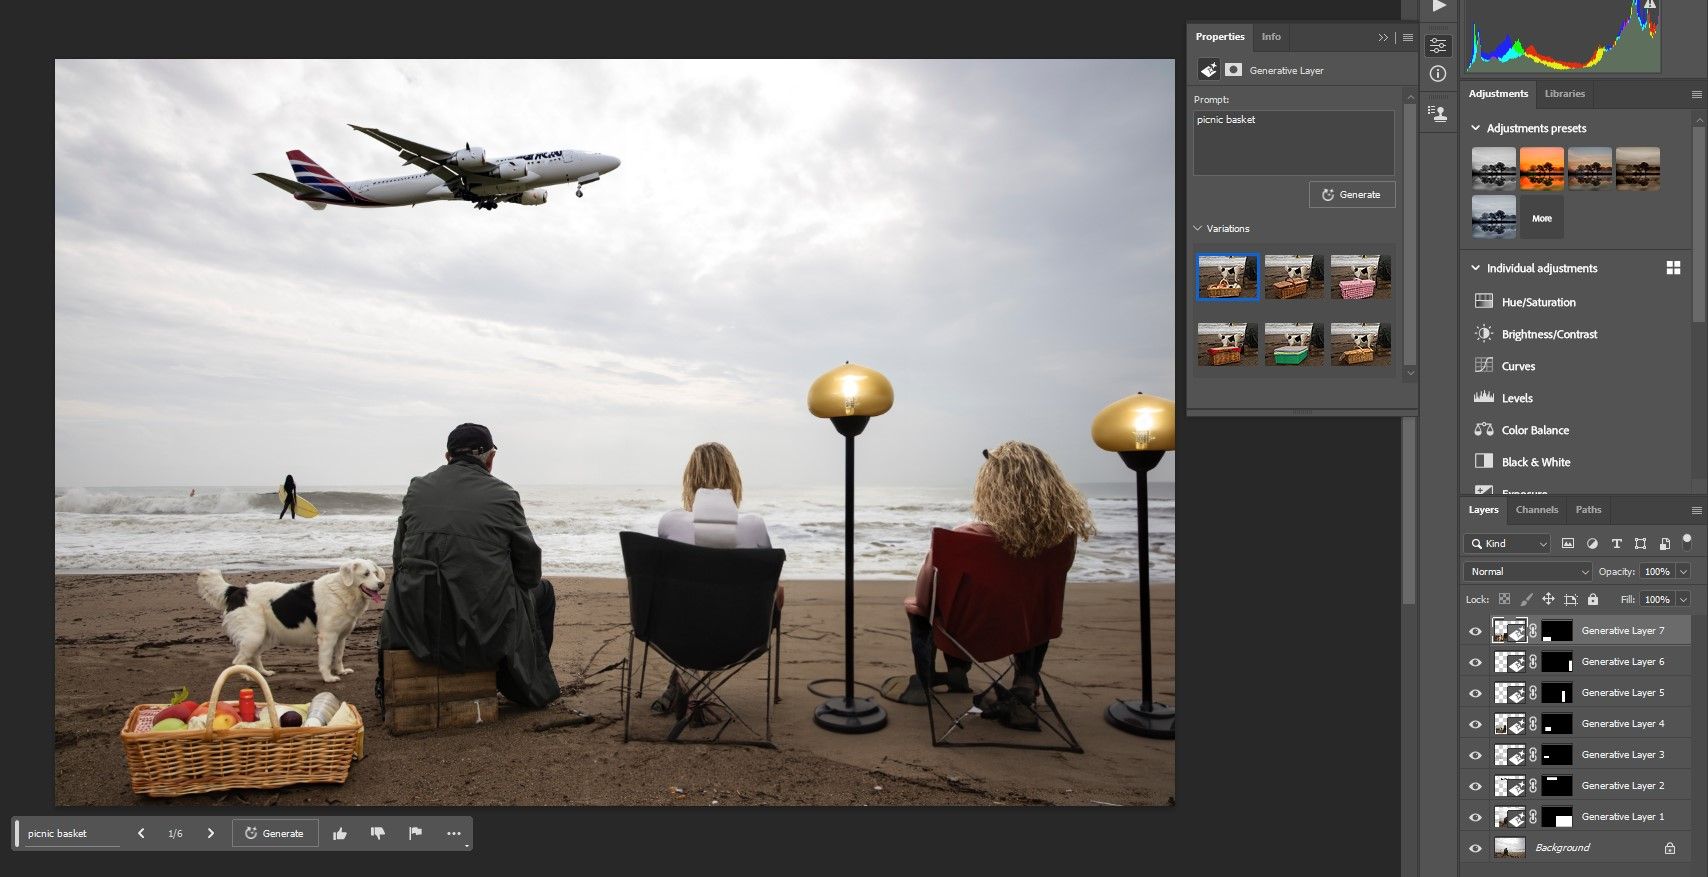
Once in a while, Photoshop puts out a revolutionary tool that changes the industry in how we engage with, edit, and design our images. Generative Fill is a fine example of such a tool and probably one of the most powerful features that Photoshop has released to date.
In this article, we'll show you how to use Generative Fill so that you can let your creativity run wild.
What Is Generative Fill?
Generative Fill is powered by artificial intelligence and creates pixels in the form of real photos derived from its Adobe Stock images library. It's currently available in the Photoshop Beta 4.6 release. Users who subscribe to the Adobe Photography plan can access Photoshop Beta from the Creative Cloud desktop app.
Generative Fill can be used in two significant ways. It can expand the borders of your photos by filling in pixel details. The second way is that you can type in what you want to see, and Generative Fill will create it for you.
How to Use Generative Fill In Photoshop
Let's first see how Generative Fill can help you fill in the missing details of a photo that you'd like to see expanded. A great example would be a close-up photo of someone that crops off their head and other details that you'd like to see more of.
Expand and Fill In the Details
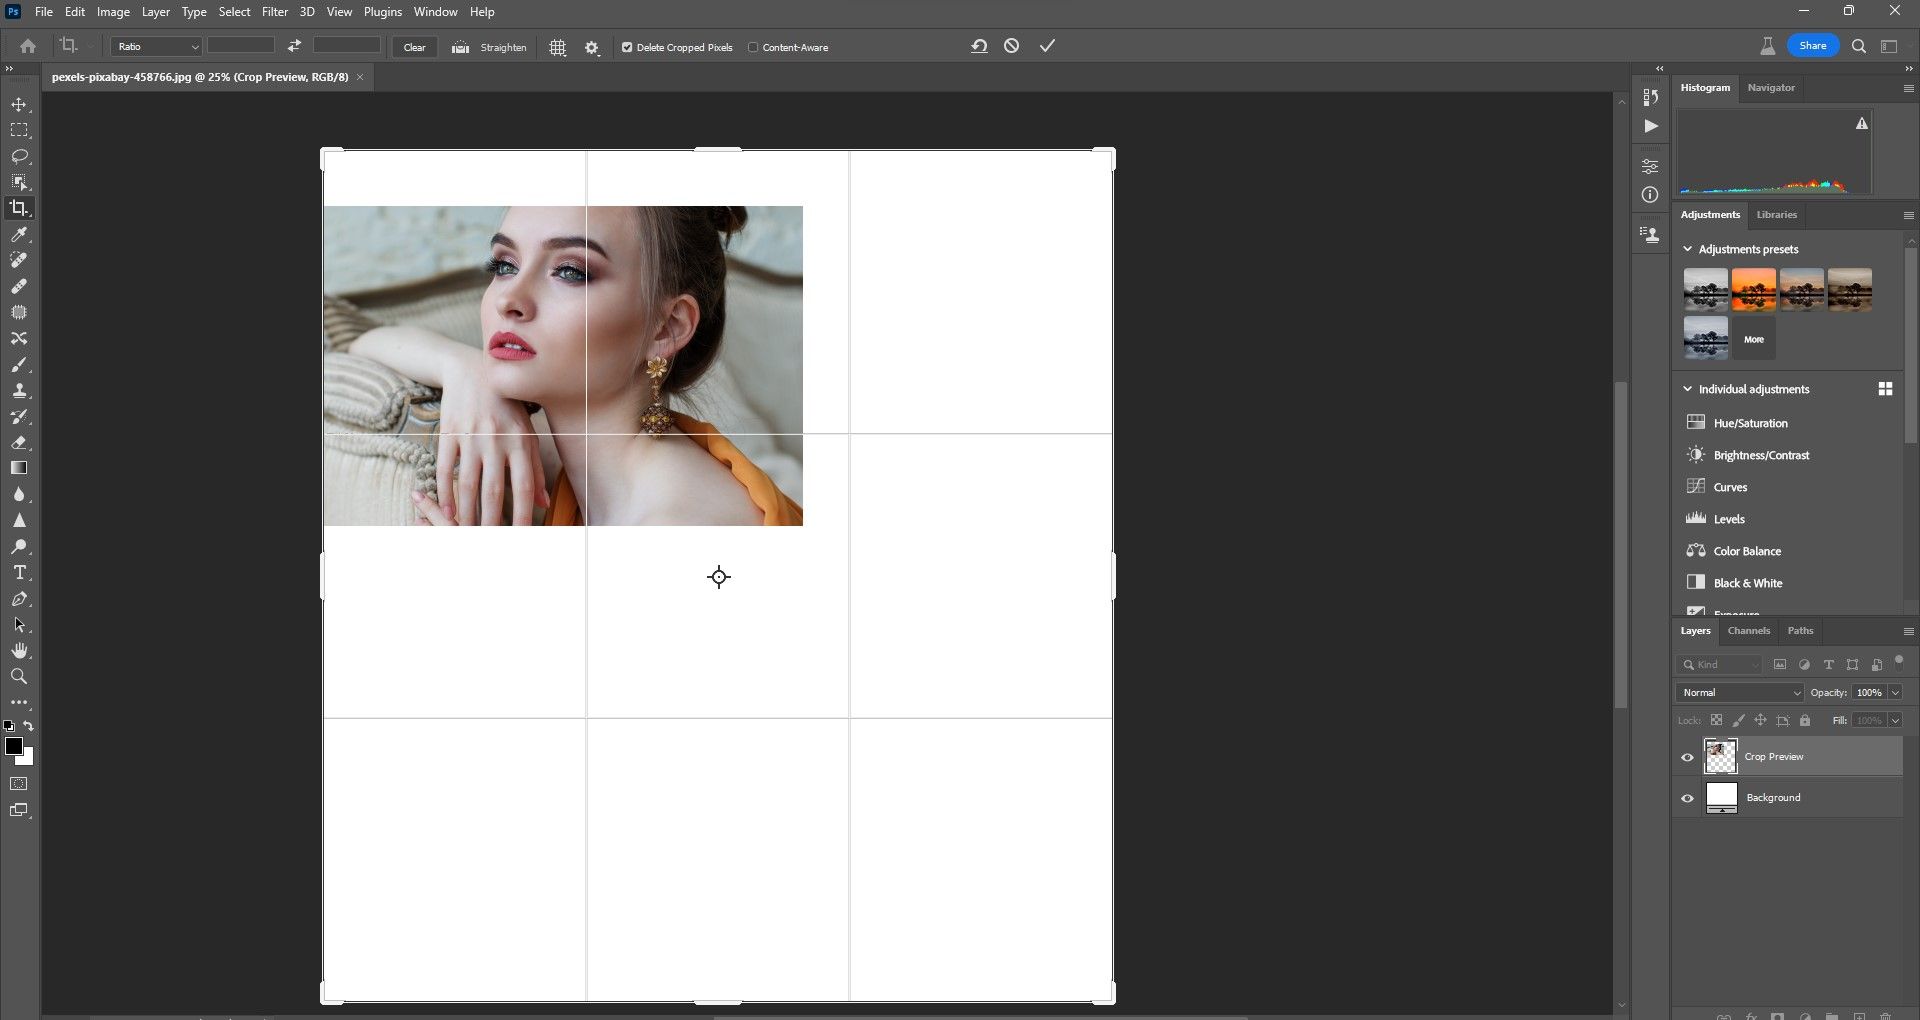
First, create the entire frame by cropping your image in Photoshop Beta. For this example, we'll want to include the subject's head and expand the crop so that we'll see more of the person's features.
Now, we have space to use Generative Fill to literally fill in the details.
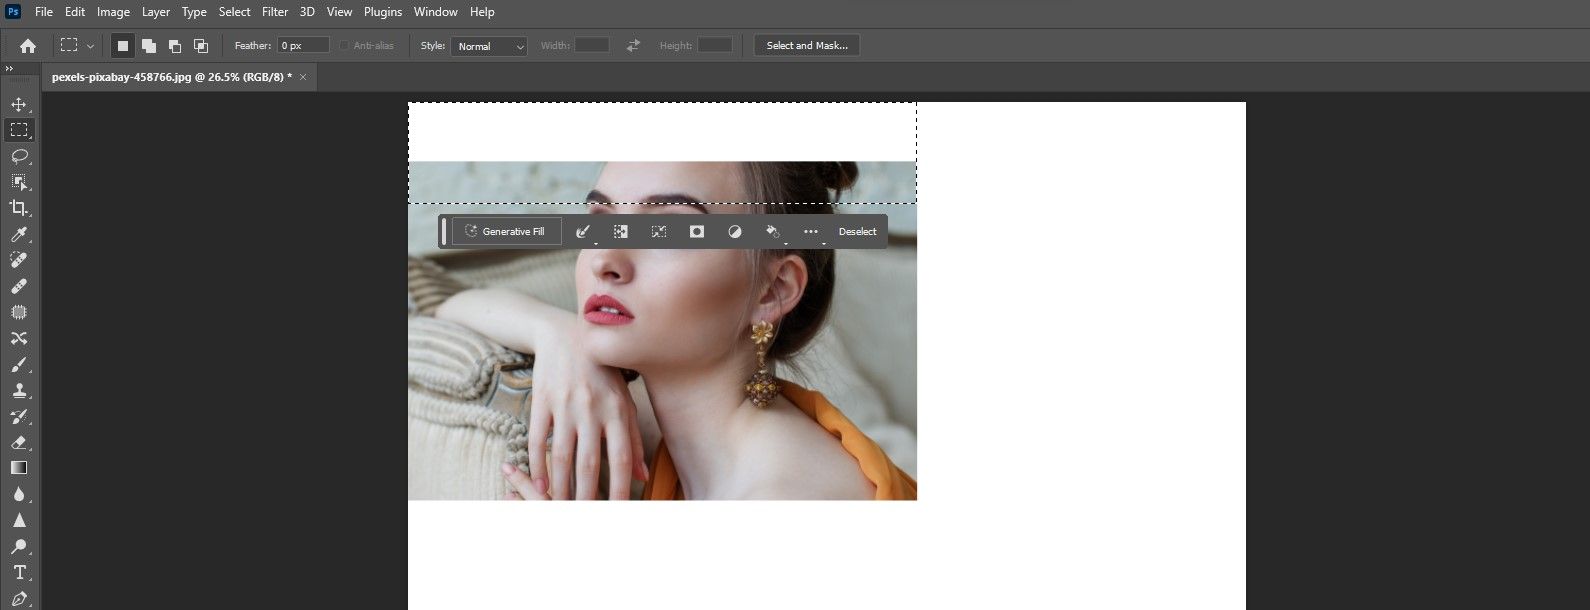
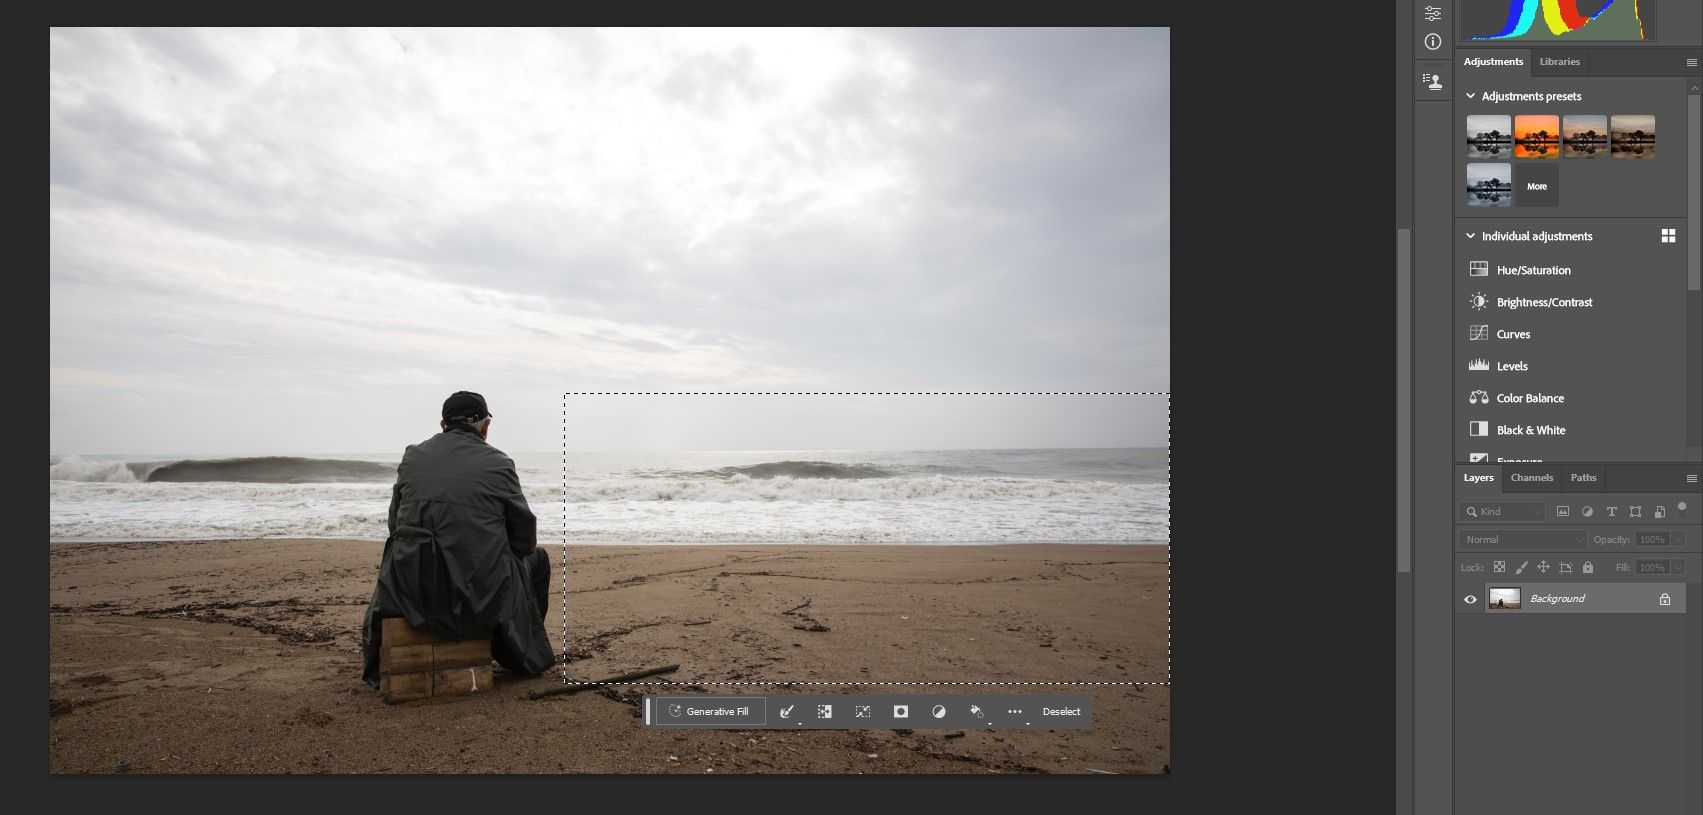
The next step is to choose one of Photoshop's selection tools and make a selection for Generative Fill to operate within. We'll use the Rectangular Marquee Tool to select a space at the top.
The next set of steps is easy. Simply click on Generative Fill. A text box will open up, but we don't want to type anything. Just click on Generate.
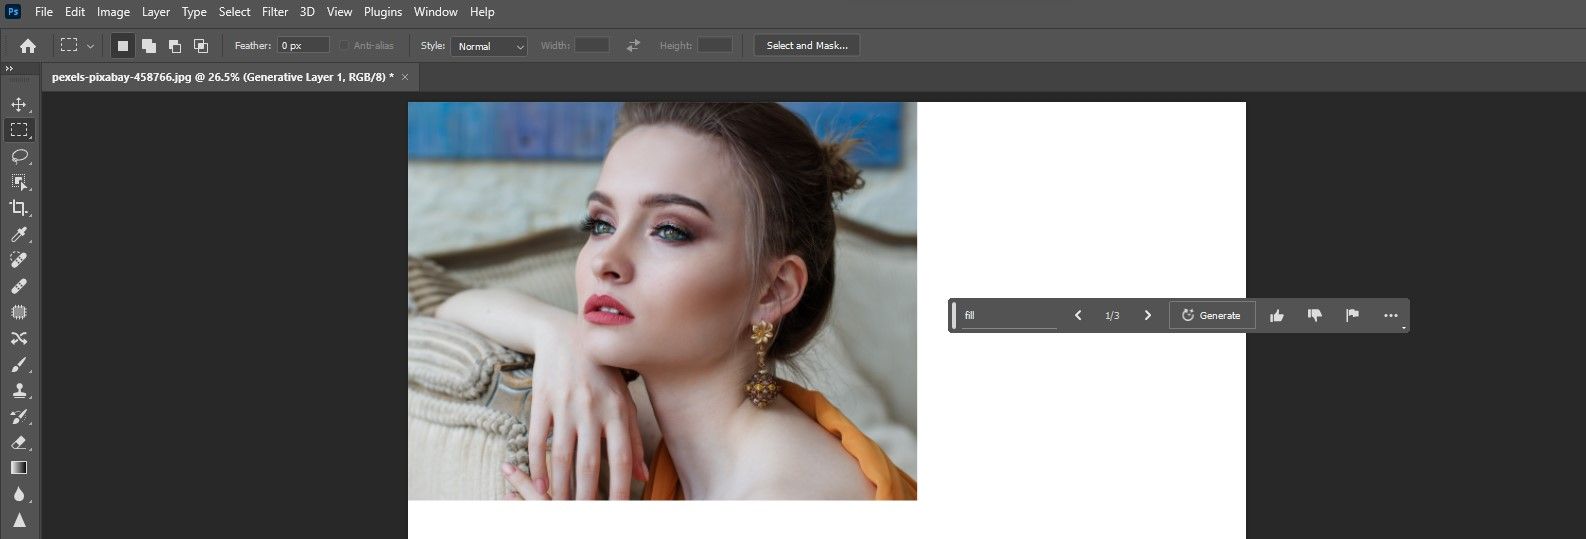
If you get a message about community guidelines being violated, this can be a glitch and most certainly is in this case—remember, it's Beta. Now, simply type "fill" and click on Generate once again.
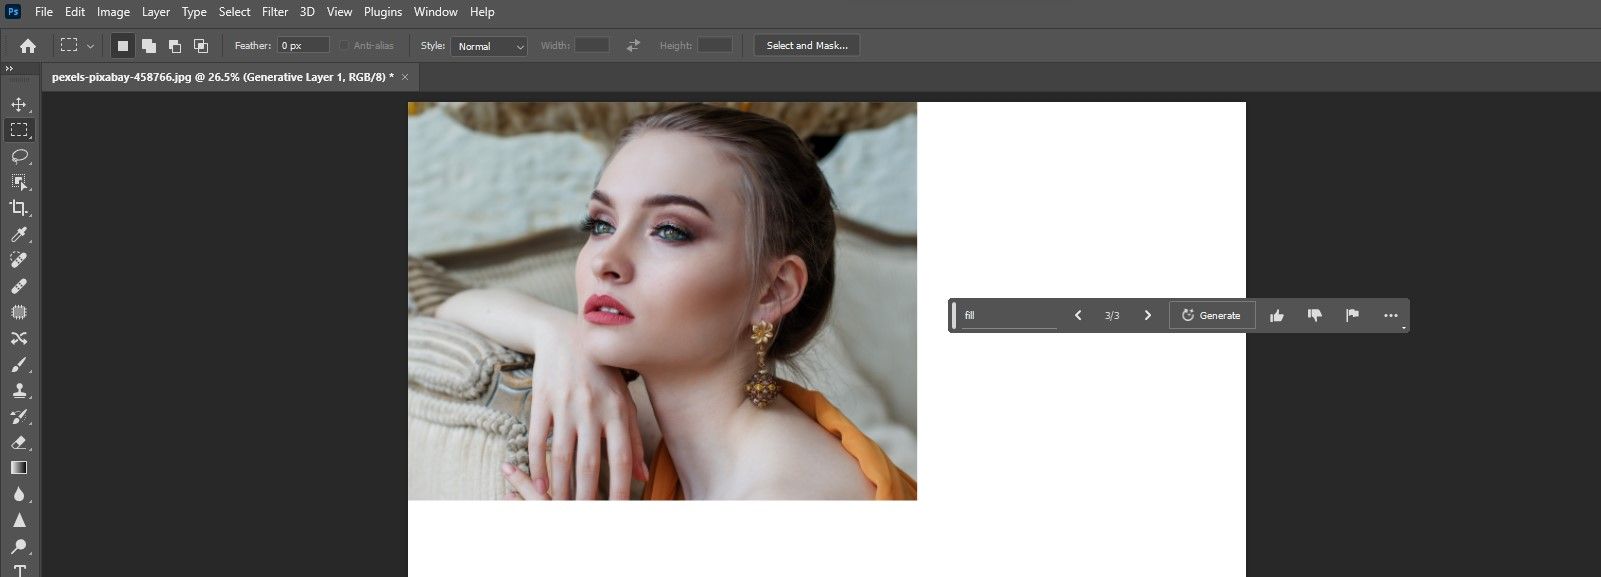
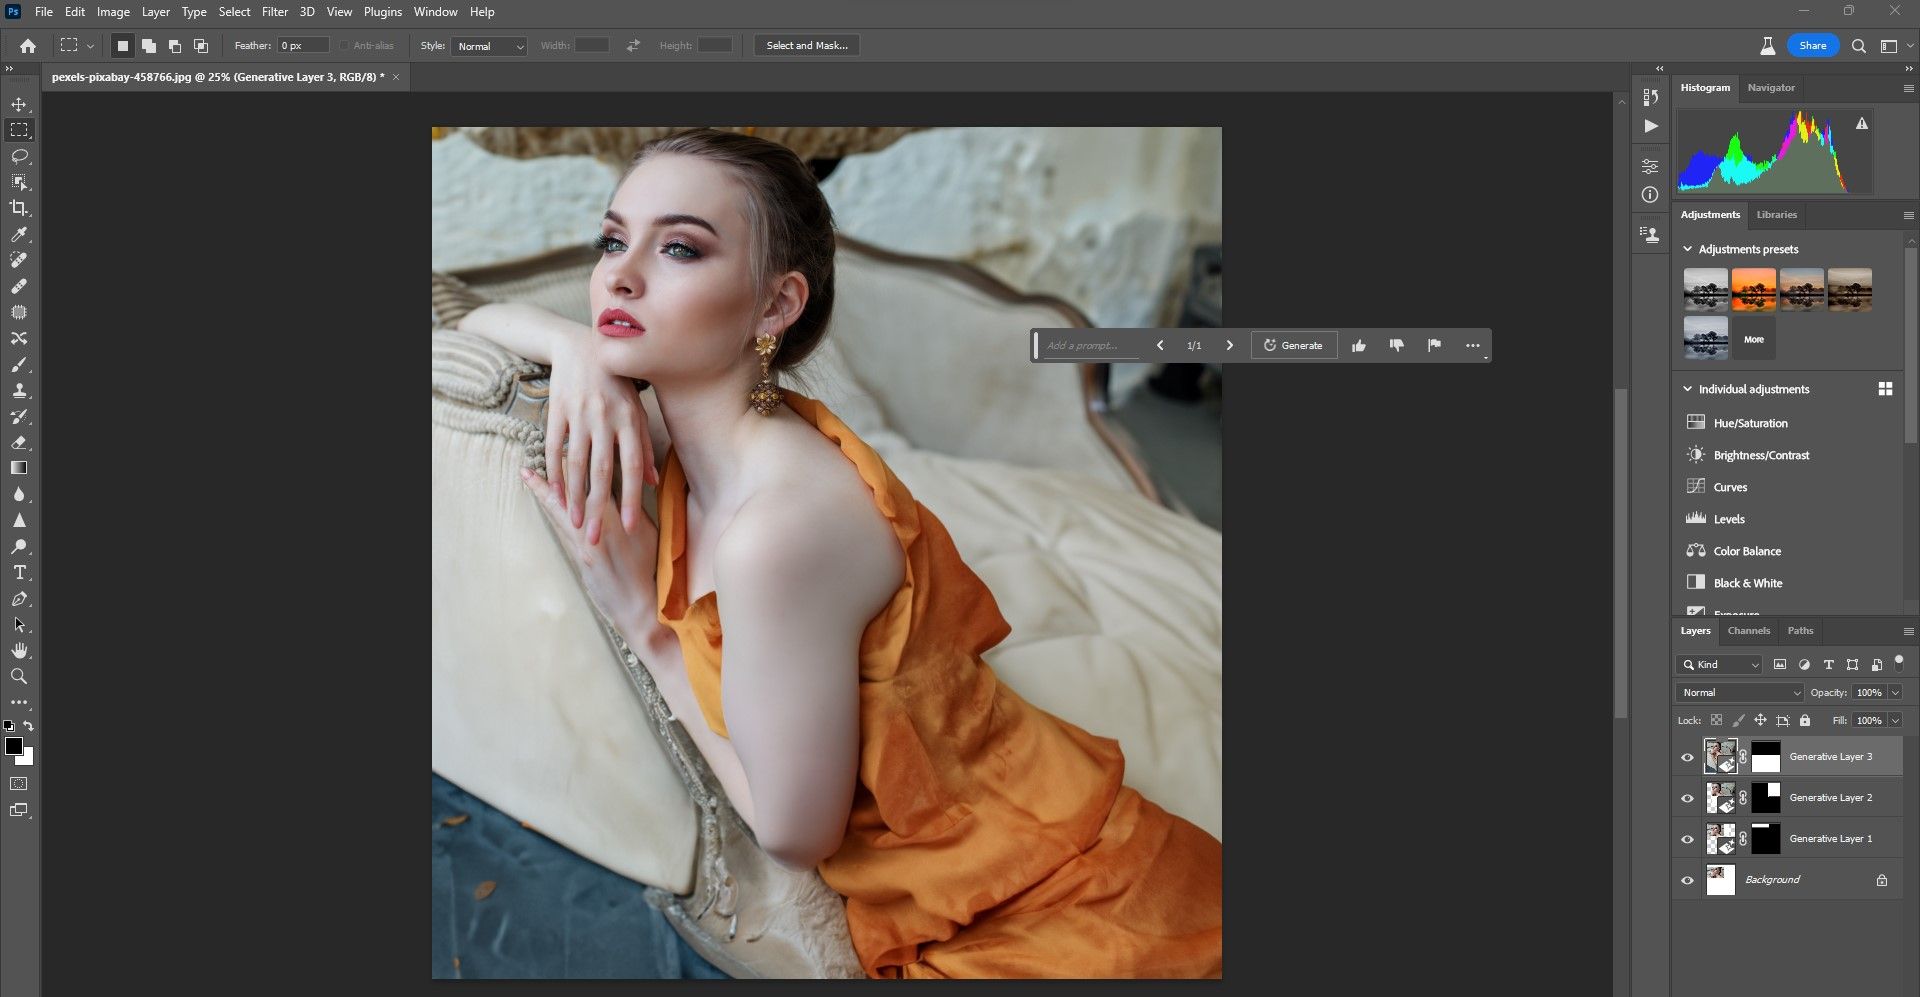
Viola! Generative Fill created the top portion of the subject's head and filled in some background detail. You'll also notice that you'll have three choices to choose from. Just click on the arrows to toggle through the options to see which one works best.
The Generative Fill toolbar can be moved around the Photoshop screen so that it won't be in the way.
Now, just repeat the same steps for the entire image. It's a good practice to select some of the finished parts of the image in order to help Generative Fill generate a more accurate rendering.
And in a few easy steps, we've created a brand-new image. You'll notice that each time you use Generative Fill, Photoshop will create a new layer with a layer mask so that additional adjustments can be made.
Apart from using masks to make adjustments, you can also fix your AI-generated images in Photoshop using several other of its regular tools.
Create New Elements
You can also use Generative Fill to create just about anything that you want to add to your image. Let's say that we want to give this man sitting alone some friends. Like before, we'll use the Rectangular Marquee Tool and create a box where we want Generative Fill to work its magic.
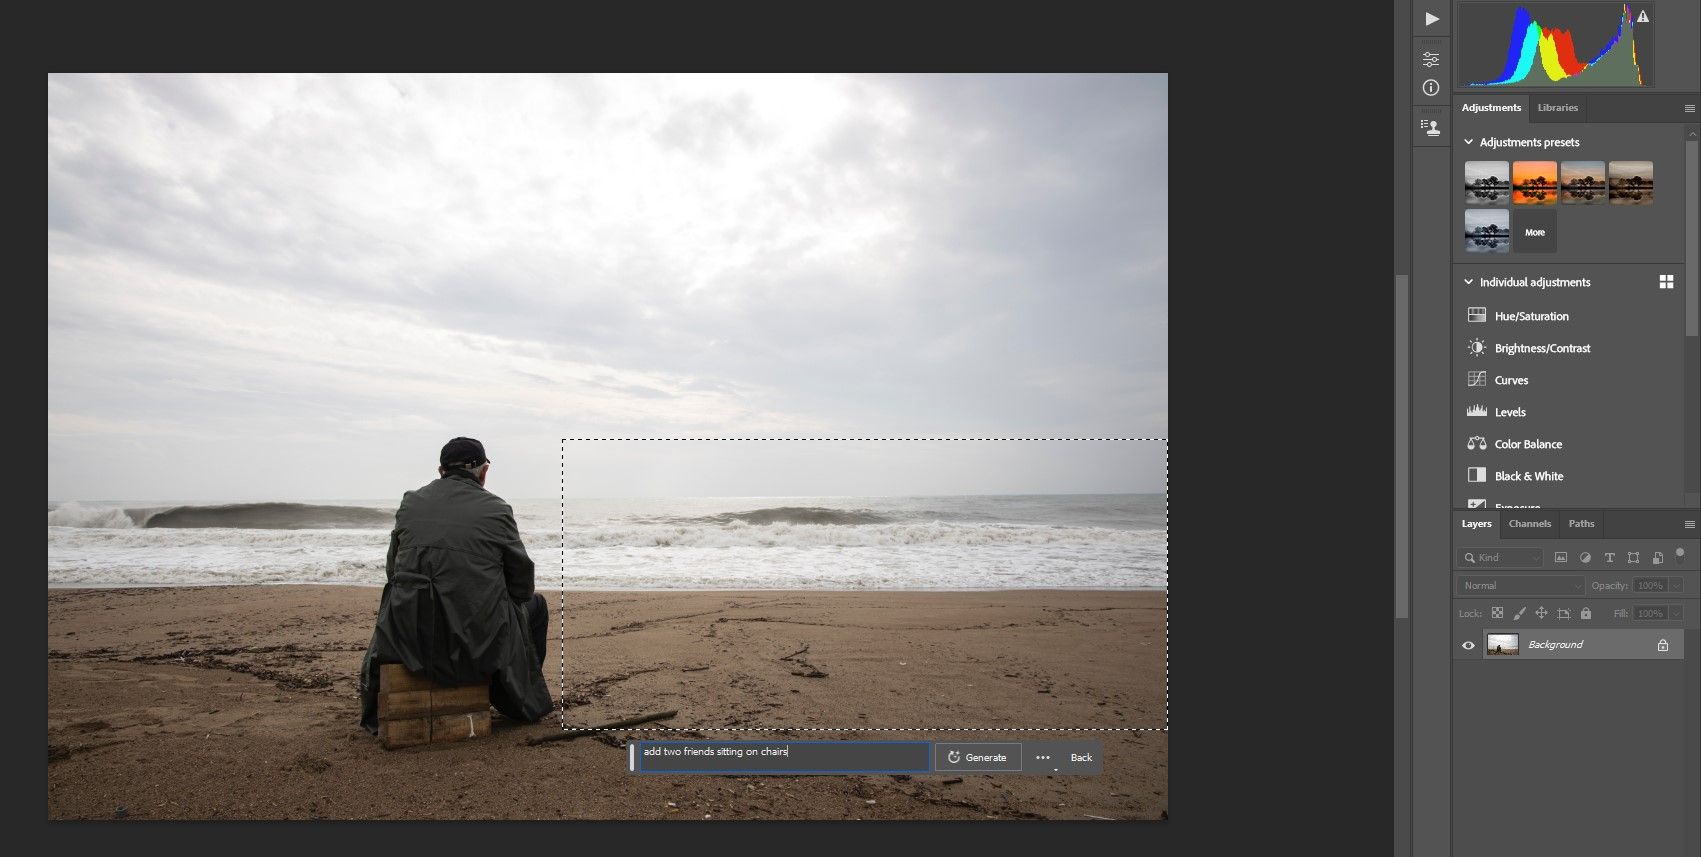
Next, we'll click on Generative Fill and type in "add two friends sitting on chairs" in the box. Then click Generate.
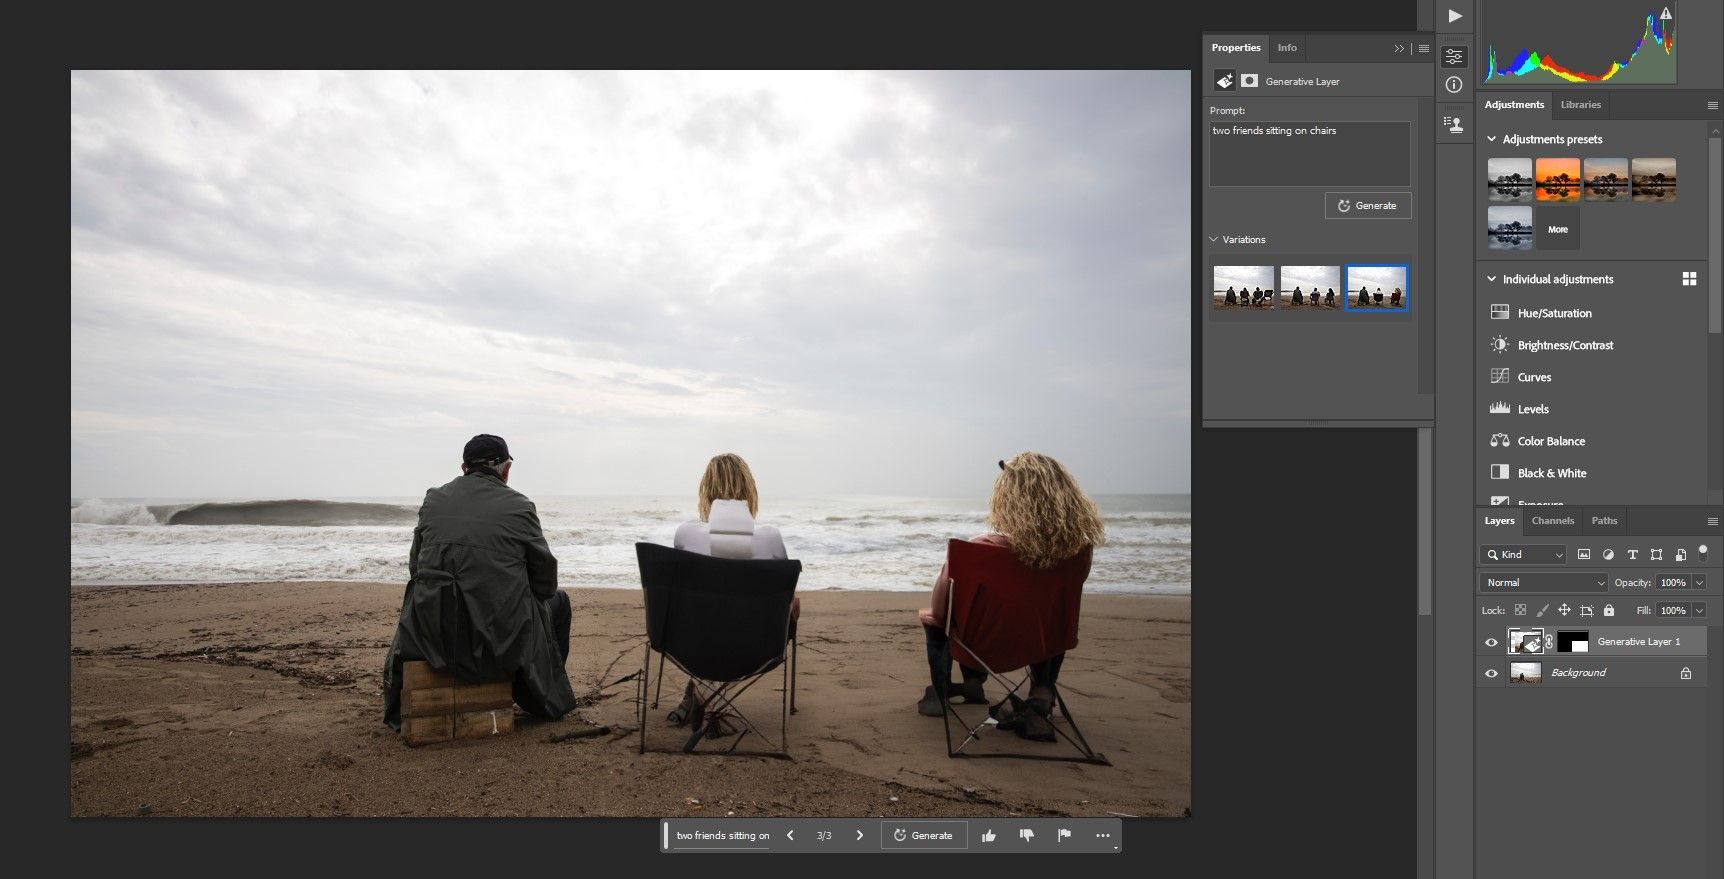
You'll have three variations to choose from. When you generate people, you may have to click Generate several times to get a favorable result.
Naturally, you can do more than add people. You can add objects too; you can place just about anything in an image using Generative Fill.
If you generate too many variations, the generation time may increase. After a certain point, you can simply delete the layer and start from scratch.
Generative Fill Is a Game Changer
We've shown you two basic ways to use Generative Fill to completely change an image. Now, you'll no longer be restrained by imperfectly-cropped images or images that are missing elements. You can simply create just about anything with Generative Fill and truly let your imagination be your guide.


