Even in the digital age, sometimes retro art techniques are fun to implement. A halftone pattern is certainly a fun texture to add to your digital art and illustrations. You can bring out your inner Roy Lichtenstein and add a touch of comic book pop art to your vector graphics.
We’ve got all the information here about what halftone is, how to create a halftone pattern, and how to apply it to your Illustrator vectors.
What Is a Halftone Effect?

Halftone is a printing technique initially used in the 20th century. Halftone uses spaced-out dots on printing plates to transfer ink without the risk of saturating the paper—a risk commonly found when printing in full tone.
Halftone is also used artistically to add shade and texture to illustrations. This technique was often used by 1960s pop artists like Roy Lichtenstein and Andy Warhol, and is commonly seen in traditional comic books. You can create a pop art halftone portrait in Photoshop if you want to add this technique to your photos.
How to Create a Halftone Pattern in Adobe Illustrator

Follow these steps to create your own halftone pattern. The pattern can add depth and dimension to otherwise flat vector illustrations. You can also play with the halftone effect in Photoshop to add dimension to your digital art.
The halftone effect in Adobe Illustrator produces CMYK color results, which is not the same as the halftone pattern we'll create here, even if it does use the same tool.
Step 1: Make a New Document

Working with the correct size matters a lot for this tutorial, since if your canvas or graphic is too large, the size of the halftone dots will not seem as effective. Start with a New Document in Adobe Illustrator. Set the size to 500w x 200h.
If you’re planning to create a halftone pattern for a digital project, set the color mode to RGB mode with a PPI of 72. If you’re creating a graphic for a printed project, set it to CMYK mode with a PPI of 300.
While these color modes can’t be changed in art software like Procreate, in Adobe’s software, it is easy to change it later if you need to. So don’t worry if you choose the wrong mode right now.
Select Create to open your new document.
Step 2: Create an Ellipse Shape

Select the Ellipse tool (L) and draw a circle. Hold down Shift while drawing the circle to retain an equal spherical shape.
Remove the Stroke in the Stroke swatch—set the swatch with a red line across it. And set the Fill swatch to Gradient—the middle of the three swatch options below the Fill and Stroke swatches.
Step 3: Add a Radial Gradient

Go to Window > Gradient to open the Gradient tool window. Change your circle’s gradient from a gradual linear gradient—the default—to a radial gradient.
To invert the colors, putting black in the center, slide the white circle on the Gradient slider to the right, then slide the black circle to the left, past the white one. Put each color towards its new respective ends on the slider.
Drag the diamond on the top of the Gradient slider closer to the white circle to spread the black through the gradient further. Change this to your own preference. The darker sections of black will have larger, more prominent dots once the halftone pattern is created.
Step 4: Add the Halftone Effect

To add the halftone effect, go to Effect > Pixelate > Color Halftone.
You can change the radius settings to suit your preferences—the Max. Radius is how large the largest dot size will be in your halftone. Since your document is set for a specific size, a radius of 5 is fine for a document of 200 x 500. A larger document or area would need a large size. If you want larger or less spaced-out dots, go for a larger number even on this smaller artboard size.
Set all the Screen Angle channels to an identical number. We suggest 90 degrees or 45 degrees. This sets the angle and pattern of the dots.
Finally, select OK to set the halftone effect to your gradient.
How to Apply a Halftone Effect to Your Illustrations

Now you’ve created your halftone pattern in a circular shape, you might be wondering how you can apply it to your illustrations. It takes a few extra steps, but it’s a simple process to add depth and texture to otherwise flat illustrations.
If you don’t feel like creating your own halftone, you can easily find a Canva design element code for halftone and add it to any Canva project to save yourself some time.
Step 1: Expand Appearance
Select your halftone pattern and go to Object > Expand Appearance. This separates your paths, so you can edit the colors and path areas separately.
You’ll be able to separate the black dots from the white background after the next step.
Step 2: Image Trace

After generating your halftone from the Effects panel, the result becomes a raster graphic. To turn this from raster to vector, use the Image Trace function. This can be found in a few places:
- Object > Image Trace
- Properties > Image Trace
- Window > Image Trace
It’s best to go to the Properties menu or the Image Trace window, both give you more options to work with.
Firstly, switch off the Preview box to save your RAM from generating previews and slowing your system down. Tick the box that says Ignore White—once your image has traced it won’t include the white background as one of the colors, thus having fewer parts of the image to generate.
Slide the Paths and Corners sliders all the way to the right and move the Noise slider all the way to the left. Make sure the Mode is set to Black and White. Once you’ve set all these, select Trace. After a few seconds, your image will be traced as a vector.
The white background will be removed, and the dots are now a vector. With your traced vector, go to Object > Expand to remove the bounding box. Select OK.
Step 3: Add Color to Your Halftone

Now your vector can be easily recolored for use in various designs. After using Image Trace and Expand, your document might switch to Greyscale mode. This will be evident when changing colors, as no matter which color you choose, your halftone will appear in a shade of gray.
To change the color modes, select your graphic and go to Edit > Edit Colors > Convert to RGB or Convert to CMYK. Then set the color of your graphic to whatever you want, and it will be correct.
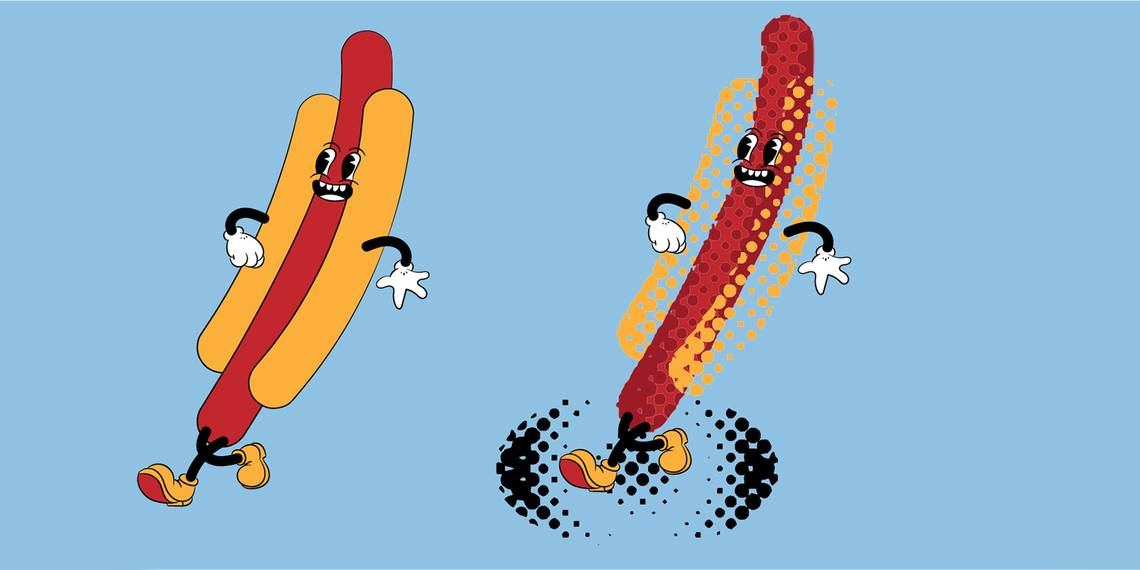
Use your halftone vector as background elements or floating elements in an illustration.
How to Color an Illustration With Halftone

If you want to add a halftone effect directly to an illustration, you can either use halftone to color your graphic or add it as shading and texture on top of the existing colors.
Open your finished graphic. Select the area you want to add halftone to—if you want to use halftone as extra texture or shading, then duplicate the area. Hit Cmd + C (Mac) or Ctrl + C (Windows) to copy and Cmd + F (Mac) or Ctrl + F (Windows) to paste it directly in front of the area. If you want to use the halftone as the only color, you do not have to duplicate the layer.

Follow the same steps as creating the initial halftone, except instead of drawing an Ellipse shape to add a gradient to, you should use the element from your illustration.

Play around with the halftone sizes and adding gradients in different patterns to see how your halftone comes out. You can even upload your halftone vector to Adobe Firefly and use the vector recoloring tool.
Add Halftone Effects to Your Illustrator Projects
Using halftone in illustrations is a great way to add depth and texture to your vector graphics. Halftone works with vector graphics, removing any issues you might get from using gradients to shade or color your illustrations when needing to keep them in vector format.
There are a lot of fun and retro styles you can create with a halftone effect. Experiment with different sizes and channel angles, as well as overlapping colors and sizes to see unique results.