
You may have found yourself in a world that allows you to work from home, with people and companies from across the globe, and who all have their own languages and unique dialects. Microsoft understands this and gives you the option to change your language settings for all Office applications.
In this article, we go over the steps on how to change the language in your Microsoft Word document on Windows, as well as how to set both the authoring and proofing languages.
Before We Start
The languages available to you depends on the language version of Office, or Microsoft 365, that you have. You can also add language packs, language interface packs, and ScreenTip languages, which will then be stored on your machine.
For anyone needing instructions on changing the language in Office on macOS, the article linked here will tell you everything you need to know.
Adding a New Language in Microsoft Word for Windows
For this example, we are using the Word application, but note that you can use any of the applications that Microsoft lists on their website to change the language settings.
Adding a Display Language
Display languages will always determine the language that your Microsoft application will use in the user interface—these are your ribbons, dialogue boxes, buttons, etc. The user interface, or UI, is explained in more detail here.
- Open a new Word document.
-
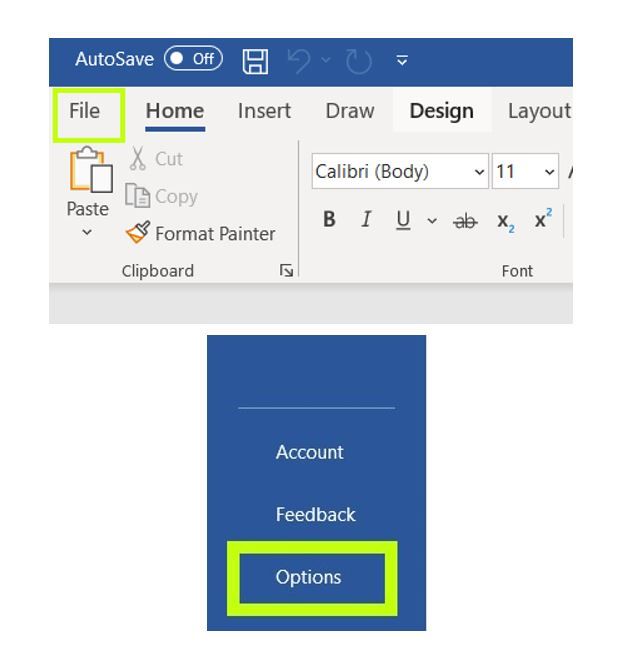
Go to the top left of your screen and click on File > Options > Language.
-
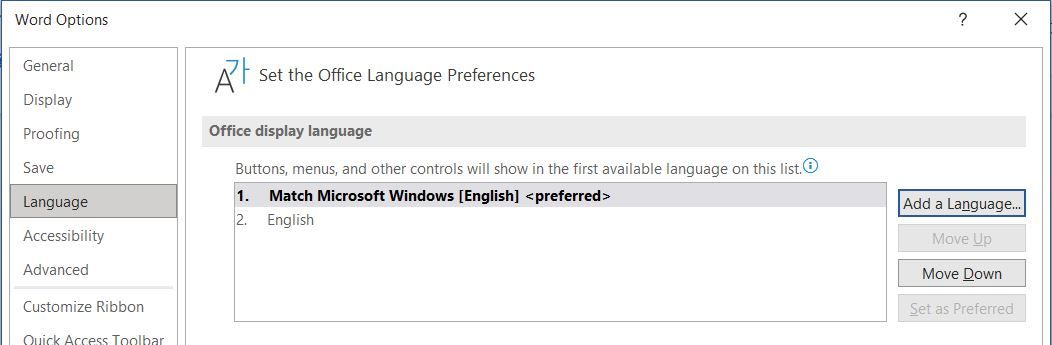
Under Office Display Language, choose the option Add a Language.
-
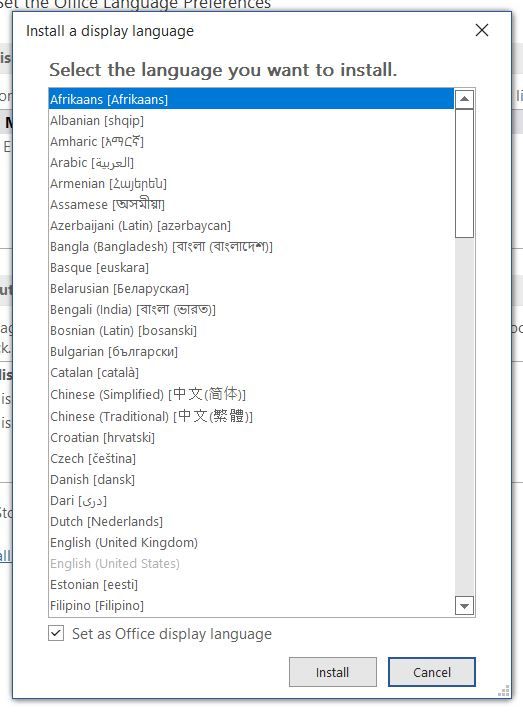
You will then see a pop-up box with all the available languages. Simply choose the language you are looking for, making sure the box is ticked for Set as Office display language.


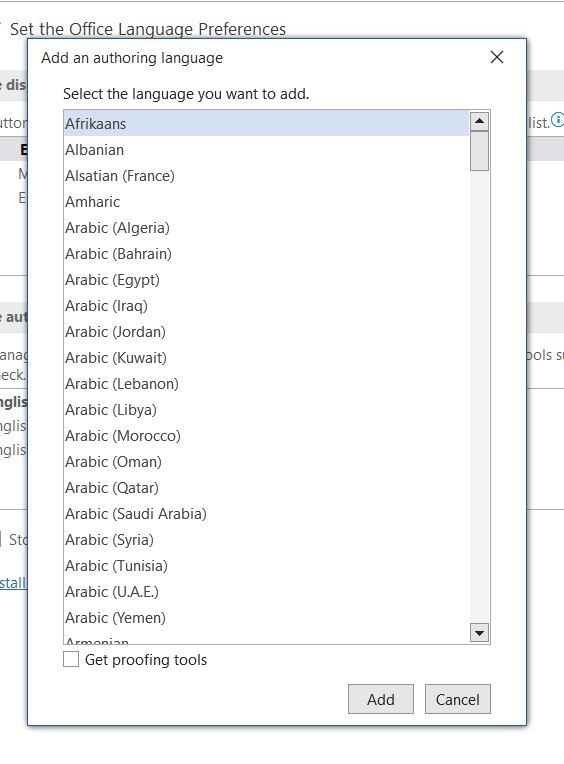
Adding an Authoring Language
Authoring languages include handy proofreading tools, like dictionaries, grammar, and spellchecking for regional dialects. It also influences text direction and layout for vertical, right-to-left, and mixed text.
- Open a new Word document.
-
Go to the top left of your screen and click on File > Options > Language.
-
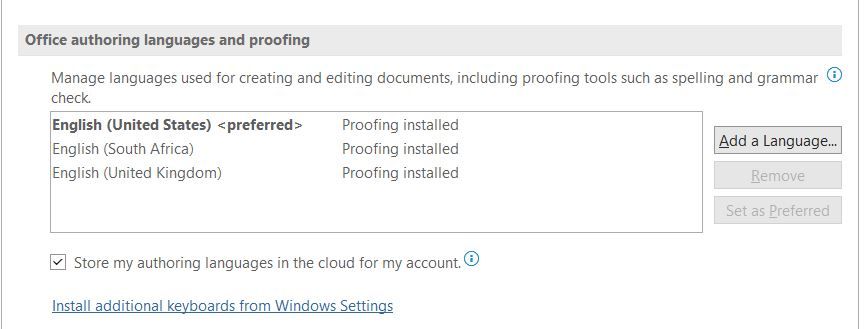
Under Office authoring languages and proofing, select Add a language.
-
You will then see a pop-up box with all the available languages. Simply choose the language you are looking for and tick the option for Get proofing tools for additional authoring language tools.


Note: For both above steps to take effect, you will be prompted to save your work and close your Microsoft applications.
Ready, Set, Write
You will find that this is a neat little feature that Microsoft offers you, and once you've gone through the process of changing languages and setting preferences once, it's easy to remember for next time.
With a quick glance at the bottom of your Word document, you can easily see which preferred language is set, and if you need to change it or not. Writing, editing, and proofreading have never been easier.