If you're like us, you probably use multiple email addresses to separate your work and personal life. Apple's Mail app lets you automatically connect inboxes from major email providers such as iCloud, Google, and Microsoft or set up an account manually if your provider isn't listed.
Whether you're new to iOS or have a fresh email address, we're here to help. Below, we'll teach you how to add and remove email accounts on an iPhone or iPad and manage your inbox settings.
How to Add an Email Account to Apple Mail on an iPhone and iPad
There are two ways to add email accounts to Apple's Mail app on iOS and iPadOS: automatically and manually. The former is the preferred choice for popular email providers like Google, Yahoo, and Microsoft because it's less work for you, so we'll start with this method.
How to Add an iCloud, Gmail, Yahoo, or Outlook Account
If you use an email provider like Apple, Google, Yahoo, or Microsoft, you can automatically set up your email account in the Mail app in just a few minutes by following these simple instructions:
- Open the Settings app on your device.
- Scroll down and tap on Mail.
- Select Accounts > Add Account near the top.
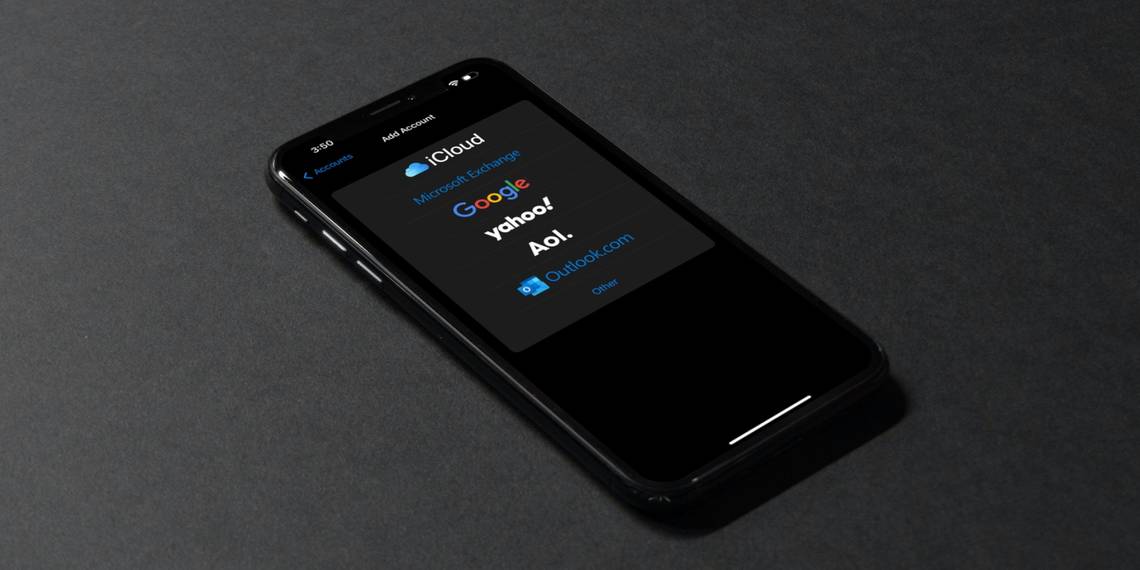
- Choose your email provider from the list of available options.
- Type in the email address and password for the selected email account, and touch the Next button to verify the login details.
- Optionally, choose additional items you'd like to sync with that email account, such as Calendar, Contacts, Reminders, or Notes, then tap Save to finish adding the account.


You've successfully added your email account to the Mail app. Likewise, you can also add email accounts to the Mail app on your Mac. However, do note that the initial fetch may take a while.
How to Manually Add an Email Account to the Mail app
If your provider is not listed, you must manually set up your account. This process takes a bit longer, but it's easy once you have the required IMAP or POP email settings. So, follow the instructions below carefully:
- Open Settings on your iPhone or iPad.
- Choose Mail.
- Select Accounts > Add Account near the top.
- Tap Other at the bottom of the list of email providers, then choose Add Mail Account.
- Enter your name, email address, password, and, optionally, a description for the account. Then, tap Next.
- Select the account type at the top (IMAP or POP) and enter the required information in the Host Name and User Name fields below Incoming Mail Server and Outgoing Mail Server.
- Now, tap on Next and wait for Mail to verify your account. If the details are correct, and you are not asked to edit them, tap Save to finish.


Your IMAP or POP account is now ready for use in the Mail app. You can later edit any saved email accounts in Settings > Mail > Accounts to adjust advanced features like SSL and S/MIME, fetch frequency, and automatic out-of-office replies.
Need a little help with server settings? Enter your email address on Apple's Mail Settings Lookup page and hit the Verify button. You'll see details about your incoming and outgoing mail servers. Pop these settings into Apple's Mail app as described above, and you're set.
With POP, emails are downloaded but remain stored on the server until deleted. The IMAP protocol synchronizes your inbox, so you always have the same messages on your iPhone and iPad as on the server. This makes it easy to use IMAP accounts over POP on multiple devices.
Mailbox Settings for Outlook and Exchange
Microsoft accounts offer additional features for managing your inbox. So, once you've set up your Exchange or Outlook account, be sure to take a look at the account details page.
For instance, you can select the Mail Days to Sync from No Limit to one day, three days, one week, two weeks, or one month. If you'd like to create an automatic reply, you can choose this option on this screen.


Message flagging is supported for Exchange accounts but with some limitations. Remember that the server must support Exchange Web Services (EWS) for your Exchange account to work in Mail.
How to Set a Default Email Account in Mail
When you reply to or forward a message in Mail, the email account and address used are for the same account that originally received the message. However, when composing a new email, you may want to choose which email account to use. So, follow these steps:
- Open the Settings app on your iPhone or iPad.
- Choose Mail from the Settings list.
- Choose Default Account at the bottom of the screen, beneath Composing.
- Select the email account you want to use, which puts a checkmark next to it.
- Return to the previous screen to confirm the account is listed under Default Account.


Even if you set a default account, you can still change the sender email address before you send a message simply by tapping the From field when composing a new message. You'll see all your email addresses in a popup menu; select the one you want to use.
How to Delete or Deactivate an Account in Mail
There may come a time when you want to remove an email account from Mail. Maybe you no longer use the email address or wish to deactivate it temporarily.
To permanently delete an email account from the Mail app, here's what you need to do:
- Open the Settings app on your iPhone or iPad.
- Choose Mail from the Settings list.
- Tap Accounts and select the account you'd like to move.
- Hit Delete Account at the very bottom of the account details screen.
- Tap Delete Account to confirm this action or Cancel if you've changed your mind.


On the other hand, if you want to deactivate an email account temporarily, go to the details screen for the account and turn off the Mail switch, along with toggles for the associated apps like Notes and Reminders, if you like. And when you decide to reactivate that account later, you can just head back to this menu and turn on all the toggles.
Note that removing an email account will delete downloaded messages from the device. The account remains active on the server, so you can set it up again anytime you like.
Easy Email Management With the Mail App
Whether you only have two email accounts on your iPhone or iPad or are approaching double digits, it's nice to know that the Mail app on your iPhone and iPad can handle them all for you.
Furthermore, Apple improved the Mail app in iOS 16, iPadOS 16, and macOS Ventura by adding quality-of-life features like undo send, email scheduling, and email reminders.
Of course, if you aren't thrilled by Apple Mail, there are many other third-party email apps for iPhone that can handle multiple accounts smoothly, too.