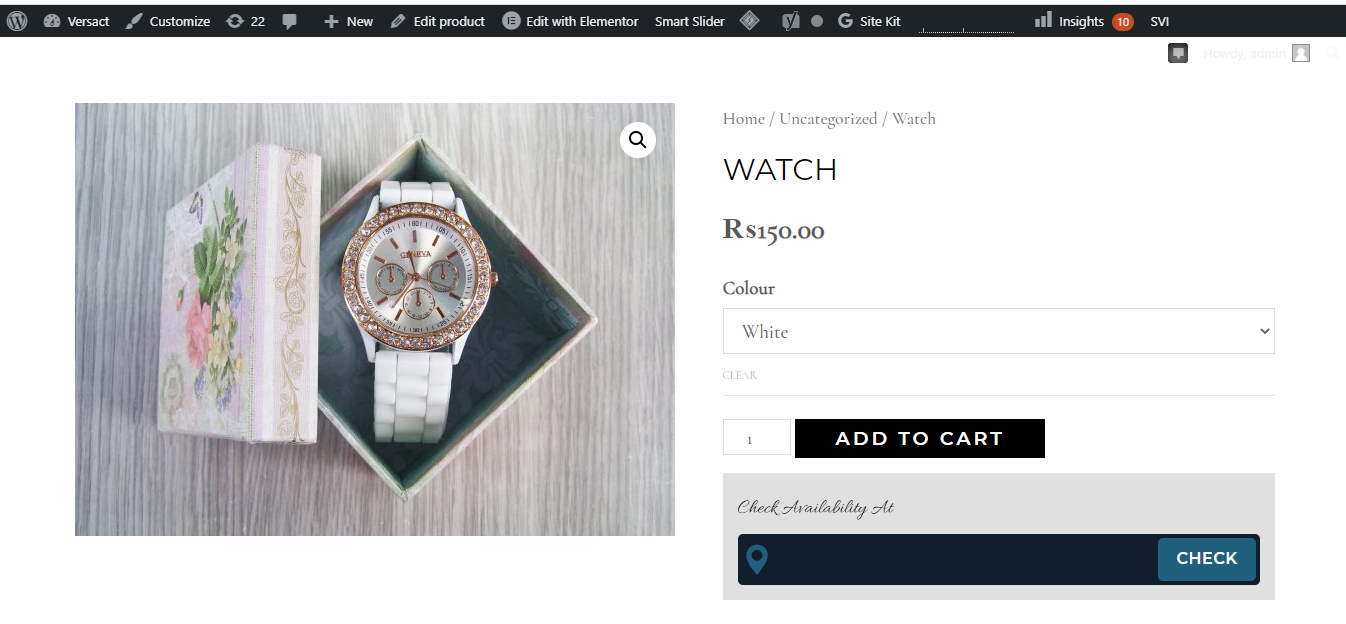
Listing the same product in different variations offers more choices for customers. They can select the product in their favorite color, size, shape, design, and a few other elements depending on the product type. By offering multiple variations of a single product, you can also dictate different price points.
We'll walk you through the process to effectively add variations of a product to your WordPress website to increase the buying options for your customers.
What Is a Variable Product Option in WooCommerce?
Enabling the variable product option allows you to display one product in multiple variations. It simplifies the process to list and sell product variations quickly through your WordPress website.
What Are Product Attributes and Why Are They Important?
Attributes are characteristics of a product that make it unique. A product's attributes include its size, color, type, price, and other features. These attributes highly influence a consumer's decision.
According to a recent e-commerce study, 20 percent of e-commerce product purchase failures can be attributed to missing or unclear attributes or information.
How to Create a New Variable Product
Create a new product and then add its variations. You can add variations to an existing product as well.
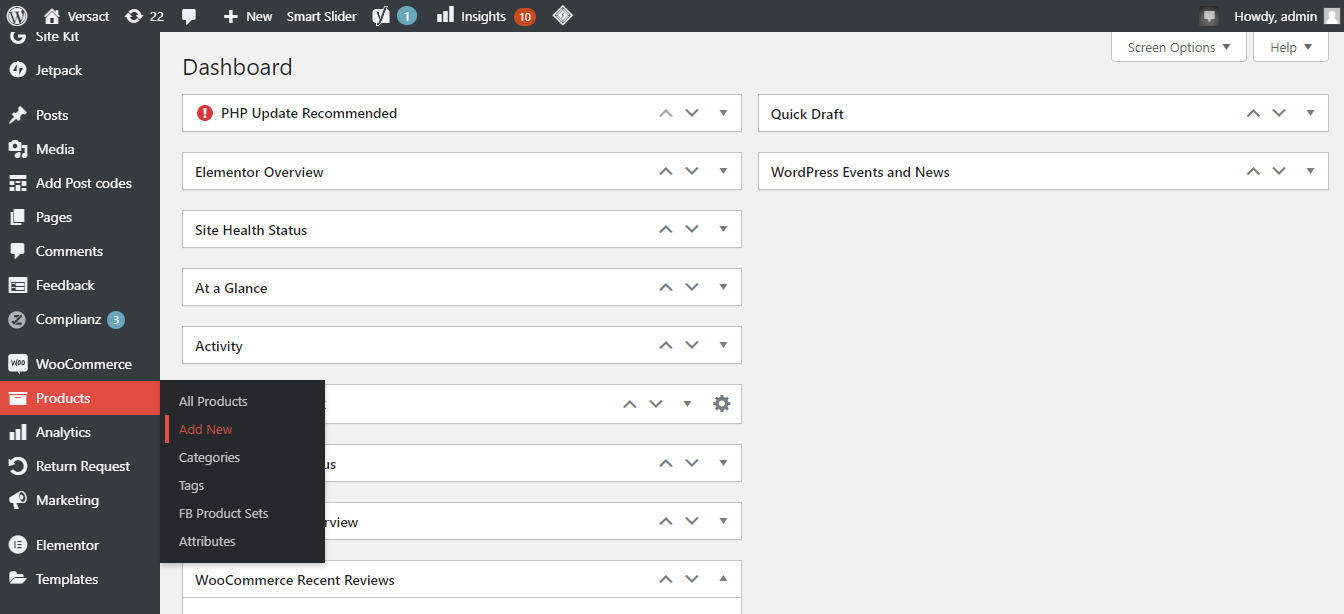
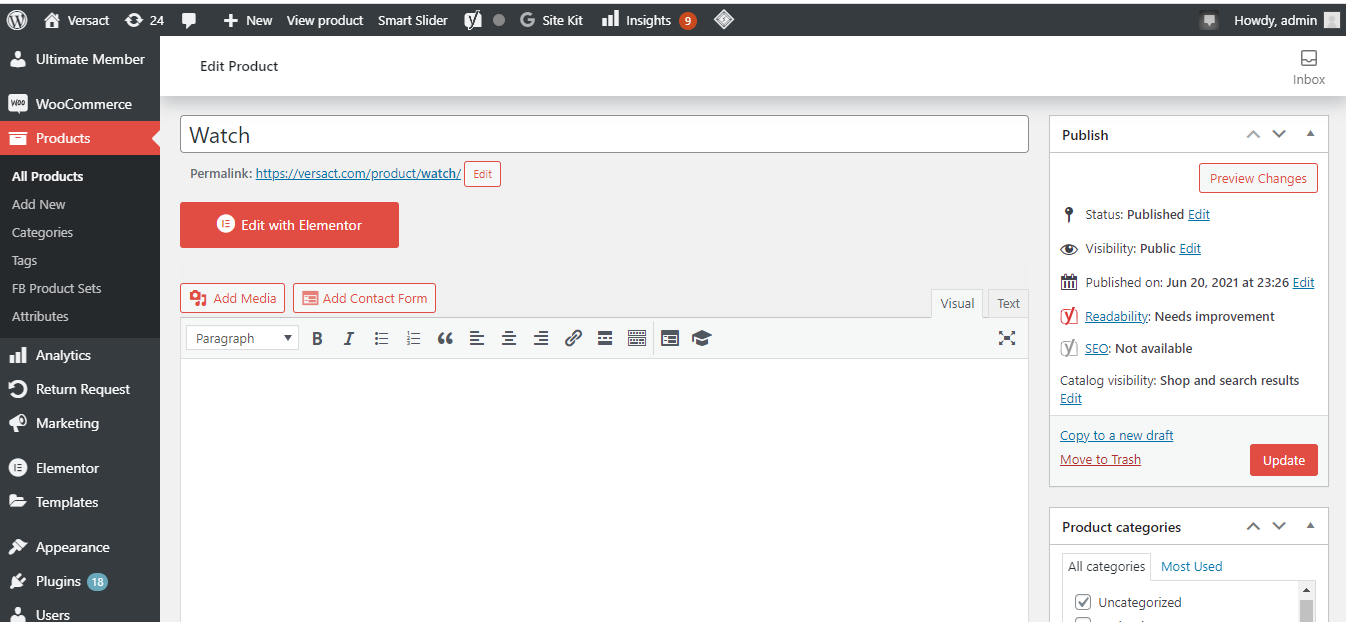
1. Go to Products > Add New in the WordPress Dashboard.
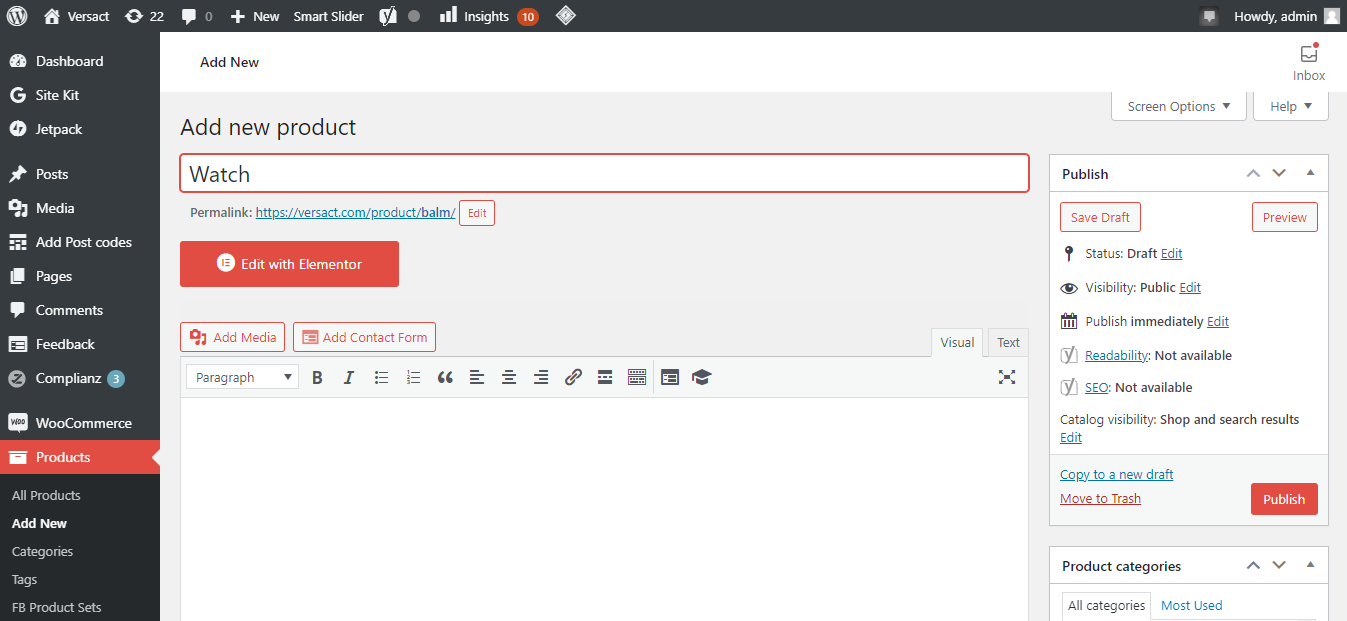
2. Give a name to your product and add a short description.
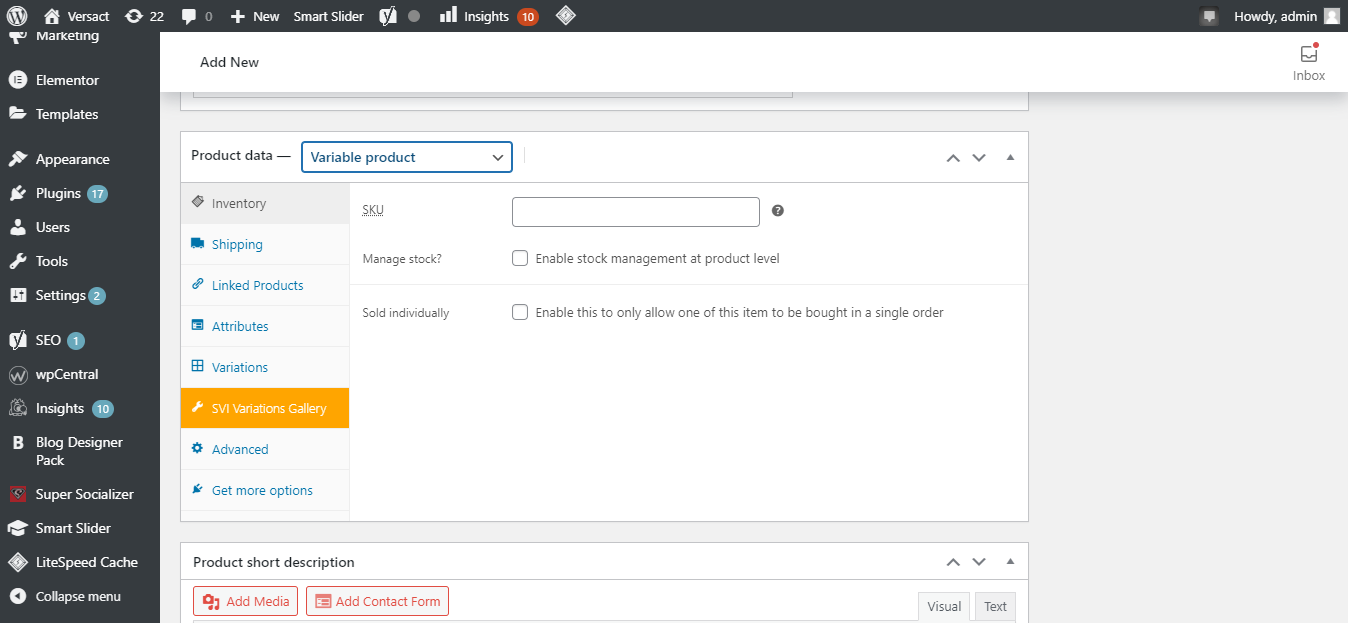
3. To add variations, you need to change the setting from Simple Product to Variable Product.
Thus, your variable product is ready. Now, let's take a look at how you can add its attributes.
How to Create Product Attributes
Follow the steps below to create product attributes and introduce a variation.
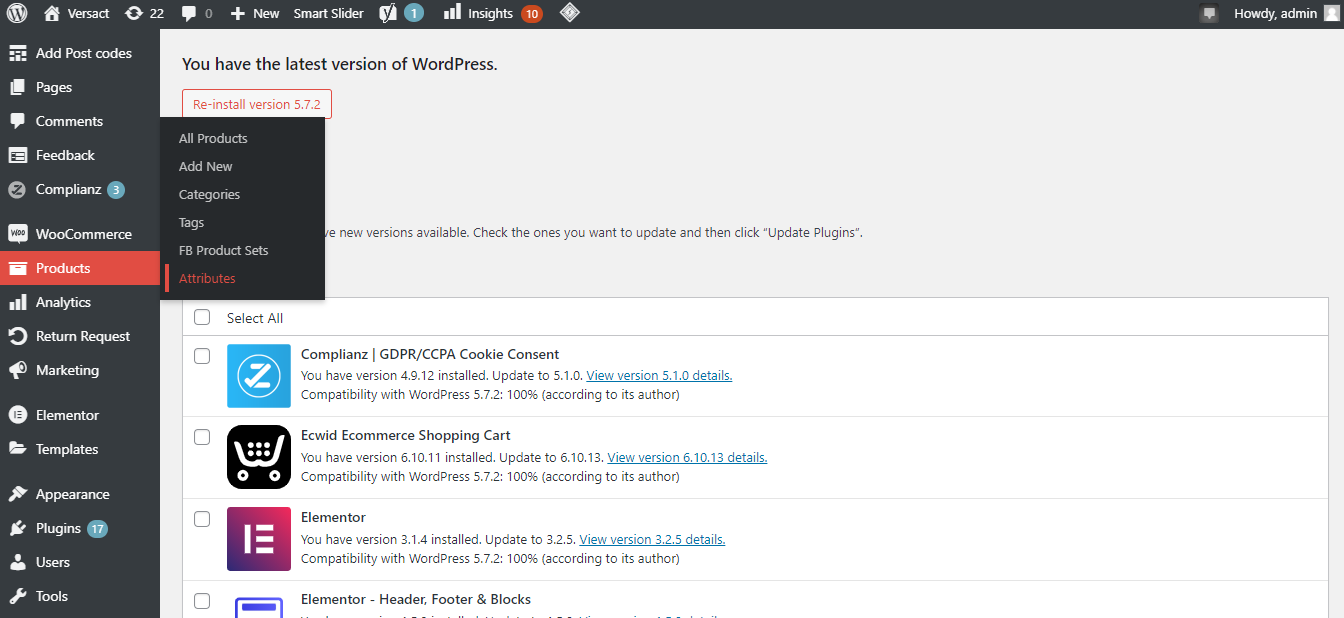
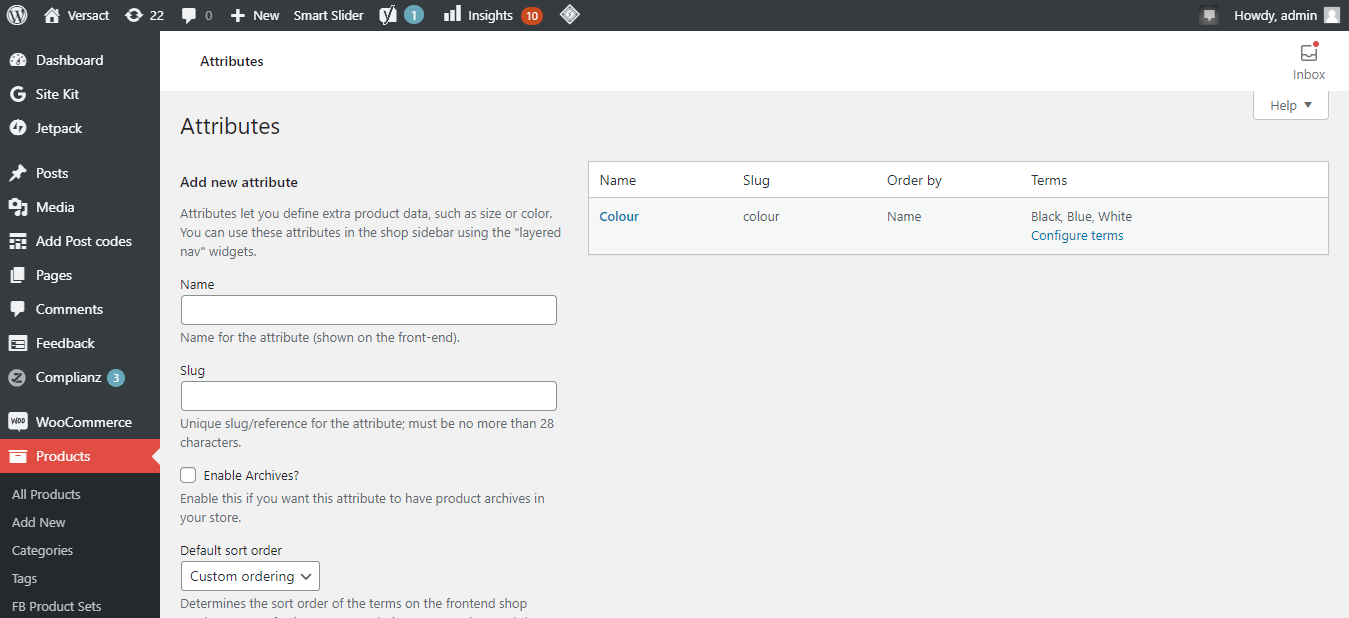
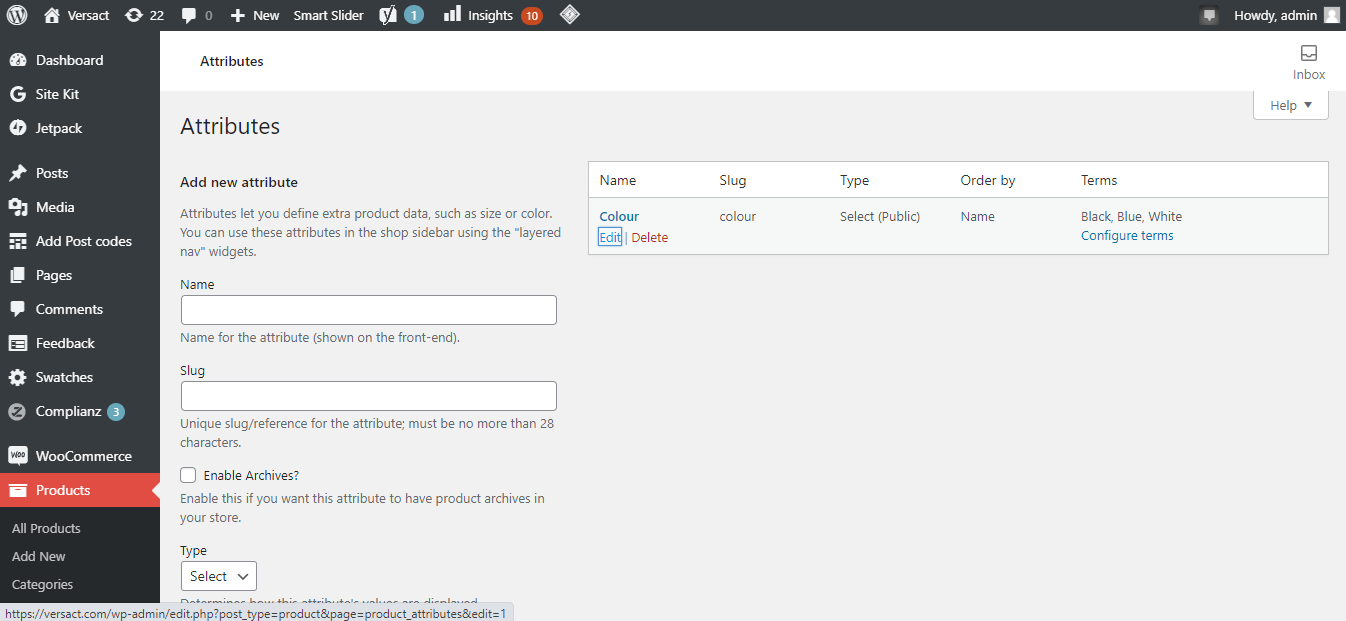
1. Go to your WordPress Dashboard and click on Products > Attributes.
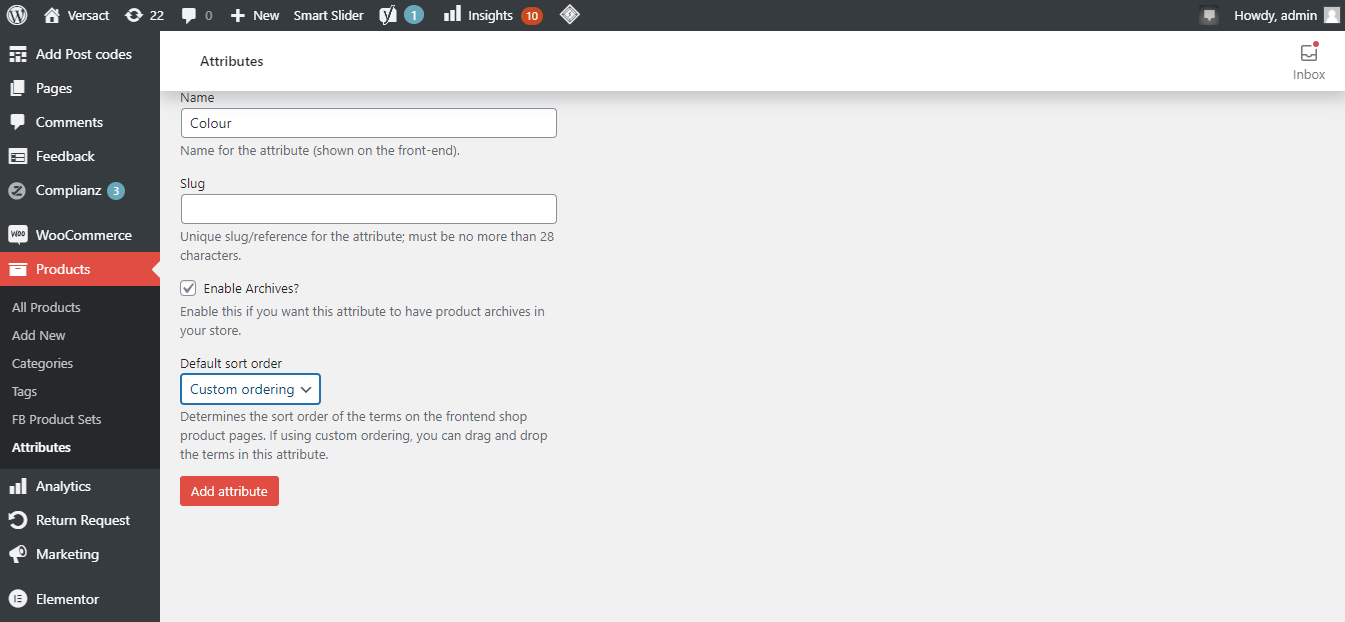
2. Give your attribute a name and a slug.
3. Enable Archives if you want your users to be able to browse product attributes.
4. Select the Default sort order.
5. Click on the Add Attribute button.
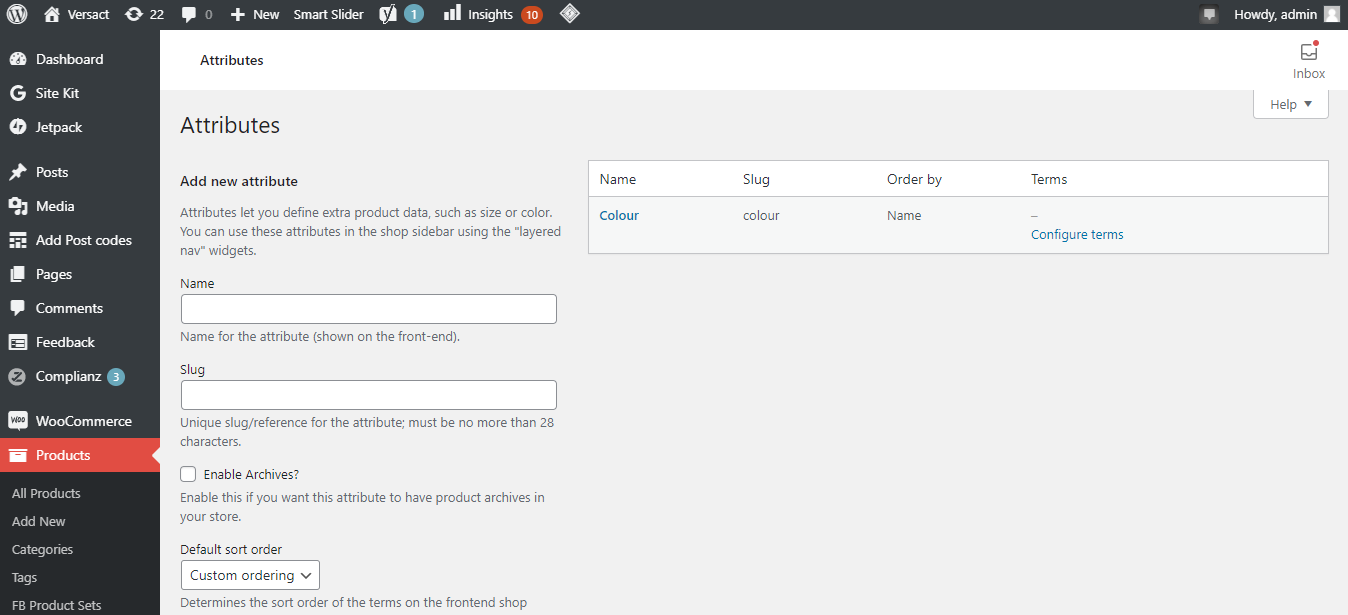
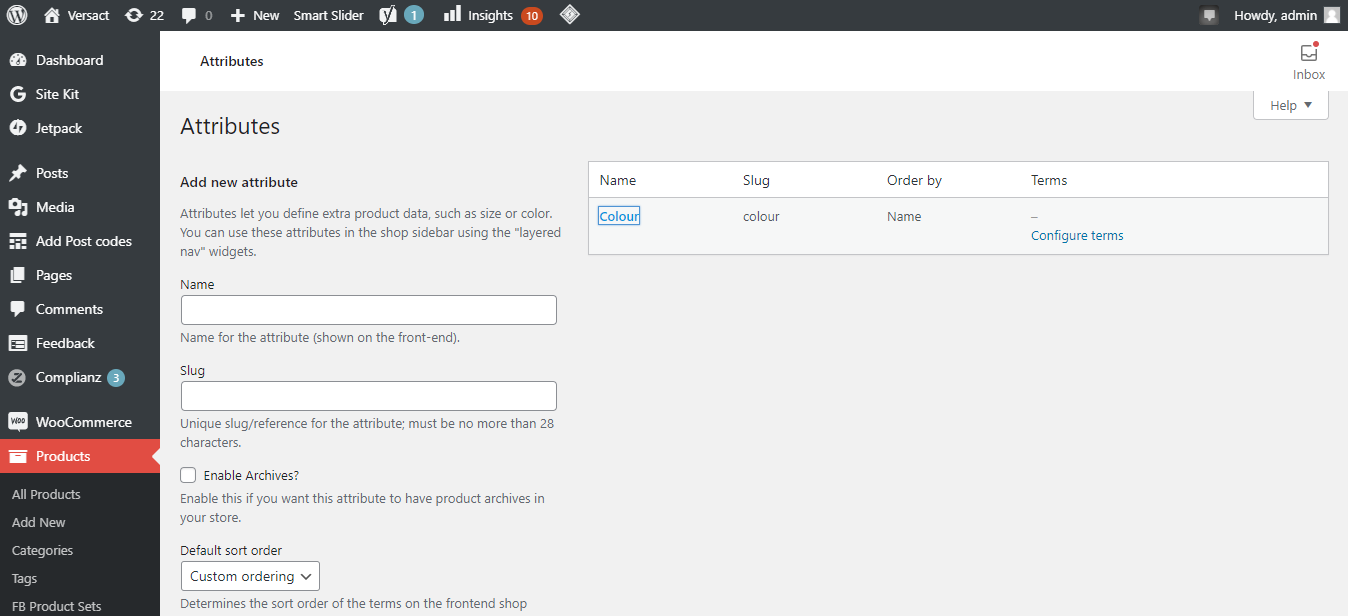
You can click on the attribute name to add or edit items to the attribute once added.
How to Add Different Attributes in a Variable Product
Here's how you can add different attributes for the same variable Product.
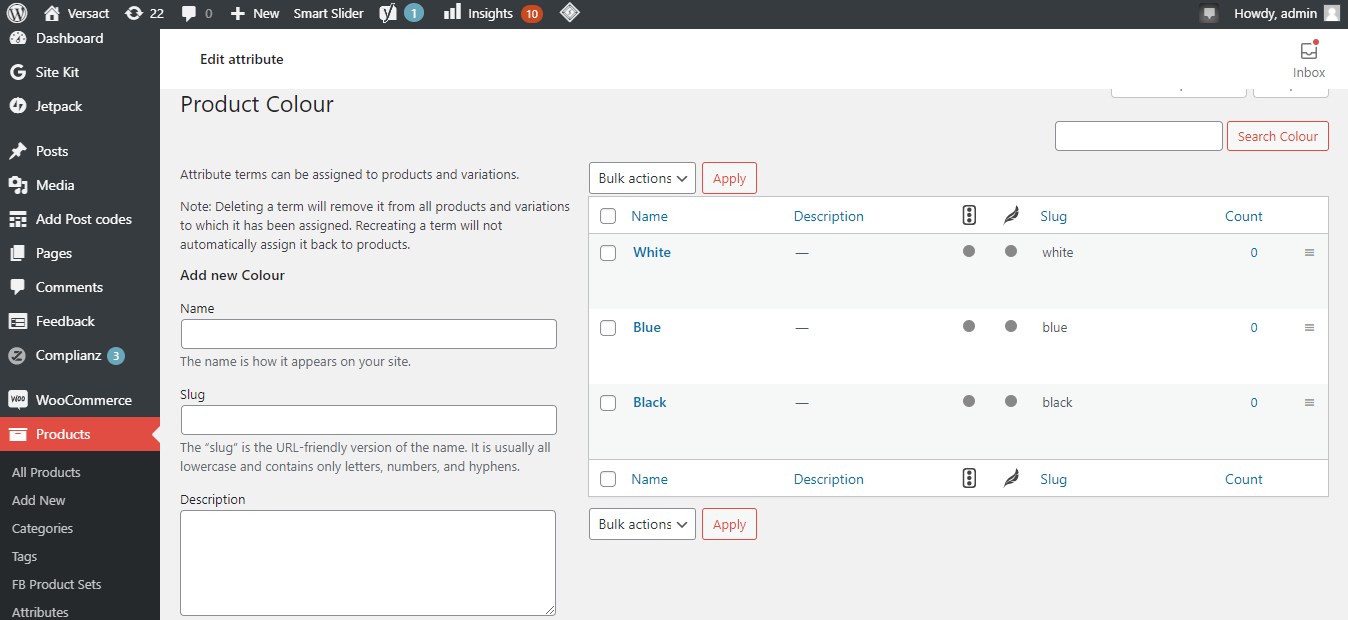
1. Click on Colour.
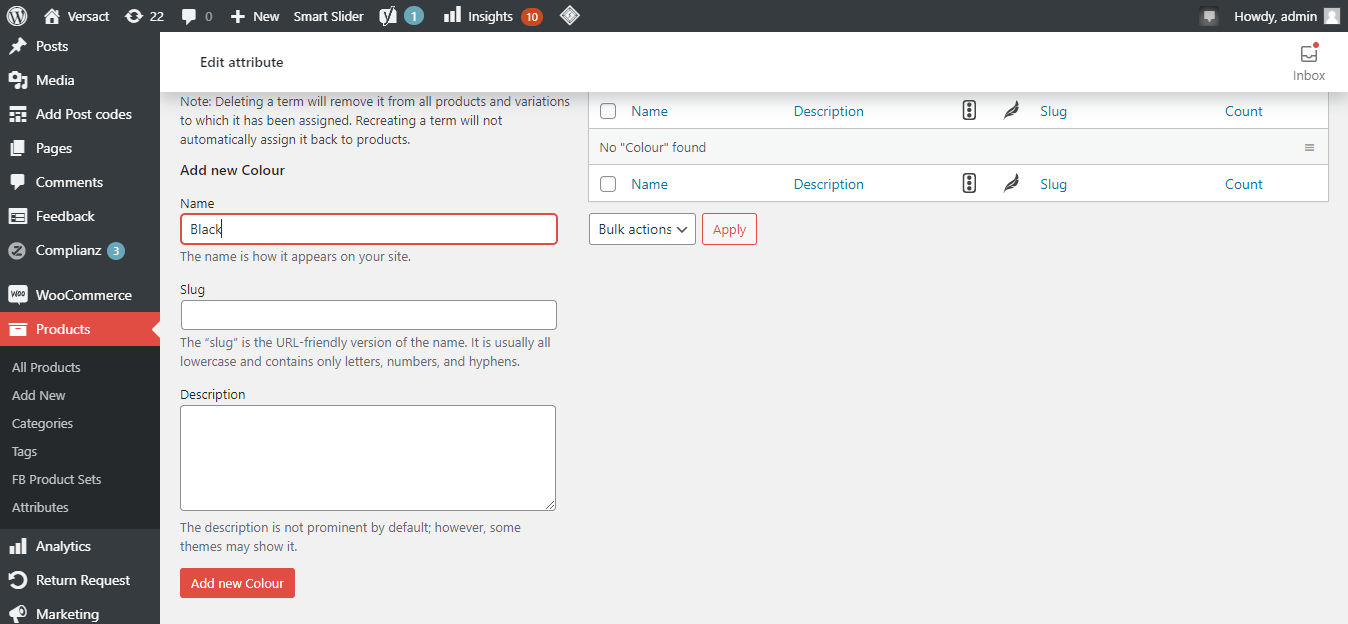
2. On the product attributes page, add three color variations to offer visitors.
3. Add all the colors.
4. Once you've added all the colors, click attributes again.
Now, you'll see the color attribute with three different colors.
This is how you can create a product attribute; let's add it to a product.
Add an Attribute to a Product
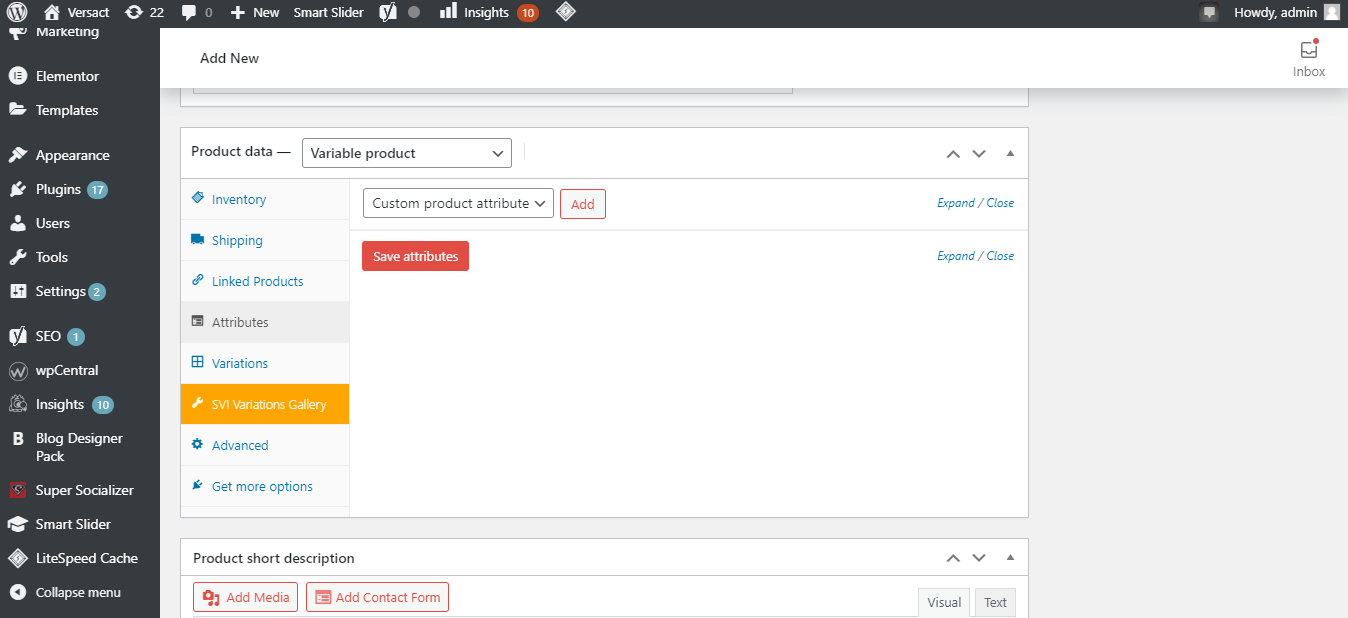
1. Click attributes on the products page.
2. Select your attribute.
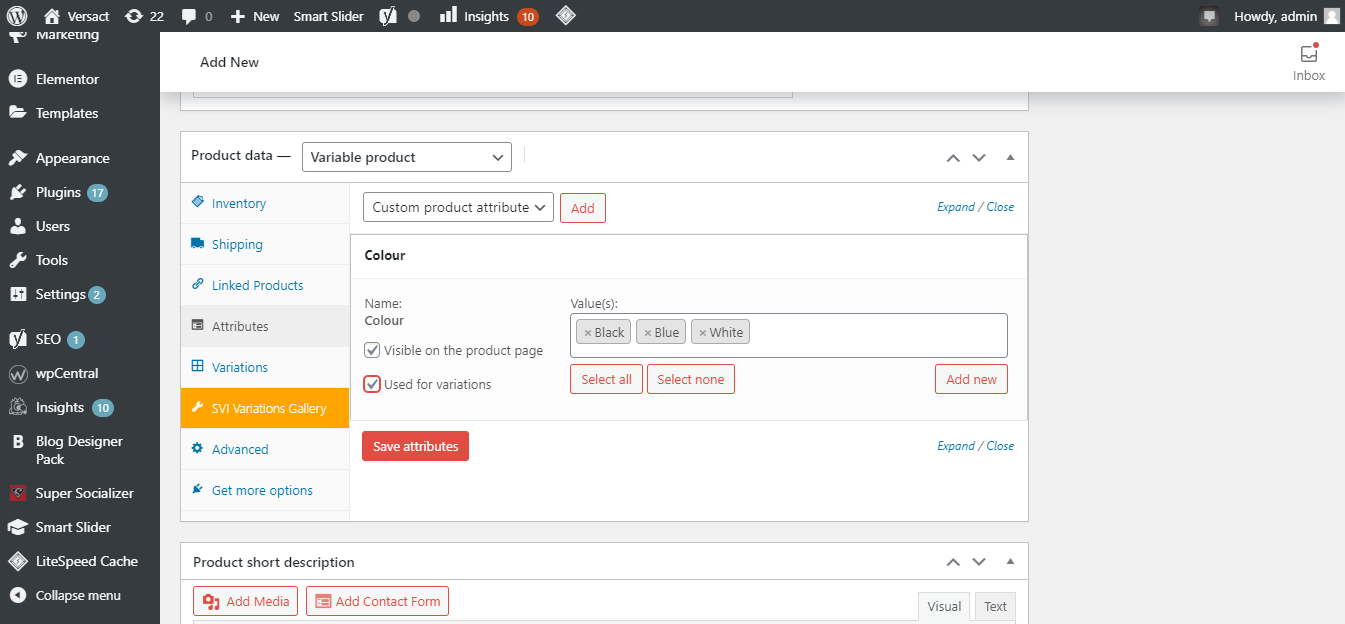
3. Click Add and select the colors or options you want to add to the product.
4. Enable use for variations and save attributes.
How to Create Variations of a Product
Follow the steps below to create variations of a product.
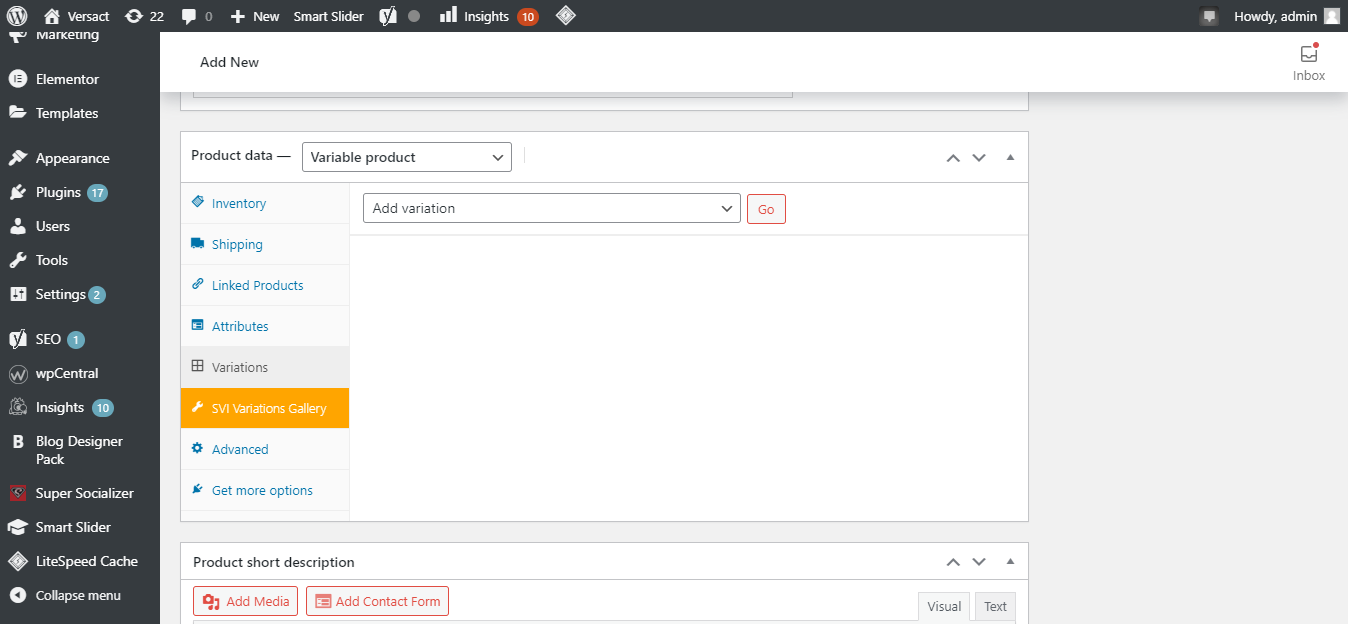
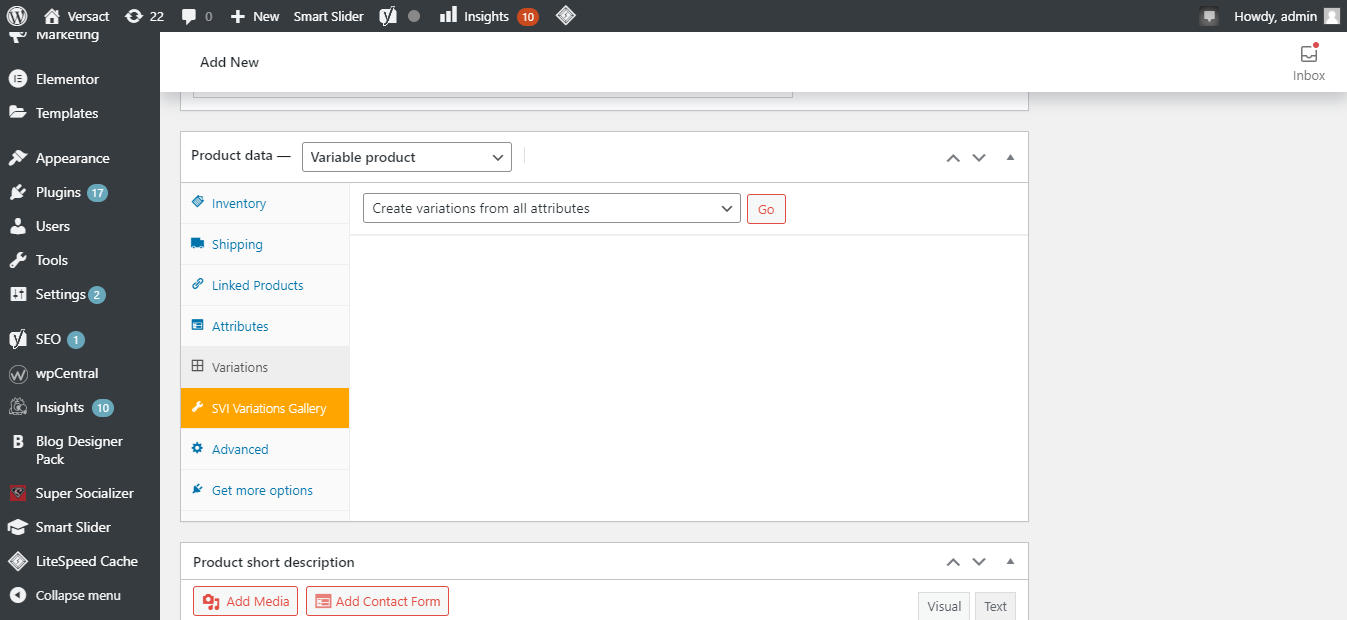
1. Click the variations button on the products page.
2. Select create variations from all attributes from the drop-down menu.
3. Then click Go.
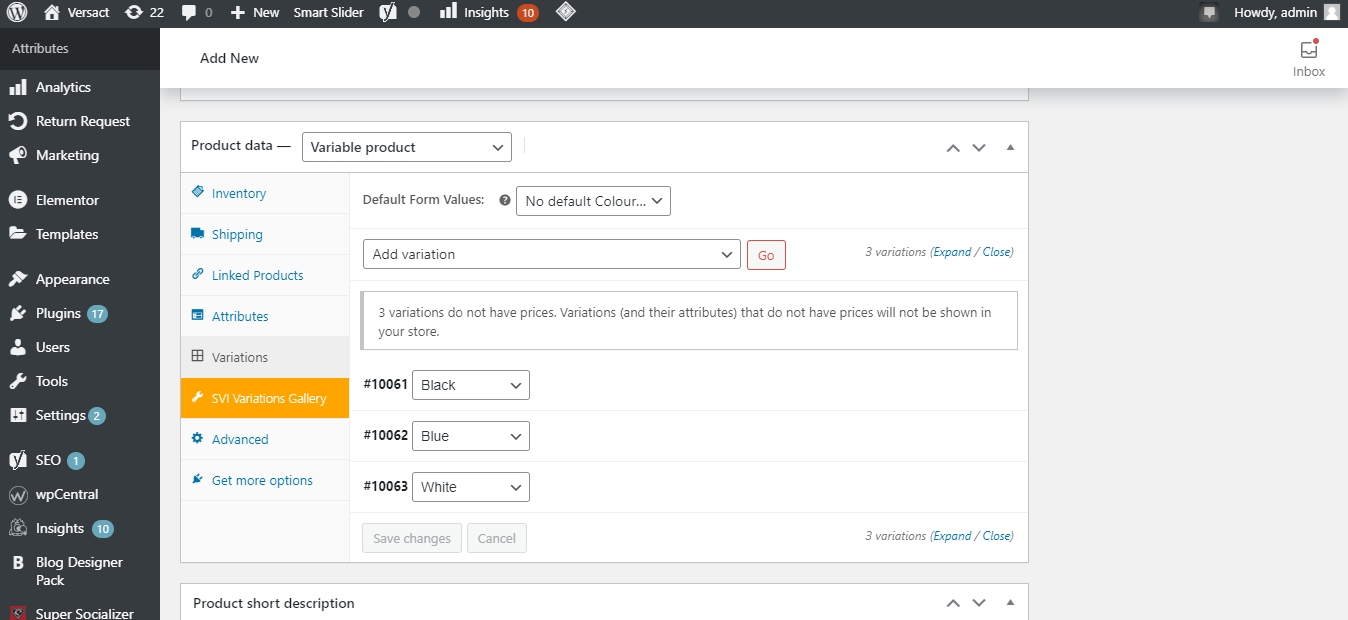
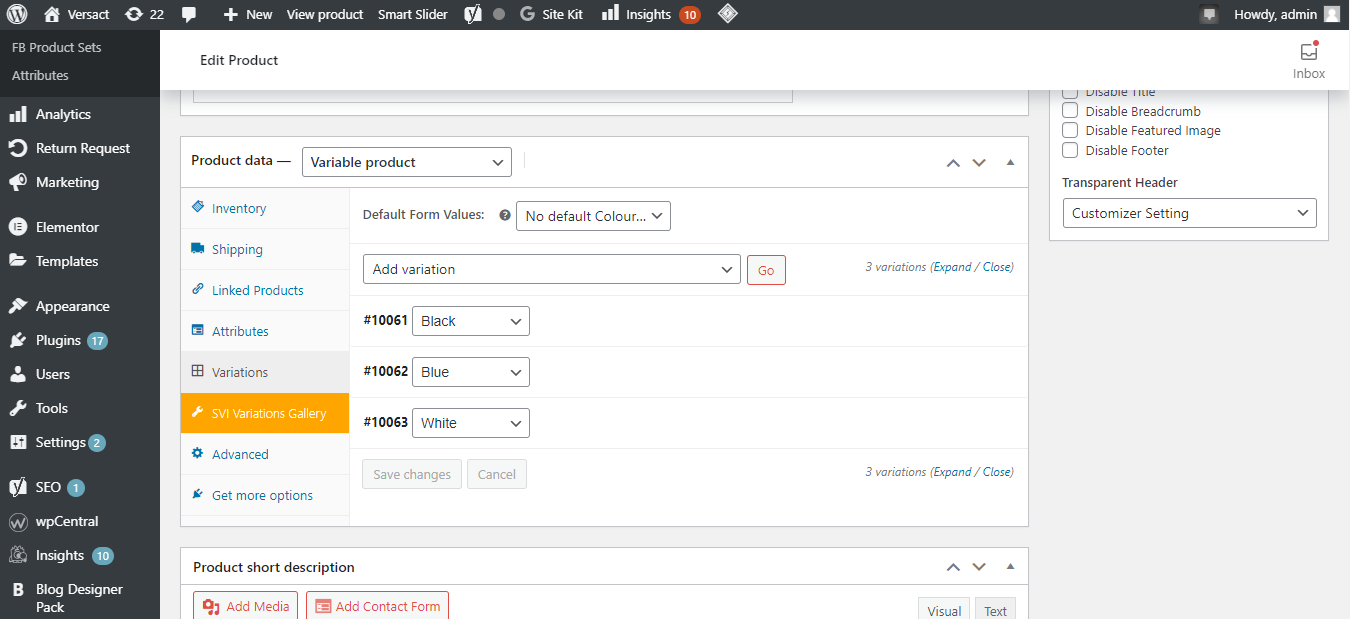
Here you can see three different variations have been added to your product.
Don't forget to click update every time you make changes to your product.
How to Set Price for Your Variations
Follow the steps below to set prices for your variations.
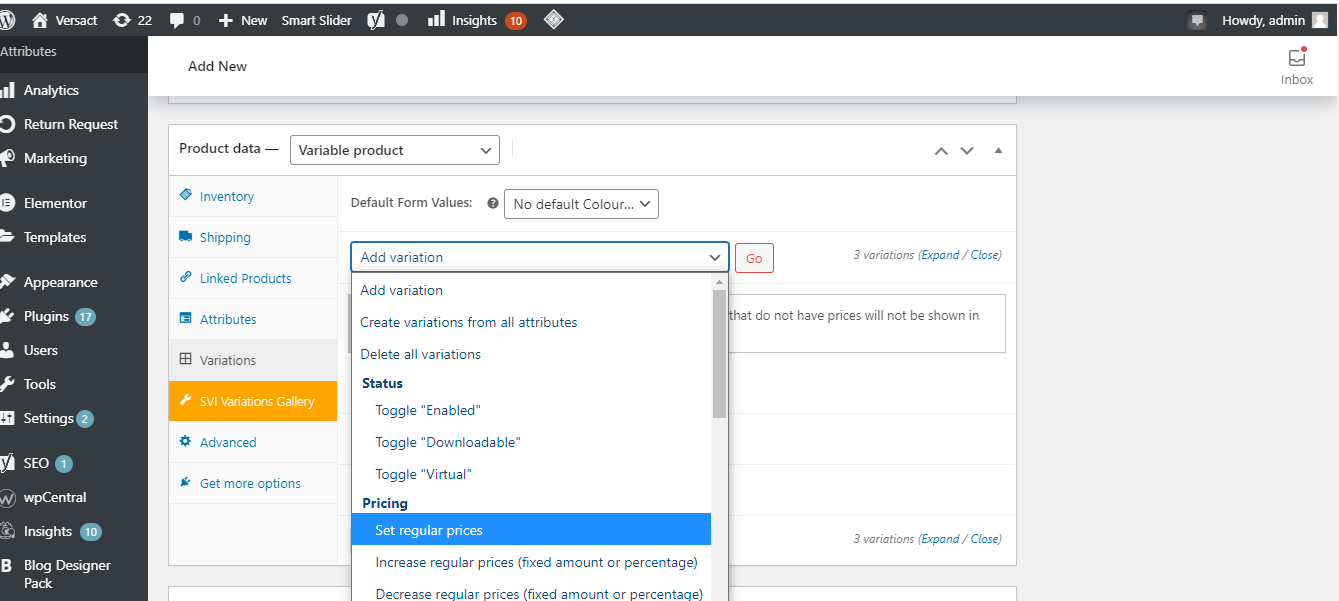
1. Click variations and select set regular prices from the drop-down menu.
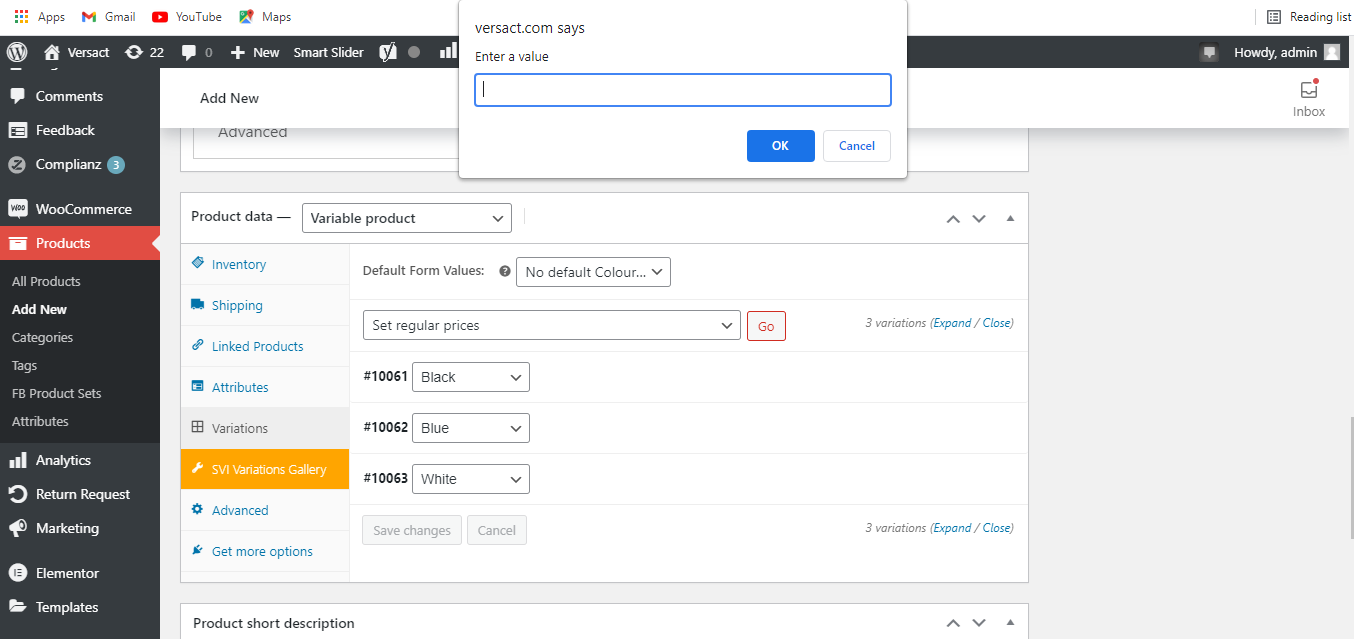
2. Click Go.
3. Enter your product price in the pop-up window and click ok.
How to Set a Price for Each Variation Individually
To list product variations at different prices, follow the steps below.
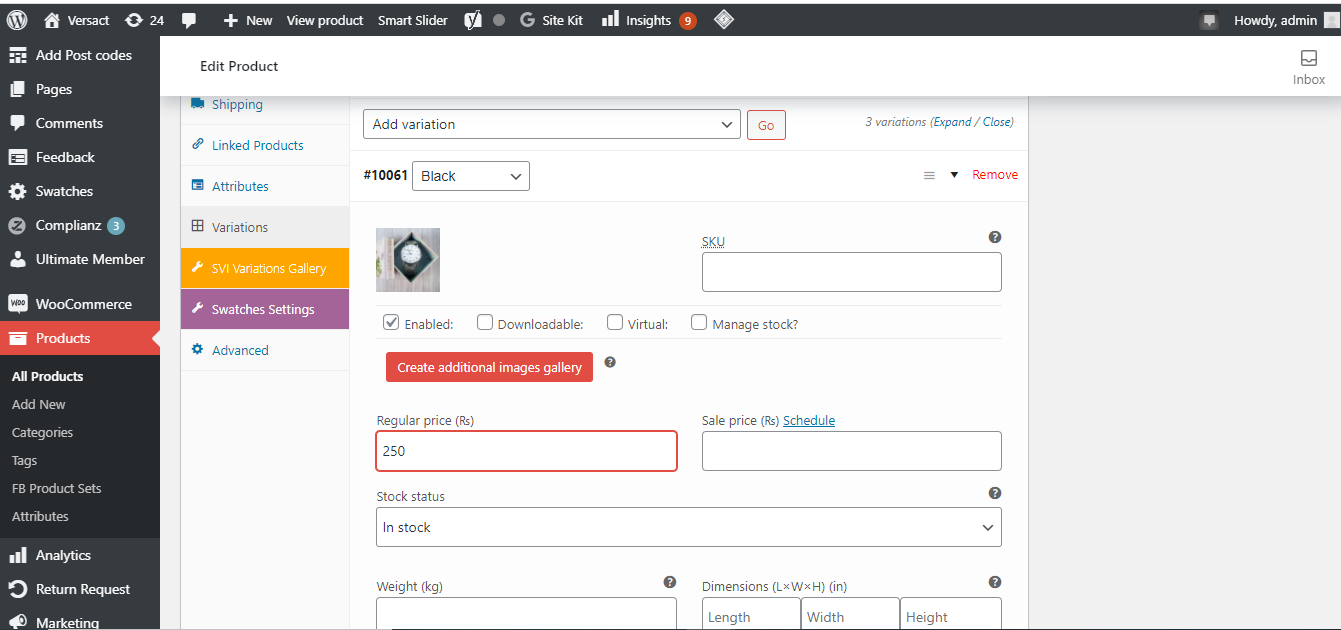
1. To set or change the price, click on the options right next to each variation.
2. Set the Price.
3. Click Update to save the changes.
How to Set an Image for a Variable Product
Follow the below steps to set an image for a variable product.
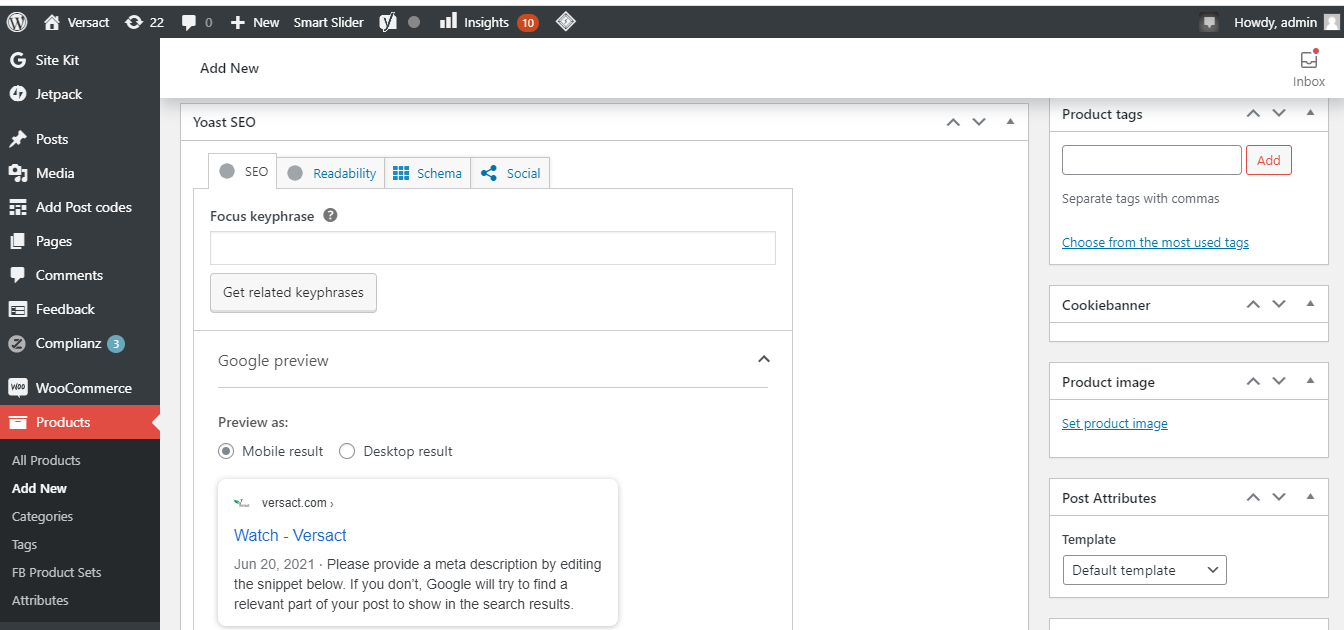
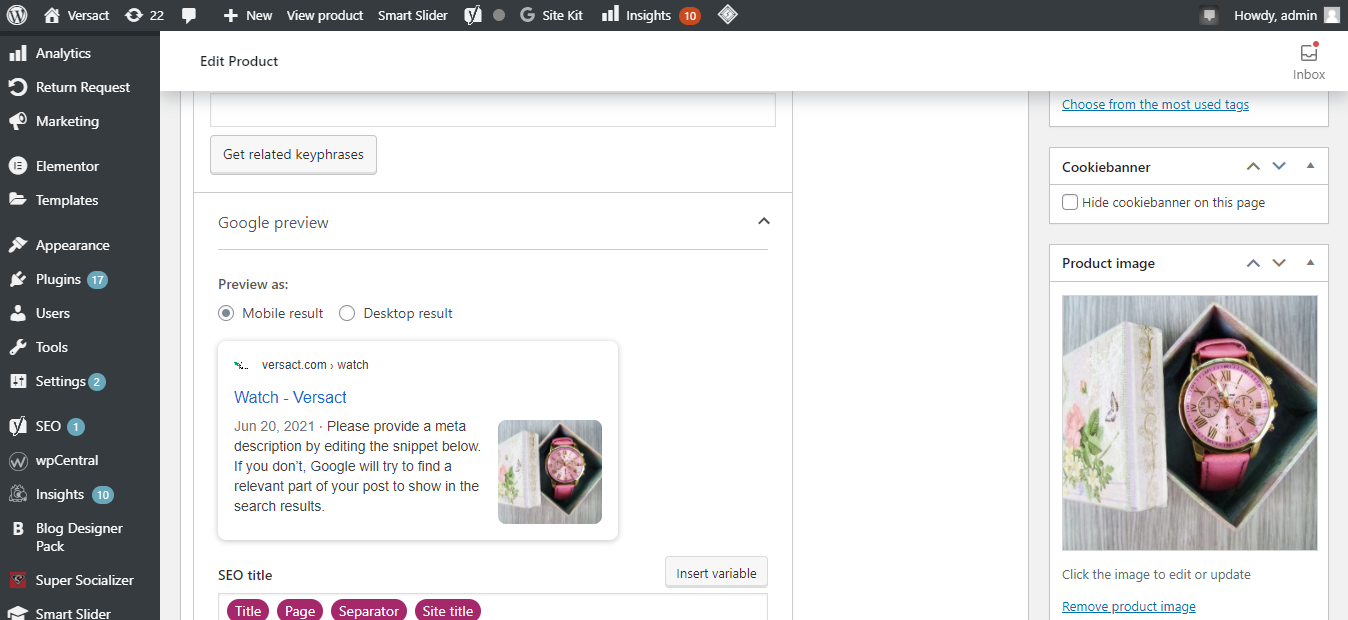
1. Click set product image on your products page in the right sidebar.
2. Add your product image.
3. Once you've added your product image, click Publish.
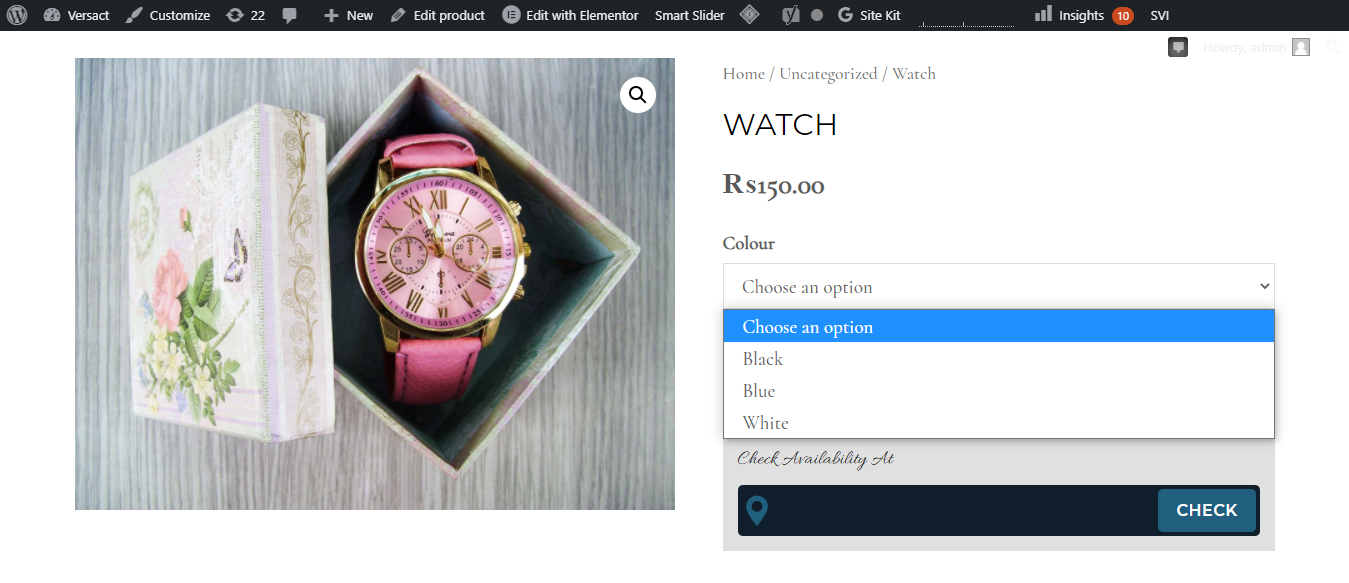
Here you can see the product available in three different colors.
How to Set an Image for Each Variation
If you want the image to change based on your chosen color, you need to set an image for each variation.
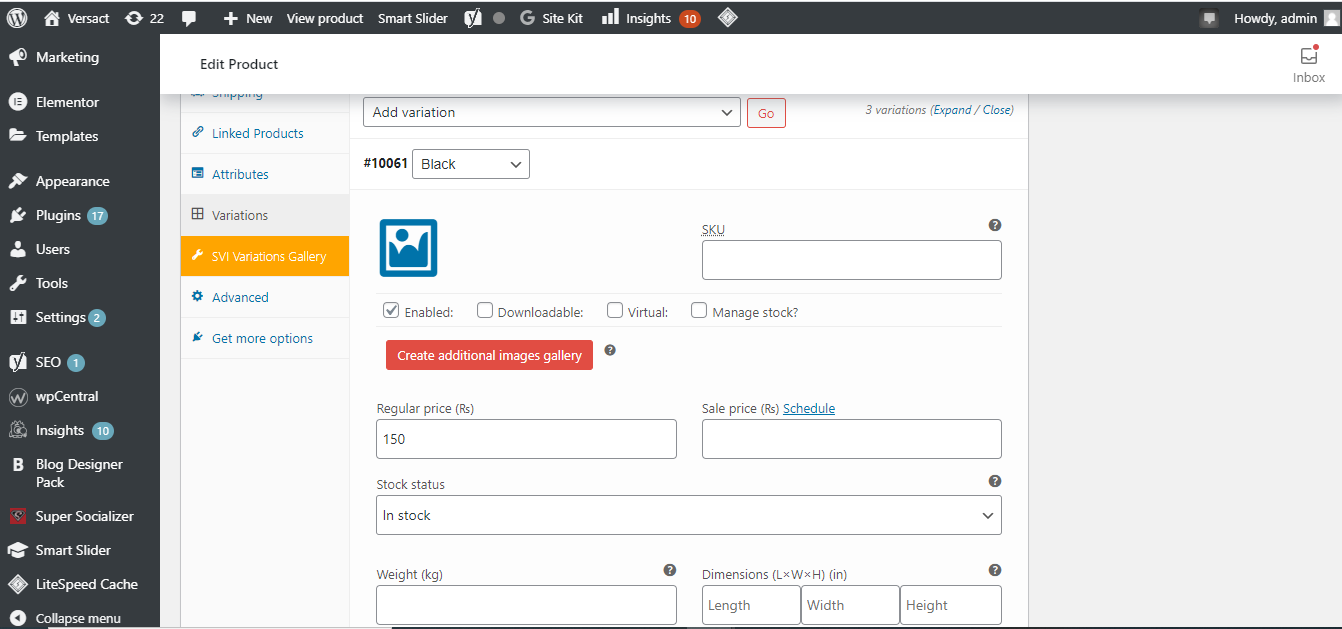
1. Go back to the edit product page. Click variations.
2. Click on each color separately to add an image.
3. Select an image file or drag and drop an image from your computer, and the image will be set for this variation.
4. After adding the images, click update to save the changes.
Now, if you select a color, you'll see that the image changes.
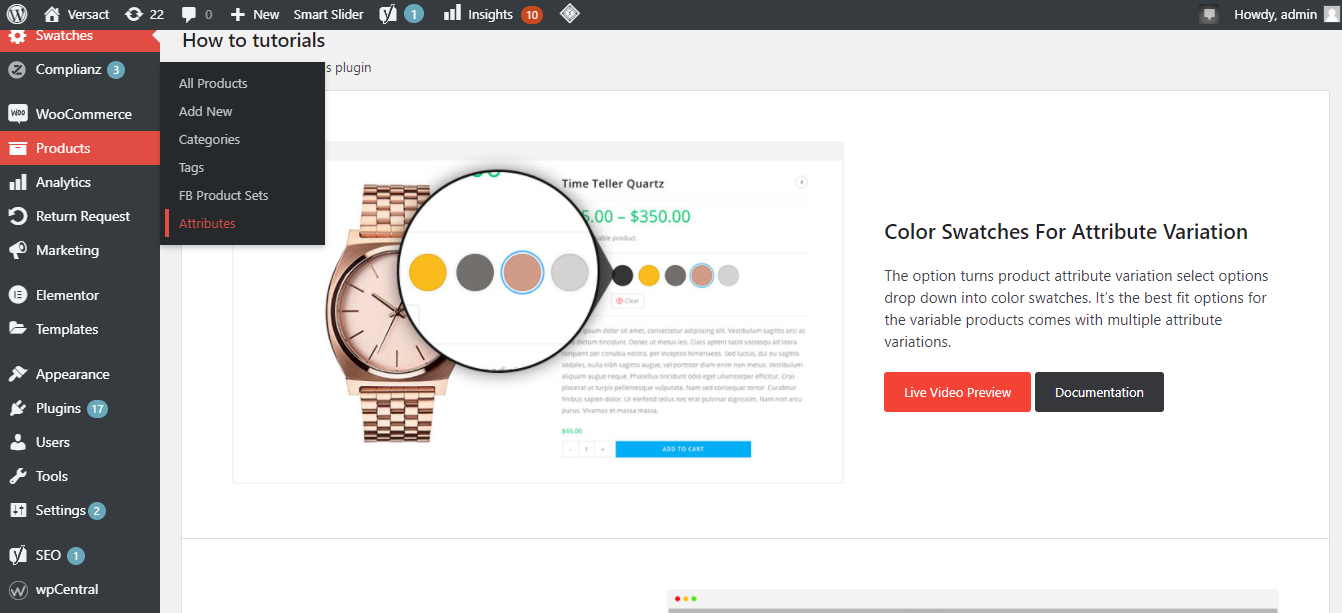
You can also choose to display your product variations as buttons instead of drop-down menus. To do so, you can use this handy plugin: Variation Swatches for WooCommerce.
What Are Variation Swatches for WooCommerce?
Besides offering to add color, image, and label attributes to a single WooCommerce product, Variation Swatches for WooCommerce offers advanced customization.
You can customize your product gallery, change the sizes of the image, and zoom in while hovering over any image. You can enable or disable the hover according to your requirements.
This plugin allows you to create swatches that follow the rounded and circle shape styles for each variation.
Install the Plugin
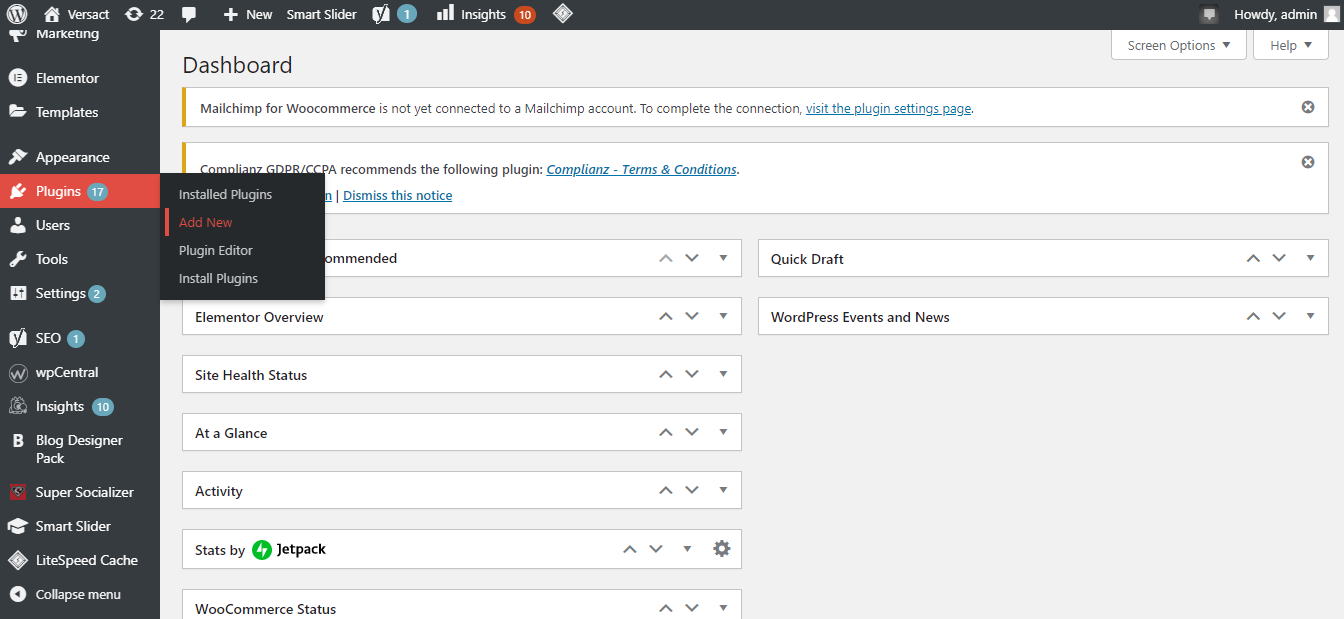
1. Go to Plugins > Add New in WordPress Dashboard.
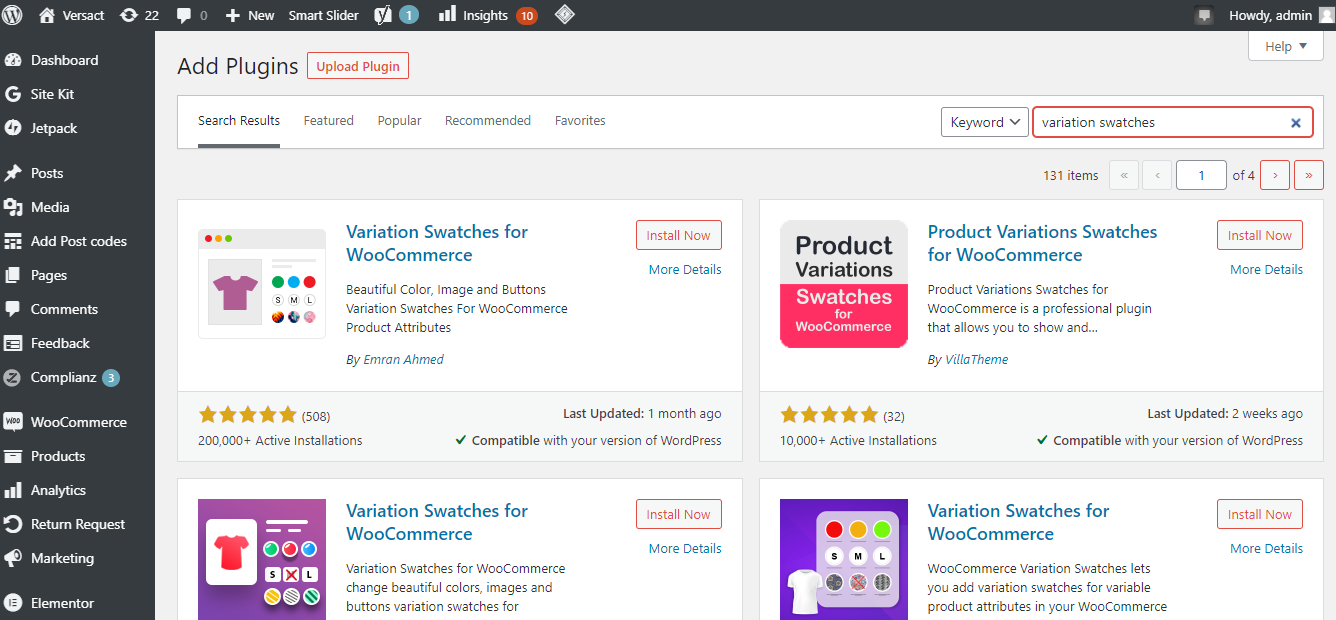
2. Go to the WordPress plugins page and search for variation swatches.
3. Install and activate the plugin.
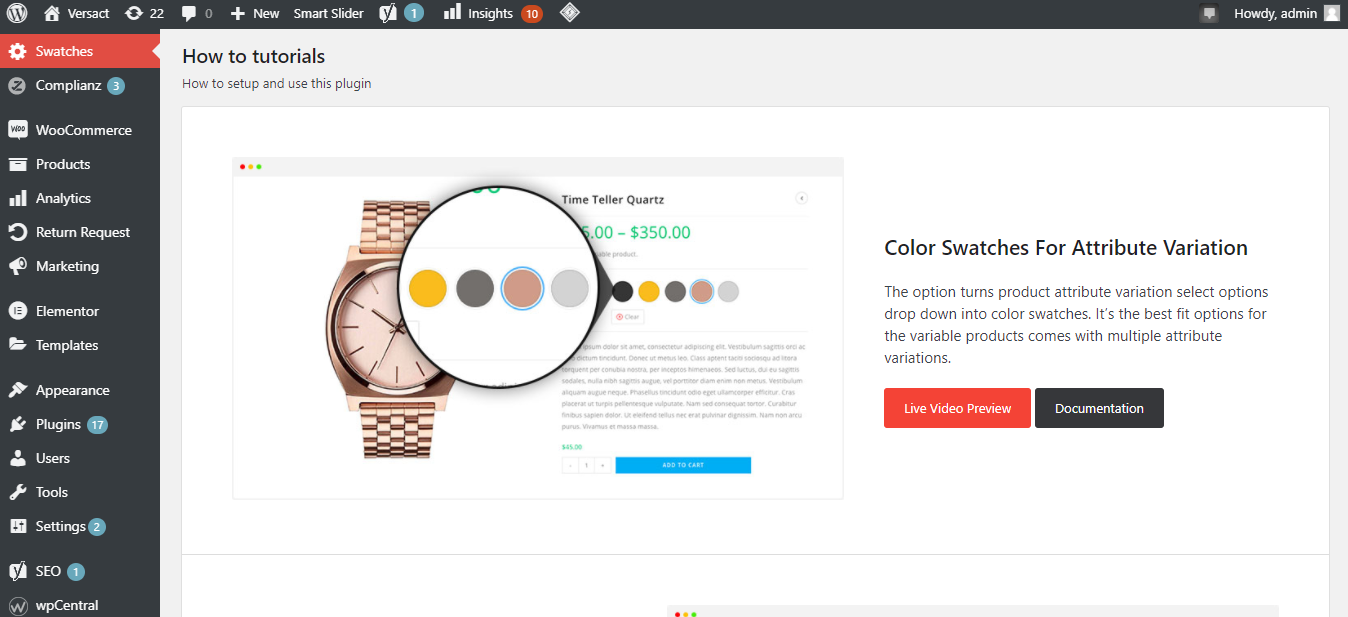
Once you activate the plugin, you'll see it in the list of your active plugins.
How to Modify Product Variations With Swatches
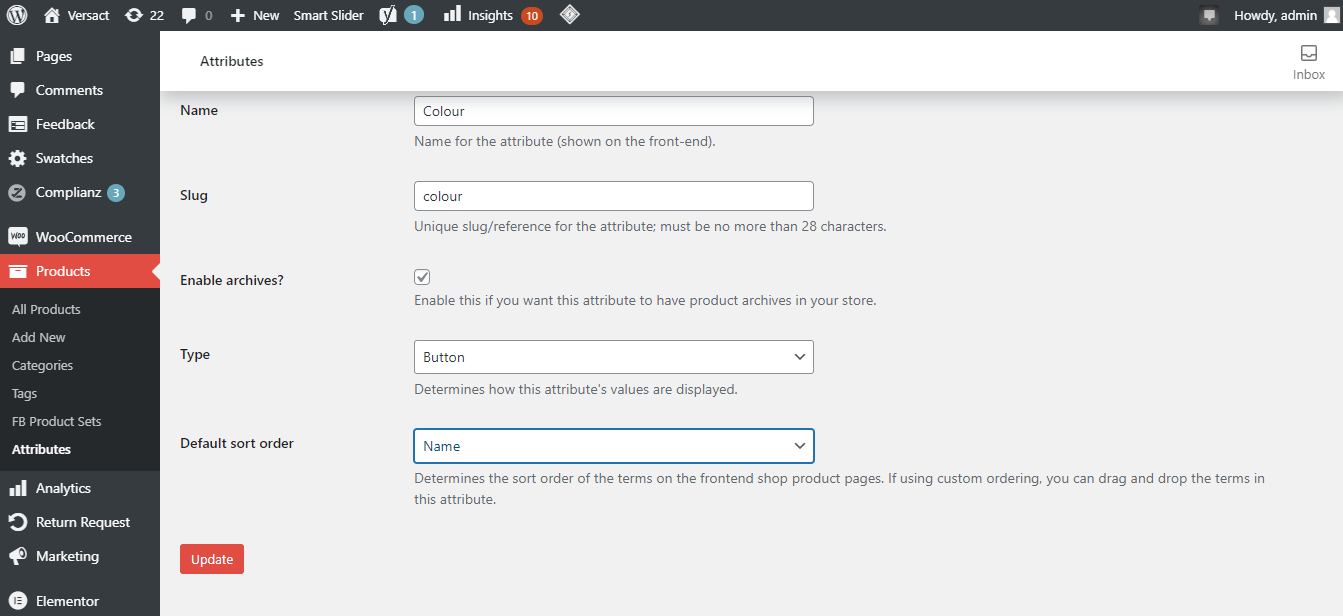
1. To choose the type, go to Products > Attributes from the dashboard.
2. Choose the attribute and click edit.
3. Choose the button type based on your variations. Click update.
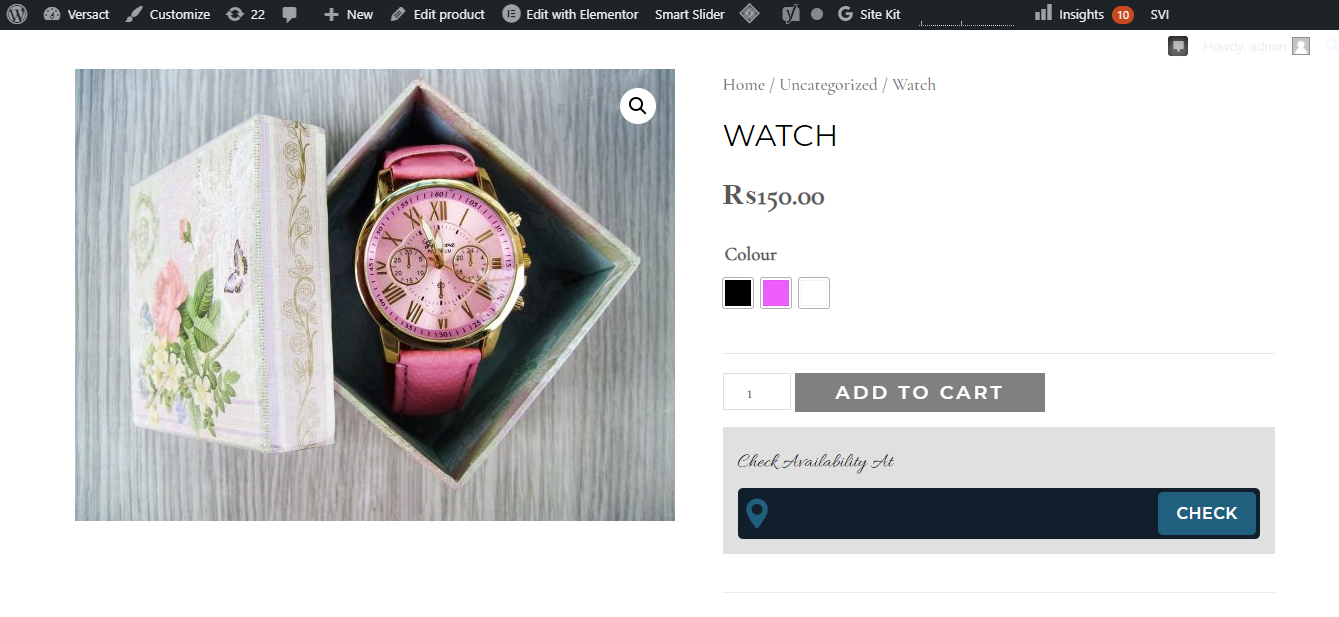
Selecting type as Button will display color variations in button style as shown below.
Add Product Variations to Boost Your Sales
Offering your products in different variations makes a significant difference in boosting sales. WooCommerce itself doesn't have great sales features to make your product pages more appealing.
You can improve the visual experience for your customers by adding multiple product variations based on different colors, sizes, prices, types, and other characteristics of the product.
WordPress store management made easy with WooCommerce plugins; try different plugins to find out which works best for you.


