
Do you want to allow people to quickly choose items in your documents? Checkboxes are a great way to do that. You can add a box next to each option in your document, and viewers can make their selection.
All major word processors like Microsoft Word, Apple Pages, and Google Docs can add checkboxes to lists. Let's see how you can add a checkbox to your document when you use one of these three tools.
How to Add Checkboxes to a Microsoft Word Document
There are two ways to add checkboxes to a Word document. You can either add checkboxes that work for printed documents or you can add interactive boxes that can be selected in the digital document.
1. Add Checkboxes For a Printed Word Document
If you want to print your document, then you just need to add a checkbox shape in your document. You don’t need interactive options as users are going to tick the options with their pens anyway.
To do that, you can add a bulleted list with the checkbox symbol next to the list items on your document. Your document will display it like a proper checkbox when you print it.
This is how you do that:
- Open the Word document that you want to add checkboxes in.
- Click the Home tab at the top if you aren’t already there.
-
Click the arrow icon next to the Bullets option and select Define New Bullet.
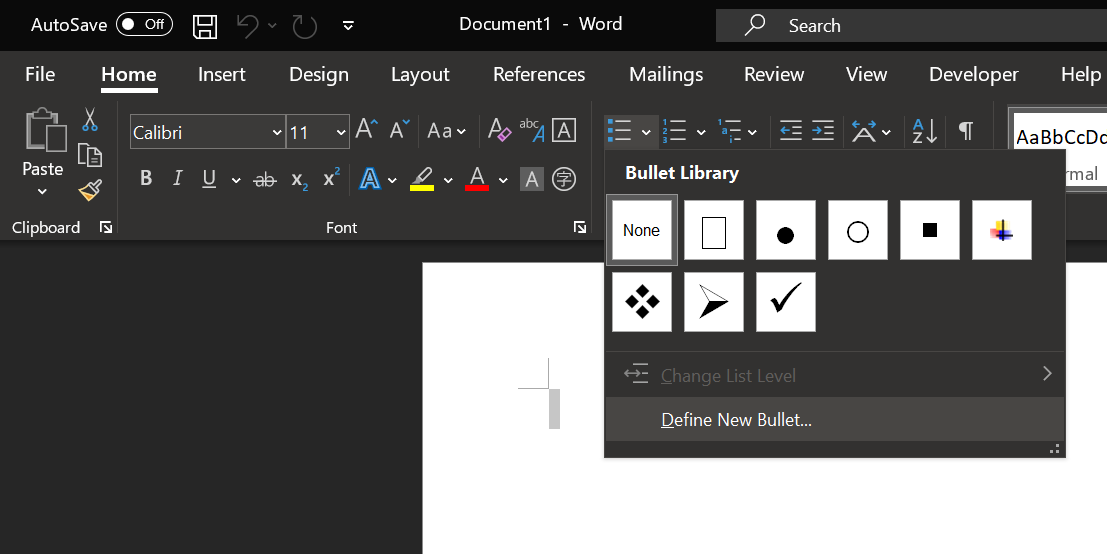
- Select Symbol from the options on your screen.
-
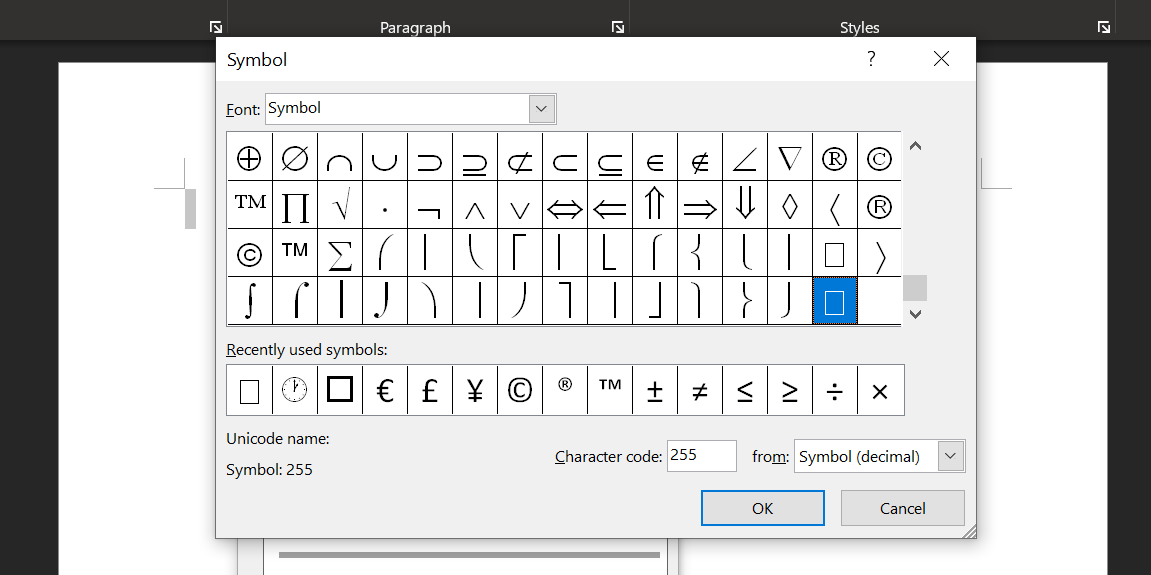
You should see various symbols that you can use in place of regular bullets. Scroll down this list, find a checkbox icon, click it, and hit OK at the bottom.
- Click OK once again and you should see a checkbox in your document.
- You can now type your items list and Word will add a checkbox for each of your items.


Just don’t try to tick these boxes as that won’t work. These are just for display on printed documents.
2. Add Checkboxes to a Word Document
If you want your document viewers to digitally checkmark boxes in the Word app, you need to add interactive checkboxes to your document. Word offers this as a developer option and you can enable it as follows:
- Launch a Microsoft Word document.
- Click the File tab at the top and select Options from the left sidebar.
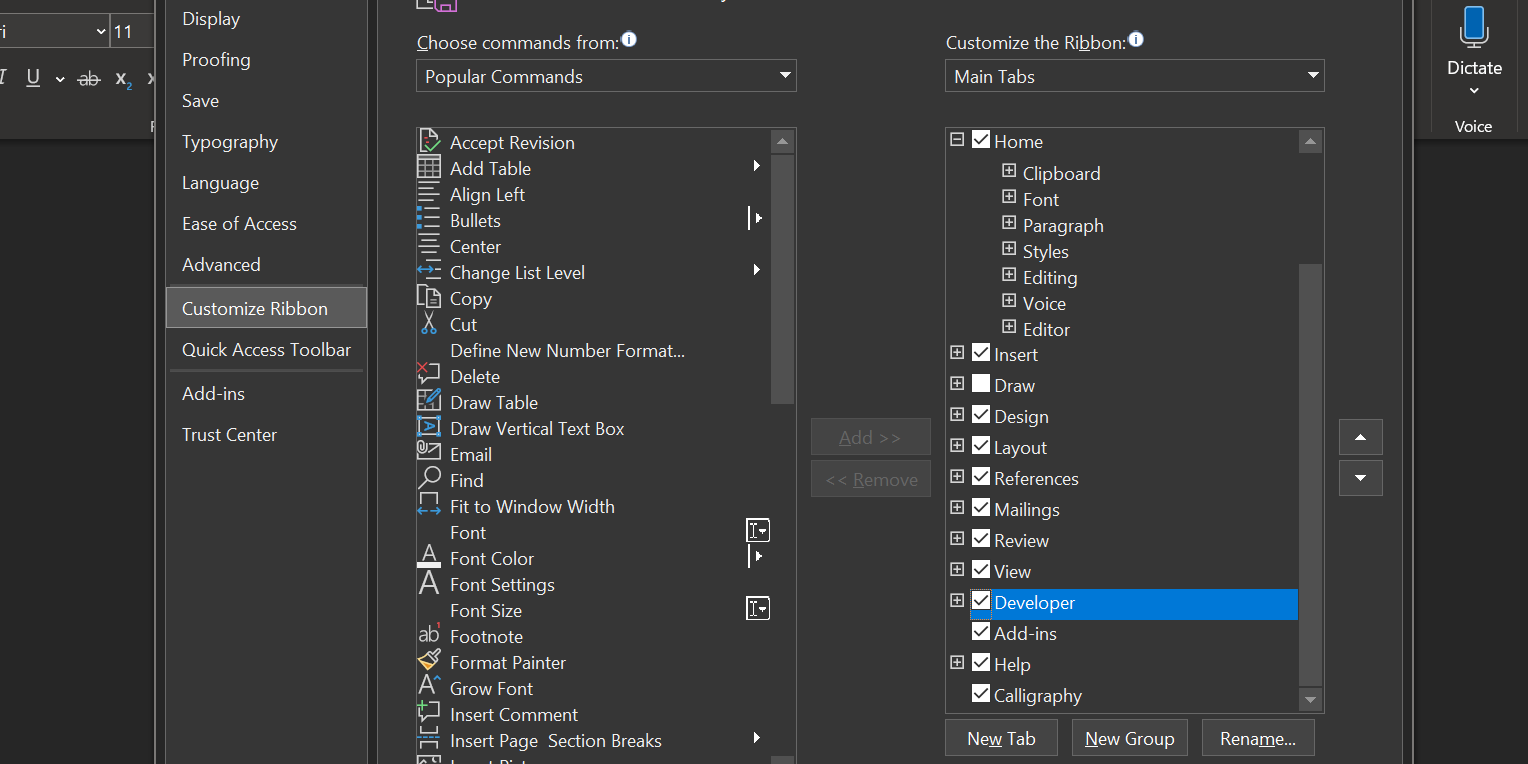
- Select Customize Ribbon from the left sidebar and choose Main Tabs from the Customize the Ribbon menu on the right.
-
Scroll down the options list, select Developer, and hit OK at the bottom. This will add a new Developer item to your Word tabs list.
- Place the cursor where you want to add a checkbox in your document.
-
Click the Developer tab at the top and select the Check Box Content Control icon from the Controls section.
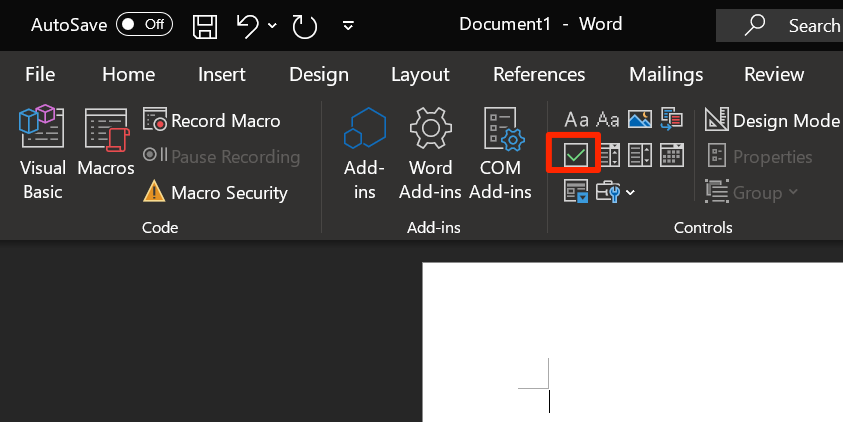
- Word will add an interactive checkbox to your document. You can click on this box and it will be ticked. Clicking it again will uncheck it.


You can use these checkboxes for printed documents as well.
How to Add Checkboxes to an Apple Pages Document
If you’re a Mac user, chances are you use Apple Pages for your documents. Pages offers the option to add checkboxes to your documents, but you can’t add interactive boxes just yet.
If you want to use checkboxes on a printed document, follow these steps:
- Open a new or existing document in Apple Pages.
- Click the dropdown menu next to Bullets & Lists on the right and select the Bullet option. This will start a new bulleted list in your document.
-
Click the arrow icon next to Bullets & Lists, select Image Bullets from the dropdown menu, and then click the Current Image option.
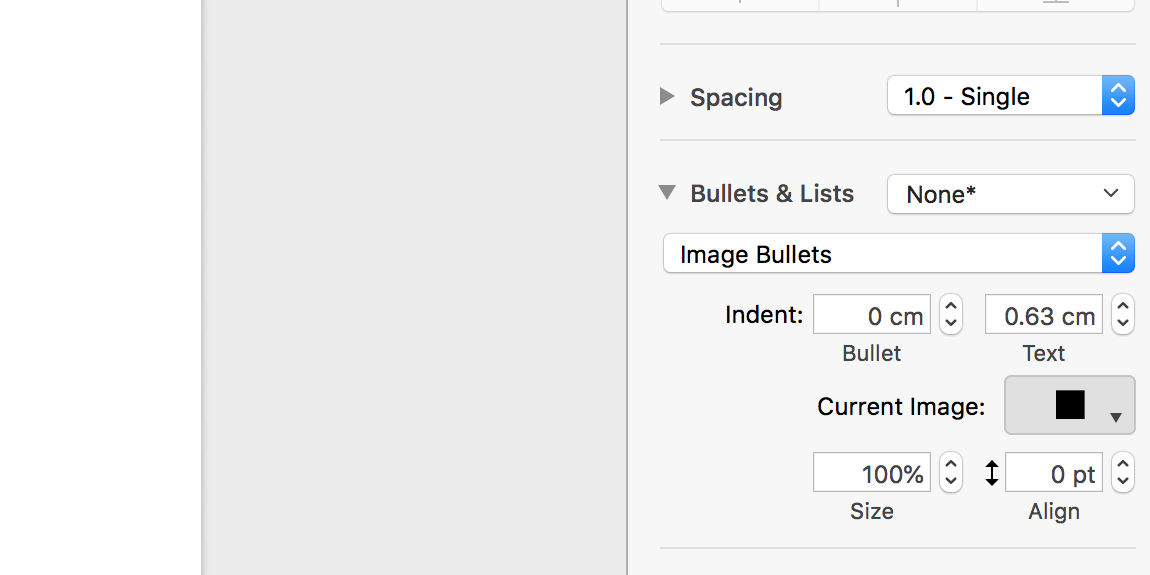
-
You will see various checkbox images that you can add to your document. Click on the one you like and it will instantly appear on your document.

- You can specify the size and alignment of your checkboxes from the same Bullets & Lists section.


If you don’t find the exact checkbox image that you want, you can download the image for that checkbox from the internet and import it into Pages.
To do that, click the Custom Image option when you add a checkbox. This will let you select an image from your Mac to add to your document.
How to Add Checkboxes to a Google Docs Document
You can't leave out Google Docs. This online word processor allows you to add checkboxes to your documents, but again, these are only for documents you print and not interact on screen.
If that’s all you’re looking for, below is how you add checkboxes to a Google Docs document:
- Create a new document or open your existing document with Google Docs.
-
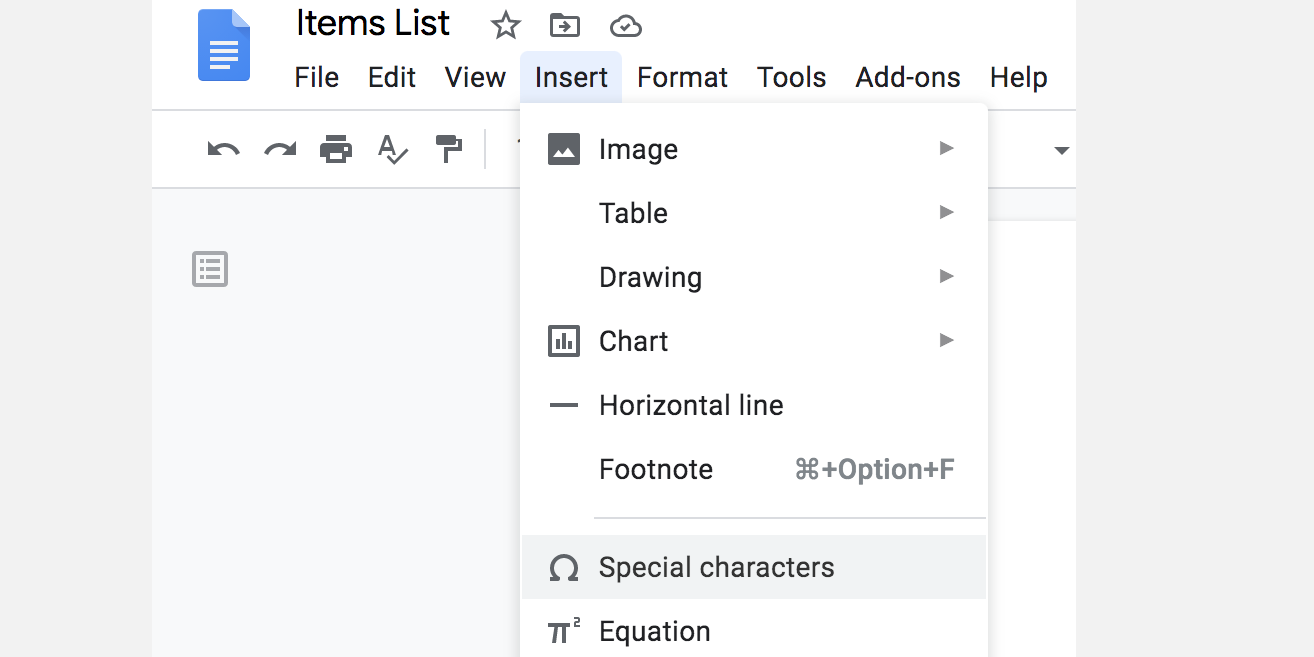
Click the option that says Insert at the top and select Special characters. This will let you add a checkbox as a special character in your document.
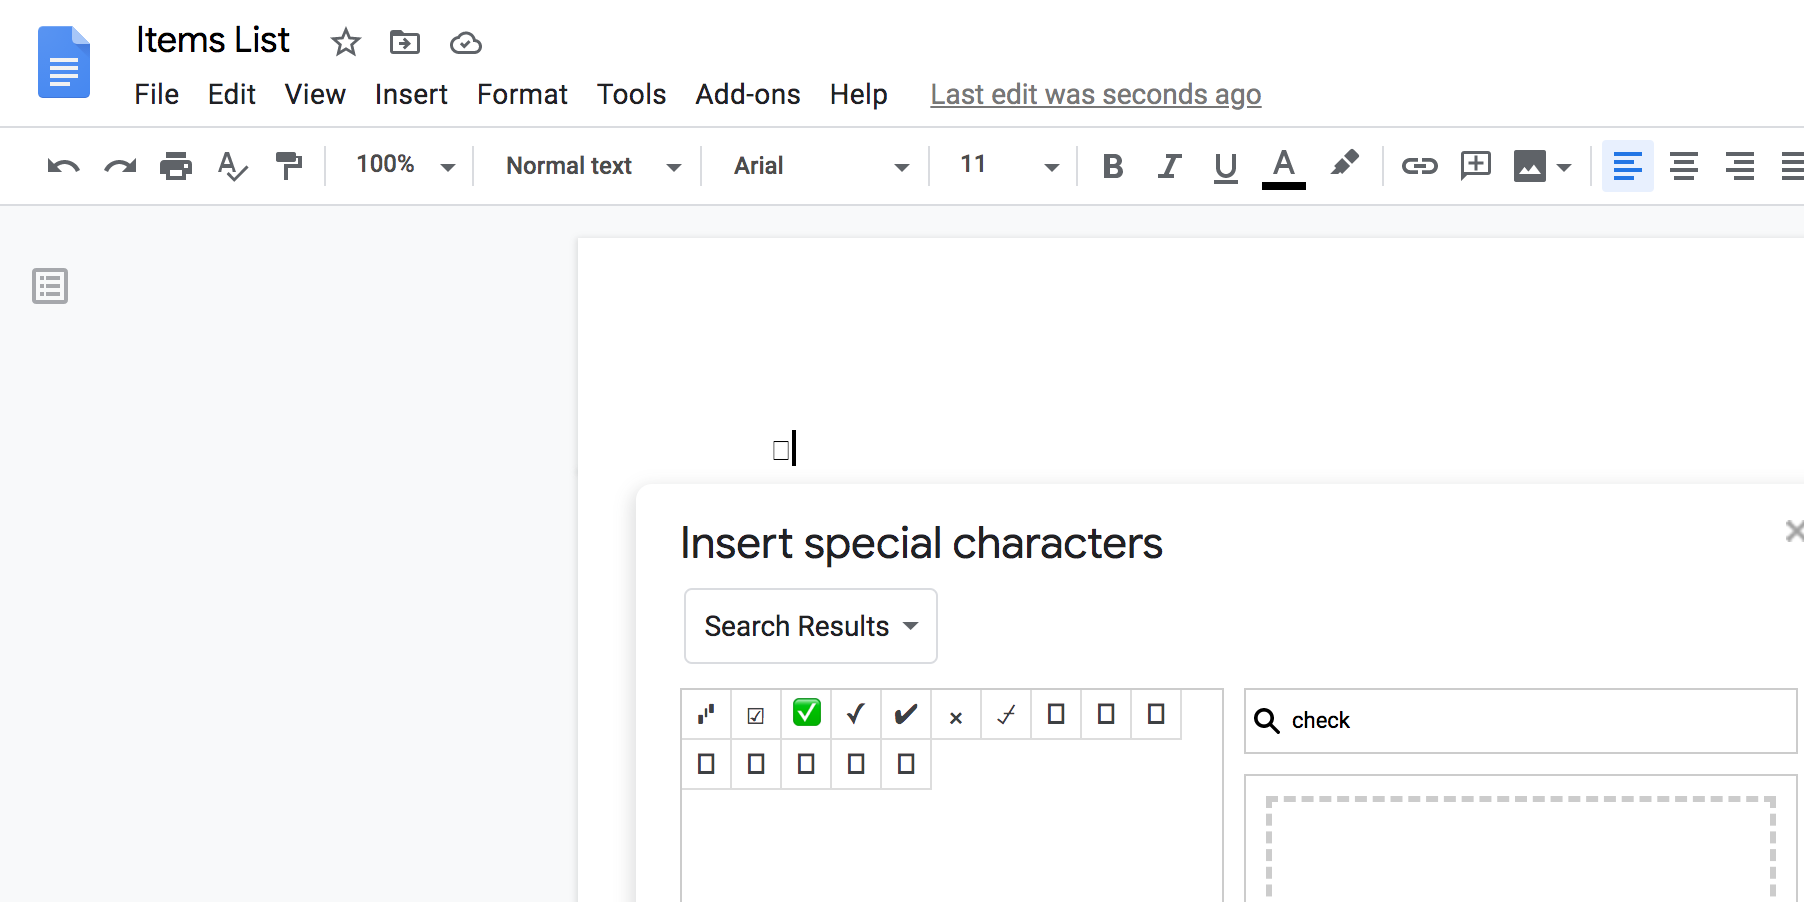
- On the following screen, put your cursor in the search box and type check. Don’t type the full word which is checkbox as it doesn't seem to fetch any results.
-
On the left, you will see various checkbox styles to add. Click the checkbox you like and it will immediately appear on your document. You can preview your checkbox before closing the special characters menu.
-
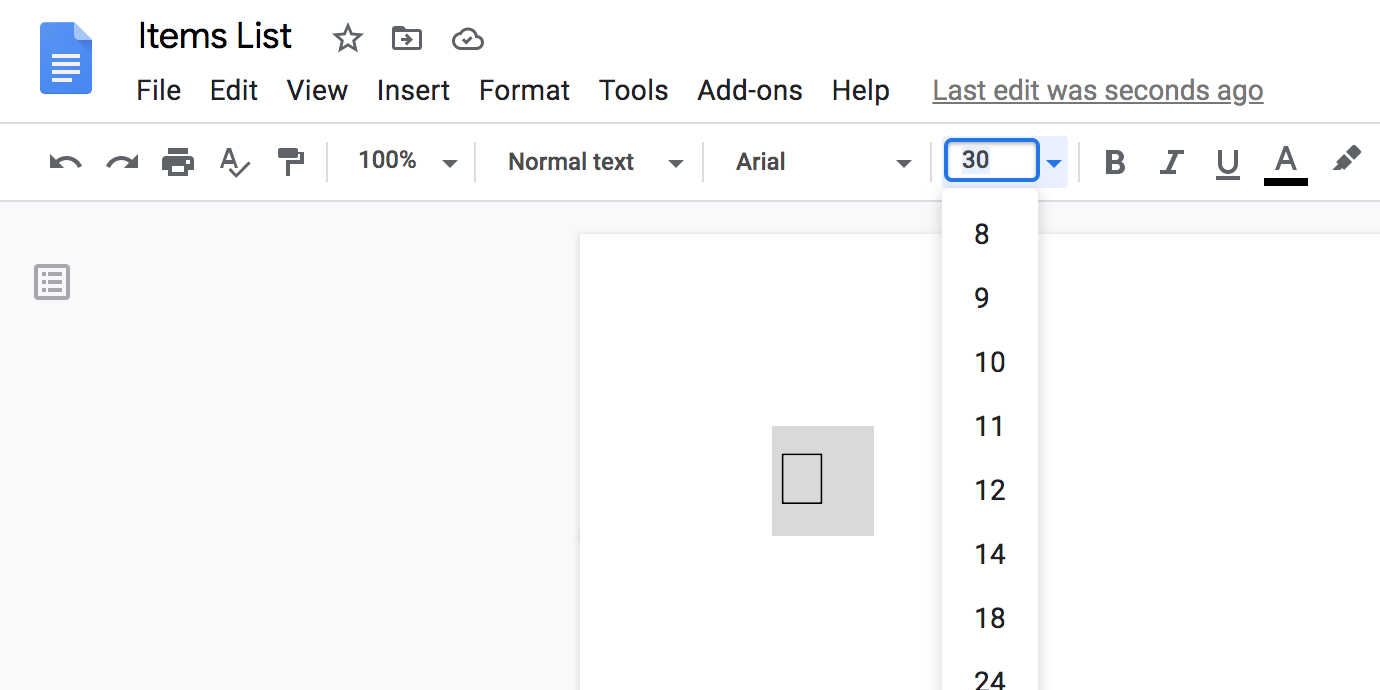
If your checkboxes are too small or too big, you can resize them to your chosen size. To do it, select your checkboxes, click the Font size option, and select a new size for your checkboxes.


You can now click File and select Print to print your document with your checkboxes. If you’d rather save it as a PDF file, you can do so by clicking the File menu, selecting Download, and choosing PDF Document.
Checkboxes Make Selecting Items Easier in Documents
Checkboxes are no doubt the easiest way to select items in your documents. Fortunately, all major word processors let you easily add checkboxes to your documents, and you can even add interactive checkboxes with one of these apps.
Lists with checkboxes make it easy to follow actionable items in your document. So always format your lists to better manage them in any word processor.