You can add animations to your presentation in Google Slides and the elements in it to make your presentation more interesting. When used properly and in moderation, animations can break the deadly seriousness of the presentation, and make it easier for the eyes to take in all the text and data.
Google Slides' animation and transition repertoire isn't as extended as PowerPoint's, but it's still more than enough to help you add some subtle animations to your presentation. Read on to find out how you can add animations in Google Slides.
How to Add Animations in Google Slides
Adding animations in Google Slides basically consists of selecting the object you want to animate (text, picture, etc.) and then selecting the animation type. Another factor that plays a role, is the order of animations, which instructs Google Slides on which animations it should play first.
Much like PowerPoint, there are three types of animation in Google Slides: Entrance, Emphasis, and Exit. You can add single or multiple animations to an object in your slide. Though, naturally, it's best if you don't add more than one of each type. Having two entrance animations on a single object can make your presentation look silly.
- Select the object that you want to animate.
- Go to the Insert menu.
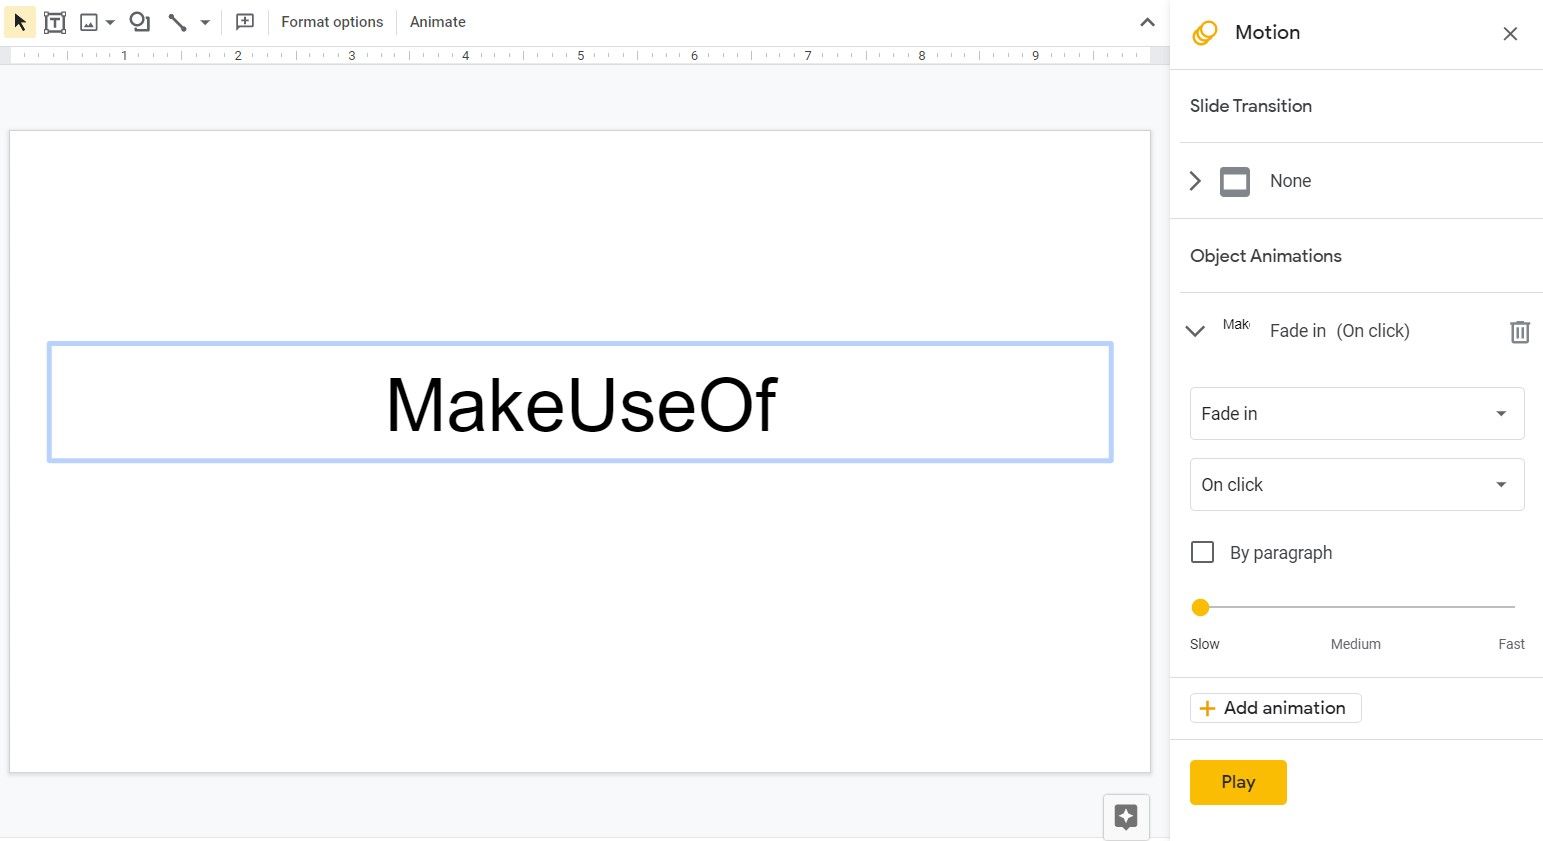
- Select Animation. The Motion pane will appear on the right.
- In the Motion pane, under Object Animations, click Add animation.
- Click on Fade in and change the animation type to your liking.
- Click on Play to preview the animation.
Now your object is animated. You can go on and add more animations to the same object, or to a different object. To do so, you need to select the object and repeat the process above.
When you have multiple animations in a single slide, they're going to appear in the order indicated in the Motion pane. To change the order, grab one animation and drop it to where you want. The animation on top will play first, and the rest will play out in order, one after another.
Aside from animating the objects in your slides, you can also add animated GIFs correctly to add some motion to your Google Slides presentation.
Animation Options in Google Slides
Other than the animation type itself, there are three additional settings that you can tweak within Google Slides. First, you can change the Start condition of the animation.
By default, the start condition of all animations is click. Meaning that once you click the presentation, the next animation will play. You can change this by changing the start condition.
- Go to the Insert menu and then select Animation. This will bring up the Motion pane.
- Collapse the animation that you want to modify.
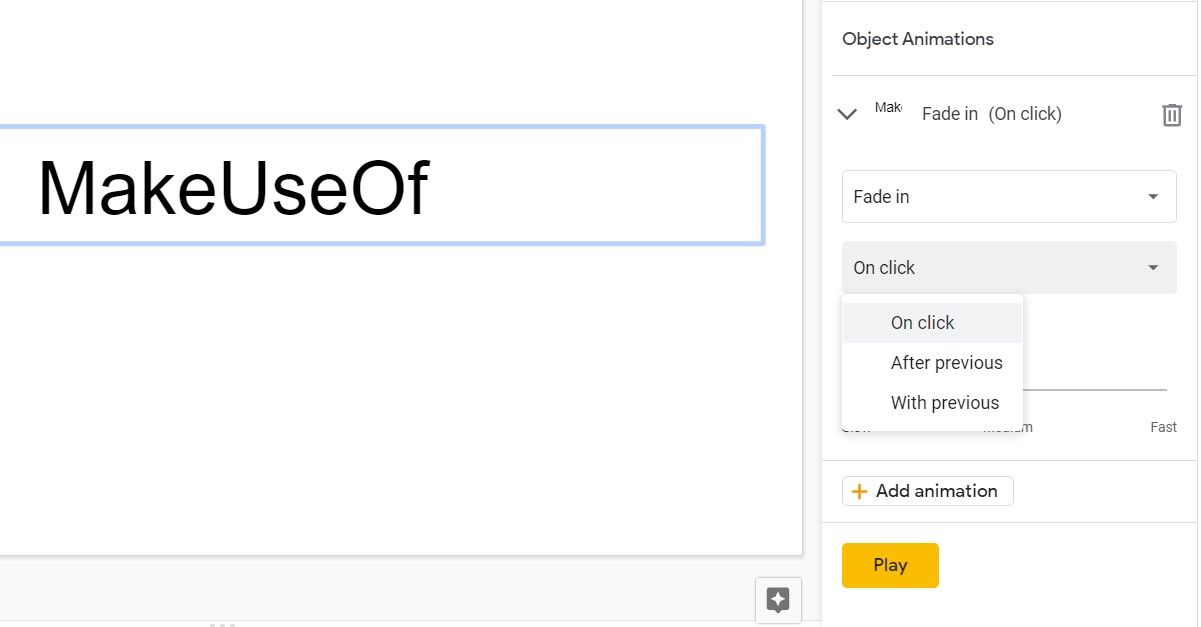
- Change the Start condition. This is set to On click by default.
Changing the start condition to After previous will play the animation right after the previous one is finished. Changing it to With previous will play the animation at the same time as the previous one. In this form, the animation's start time depends on the previous animation's start time.
You can create a cascade of automatic animations by setting all start conditions to After previous, or you can have all the animations play at the same time by setting them all to With previous. In these scenarios, you will need to click only once for the first animation to play, and the rest will unfold automatically.
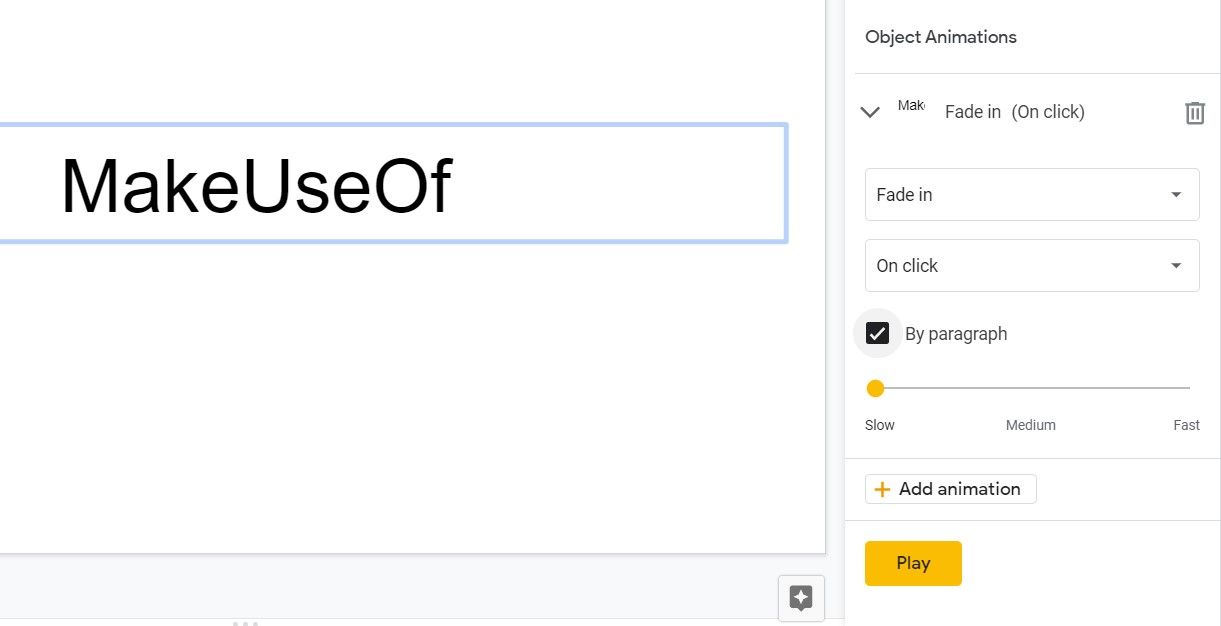
The second animation setting in Google Slides is a checkbox labeled By paragraph. This setting is eligible for text objects. Once you check it, Google Slides will animate the paragraphs one after another and show them sequentially, rather than treating the whole text as a single object.
- Go to the Motion pane.
- Select your animation.
- Check By paragraph.
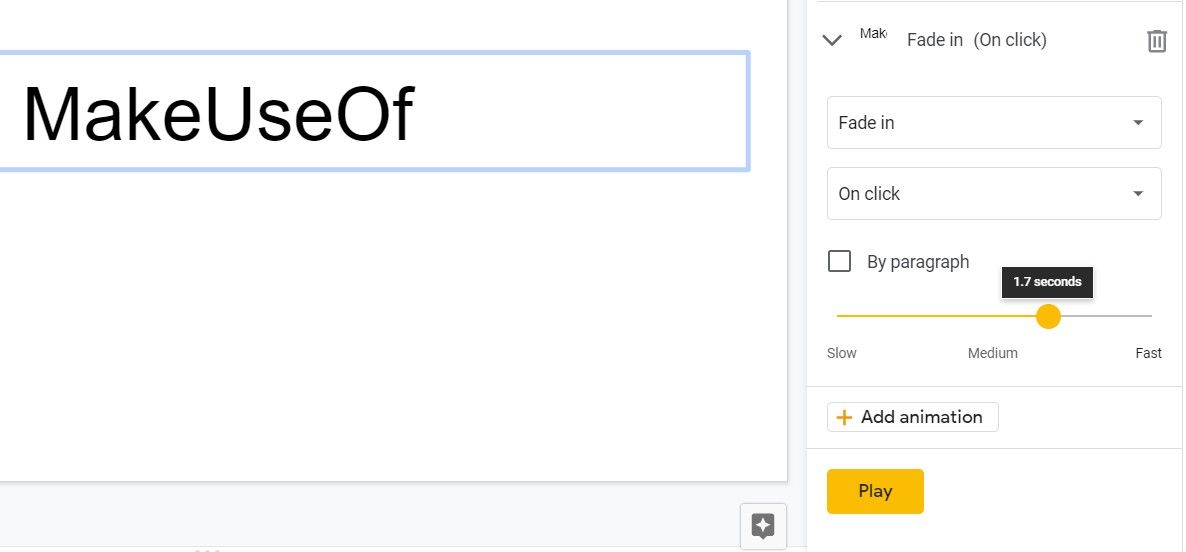
The final setting is the Duration. This is a number between 0 and 5 seconds, which indicates how long the animation should last. The larger the number, the slower the animation will be.
- Go to the Motion pane.
- Select your animation.
- Set the slider to your desired amount.
Animating the slides themselves, for instance, how they enter and how they leave, is called slide transition. You can read our article about slide transitions in Google Slides to learn more.
Present Your Data With Animations
Presentations can sometimes get too serious, or god-forbid, even boring. A good way to make the data flow smoother, and to give the eyes a break, is adding animations.
You can add as many animations as you want to the objects in your Google Slides' presentation, and Google Slides does a great job at helping you keep track of all the animations. Just remember that adding too many animations can backfire and make your presentation lose its subtlety.

